HYPR Support Access
HYPR Control Center Standard: Control Center Settings
HYPR Cloud Only
HYPR Support Access functionality is not available to on-premises customers.
HYPR customers can have increased control over HYPR employee access to their tenants. In Standard Mode, from Control Center Settings, HYPR Support Access gives you the choice to:
- Enable/disable HYPR Support's access to the tenant
- Set the particular date after which access to the tenant will be blocked for the HYPR Support team
- If the previous two features are enabled, you can specify individual HYPR employee email addresses to allow access to the tenant; no other HYPR employee will be able to access the tenant
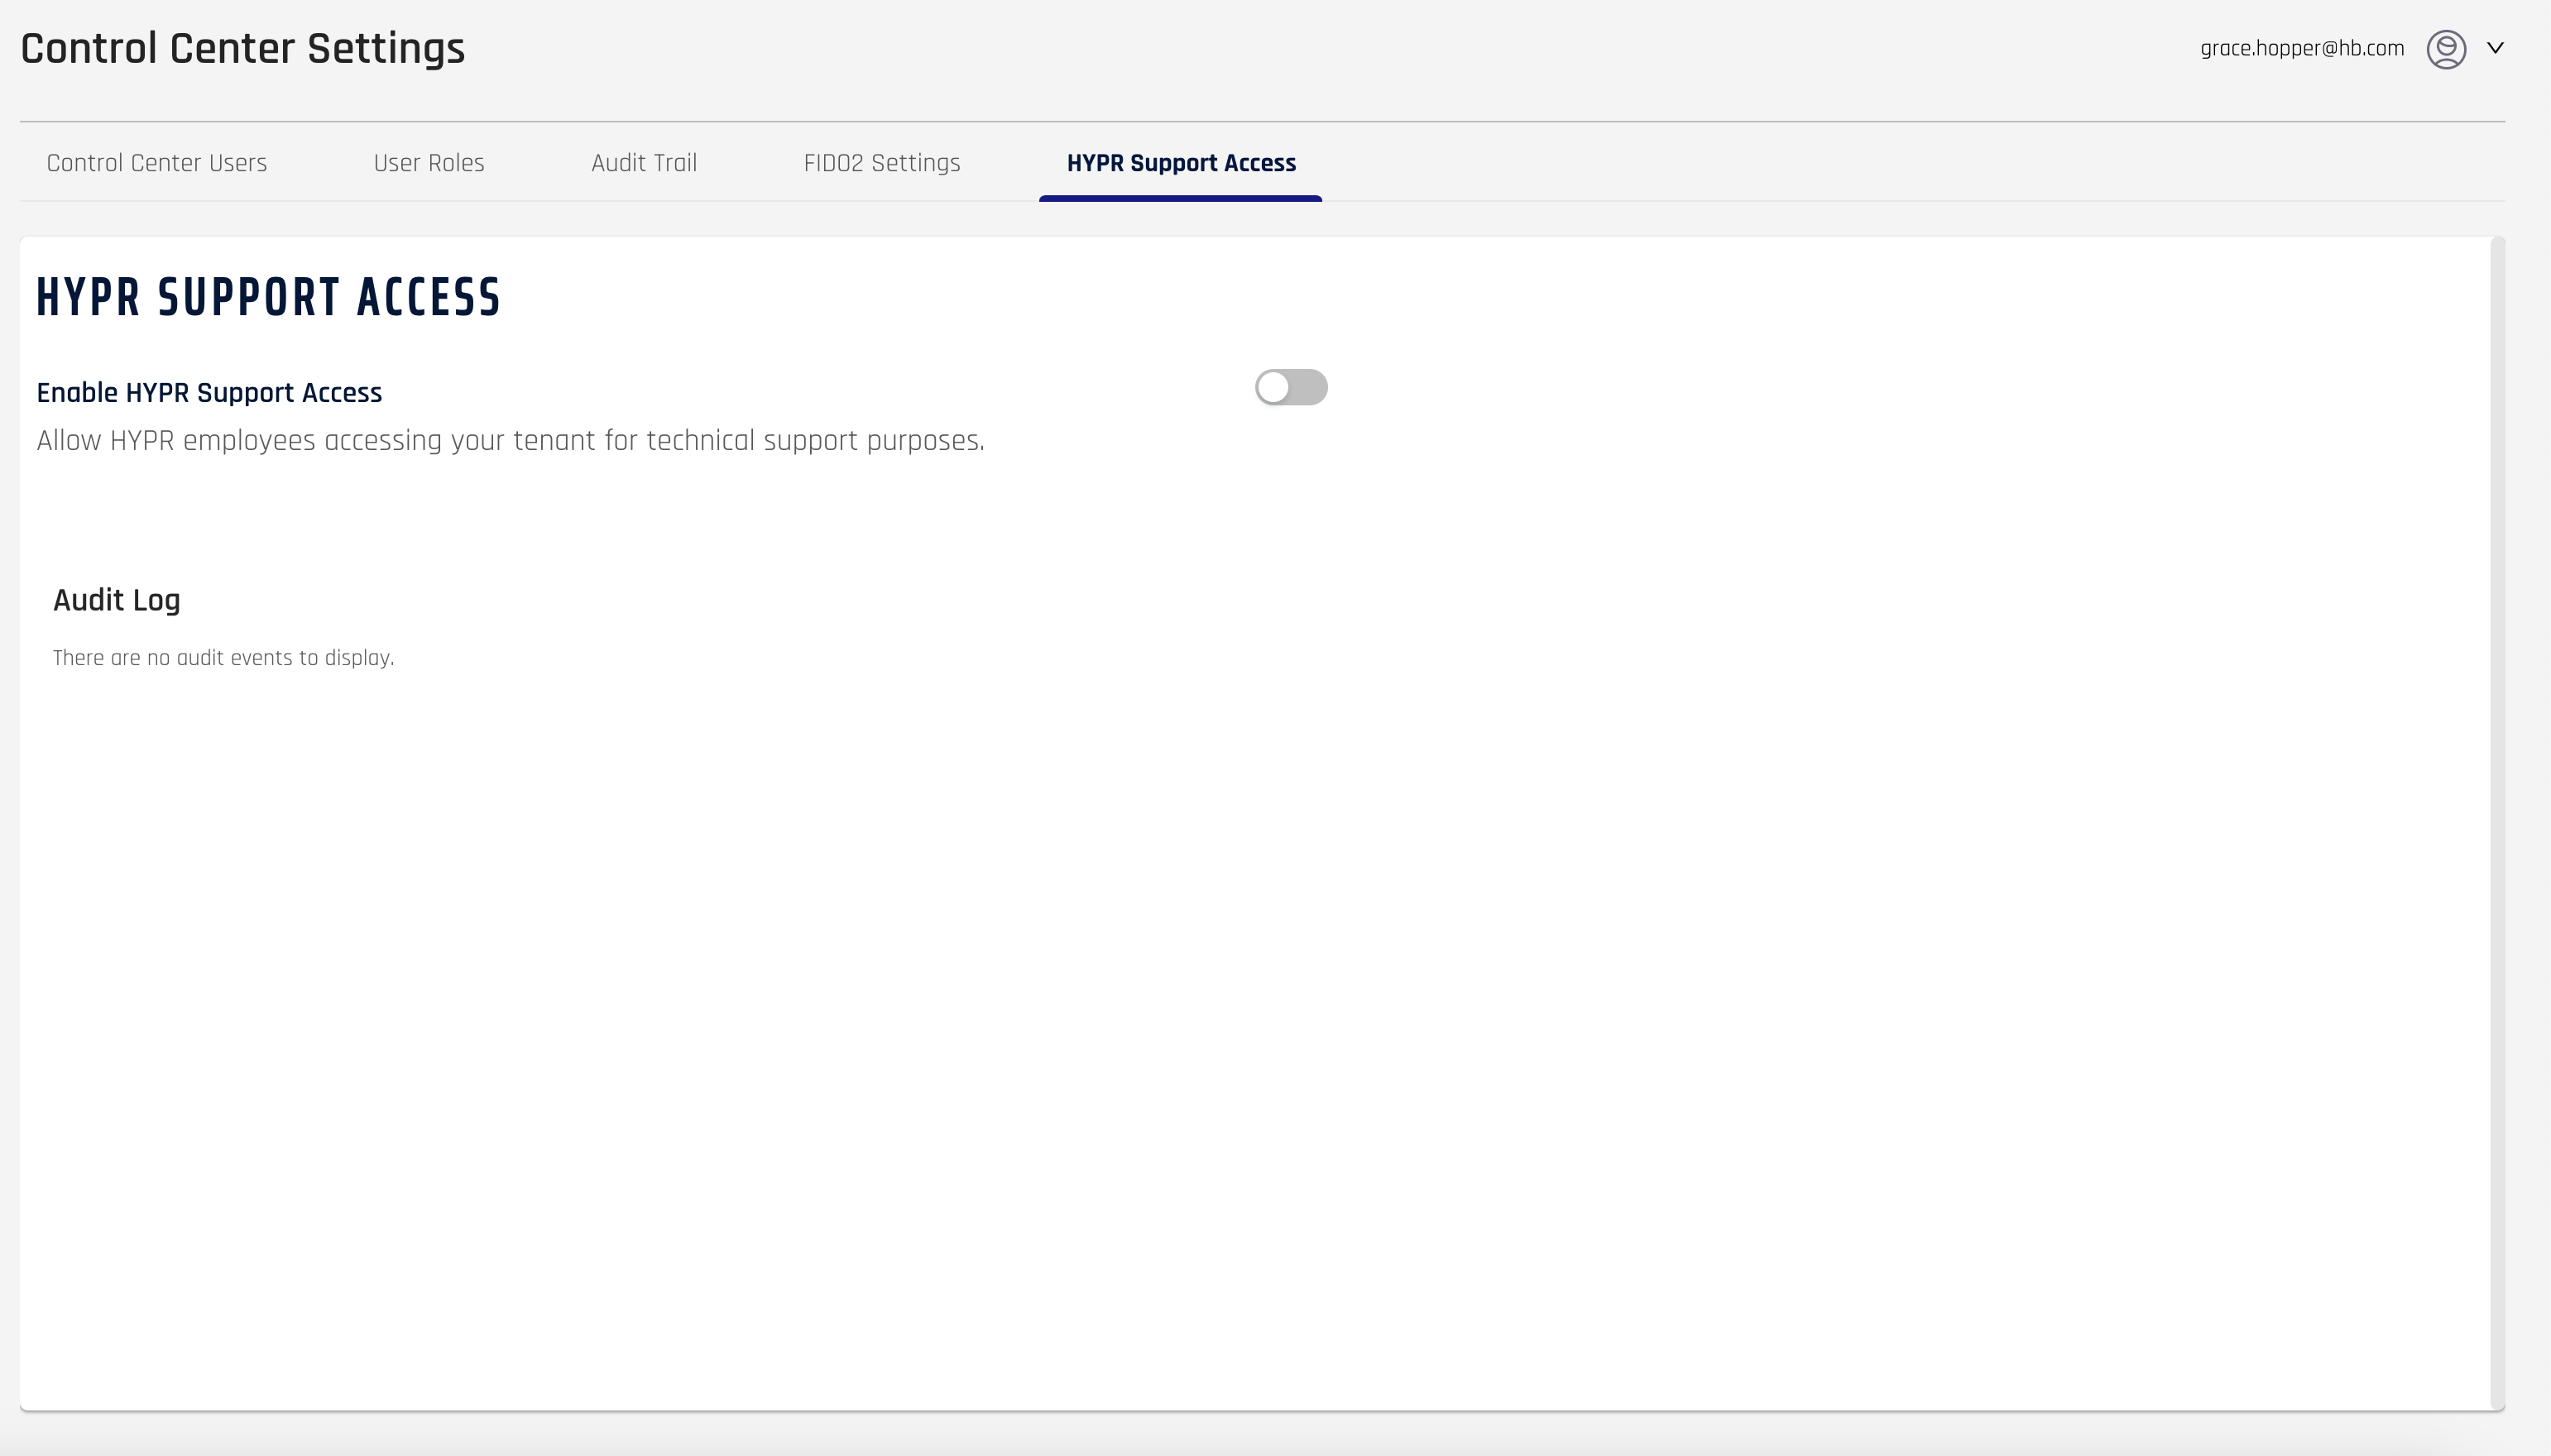
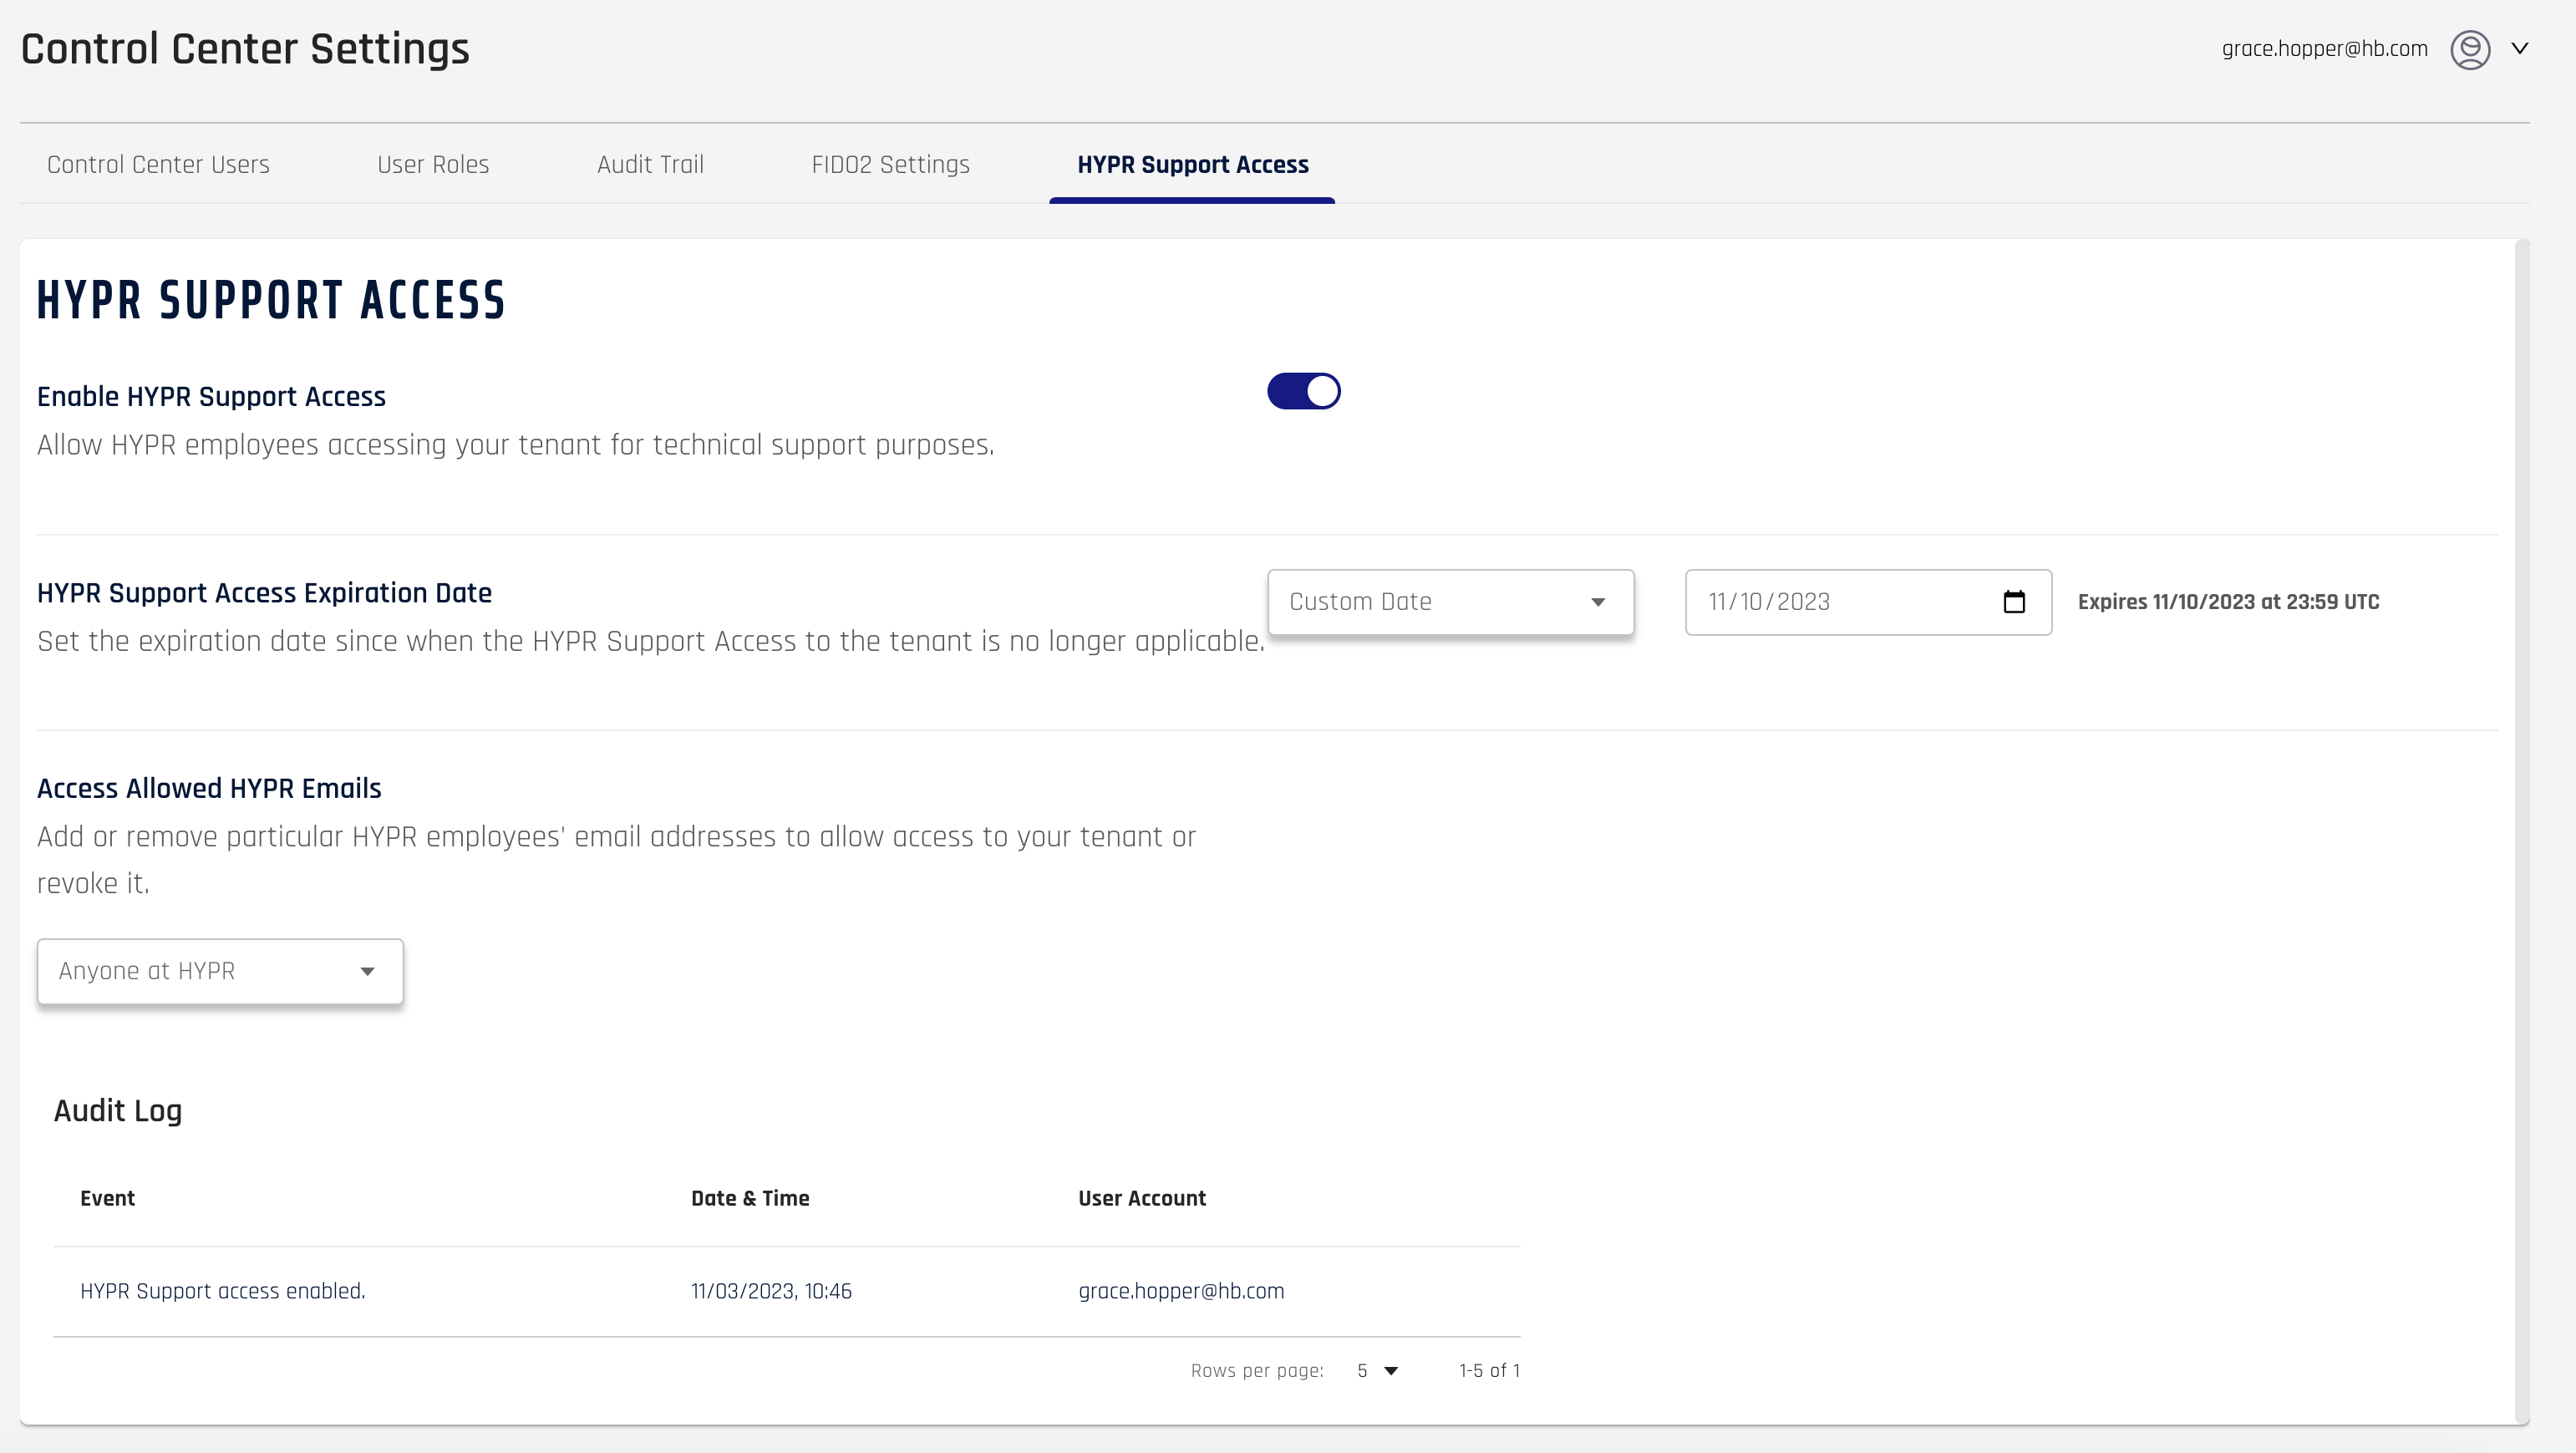
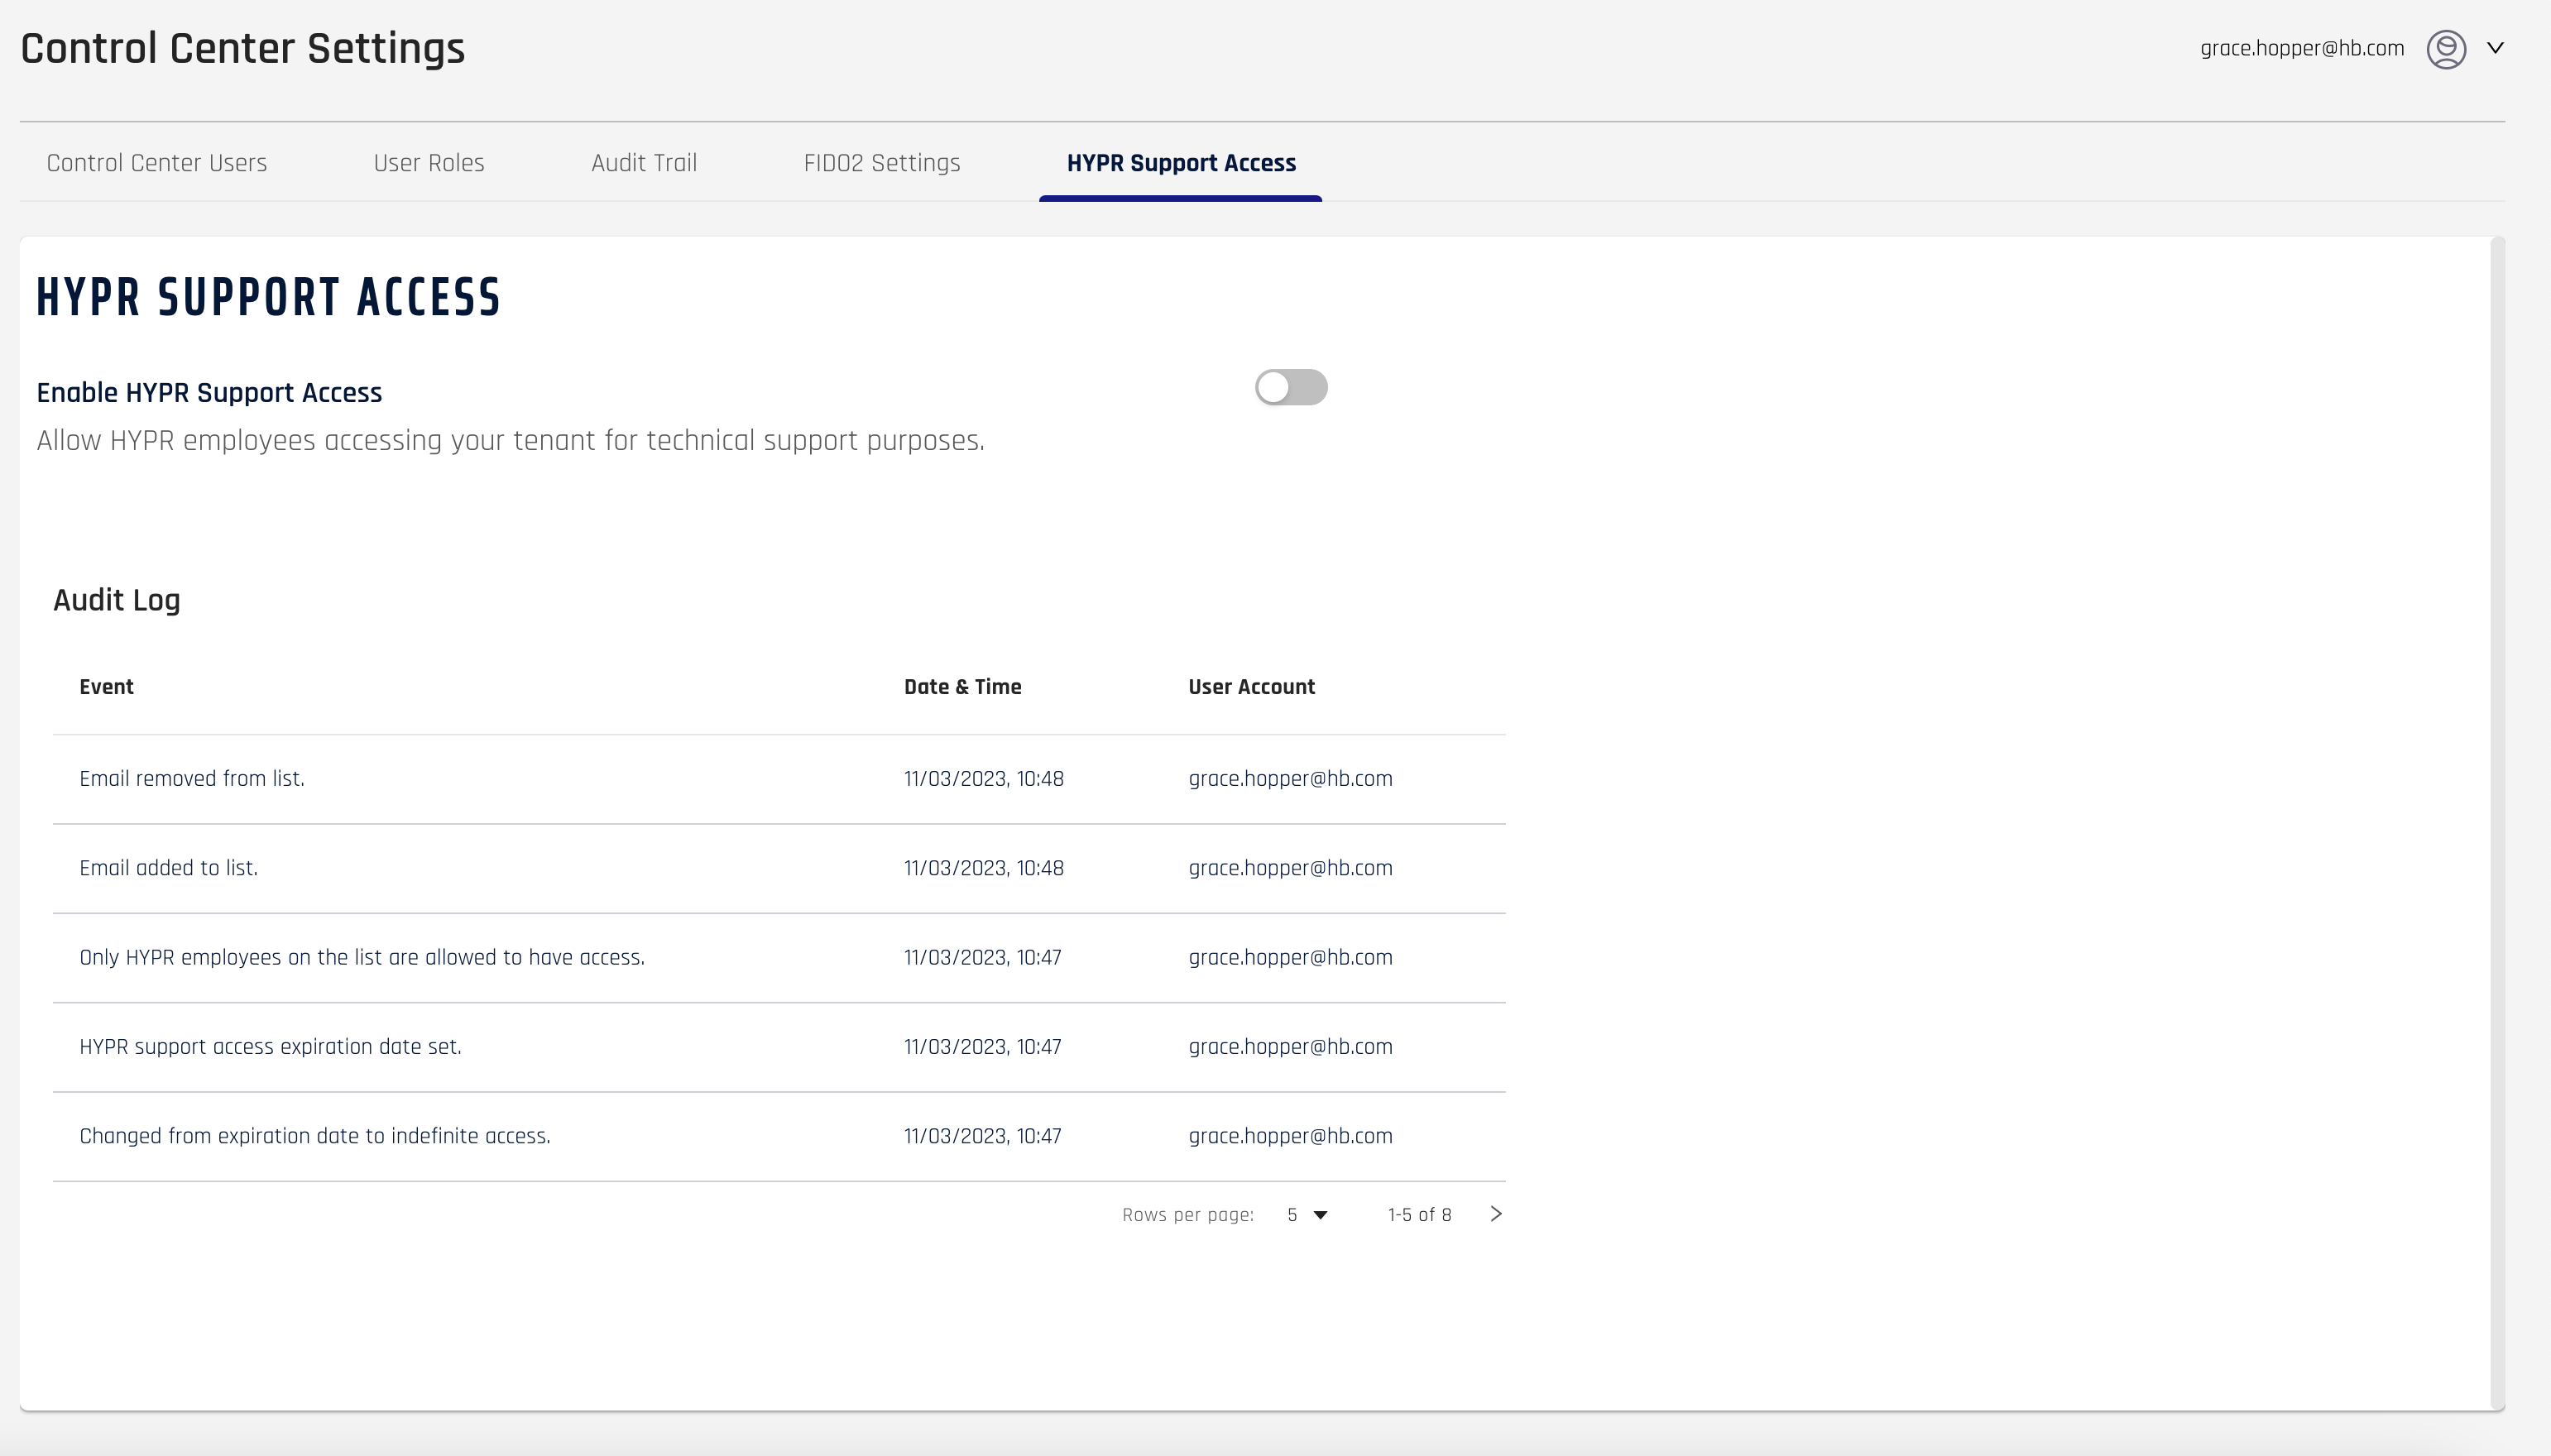
HYPR Support Access will be toggled Off in Control Center by default.
If toggled On, HYPR Support personnel will only be able to view the HYPR Support Access screen. Only customer Control Center Admins will be able to make changes. All changes are logged and appear at the bottom of the main pane. See the Audit Log section for a full description of HYPR Support Access logging.
Using HYPR Support Access
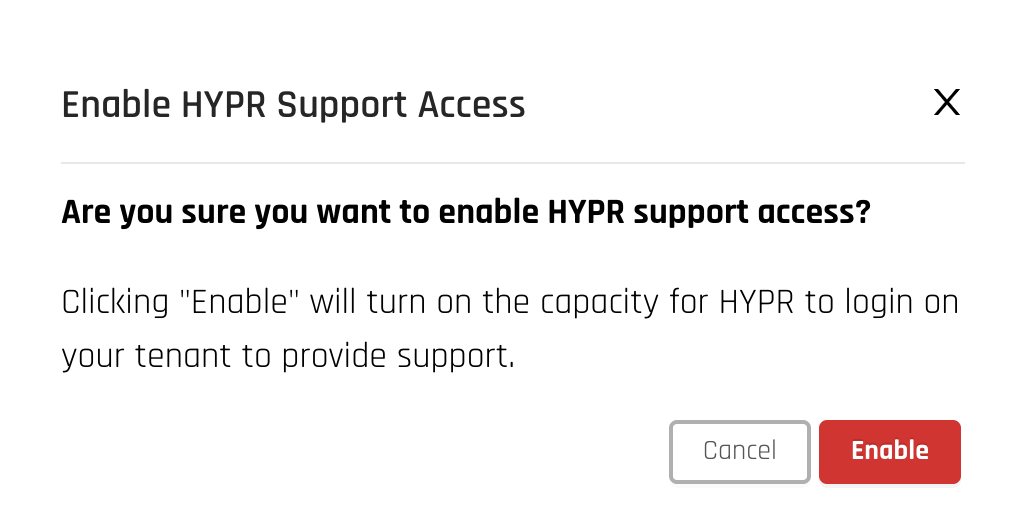
To enforce HYPR Support Access controls, click the toggle next to Enable HYPR Support Access. A confirmation displays. Click Enable to continue.
Once enabled the following items appear in the main pane:
- HYPR Support Access Expiration Date
- Access Allowed HYPR Emails
- The Audit Log still displays at the bottom; if this is the first action you have taken in HYPR Support Access, the Audit Log will be empty
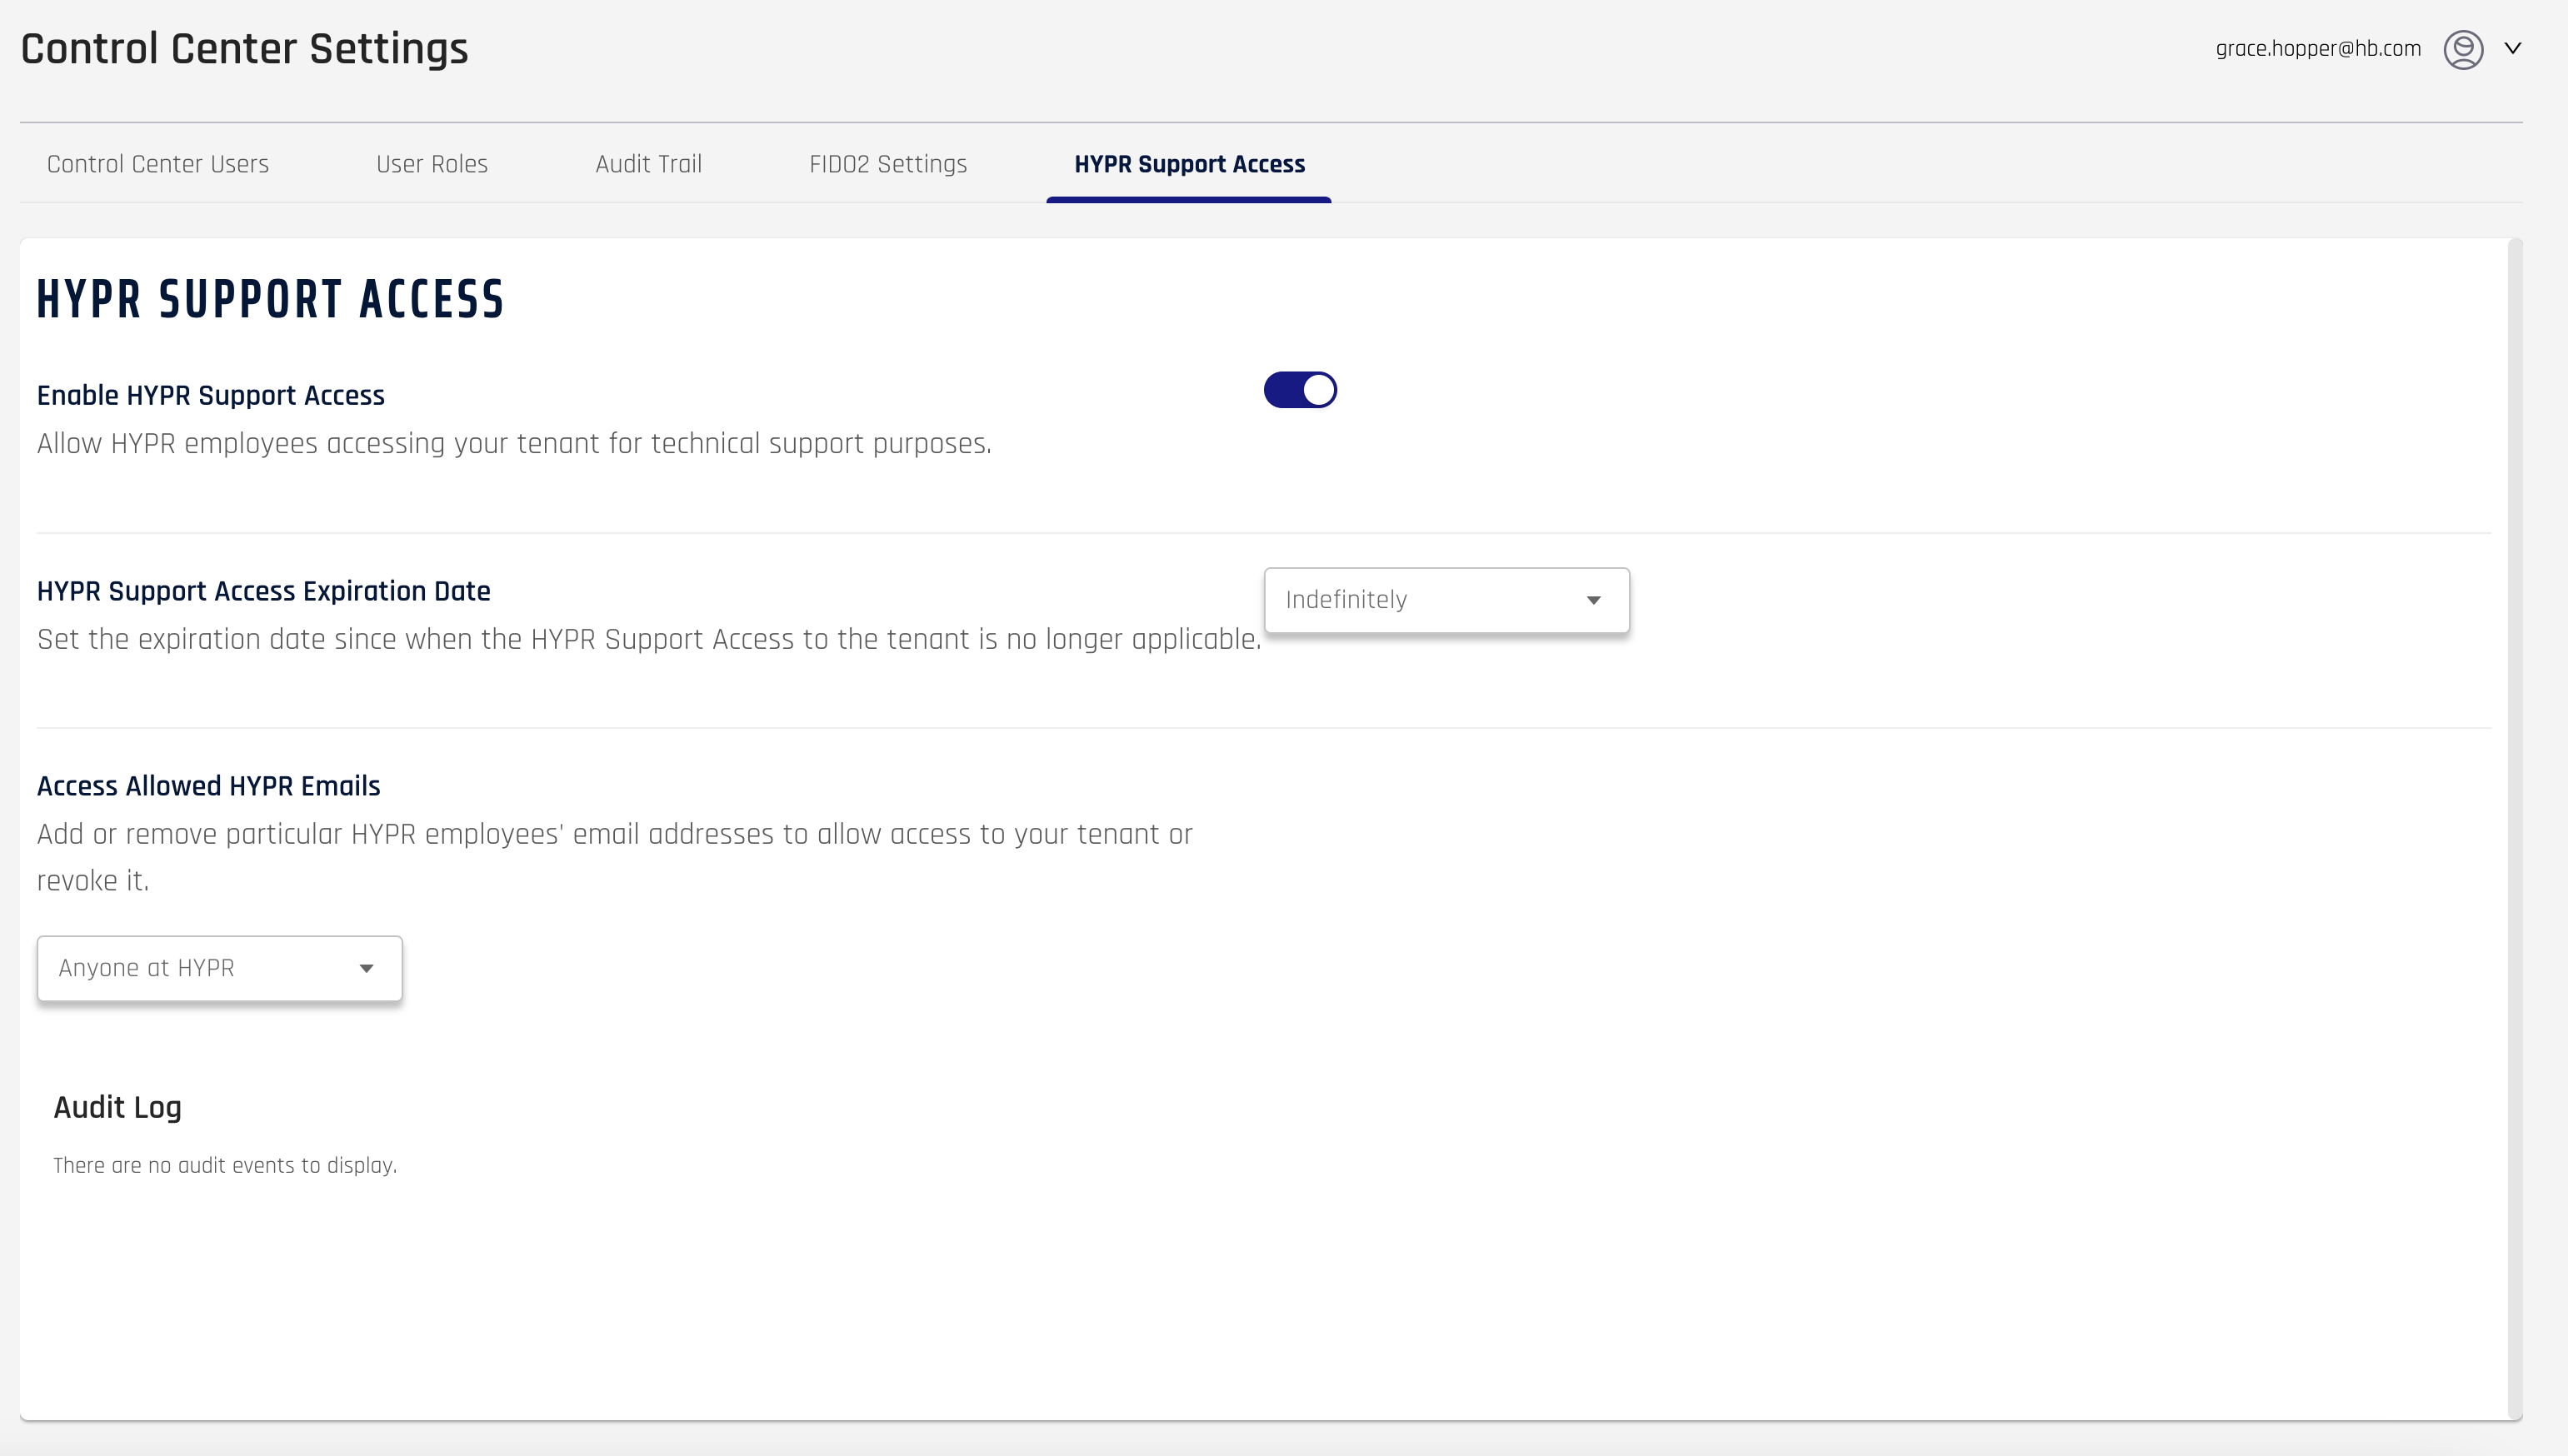
HYPR Support Access Expiration Date
The default setting for expiration dates is Indefinitely. Two options are available using the drop-down menu under this heading:
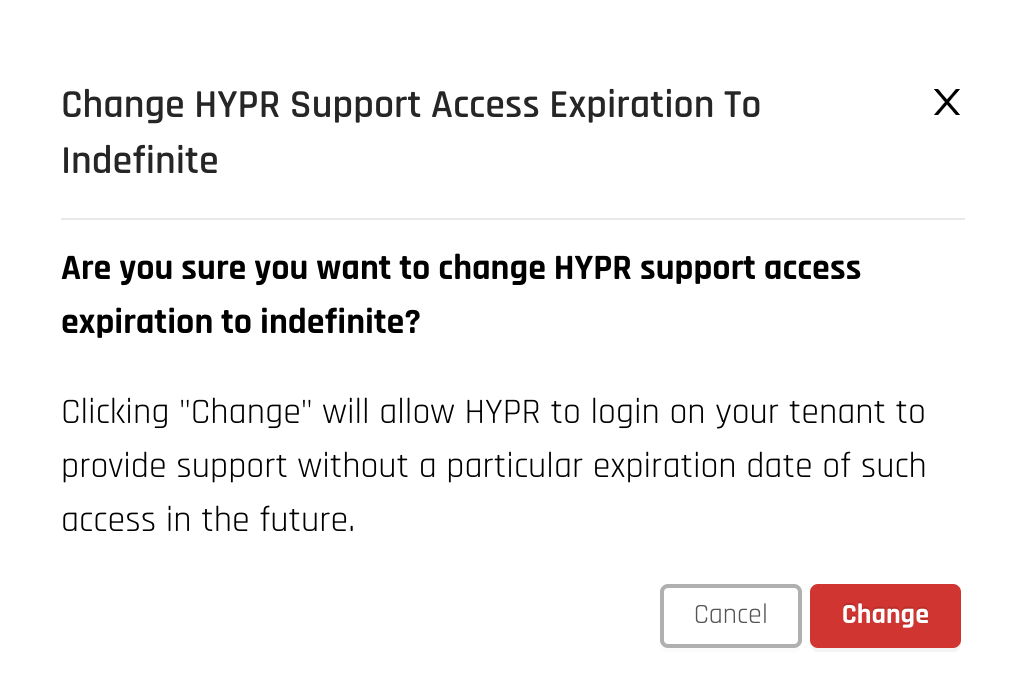
- Indefinitely (Default): HYPR Support personnel will have indefinite access to the tenant. If already set to Custom Date and changed to Indefinitely, a confirmation will appear. Click Change to confirm your choice.
- Custom Date: If chosen, a date field will appear to the right and a confirmation will display. The first time this is used, this feature will default to the current date; you can change it after confirming your choice to set a Custom Date. Click Change to confirm the date choice to expire HYPR Support Access.

To change the date, click the date field and a date picker will display. Choose the date you want HYPR access to expire, and click Change on the confirmation screen (identical to the one shown above).
Access Allowed HYPR Emails
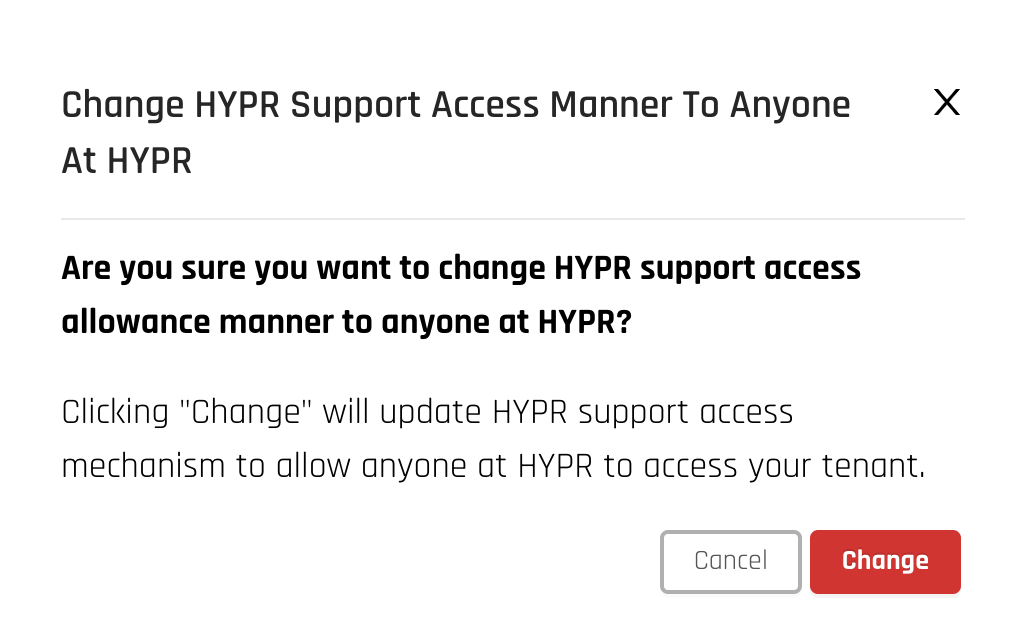
The default setting here is Anyone at HYPR. Two options are available using the drop-down menu under this heading:
- Anyone at HYPR (Default): Any HYPR personnel will have access to the tenant. If already set to Define who and changed to Anyone at HYPR, a confirmation will appear. Click Change to confirm your choice.
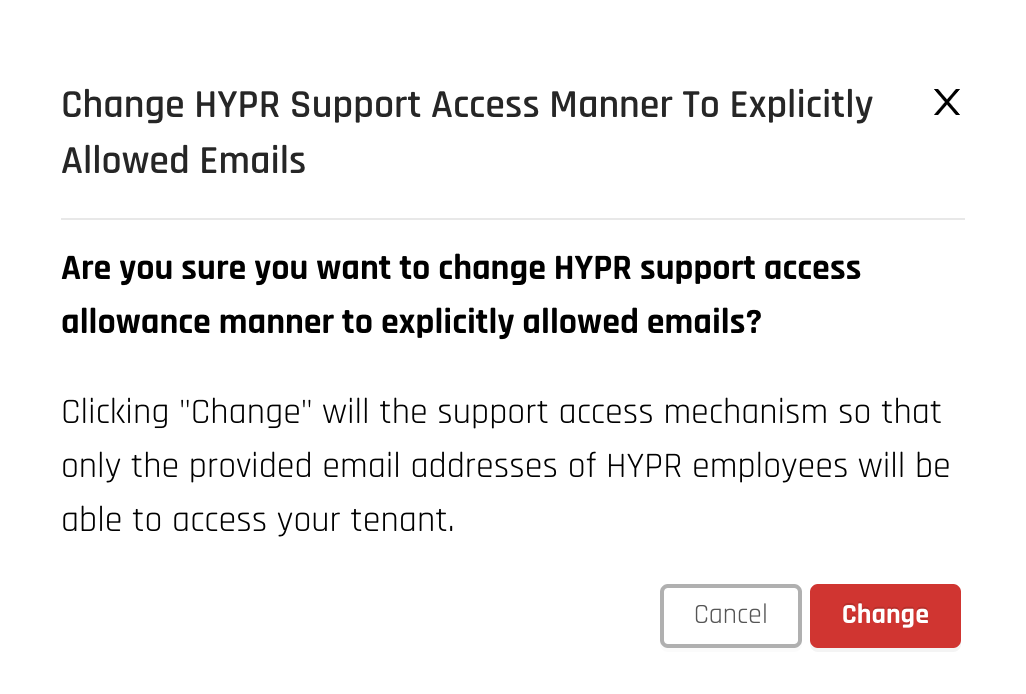
- Define who: If chosen, a confirmation will display. Click Change to confirm that you want to explicitly define email addresses that will have access. Once confirmed, an email field will appear to the right.
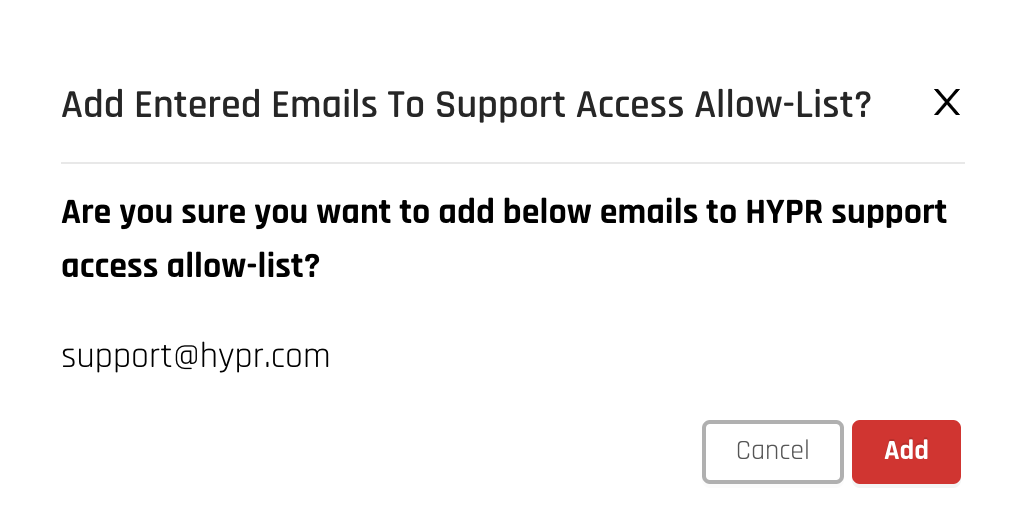
Add a list of comma-separated email addresses, and click Add. A confirmation dialog displays. Review the email addresses, and once you are satisfied with them, click Add to confirm your choice.
The emails from the list now appear under the email field.
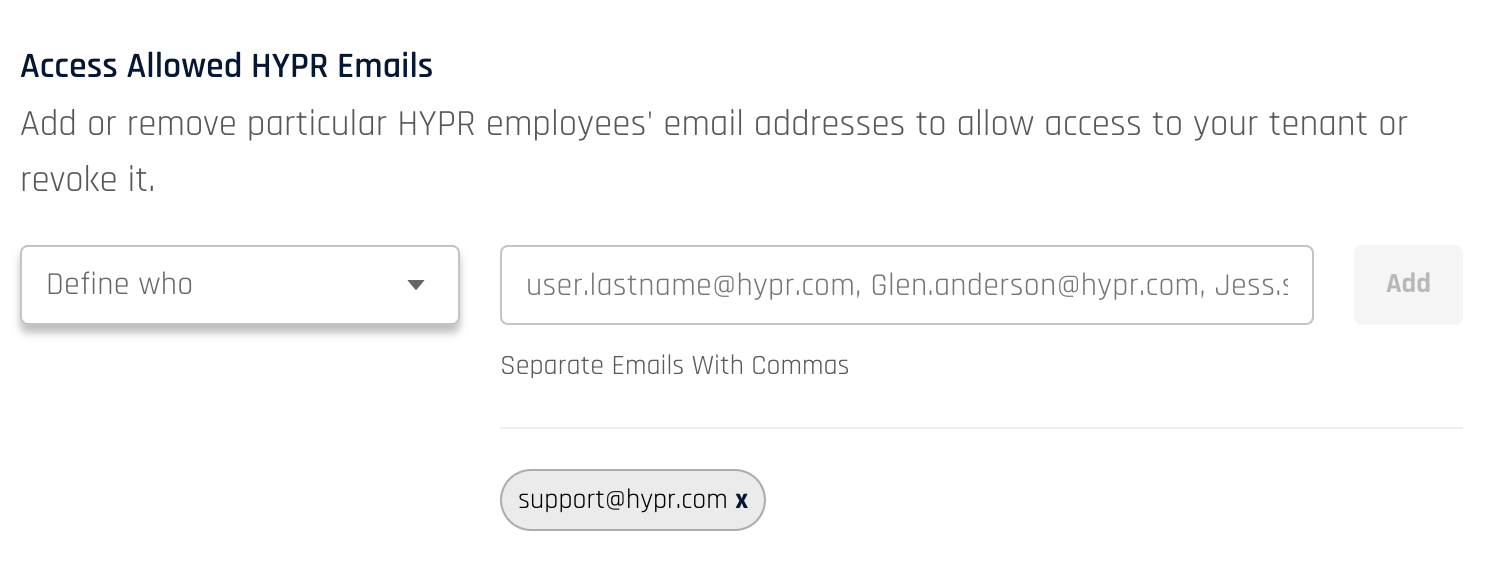
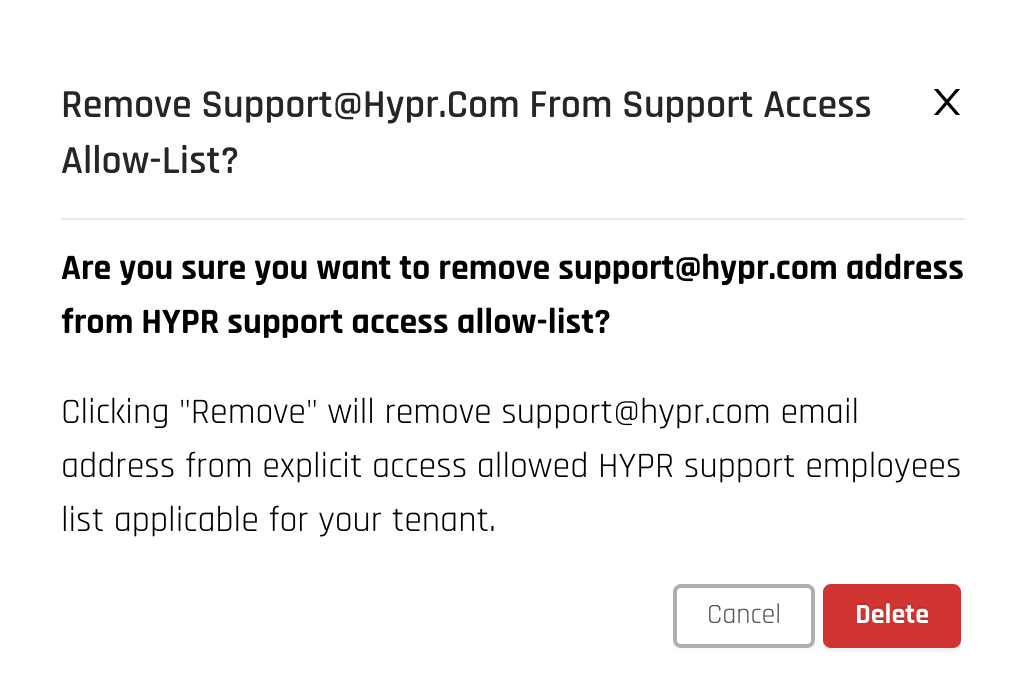
To remove an email from the Allowed list, click the X inside the grey bubble surrounding the email address. A confirmation dialog displays. Click Delete to confirm your choice.
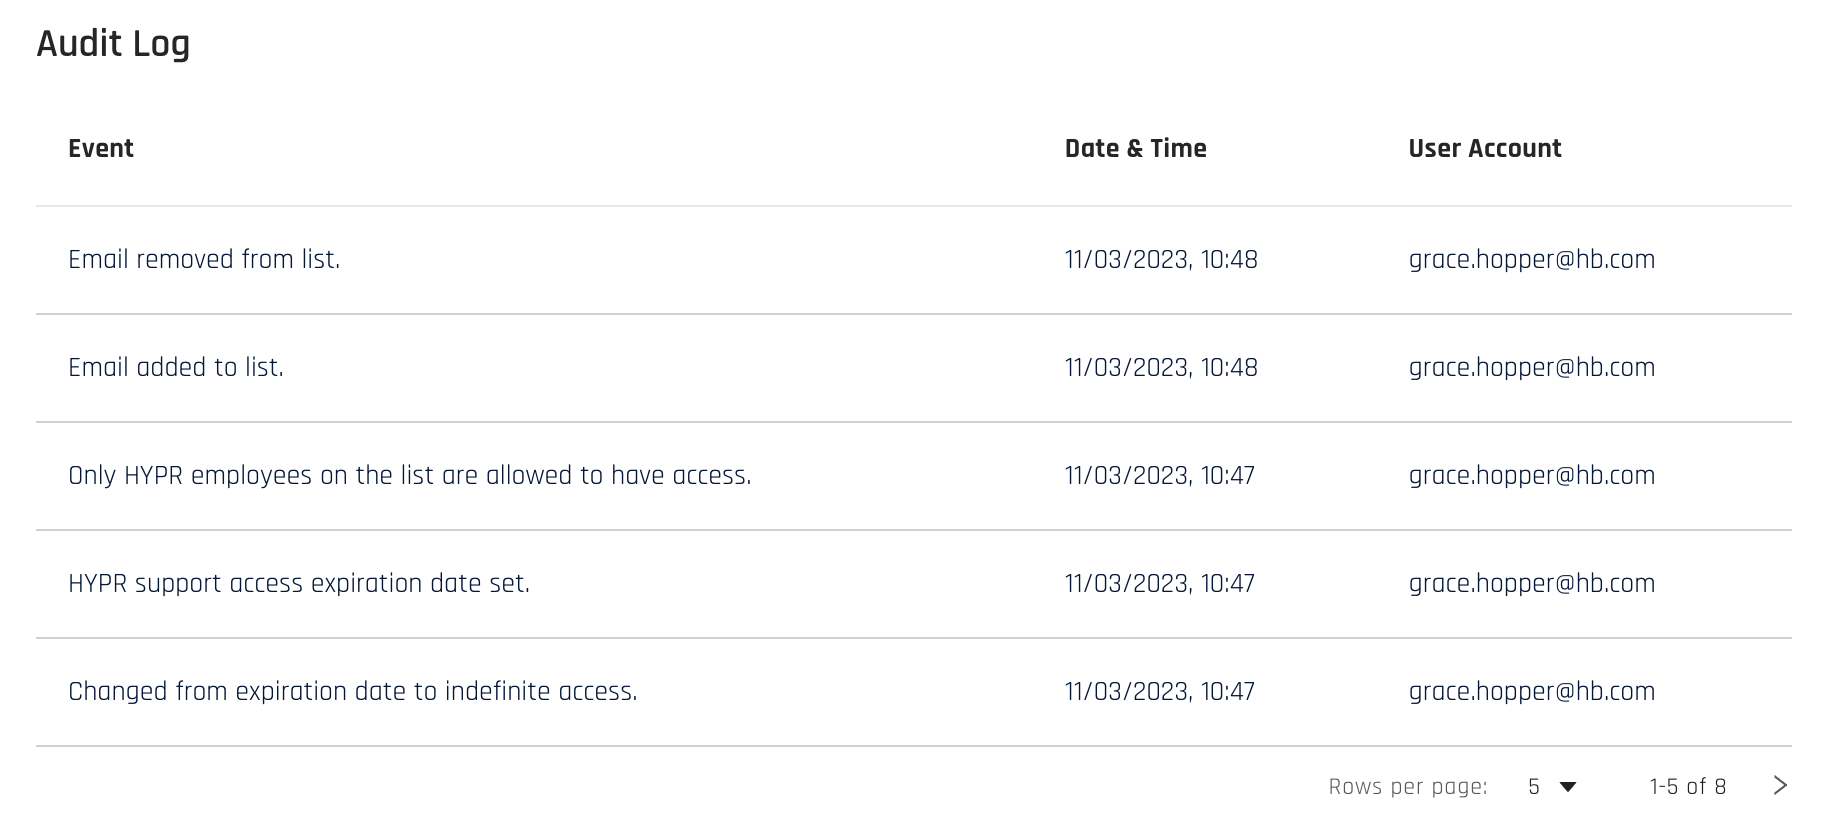
Audit Log
The Audit Log lists the Event, the Date & Time it occurred, and the User Account performing the action. Use the page controls at the bottom of the log to control the number of entries shown per page and to view entries beyond the first page.
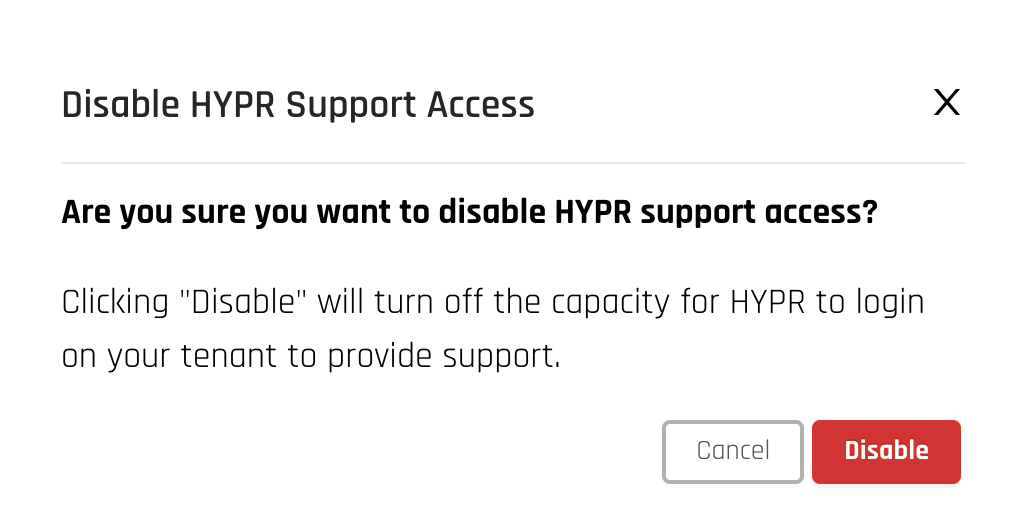
Disabling HYPR Support Access
To disable HYPR Support Access controls, click the toggle next to Enable HYPR Support Access. A confirmation displays. Click Disable to continue. The Audit Log will still be visible and navigable after HYPR Support Access is disabled.
Updated 3 months ago