Configuring Push Notifications via FireBase
HYPR Control Center Advanced: Creating RP Applications
Follow these integration steps to facilitate out-of-band (OOB) Authentication with Firebase push notifications. This only applies to Web (not Workstation) Applications in Control Center.
Create a Firebase Project
- Sign up for Firebase if you haven't already.
- Go to the Firebase console and login.
- Create a project and open it; or open an existing project. If you are making a new project, give it a name and choose whether or not to link it to Google Analytics.

- Open Project settings.

- Click the Cloud Messaging tab to view the Server Key and Sender ID. Keep this page open so you can copy these values later.

Configure Control Center (CC) for Push Notifications
- Login to Control Center.
- Select the Application in question from the drop-down in the upper left.
- In the left navigation pane, under Advanced Config, click Login Settings.

- If it is not already on, Enable Push Notifications. The buttons below become available once the toggle is enabled.
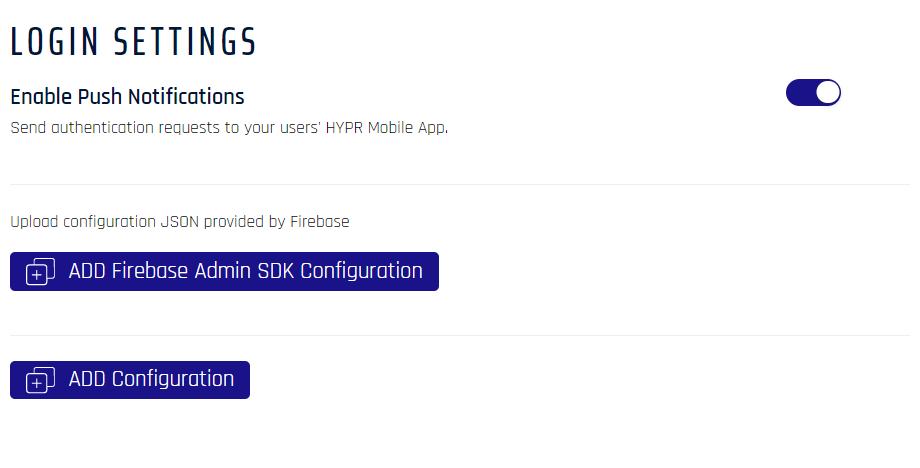
- Click ADD Configuration to begin configuring your Application's push notifications. The following dialog appears:

- Complete the form using the information on the Firebase Cloud Messaging page:
- The Project ID is the Firebase Sender ID
- The API Key is the Firebase Server Key
- Toggle Set as Default? to On
- Click Save
- Close the success message to return to the Application Login Settings dialog

Add Firebase Admin SDK Confguration
The second button on the Enable Push Notifications dialog allows the Firebase google-services.json file to be stored on the Control Center server for the Application to use generating push notifications.
To upload and store the configuration JSON file from Firebase:
- Login to Firebase and open the project you created above.
- Open Project Settings, then open the General tab.
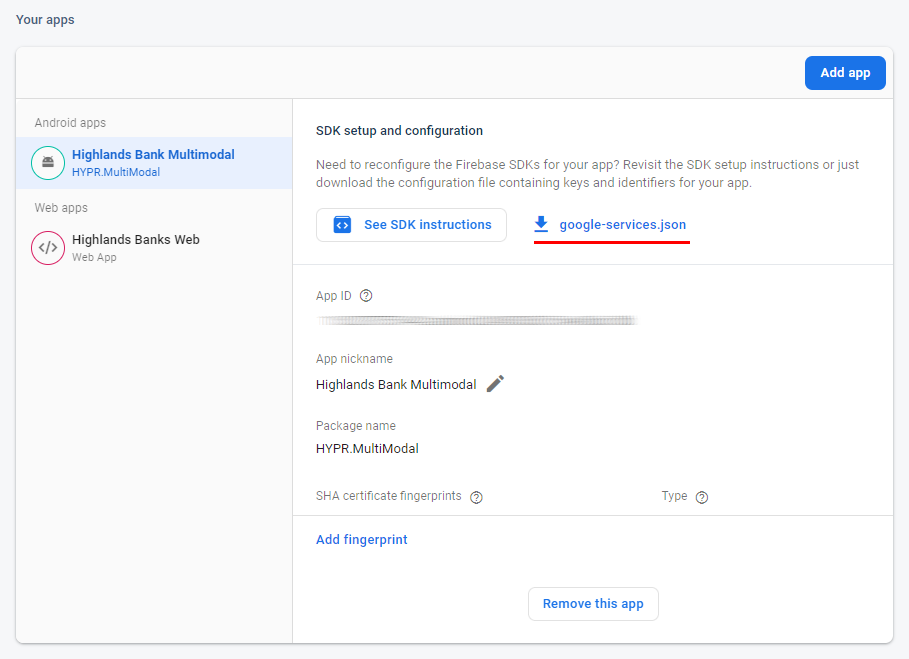
- Scroll down until you find the Your apps section.
- Under SDK setup and configuration, click the
google-services.jsondownload.
- Login to HYPR Control Center in Advanced Mode.
- In the left menu, select the Application that is using the Firebase project you opened above.
- In the left navigation pane, under Advanced Config, click Login Settings. Notice the configuration you created in Create a Firebase Project is shown here.
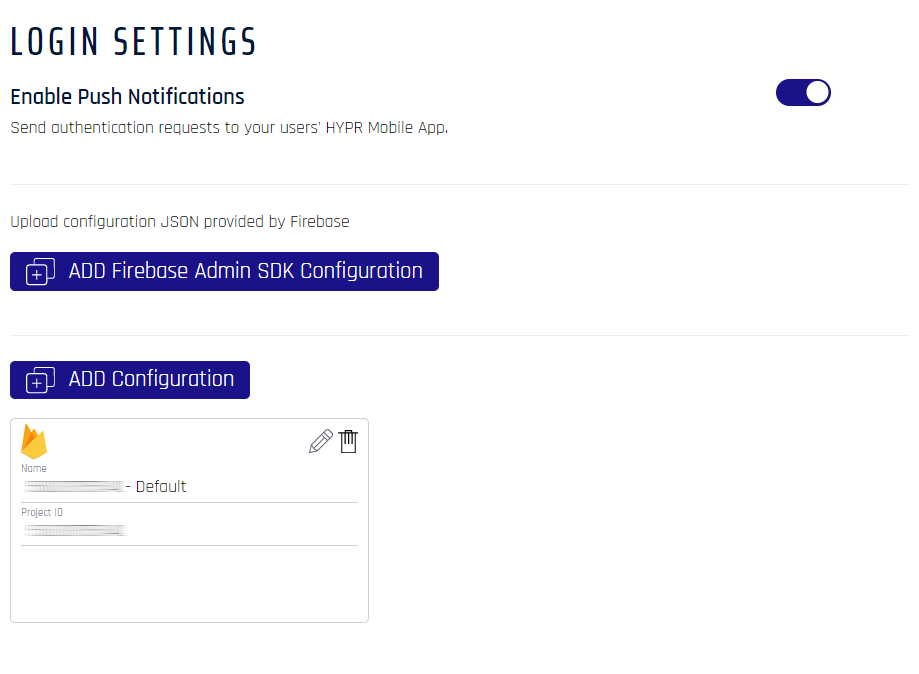
- Click ADD Firebase Admin SDK Configuration. A dialog opens.
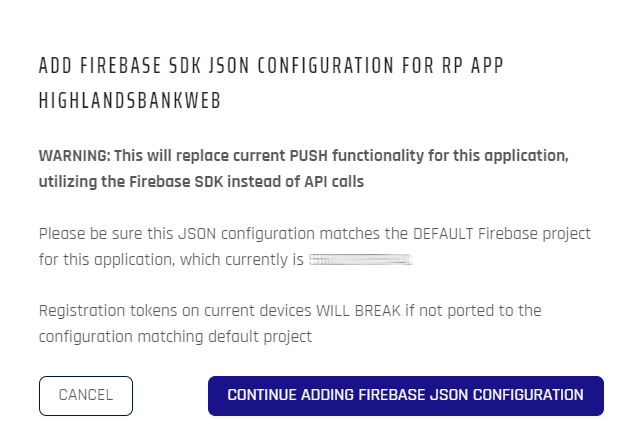
- Click CONTINUE ADDING FIREBASE JSON CONFIGURATION.
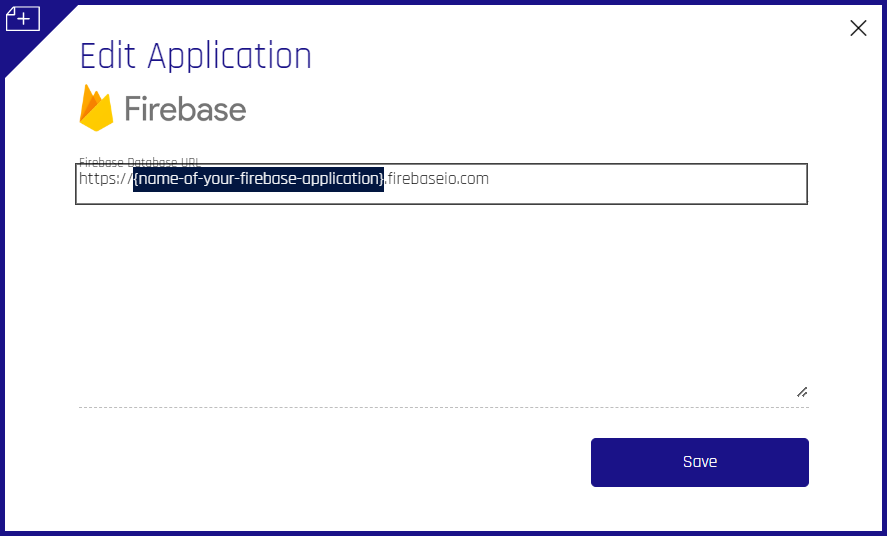
- A dialog appears. In the field labeled Firebase Database URL, substitute your firebase application name. Paste the JSON file contents into the expandable text field. Click Save.
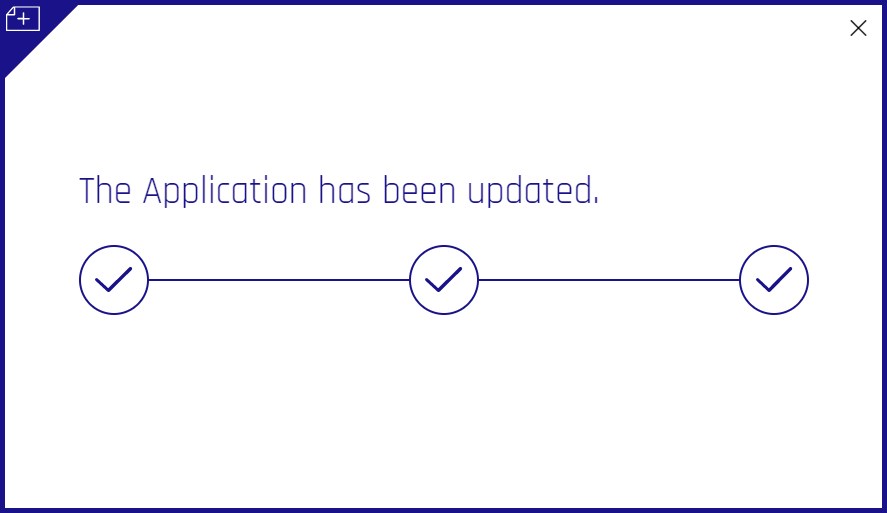
- A confirmation dialog appears. Close it using the X in the upper right, and CC returns to Login Settings.
- The Login Settings pane now shows the original Firebase tile greyed out, and the only active button is Replace Existing Firebase Admin SDK Configuration. It behaves exactly as the CONTINUE ADDING FIREBASE JSON CONFIGURATION in Step 9, above.

Updated 3 months ago