Logging In as a Roaming User
Using HYPR Passwordless: Windows
With HYPR’s Roaming User feature, users can pair their mobile device once then log into any Windows computer in the domain by scanning a QR code displayed on the login screen.
Control Center Settings
To make roaming logins available to end users, an Administrator must first enable Roaming Users in Control Center Workstation Settings. The feature is disabled by default. Users who have registered initially before Roaming Users are enabled will need to re-register their devices.
Logging In as a Roaming User
First, the user must complete a standard mobile device pairing with any computer in the domain by scanning the QR code presented by the HYPR Passwordless client. (See Pairing with the HYPR Mobile App.)
Default Computer
HYPR considers this first paired machine to be the user’s default computer and so it won’t have the option to scan a QR code to unlock. The user will need to tap the computer button in the HYPR Mobile App, as usual.
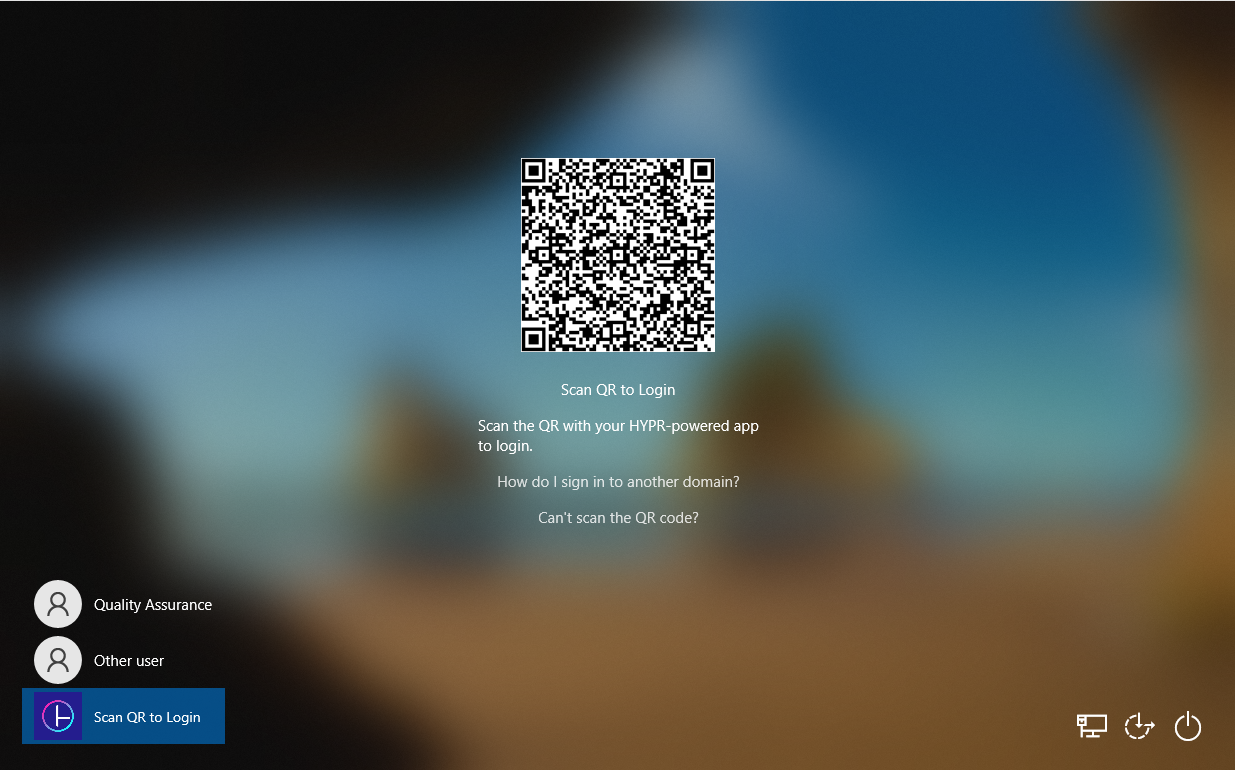
The user can subsequently select the Scan QR to Login option on the login screen of any other domain-joined computer which has the HYPR Passwordless client installed, then simply scan the code with the HYPR Mobile App to access the machine.
No Camera?
If you are unable to use your device's camera with your HYPR Mobile App, follow the instructions for using QR Fallback from the Desktop Login.
Configuring Stateless VDI Logins
Enabling stateless Virtual Desktop Infrastructure (VDI) logins requires some additional configuration of the HYPR Passwordless client. There are three ways to achieve this:
Option 1
If you’re Installing with the UI, Check the Non persistent VDI box:

Option 2
Add the HYPRNONPERSISTENTVDI=1 parameter to the msiexec.exe command:
msiexec.exe /qn /i WorkforceAccess_x64.msi HYPRAPPID="HYPRDefaultWorkstationApplication"
HYPRRP="https://highlandsbank.gethypr.com/rp" HYPRSUPPORT="[email protected]"
HYPRHASH="LeM8XnCIy8+Cxm+HKTEOBZr1g3D8odQNHTH+vdu7RWc=,5kJvNEMw0KjrCAu7eXY5HZdvyCS13BbA
0VJG1RSP91w="HYPRINSTALLTOKEN="0f03f635-4d9a-46ff-b537-cd97ad77cb6e"
HYPRSUPPORT="[email protected]" HYPRNONPERSISTENTVDI=1
See Installing Manually more information about the HYPR installation parameters.
Option 3
Manually add the Non Persistent Vdi Registry key and set the value to 1:

See Installing Manually for the location of the HYPR keys in the Windows Registry.
Updated 4 months ago