HYPR Device Manager 2.0
HYPR Device Manager
Device Manager has been redesigned for a cleaner user experience while maintaining the same core functionality enjoyed by HYPR users in previous versions of DM.
Accessing Device Manager 2.0
Once you have the feature enabled, you will be able to access Device Manager 2.0.
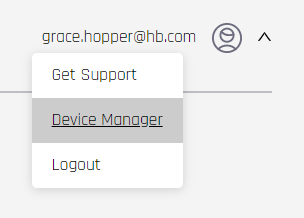
- Open your profile menu in the upper right of Control Center, and click Device Manager.
- Device Manager opens. If no devices are paired, it will show No Login Methods Found.
Adding a Device
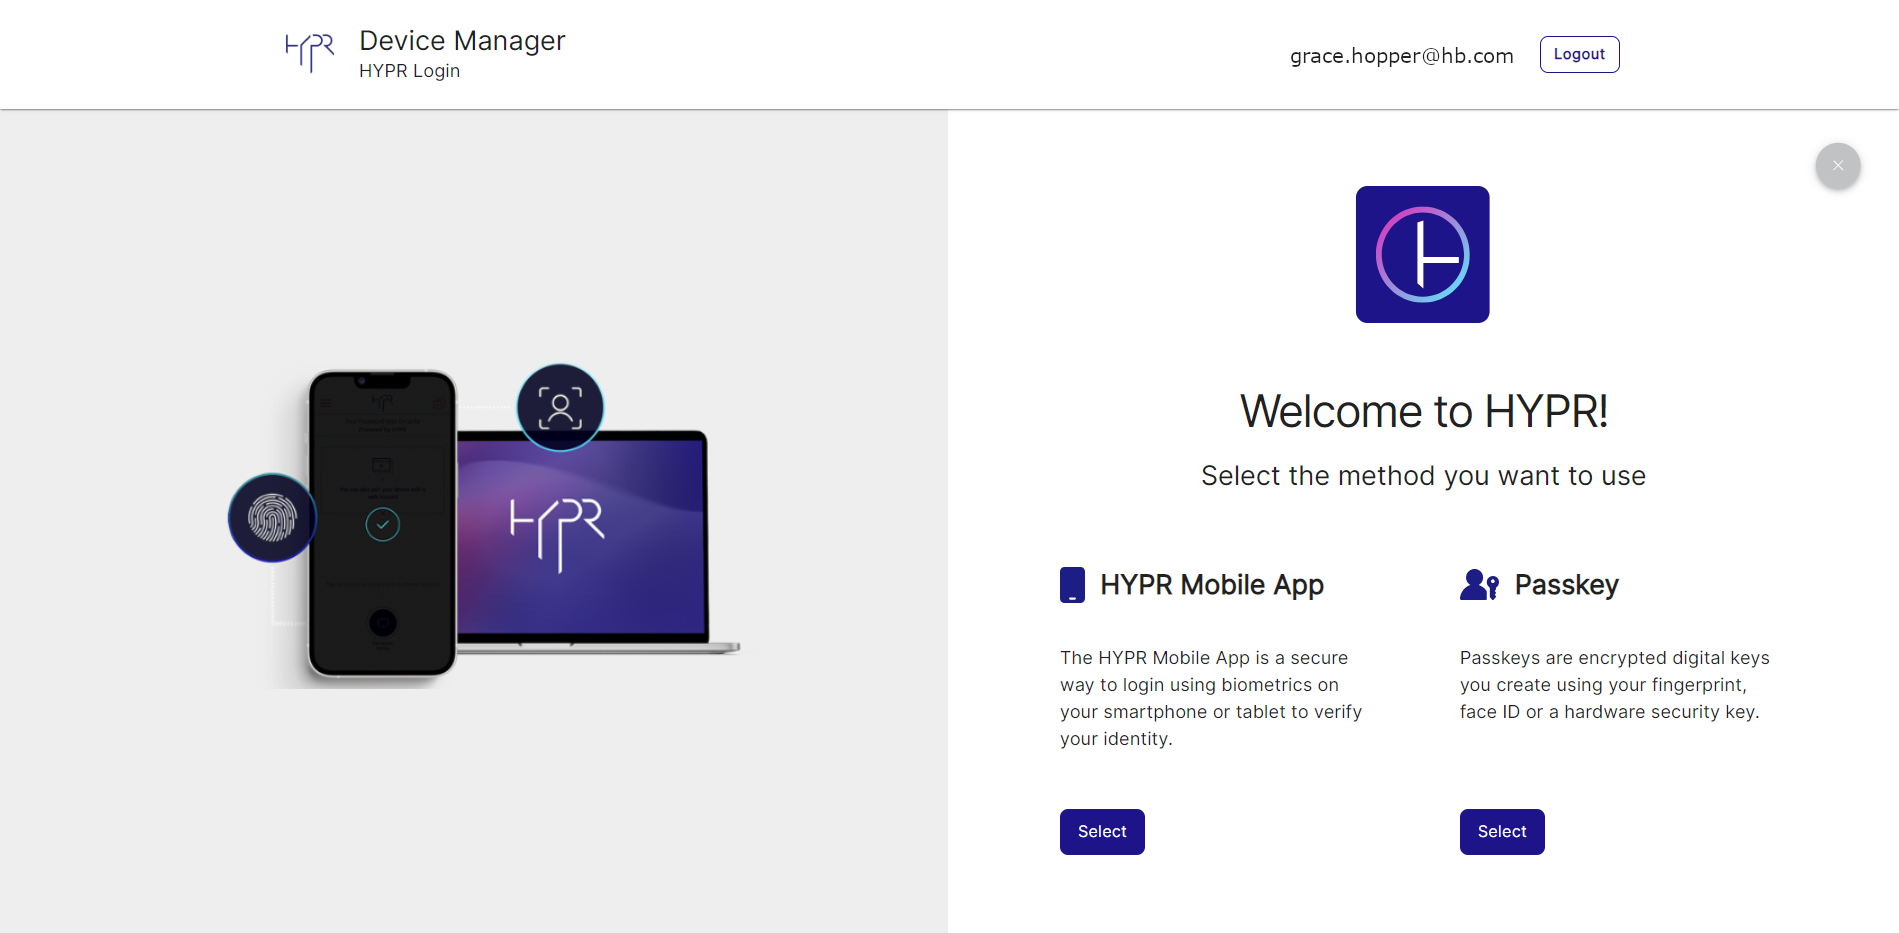
This section will demonstrate the step-by-step flows for the different login methods you can enroll with Device Manager 2.0:
- HYPR Mobile App
- Passkey (this replaces Security Key and Device Biometrics)
HYPR Mobile App
- Click ADD NEW LOGIN METHOD at the top right of the page.
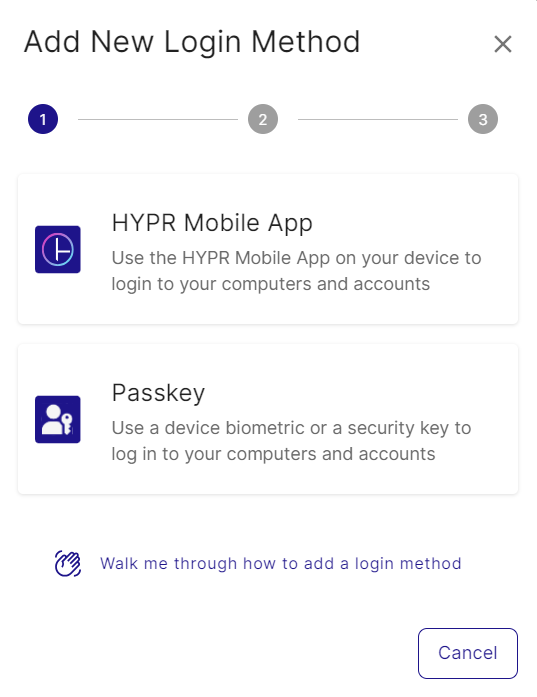
- The Add New Login Method dialog opens. Select HYPR Mobile App, then click Next.
Take the Tour
If you have Device Manager Onboarding enabled, the Add New Login Method dialog will display a message prompting you to Walk me through how to add a login method. Clicking this link will open the Onboarding Tour, a step-by-step walkthrough of pairing a device with HYPR.
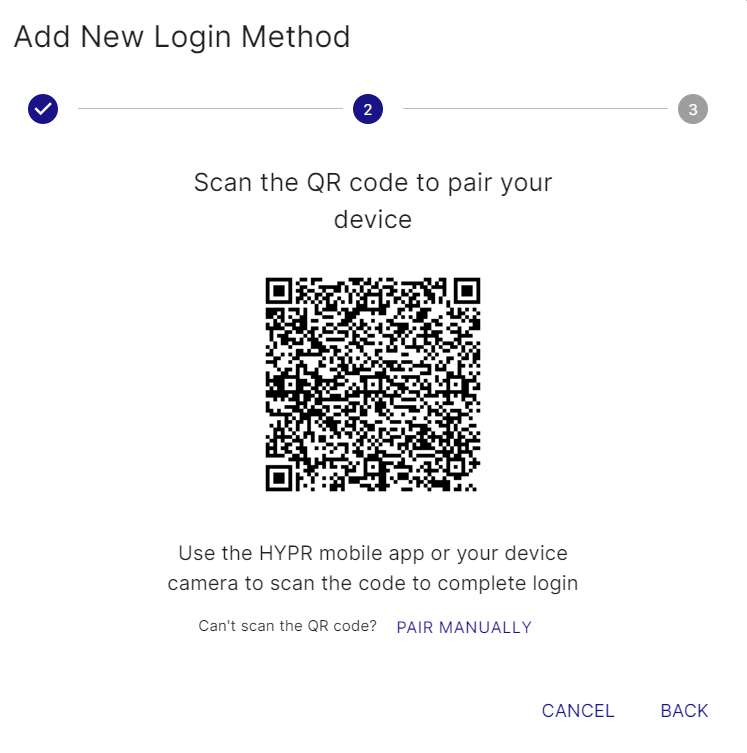
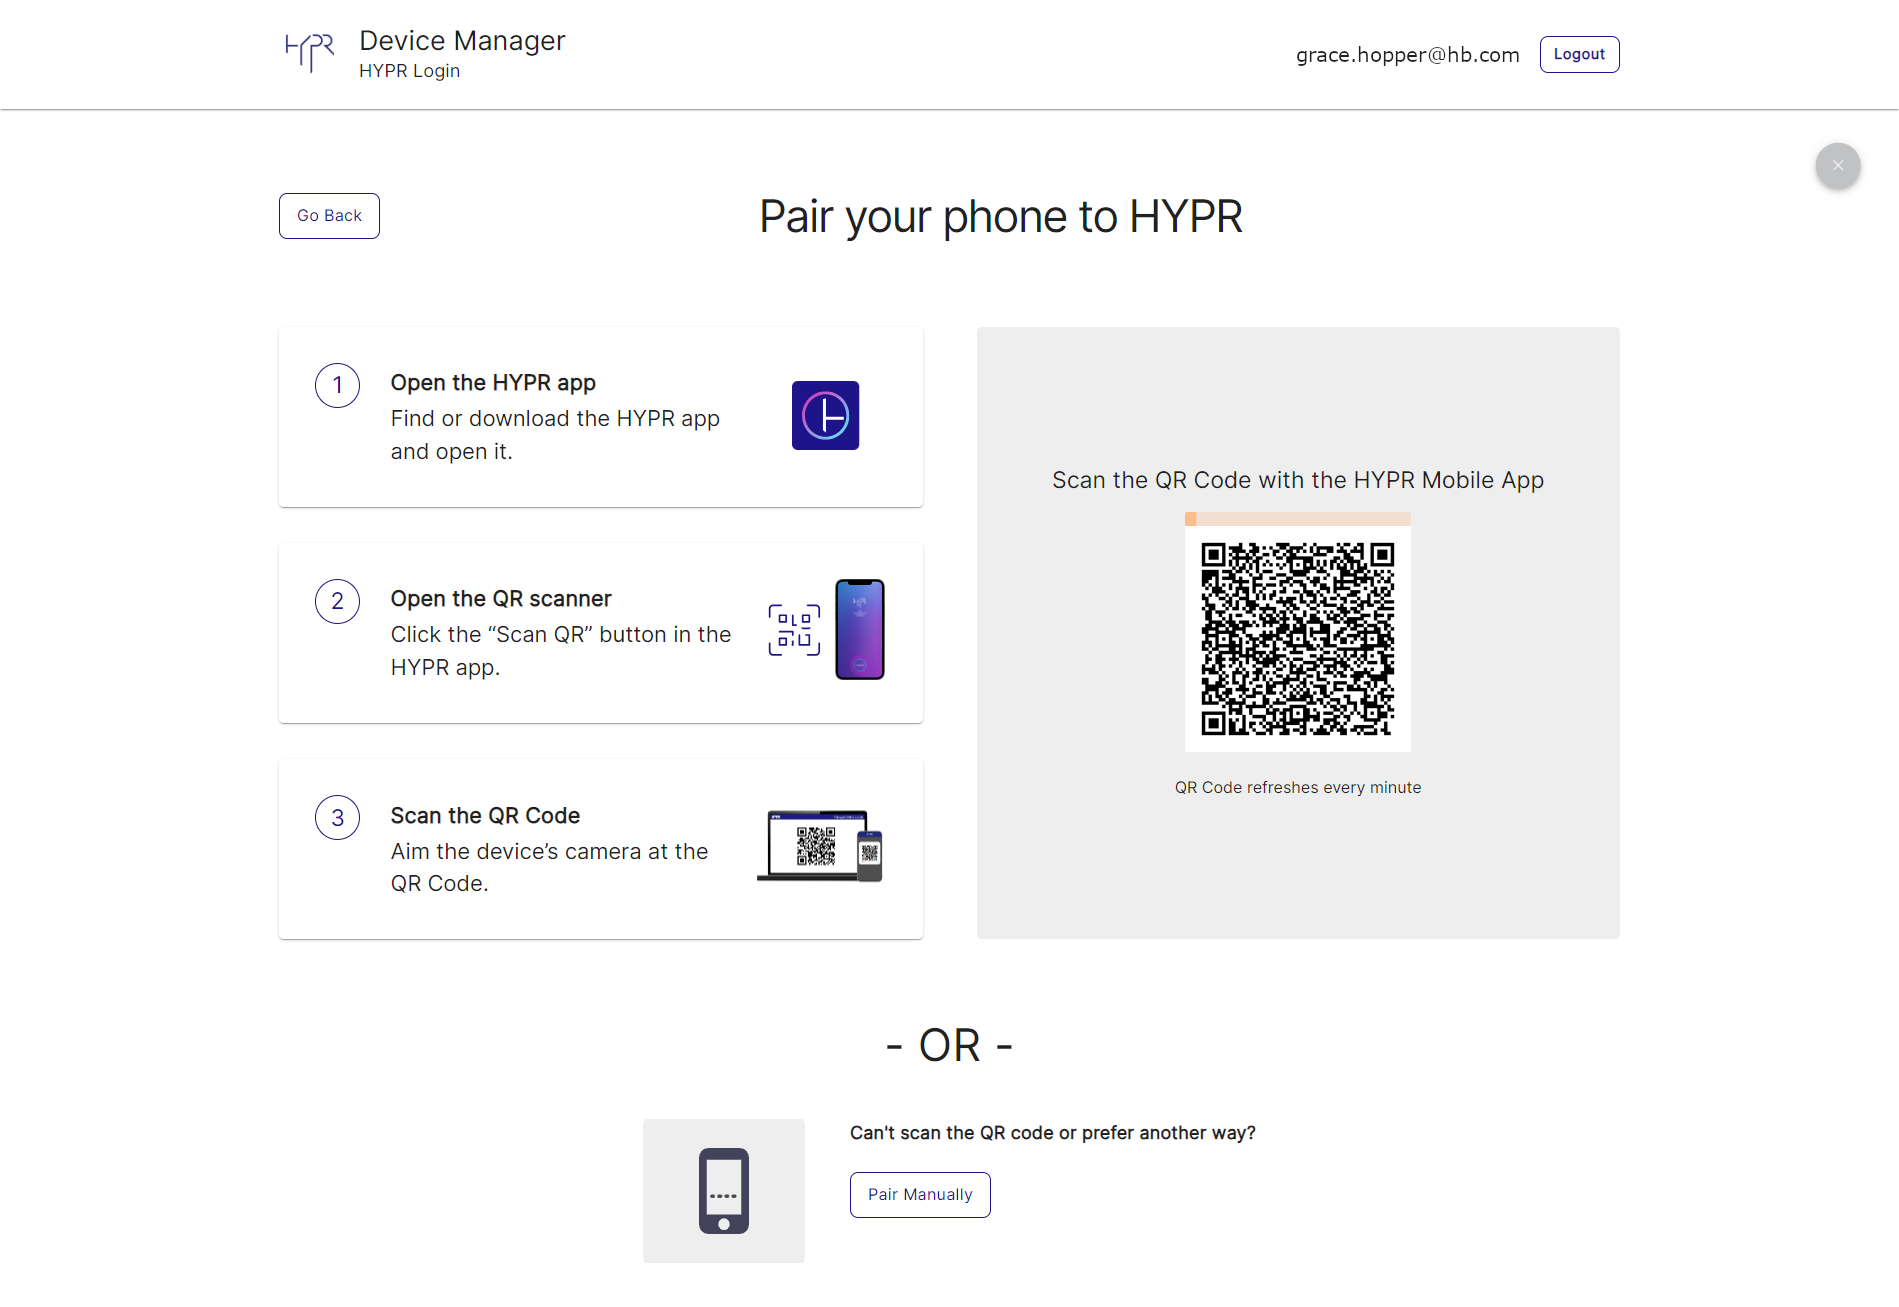
- The QR scan dialog opens. Scan the QR code with your mobile device and finish pairing your device using the authentication methods presented by the HYPR Mobile App (these may vary between fingerprint, face, voice, PIN code, etc.).
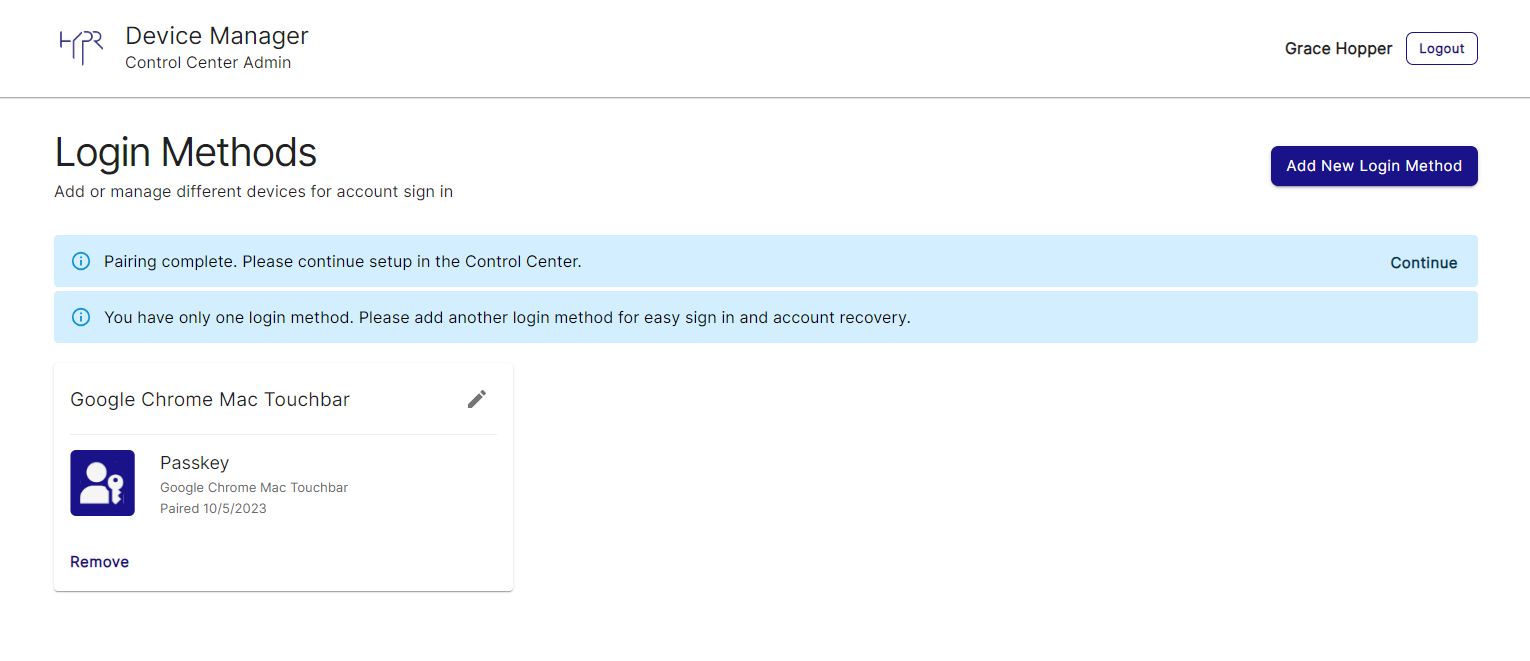
- Your HYPR Mobile App pairing is now listed on the Device Manager main page. You are prompted to CONTINUE to the RP Application in question (Control Center in this case) or pair a second device (if this is your first one).
Two Are Better Than One
HYPR strongly recommends creating a secondary authentication method in Device Manager, especially if there are no fallback authentication policies in your environment.
Passkey
Pairing a Security Key Passkey
If your system is configured to take advantage of Passkeys, you will no longer see Security Keys or Smartdevice or Device Biometric, but will now see a tile for Passkeys, which encompasses all options except the HYPR Mobile App.
- Click ADD NEW LOGIN METHOD at the top right of the page.
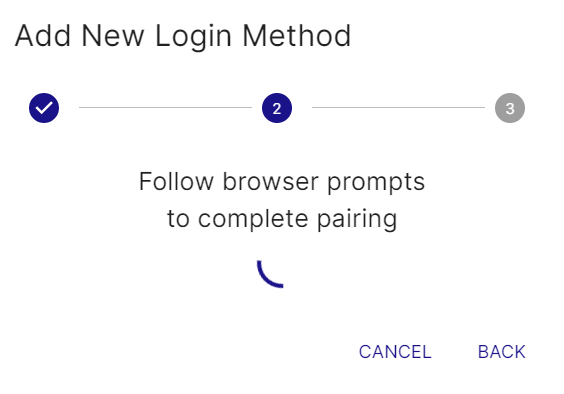
- The Add New Login Method dialog opens. Select Passkey, then click Next.

Take the Tour
If you have Device Manager Onboarding enabled, the Add New Login Method dialog will display a message prompting you to Walk me through how to add a login method. Clicking this link will open the Onboarding Tour, a step-by-step walkthrough of pairing a device with HYPR.
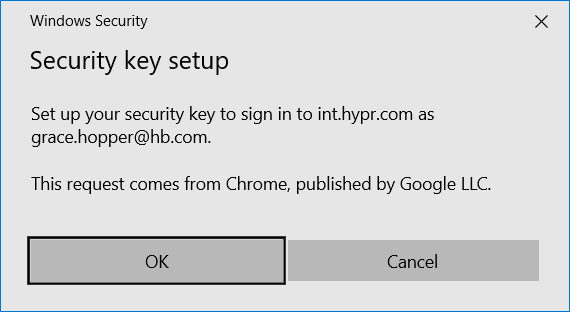
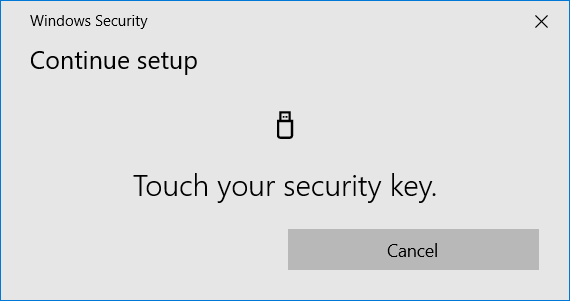
- The browser prompts you to register a native passkey for your device. Click Cancel to open the Security Key setup dialog.
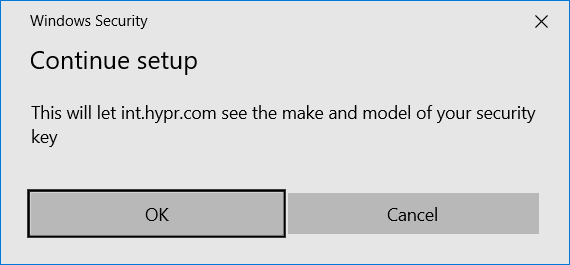
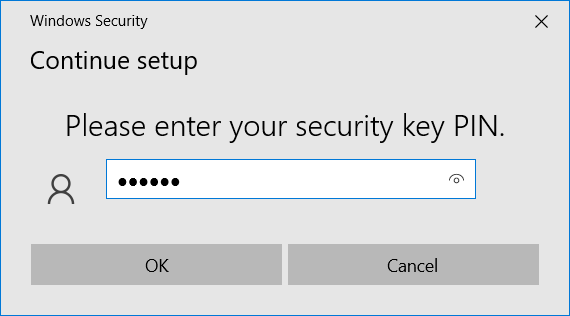
- Follow the instructions to register the passkey. The grey dialogs shown here are from Google Chrome; other browsers' dialogs will be similar.
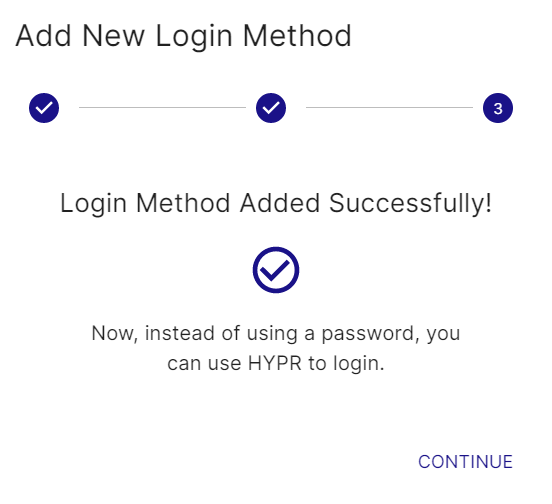
- When you are finished, a confirmation screen lets you know the device has been paired. Click CONTINUE to go back to the main screen.
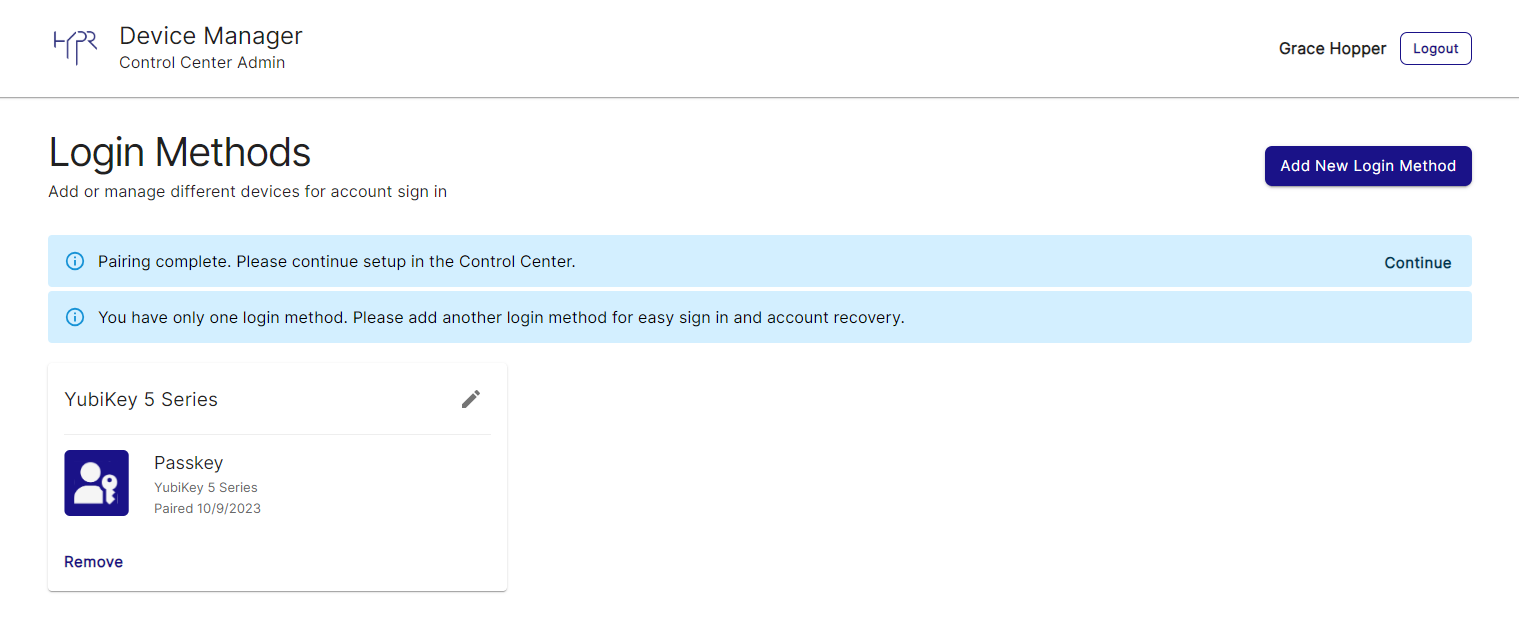
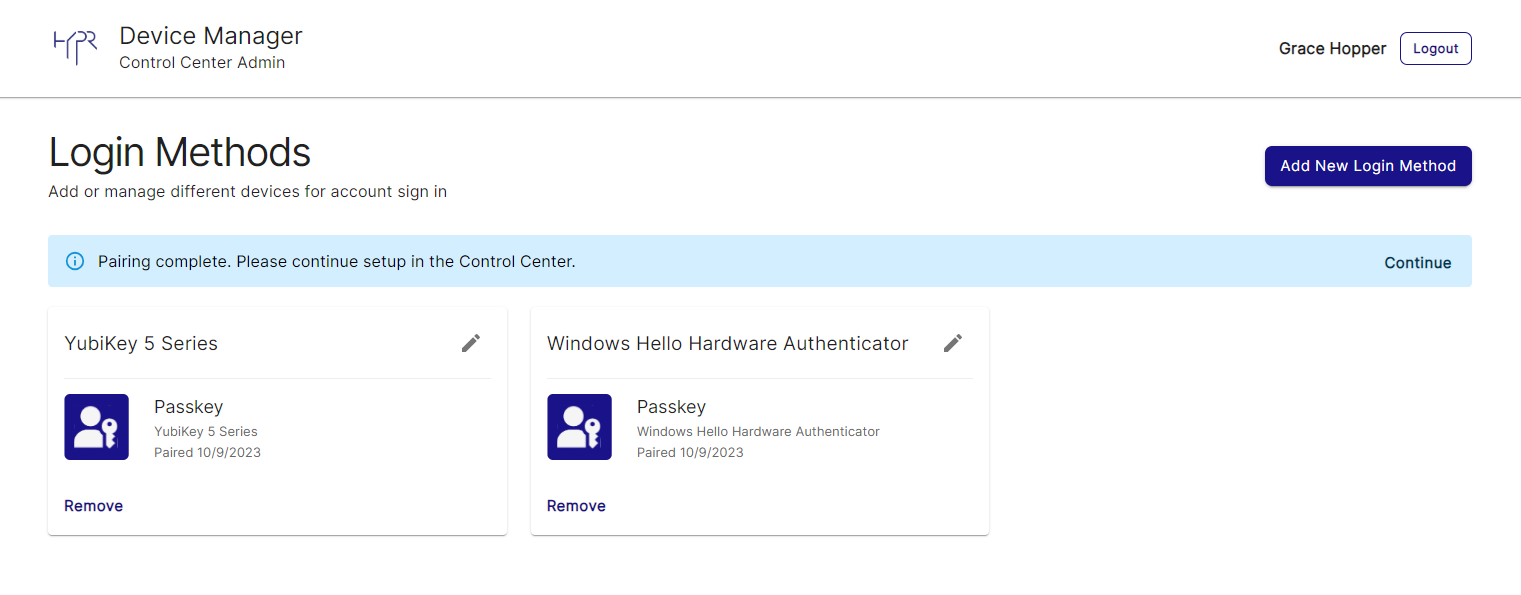
- Your Security Key pairing is now listed on the Device Manager main page. You are prompted to CONTINUE to the RP Application in question (Control Center in this case) or pair a second device (if this is your first one).
Two Are Better Than One
HYPR strongly recommends creating a secondary authentication method in Device Manager, especially if there are no fallback authentication policies in your environment.
Pairing a Device Biometric Passkey
- Click ADD NEW LOGIN METHOD at the top right of the page.
- The Add New Login Method dialog opens. Select Passkey, then click Next.

Take the Tour
If you have Device Manager Onboarding enabled, the Add New Login Method dialog will display a message prompting you to Walk me through how to add a login method. Clicking this link will open the Onboarding Tour, a step-by-step walkthrough of pairing a device with HYPR.
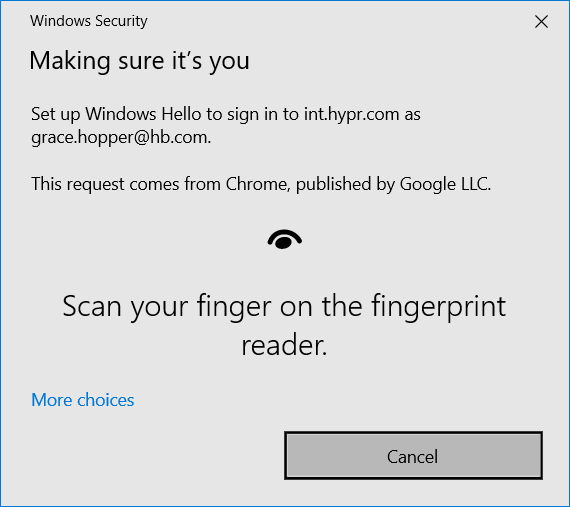
- The browser prompts you to register a native passkey for your device. Follow the instructions to register the passkey. Any native biometric within your policy will work; this example uses fingerprint authentication. See Policy Management for options on which methods your policy supports.
- When you are finished, a confirmation screen lets you know the device has been paired. Click CONTINUE to go back to the main screen.
- Your passkey pairing is now listed on the Device Manager main page. You are prompted to CONTINUE to the RP Application in question (Control Center in this case) or pair a second device (if this is your first one).
Two Are Better Than One
HYPR strongly recommends creating a secondary authentication method in Device Manager, especially if there are no fallback authentication policies in your environment.
Onboarding Tour
When pairing a new device, HYPR provides the option to use a wizard to assist the process. By clicking Walk me through how to add a login method, you will initiate the HYPR Onboarding Tour.
You can exit from any Onboarding Tour page by clicking the grey X in the upper right, or by clicking Cancel where the opportunity presents itself, and agreeing to any resulting confirmation dialogs.
- To initiate the wizard, click Let's Go!

- If you have not already, Download the HYPR Mobile App to your phone; once you have installed it, click Next and proceed to Onboarding with the HYPR Mobile App. If you prefer to use a passkey, click Choose Another Method.

- You are prompted to choose the method with which to pair your device.
- Choosing HYPR Mobile App returns you to the default flow, as if you had clicked Next on the previous screen; see Onboarding with the HYPR Mobile App
- Choosing Passkey begins the wizard for Onboarding with a Passkey
Onboarding with the HYPR Mobile App
Pair using the HYPR Mobile App to scan a QR Code or manually enter a unique code. This is the default method used by the wizard in the default flow.
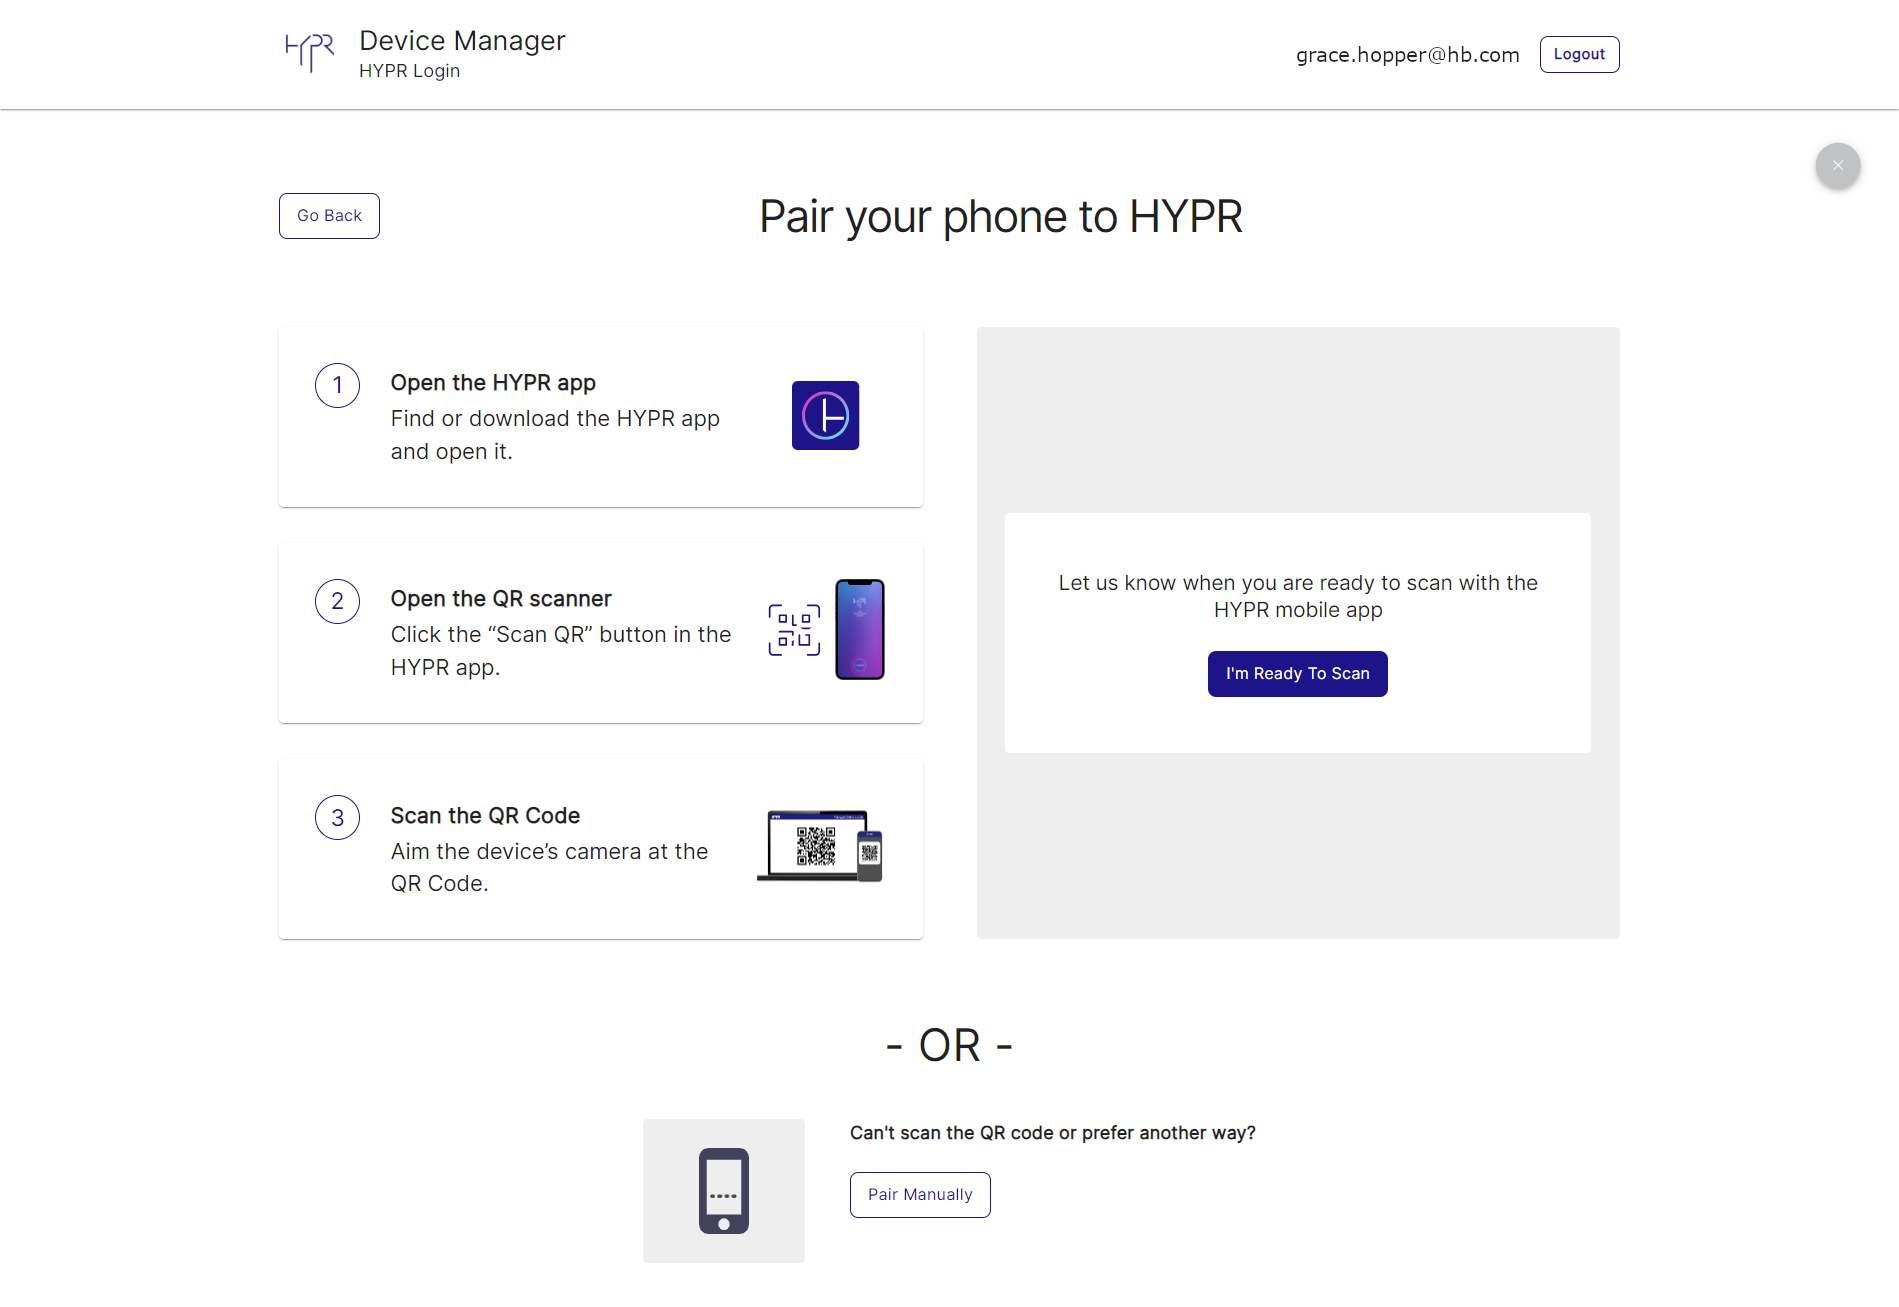
- Follow the instructions at left, and when you are ready, click I'm Ready to Scan.

- Scan the QR code using the HYPR Mobile App; do not close the HYPR Mobile App until it is finished pairing.
-
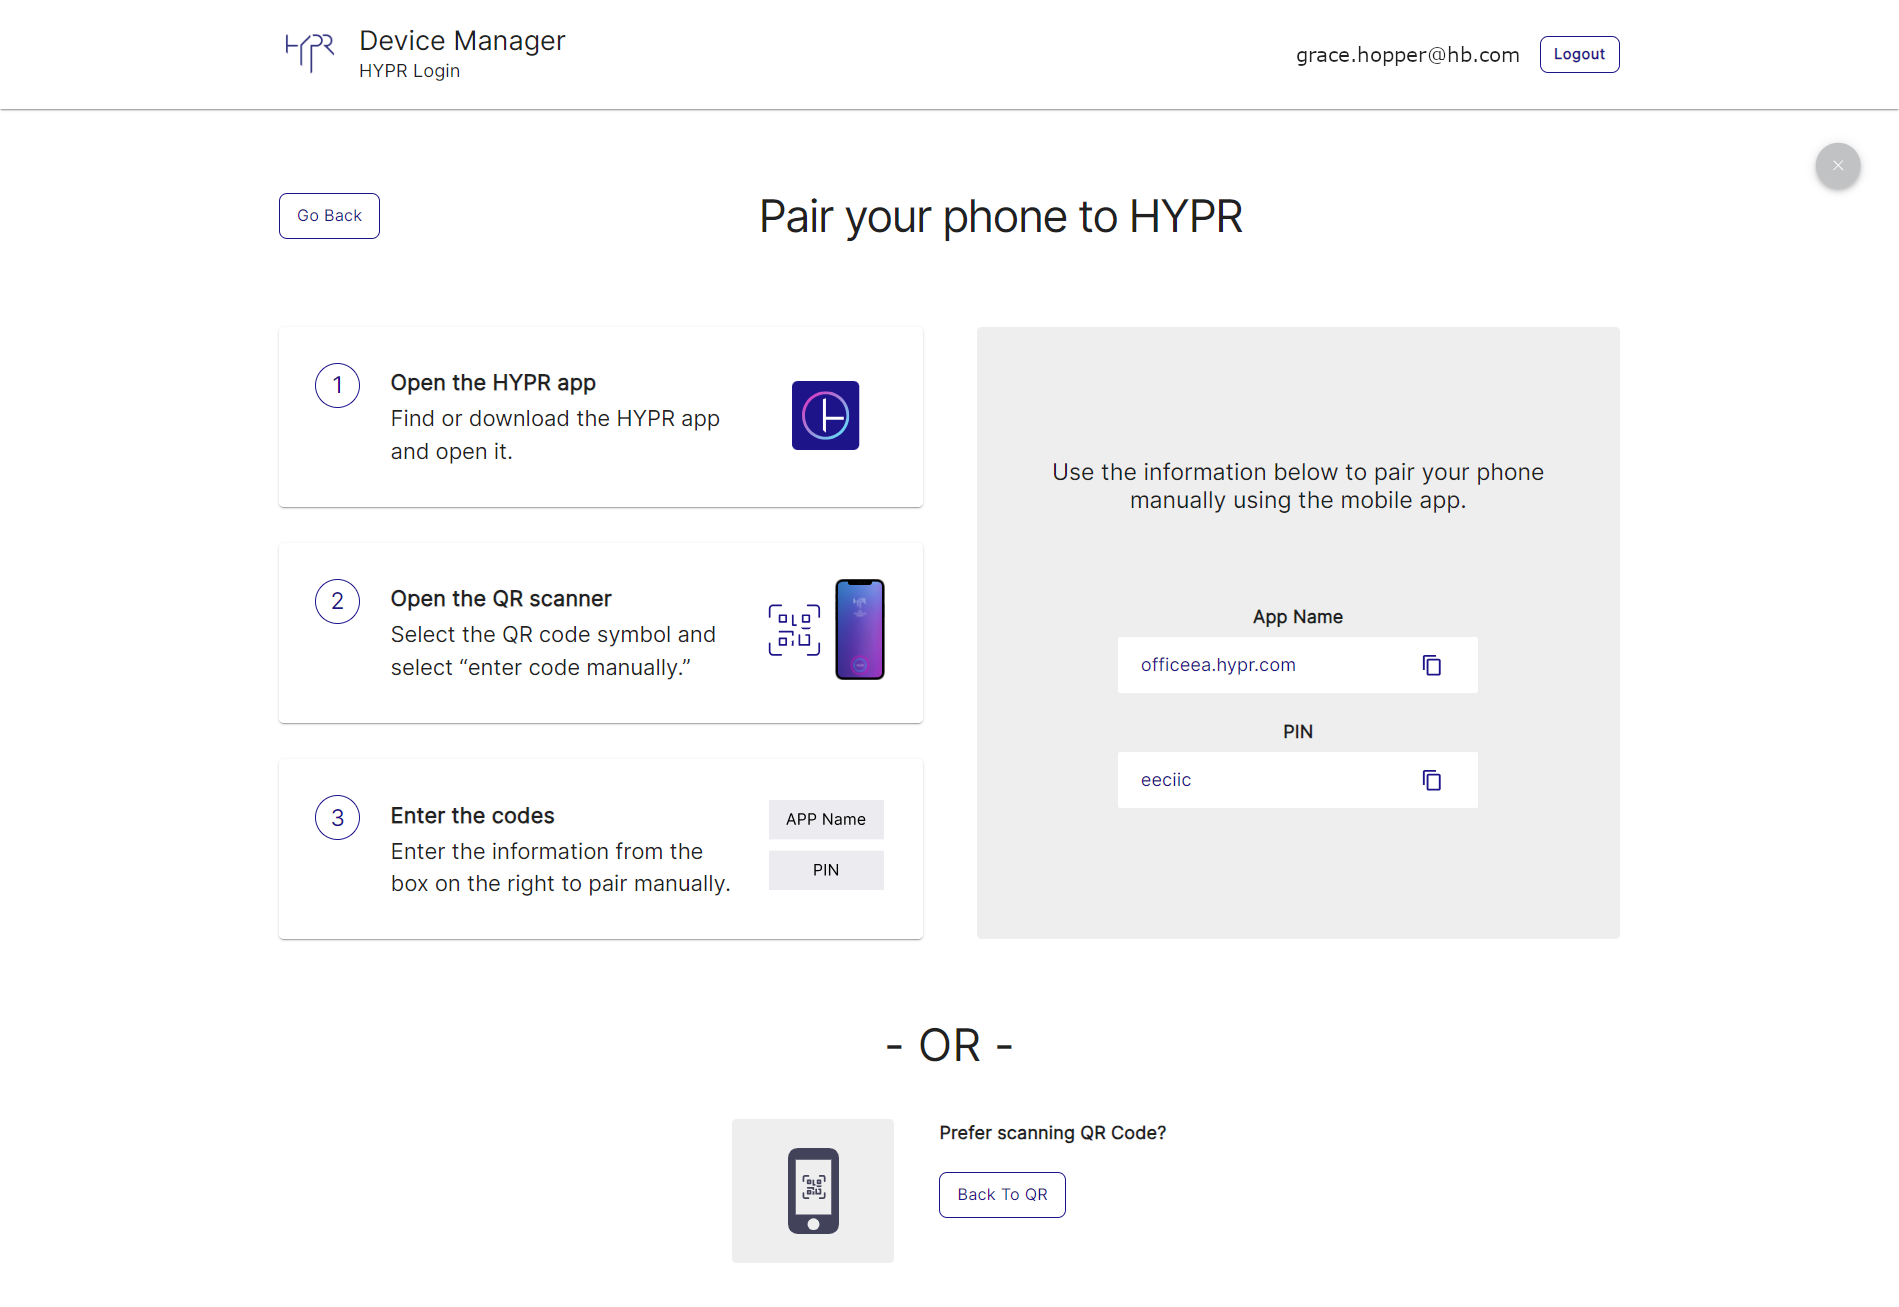
If you are unable to scan the QR code, click Pair Manually to enter a unique code that represents the QR scan.
-
Follow the instructions at left, and when you are ready, click I'm Ready to Scan.
-
Type the values for App Name and PIN into the HYPR Mobile App; do not close the HYPR Mobile App until it is finished.
-
- To return to the QR Scan method, click Back to QR.
Onboarding with a Passkey
Pair a security key or device biometric to use later for HYPR authentication.
Once you click Select on the Choose Method page, you will be instructed to follow the browser prompts. Use the flows in Pairing with a Security Key Passkey or Pairing a Device Biometric Passkey to complete pairing with your passkey.
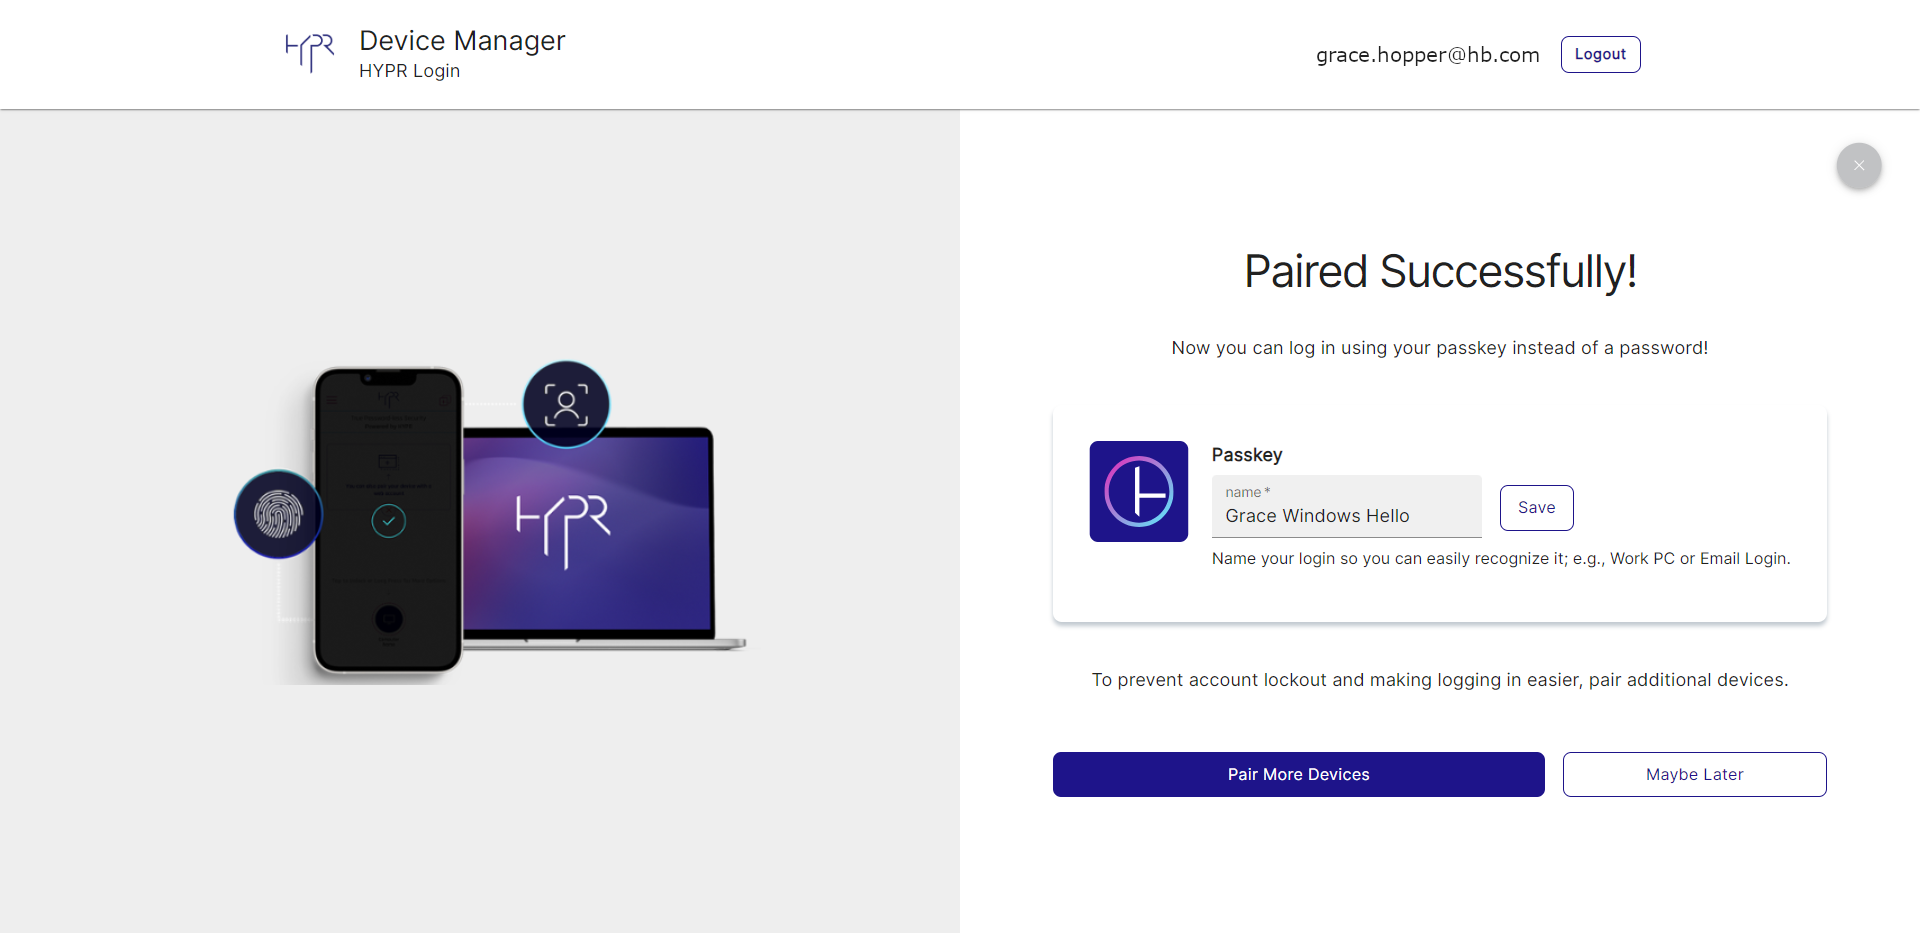
When finished, a confirmation displays, offering an option to name your login. Make sure to Save if you change the name.
Then you can either Pair More Devices (returns to the QR Scan page of the Onboarding Tour) or click Maybe Later to exit back to Device Manager.
Renaming a Device
To change the label on your authenticators:
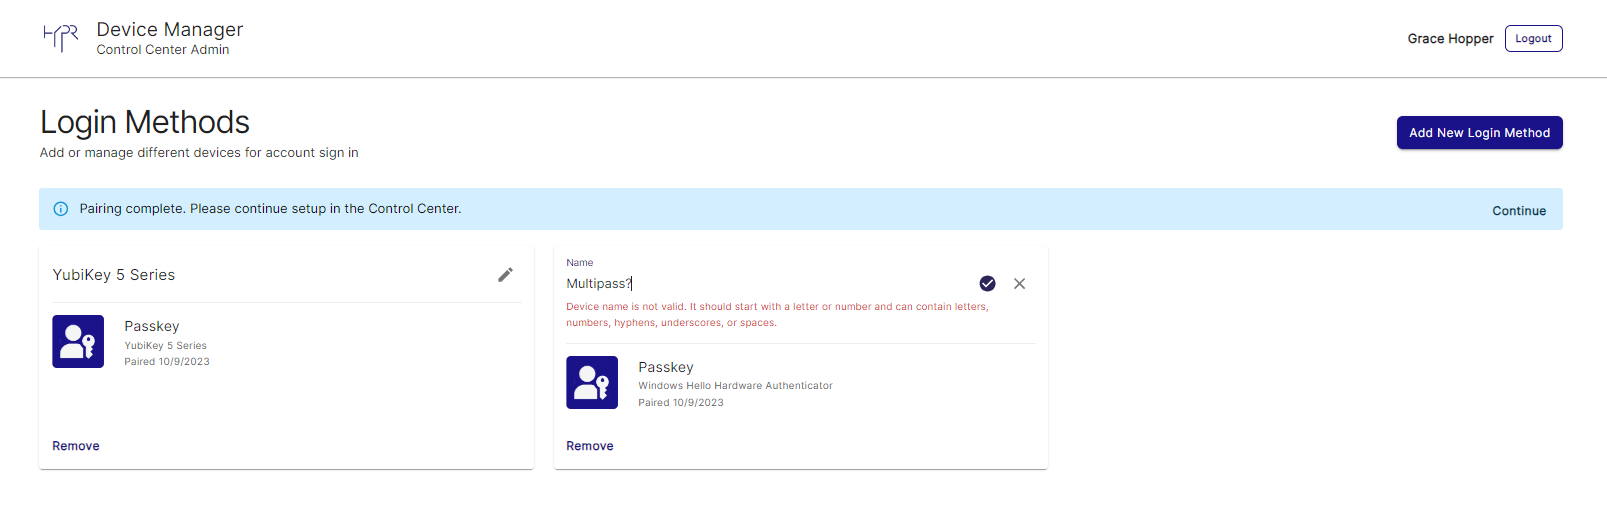
- Click the pencil icon in the upper right of the authenticator tile.
- Change the name as desired. It should start with a letter or number and can contain letters, numbers, hyphens, underscores, or spaces.
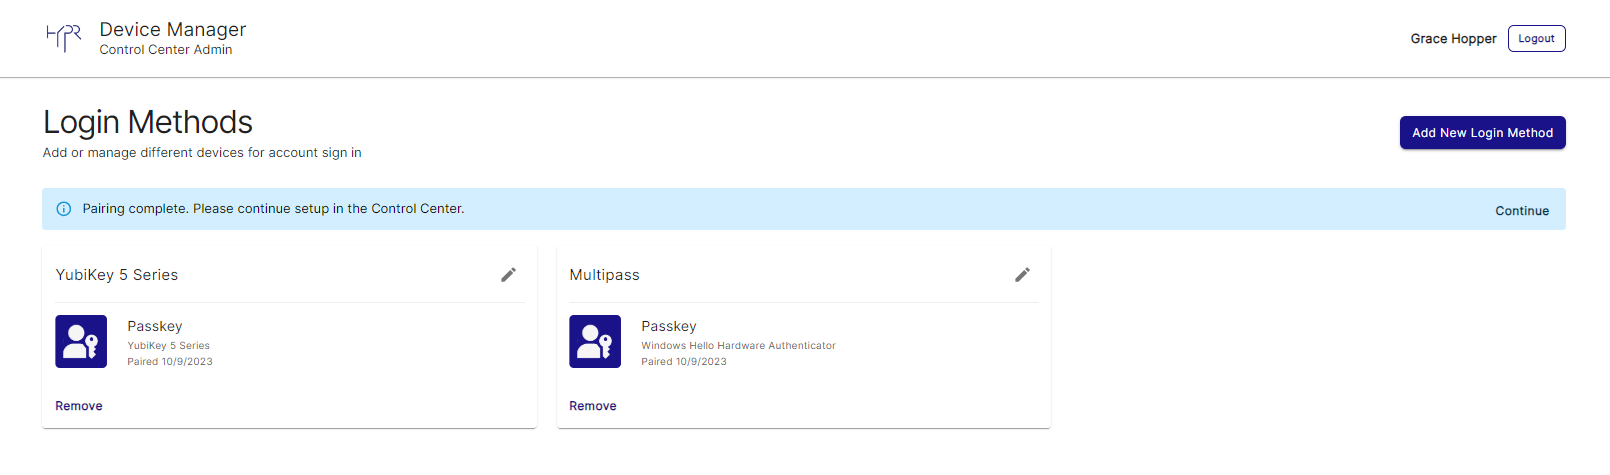
- Once you and Device Manager are both satisfied, click the checkmark to save the new name. It will now appear at the top of the authenticator tile.
Removing a Device
The process of removing a device remains the same for any login method you have setup in Device Manager.
- Click Remove on the device you want to unpair.
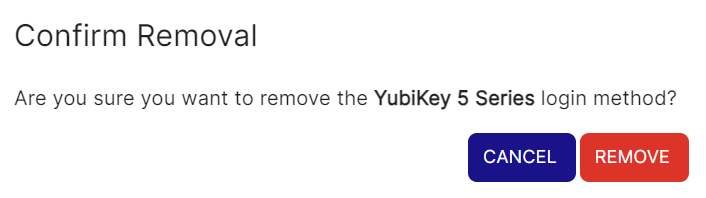
- A dialog asks you to confirm removal of this device. Click Remove.
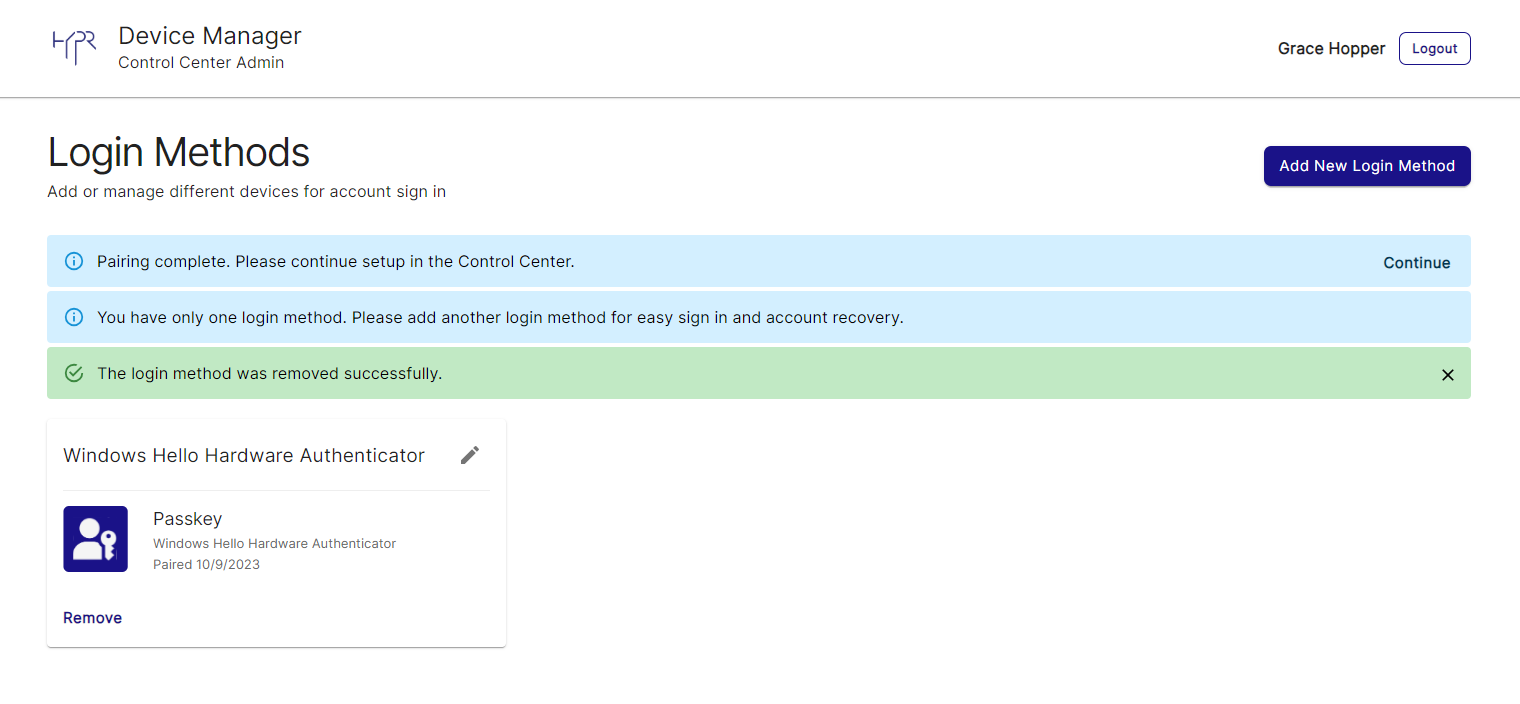
- Device Manager no longer lists the removed device on the main page.
Logging Out
To exit Device Manager (and Control Center):
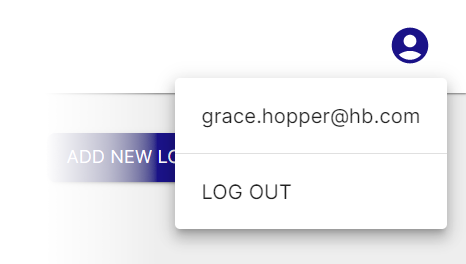
- Click the person icon in the upper right. A drop-down opens with the username and an option to LOG OUT.
- Click LOG OUT.
- Click LOGOUT on the confirmation dialog.

- You are logged out, and CC's login prompt displays.
Updated 5 months ago