HYPR Affirm
HYPR Control Center Standard
MVP Feature
Some functionality is limited.
This article is subject to change as the feature develops and we make improvements.
HYPR Affirm offers Identity Verification (IdV) to HYPR users through the HYPR Mobile App for onboarding and for instances where a user has a new mobile device.
HYPR Affirm Settings are accessible via the Control Center left navigation menu.

Clicking the HYPR Affirm menu link will display the following tabs, defaulting to the first:
- Application Setup: Manage which RP Applications will use HYPR Affirm
- Verification Flow: Define the steps required by the requester to begin the Identity Verification process
- Approver Assignment: Determine who will evaluate collected IdV information
- Audit Trail: See HYPR-wide Events and related information
- Activity Log: A record of who has made requests to which approvers, and the results
How it Works
First, you assign Applications which will use HYPR Affirm. Then you choose the verification flow to check the identity of employees by one or more of the following methods:
- Phone Number and/or SMS confirmation
- Location data based upon IP address
- Live chat and/or video with an assigned Approver
- Document uploads (passport, etc.)
Then assign one or more Approvers to verify the Requester. If you are using an Identity Provider, HYPR can ascertain the individual's immediate report-to (Manager) from there. If not, Approvers can be individually assigned to the flow.
HYPR Affirm Events are logged in the Audit Trail tab; actual approvals and denials are logged in the Activity Log tab.
Administering HYPR Affirm
Required
At least one Okta or Azure integration must be enabled via HYPR. See Integrations for instructions on how to accomplish this step.
For HYPR Affirm to work with the integration fully, verify that the IdP includes the following attributes for all affected users:
- Email Address
- Phone Number
- First and Last Name
- Manager Information
- Home Address
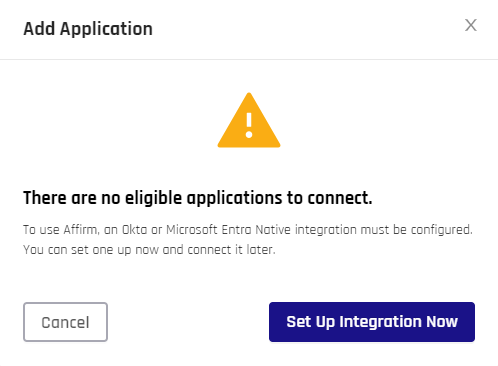
If you do not have a qualifying Okta or Azure integration, HYPR Affirm will display this message when you try to do anything:
Click Set Up Integration Now to open the Control Center Standard: Integrations options.
Click Cancel to return to HYPR Affirm.
Application Setup
How Affirm Works
Click the Learn More button to open this article.
Application Connection
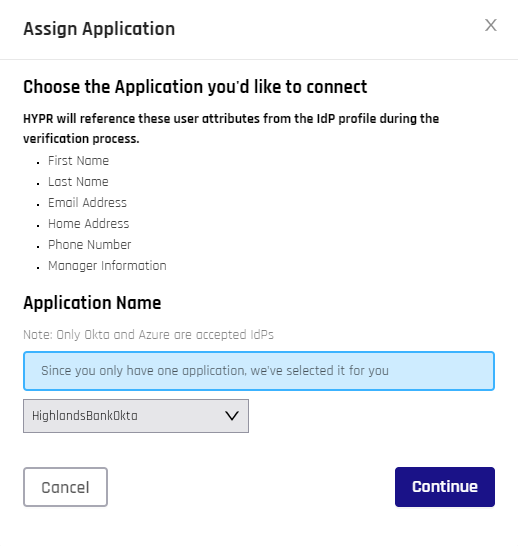
- Click Assign Application to get started. The Assign Application dialog opens.
- Choose an Application Name from the list and click Continue.
Your Application assignment now appears on the main page under Application Connection.
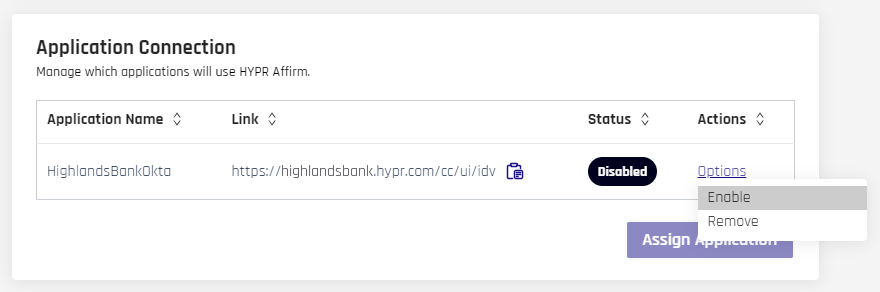
When one or more Applications are assigned to HYPR Affirm, the following columns are listed for each:
| Field | Description |
|---|---|
| Application Name | The name of the RP Application assigned to Affirm. |
| Link | The link to be given to requesters; typically it is <tenant_URL>/ui/idv. A handy copy icon helps you grab this URL for distribution. |
| Status | The current status of Enabled or Disabled. This is controlled under Actions. |
| Actions | Clicking Options will provide two choices: Enable/Disable: Click to toggle the Status column value; then clear a confirmation to complete this action. Remove: Click to remove the assignment; then clear a confirmation to complete this action. |
Power Up
Don't forget to Enable your Application Assignment after you create it.
Verification Flow
Choose the level of verification that's right for you.
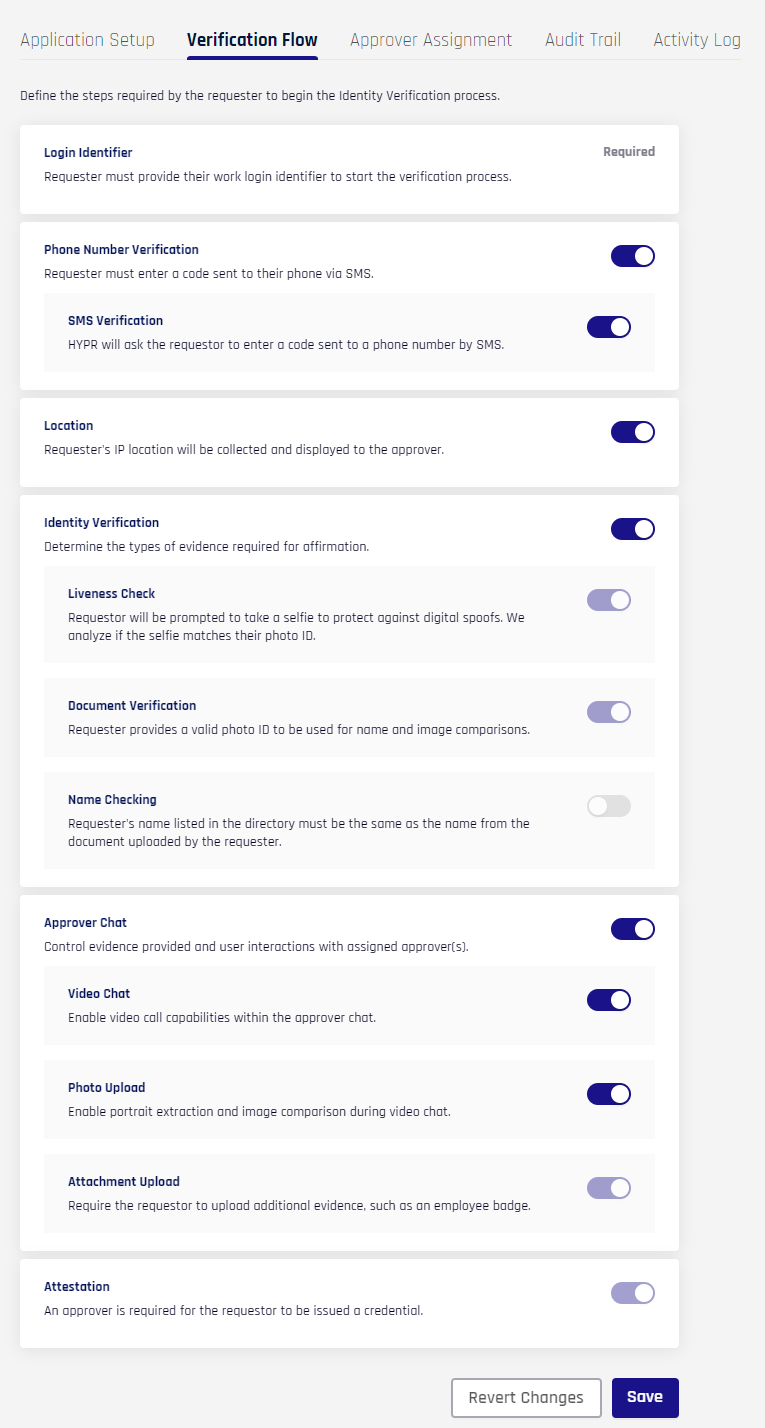
Login Identifier
Initiates the HYPR Affirm IdV process. This option will always be toggled On.
Phone Number Verification
This setting is always On to require the requestor to enter an SMS code on their mobile device. SMS Verification mimics the toggle state of Phone Number Verification
Location
A location based upon the requester's IP address will be displayed to the approver. Enabled by default.
Identity Verification
Determine the types of evidence required for affirmation. Disabled by default.
- Liveness Check: The requester must take and submit selfie in real time; it is then compared to the provided photo ID; Liveness Check mimics the toggle state of Identity Verification
- Document Verification: Requester must provide a valid Photo ID for name and image comparisons; Document Verification mimics the toggle state of Identity Verification
- Name Checking: Compares the name from the uploaded document to the requester's directory listing
Approver Chat
Toggle to enable a chat window between the approver and requester. Enabled by Default. Corollary options include:
- Video Chat: Enable video call capabilities in the approver chat
- Photo Upload: Toggle to enable image extraction and comparison during the chat
- Attachment Upload: Automatically mimics Approver Chat toggle status; otherwise this option cannot be independently changed and will be faded (not grey) when in use
Attestation
Always Enabled. An approver must review the request before a credential is issued to the requester.
Save and Revert
Don't forget to Save once you are finished configuring the Verification Flow tab; or, if you want to undo all of your changes, click Revert Changes.
Approver Assignment
Determine who will approve requesters for Onboarding and Recovery flows. Administering both is the same.
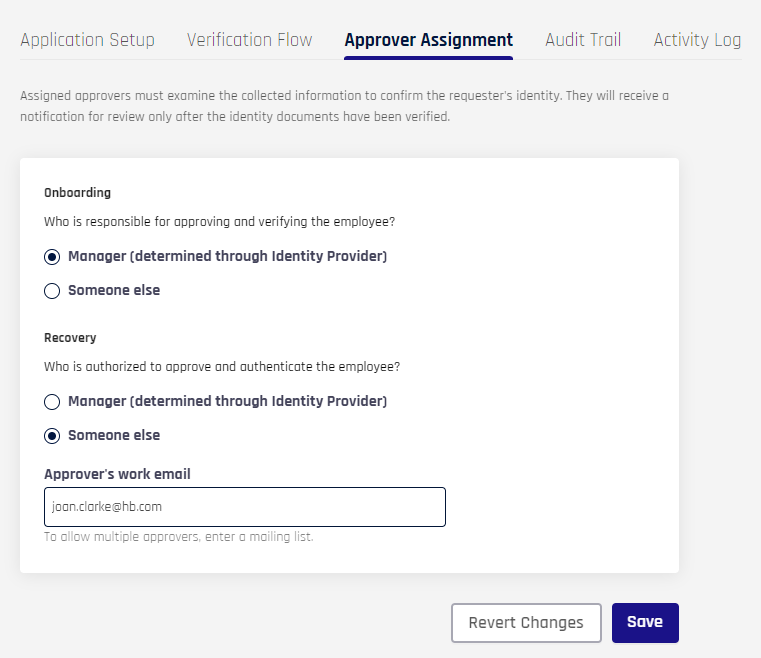
Choose whether to send requests using your Integration's defined hierarchy or custom email entries:
MVP Caveats
For MVP purposes, a Manager must be assigned in the Integrated IdP for HYPR Affirm to work.
Someone else is displayed for proof-of-concept purposes and is not yet fully functional.
- Manager: When selected, HYPR Affirm automatically uses the IdP Manager assignment to determine who will be the approver.
- Someone else: Enter a custom email address or a list.
- Click Save when you are finished; or, if you want to undo all of your changes, click Revert Changes.
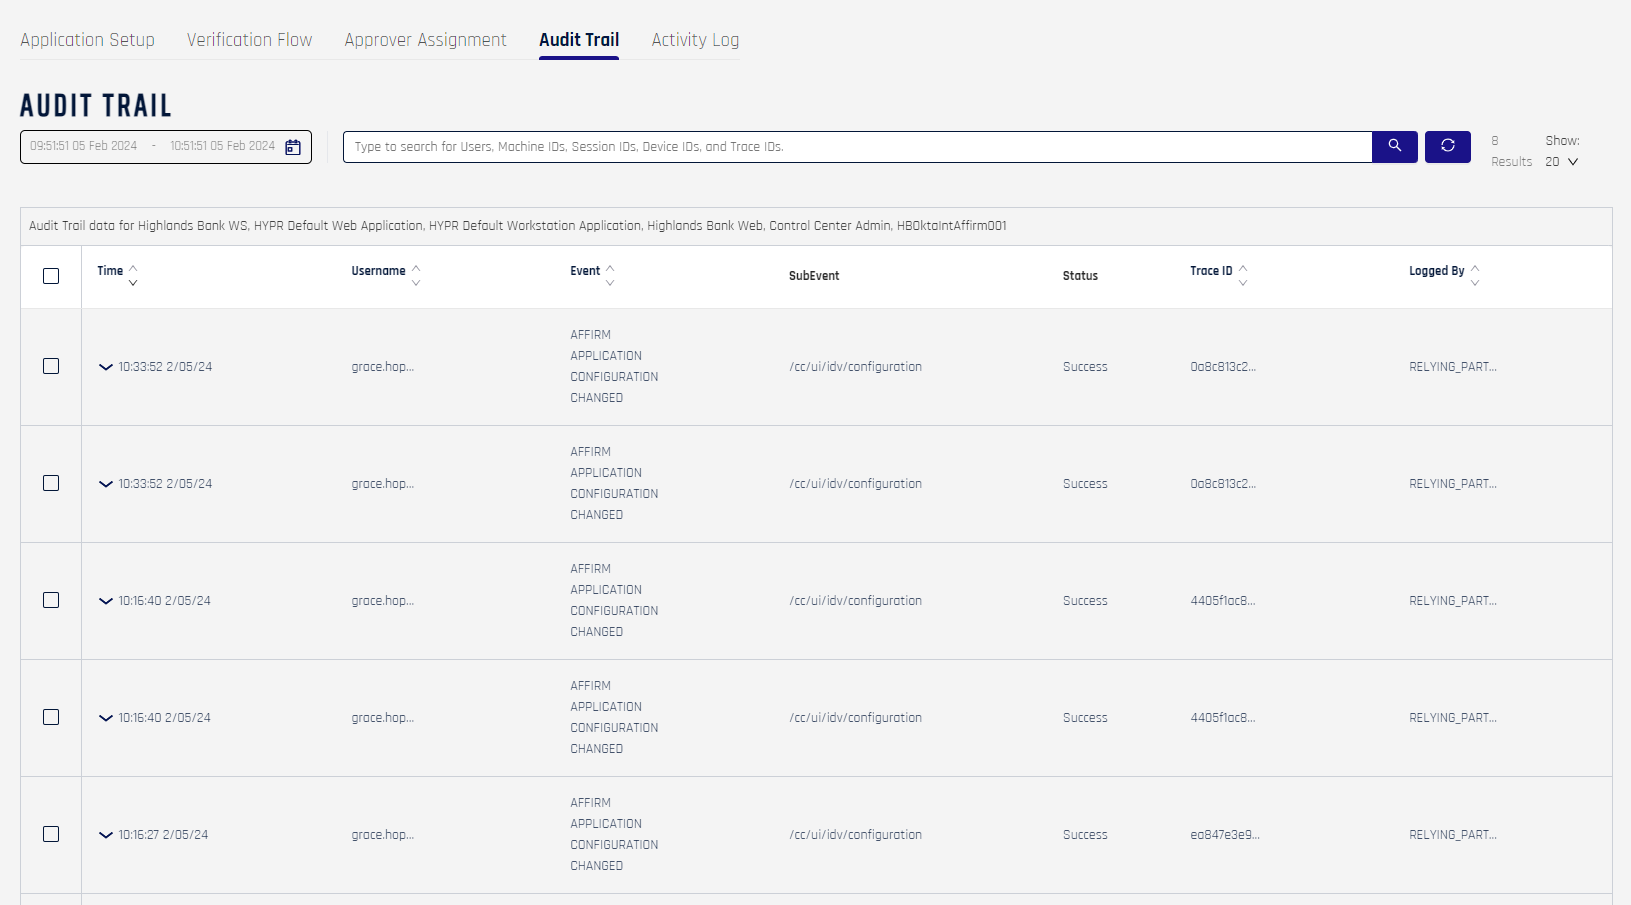
Audit Trail
HYPR Affirm offers an Audit Trail tab for ease of access. It is described fully here.
Activity Log

Describe the approved, denied, and aborted attempts to use Affirm. A date selection field and a search bar help filter Activity entries. The Activity Log table uses the following columns:
| Field | Description |
|---|---|
| Requester | The HYPR username making the IdV request. |
| Date | The date and time of the request. |
| Type | Onboarding | Recovery |
| Approver | The HYPR username of the approver. If automatic approval is enabled, the Approver will be HYPR. |
| Workflow ID | A unique identifier for the request. |
| Decision | Approved | Denied | N/A |
| Options | Click the Details button to display more granular information about the request (see below). |
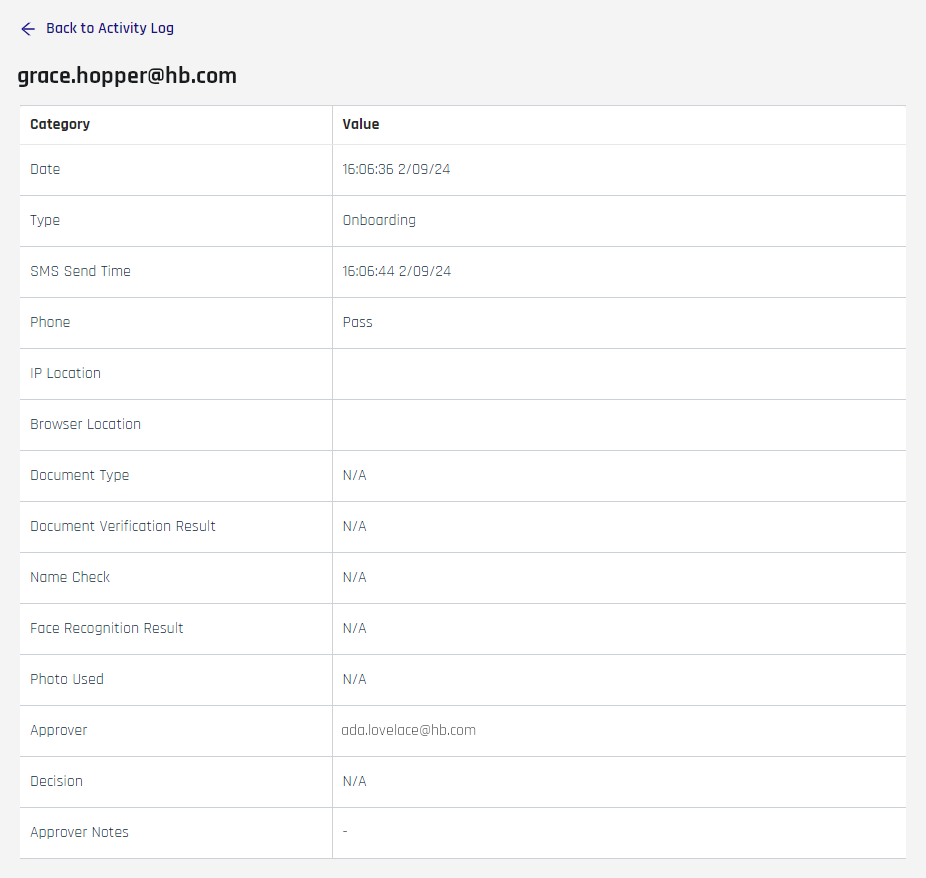
In additional to the main Activity Log fields, the following columns are shown on the Details page:
| SMS Send Time | The time the SMS notification for phone verification was sent. |
| Phone | Did the phone check pass? Pass | Fail |
| IP Location | The local IP address location. |
| Browser Location | The browser-based location. |
| Document Type | The type of document uploaded; passport, driver's license, ID card, etc. |
| Document Verification Result | Did the document check pass? Pass | Fail |
| Name Check | Did the name check pass? Pass | Fail |
| Face Recognition Result | Did the face recognition check pass? Pass | Fail |
| Photo Used | Was a photo used for this request? |
| Approver Notes | The comment for Approvals and the reason for Denials. |
From the request Details page, click Back to Activity Log to return to the main page.
What the Requester Sees
Users initiate Identity Verification by visiting a URL. After they have completed any preliminary requirements, the IdV flow will proceed according to the Verification Flow settings in Control Center. This can be as minimal as a basic chat window or as involved as face-to-face video chat, facial recognition, and multiple document uploads.
For demonstrative purposes, the following sections represent a Verification Flow where all options are enabled; if you do not see the steps described, skip to the section that matches what you see. This indicates the interim steps are not enabled for your verification flow.
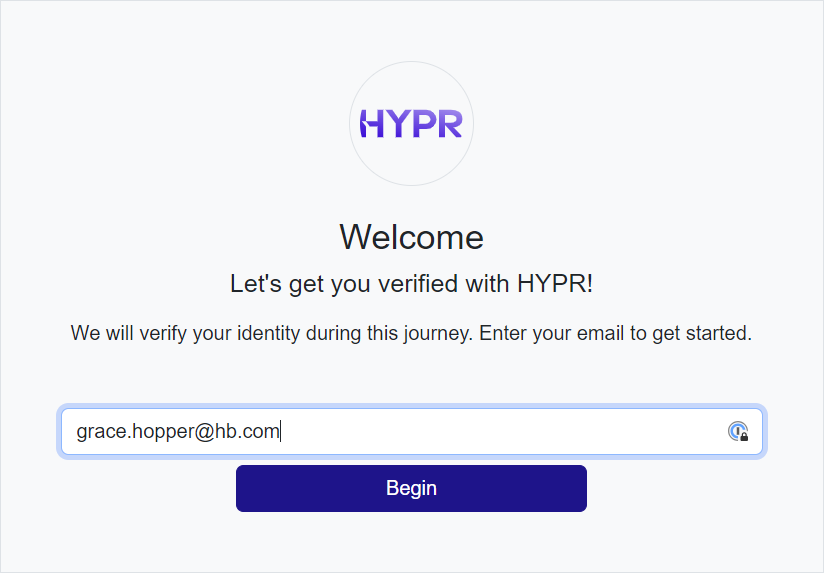
Welcome
-
In a browser, open
<your_tenant_URL>/cc/ui/idv. For example:https://highlandsbank.hypr.com/cc/ui/idv. The Welcome page displays. For Onboarding, choose I am a new Employee; for account Recovery, choose New Login Method.
-
Enter your email address, then click Begin.
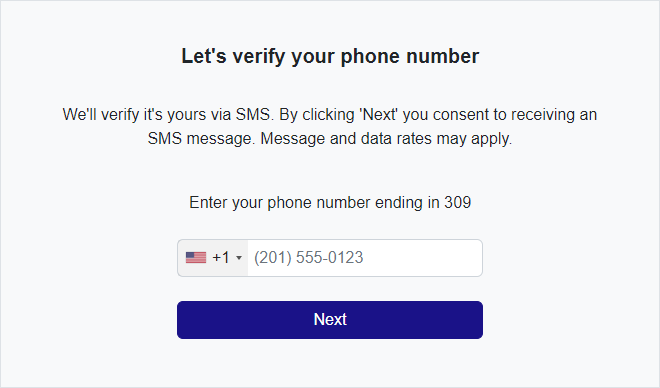
Phone Number Verification
-
Choose your country from the drop-down, then enter your phone number to receive SMS notifications. Click Next.
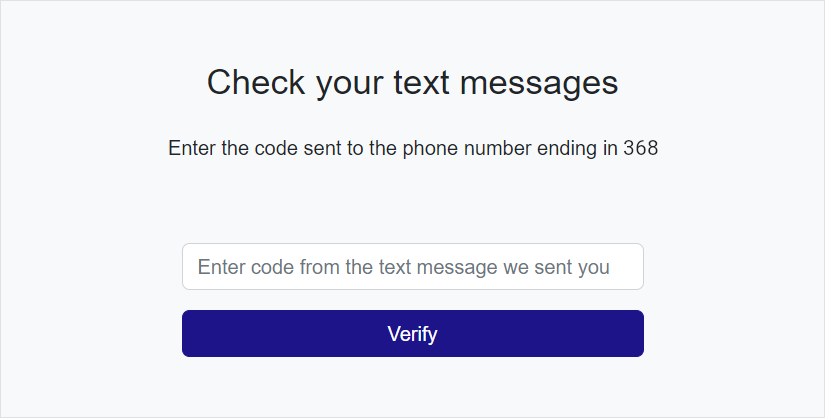
-
A text message will be sent to the entered phone number. Open the text on your phone, then type the code from that message into the Check your text messages screen. Click Next.
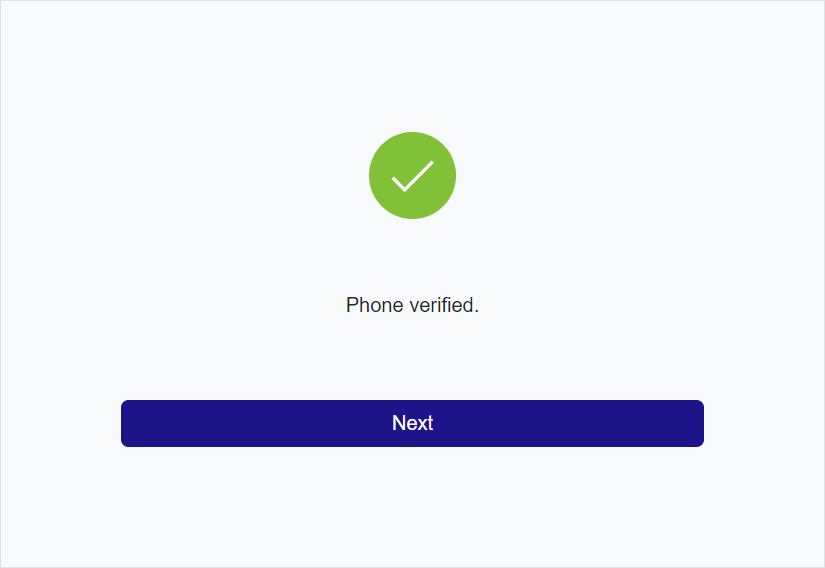
-
Assuming everything has been entered correctly, a verification message displays. Click Next.
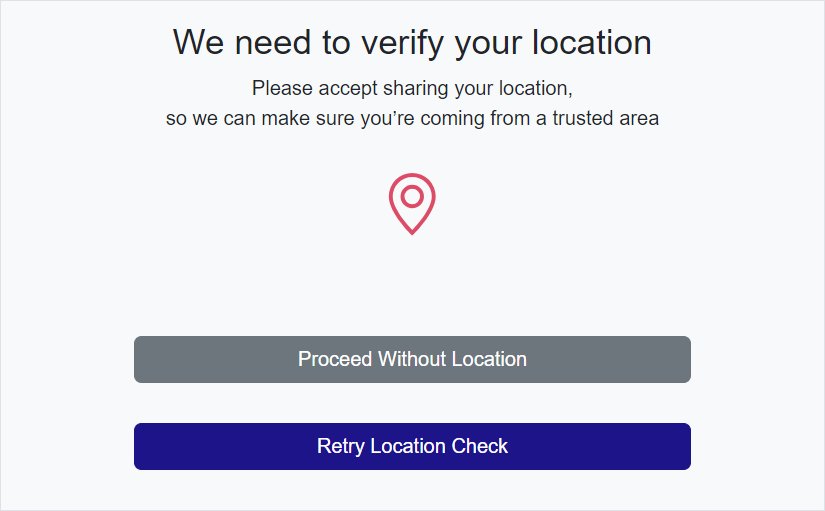
Location
-
HYPR Affirm checks your location based on your browser and local IP data.
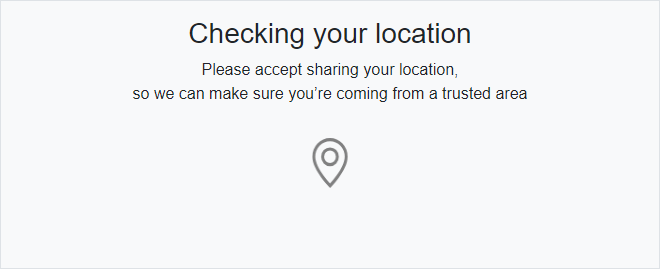
-
Your browser may prompt to be allowed to know your location. If this happens, click Allow.

-
If you do not click Allow or if your location is otherwise blocked from being shared, you may be given the option to Proceed Without Location. Otherwise, click Retry Location Check.
-
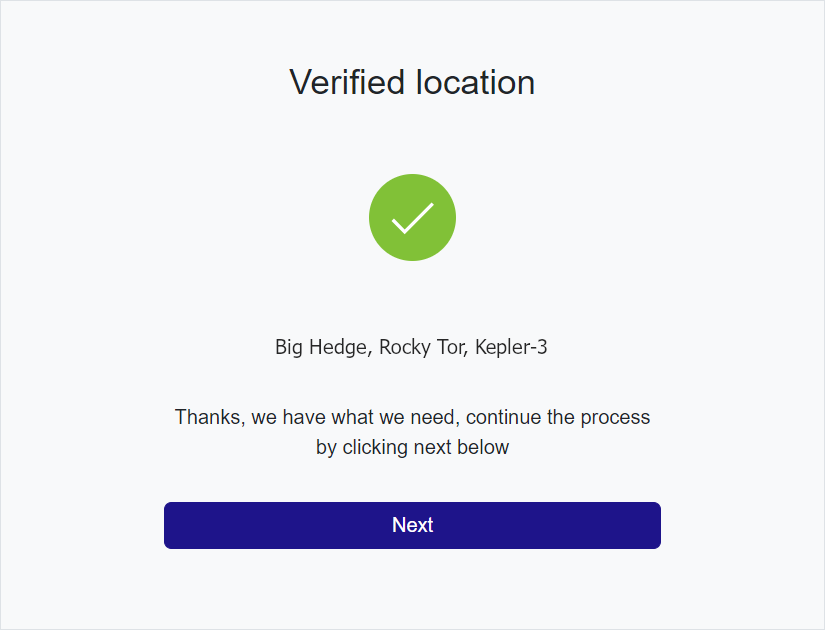
Once the location check passes, you will see a success message. Click Next.
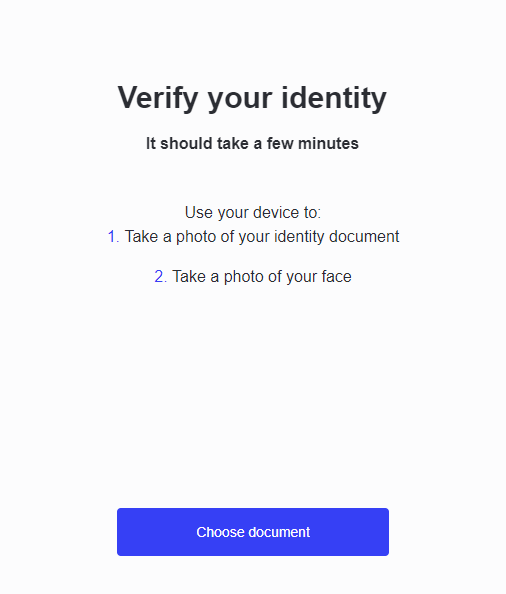
Identity Verification
-
HYPR Affirm now asks for a photo ID and a selfie taken right now. Your selfie will be compared to your photo ID for face recognition. Click Choose document to continue. Document verification services are provided by OnFIDO.
-
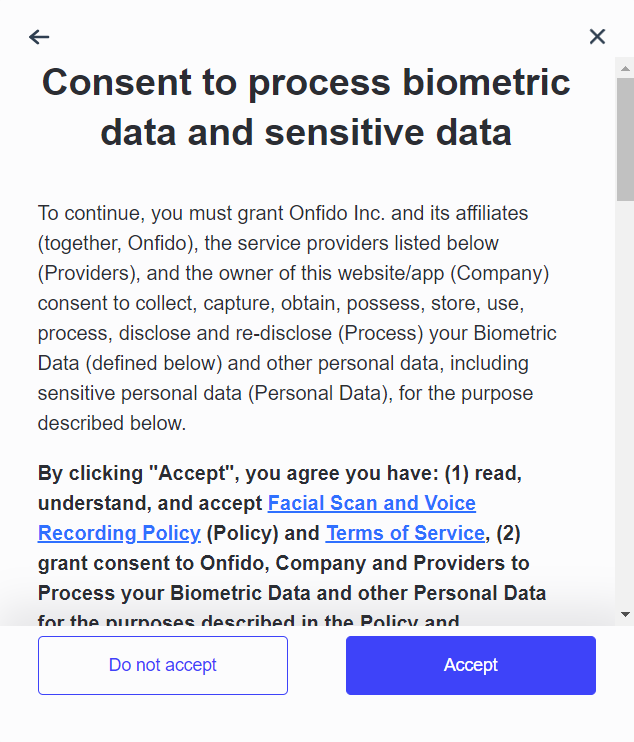
On the Consent to process biometric data and sensitive data, read to the end, then clickAccept. Clicking Do no accept will restart the IdV flow.
-
Select a country to see a list of acceptable identifying documents to upload.

-
Once you've chosen your country, select the type of document you'd like to upload. Note that some options require uploading both front and back facings of the document.
-
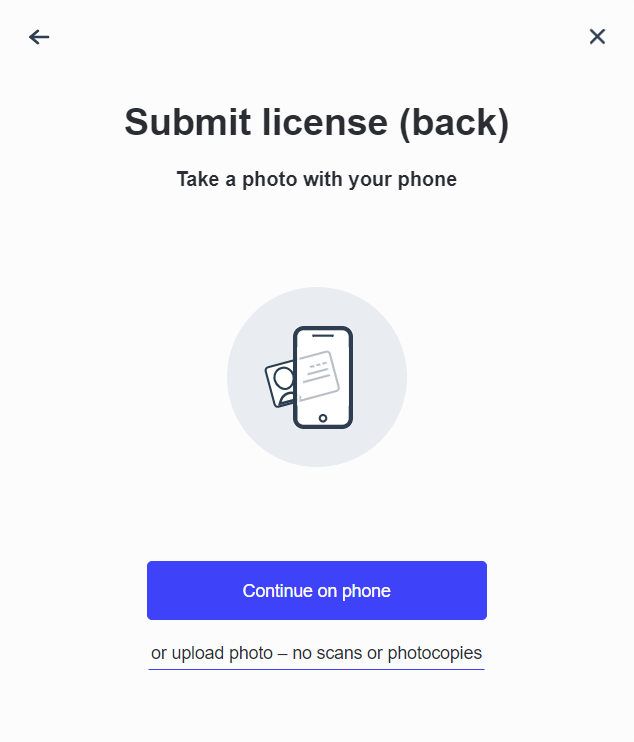
You will be presented with a choice to upload documents and take a selfie on your phone (Continue on phone: continue to Document Verification via Phone) or do so on your workstation (or upload photo - no scans of photocopies: continue to Document Verification via Workstation).
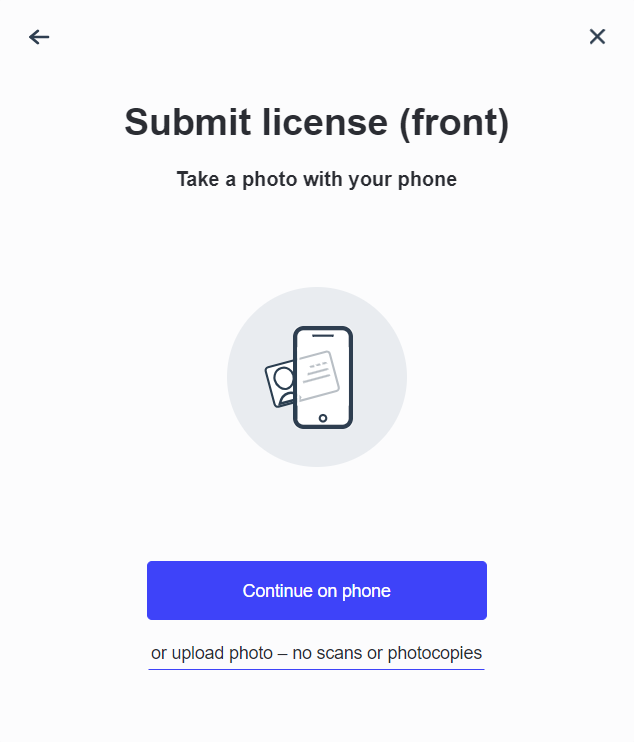
Document Verification via Phone
Use your phone to upload a picture ID to be used as a comparison for facial recognition and name checking.
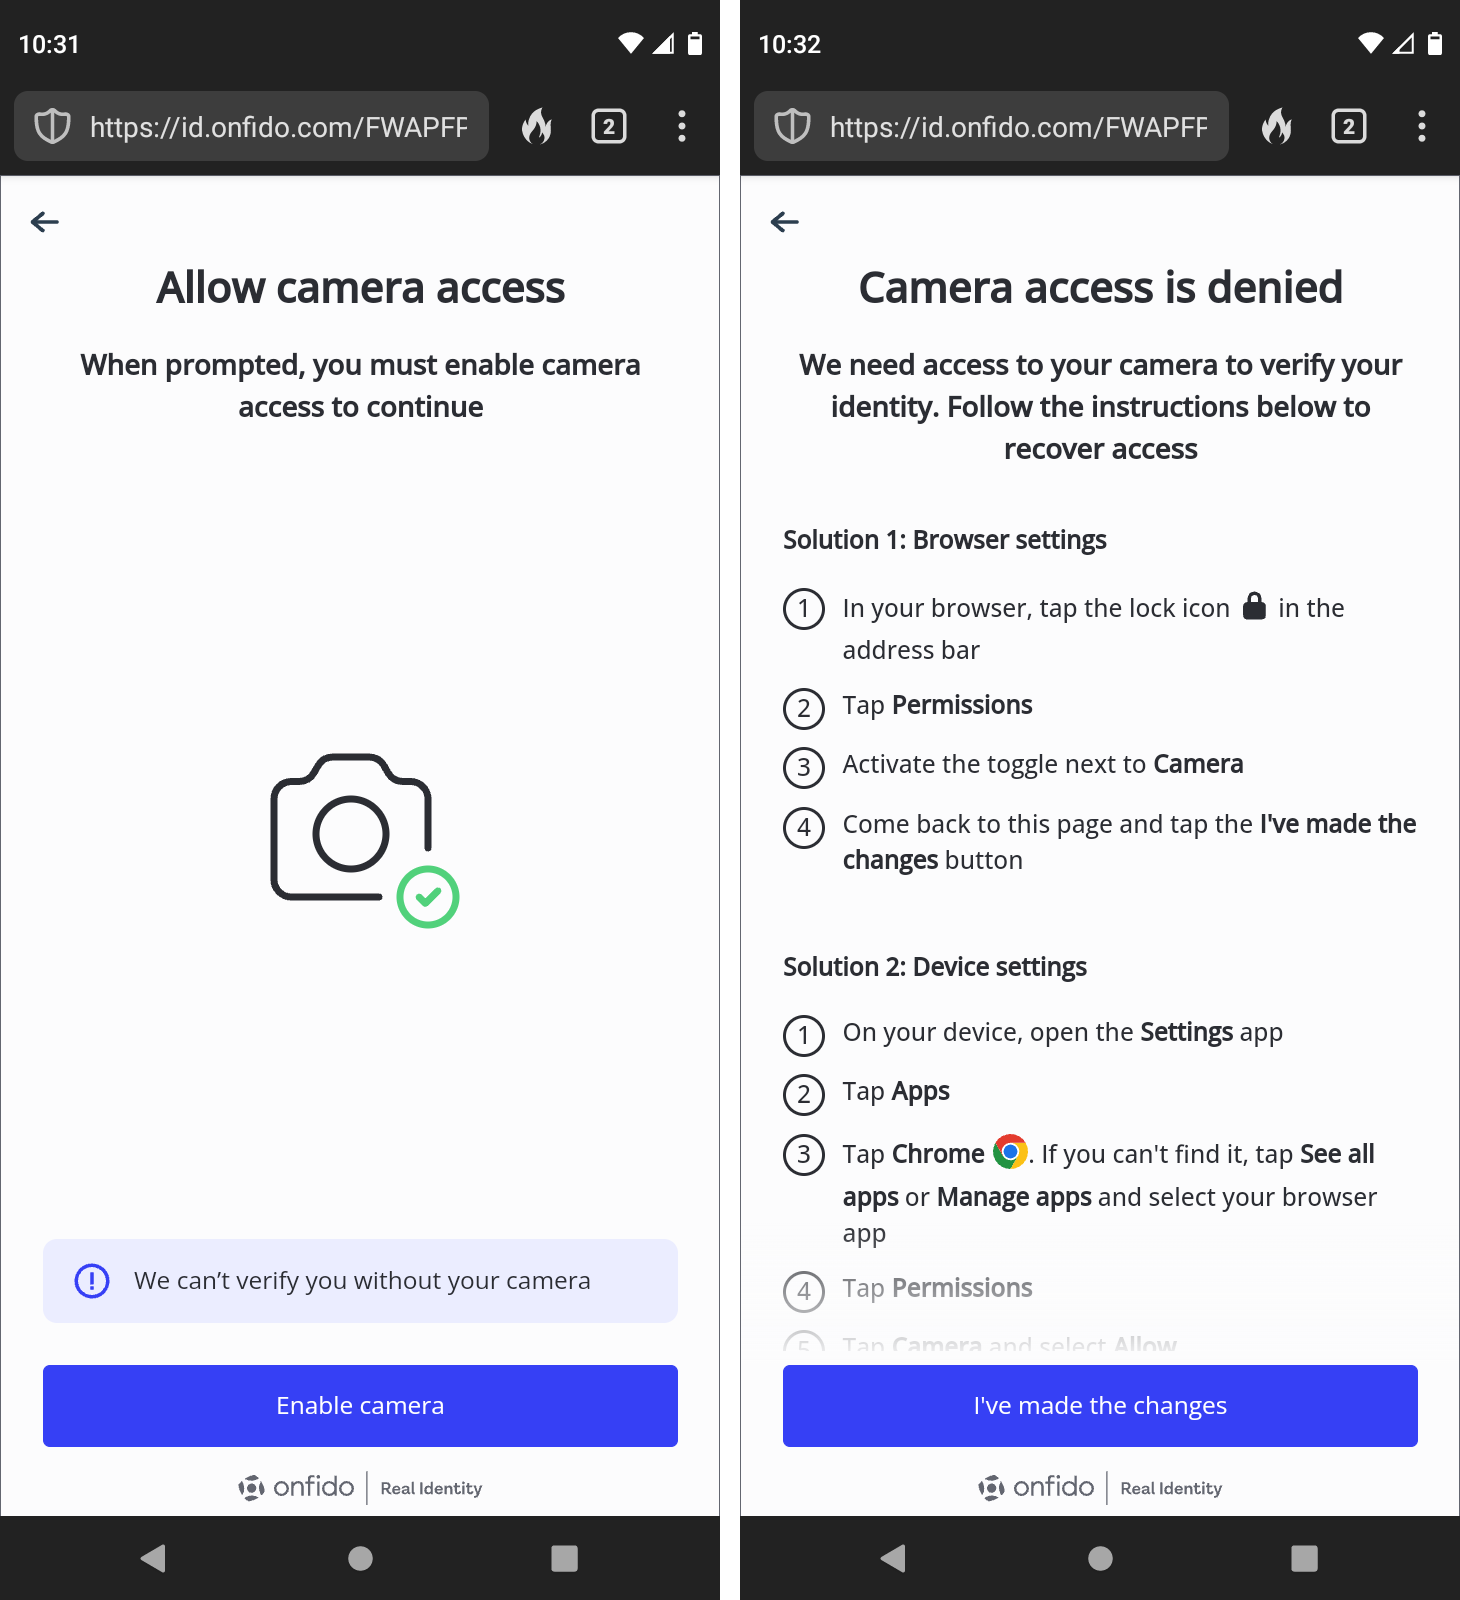
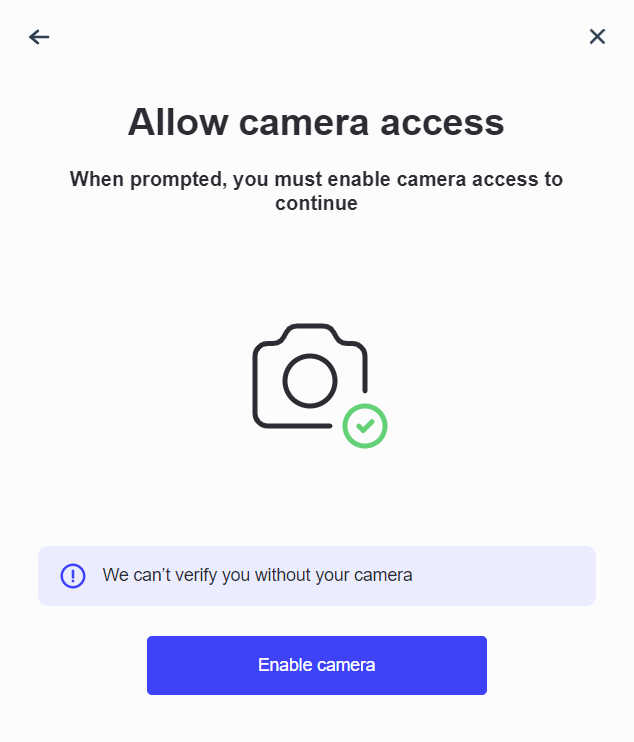
Permission Granted
Make sure the mobile device's browser has permissions to use your Camera, or you will receive warnings. If you do receive these warnings, follow the instructions and click I've made the changes when finished.
It may be necessary to start the IdV flow from the beginning, or even to restart the browser, after granting Camera permissions to the browser.
-
To take a picture of your documents using your phone, click Continue on phone on the initial document submission page.
-
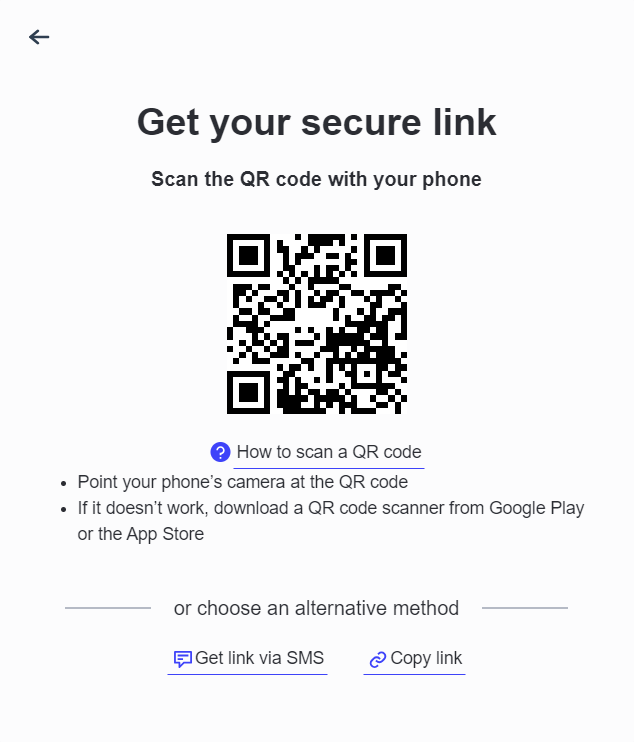
A dialog displays offering options for using your phone; choose the one you'd like to use:
-
Scan QR code: This the default option. Scan the code to open the link on your phone. if you don't know how to scan a QR code, click How to scan an QR Code for some quick instructions. The other options are linked at the bottom: Get link via SMS and Copy link.
-
Get link via SMS: Choose your country code and type your mobile number, then click Send link to deliver it to your phone. The other options are linked at the bottom: Scan QR code and Copy link.

-
Copy link: Copy this link to your mobile device or type it in by hand. The other options are linked at the bottom: Scan QR code and Get link via SMS.

-
-
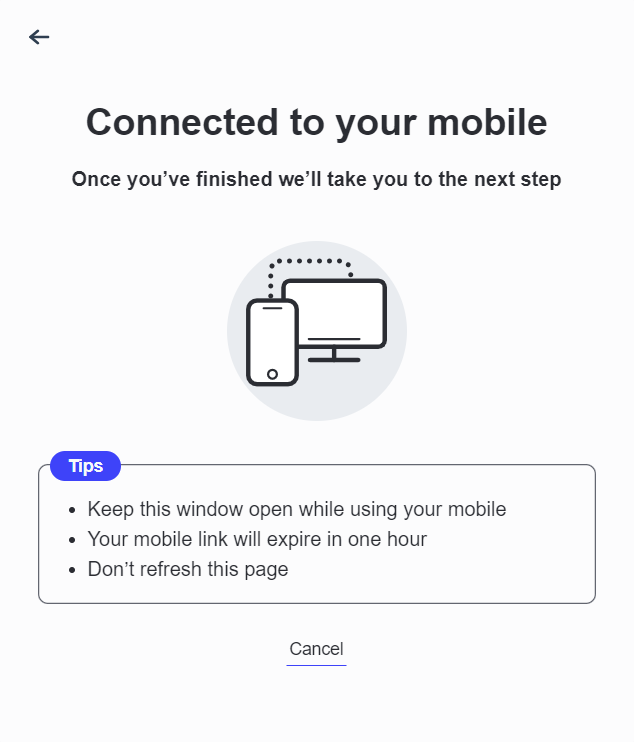
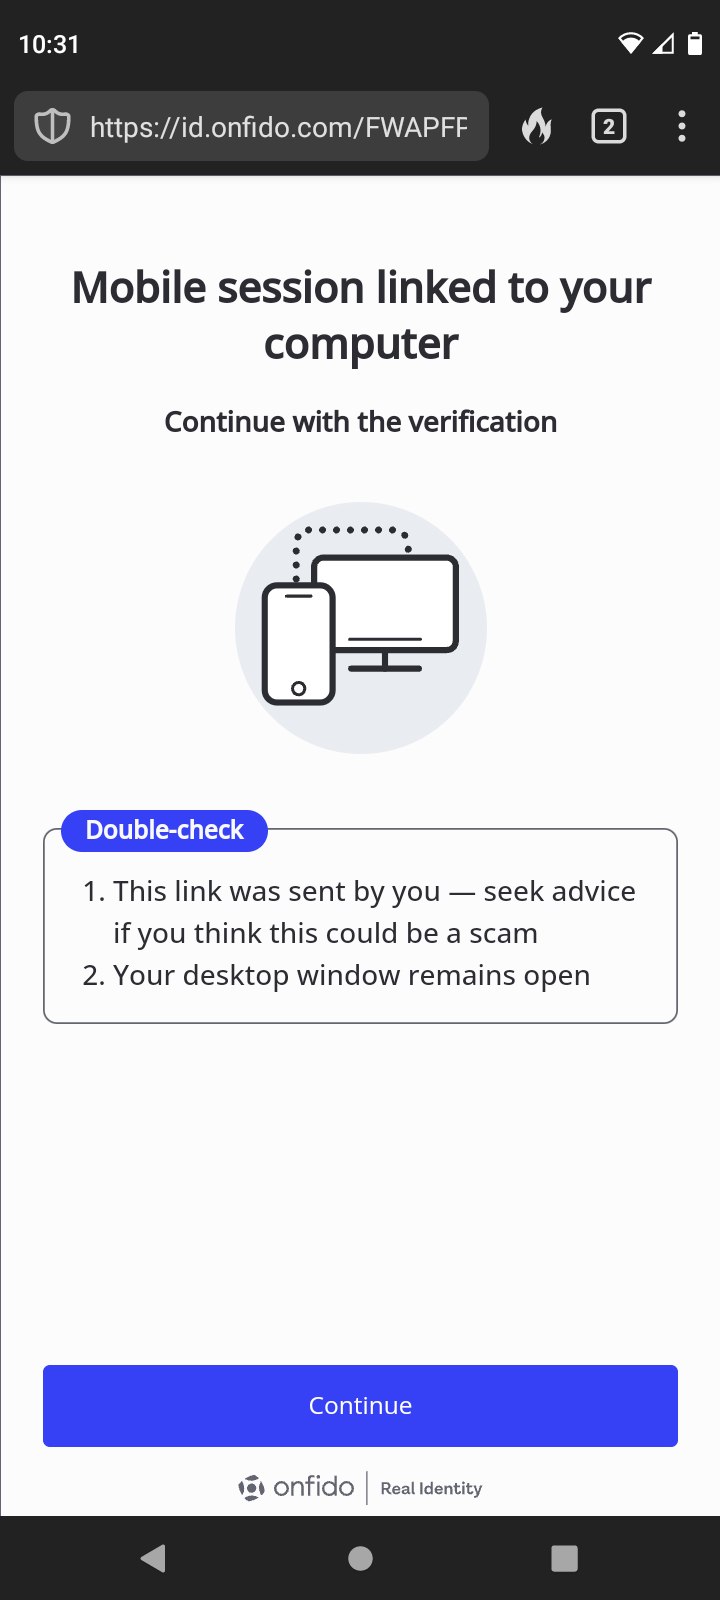
While you are using your phone to check your documents, the following page displays. Once you have completed facial recognition on the mobile device, this will advance on its own. Click Cancel to stop the verification flow and return to the start.
-
On your phone, the OnFIDO site launches a dialog. Keep your workstation browser window open during this process. Click Continue.
-
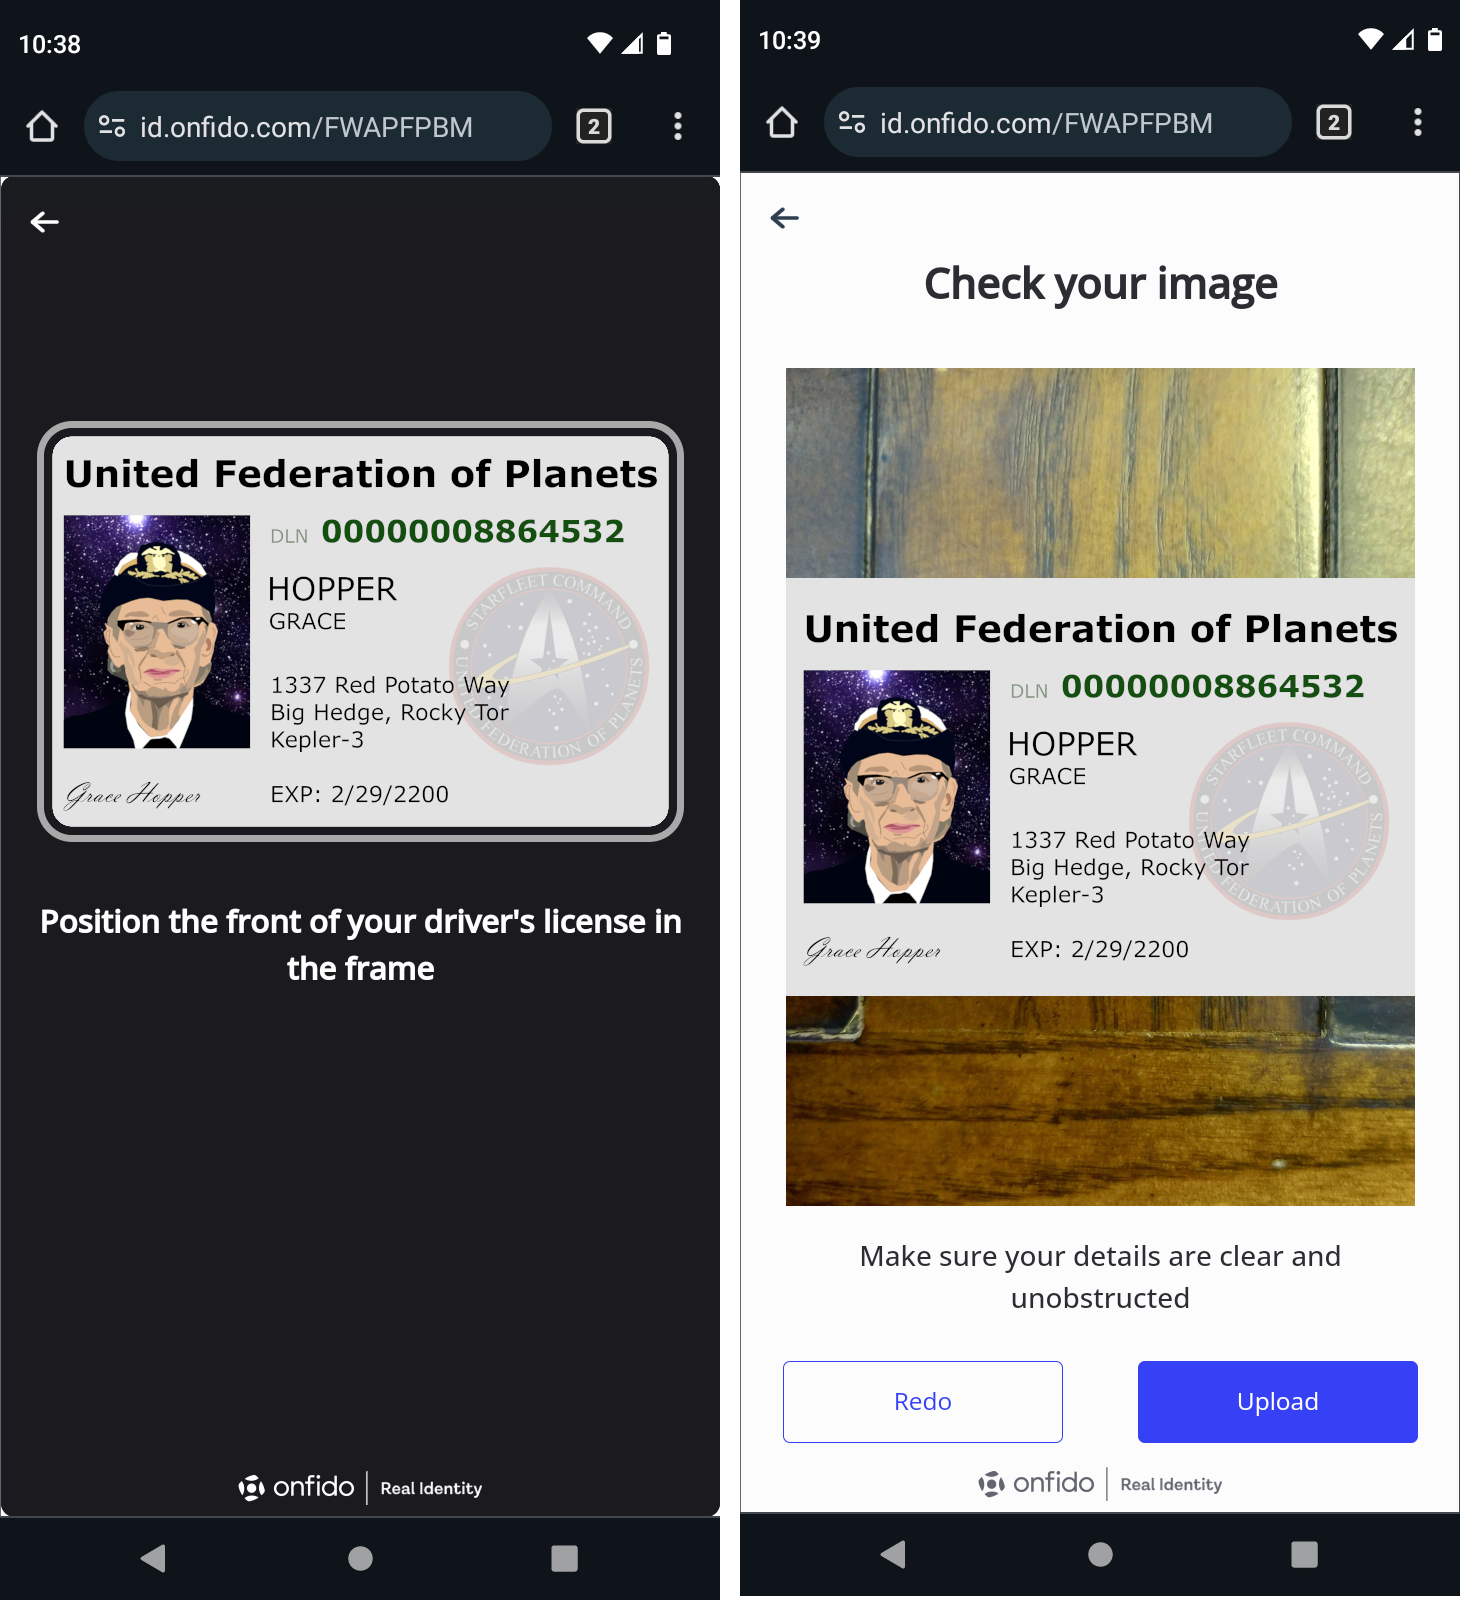
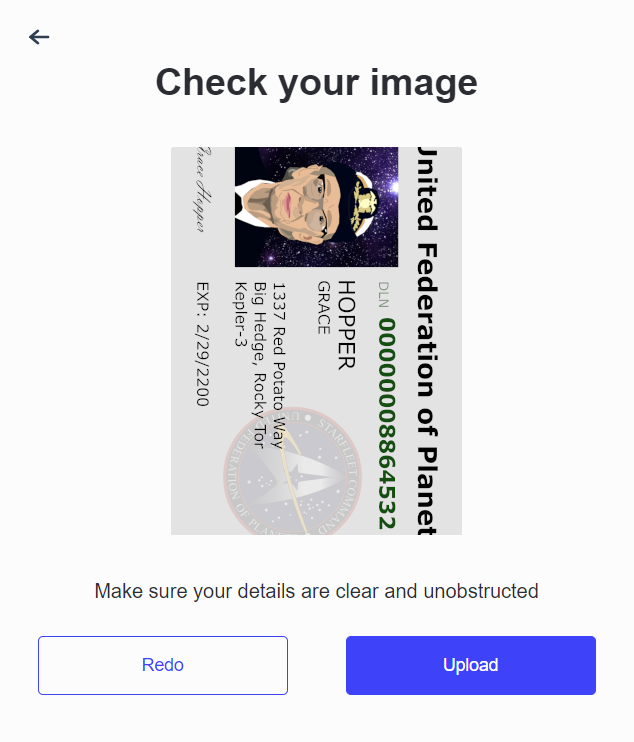
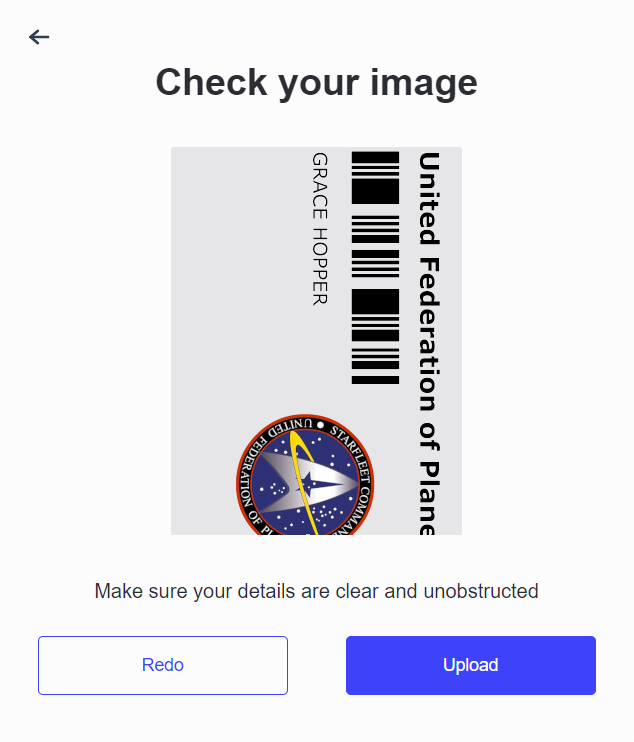
Center your document in the frame. HYPR will encourage you to be still, and then will take a snapshot. You will have a chance to review it; Redo it if you need to, or click Upload if you're satisfied.
-
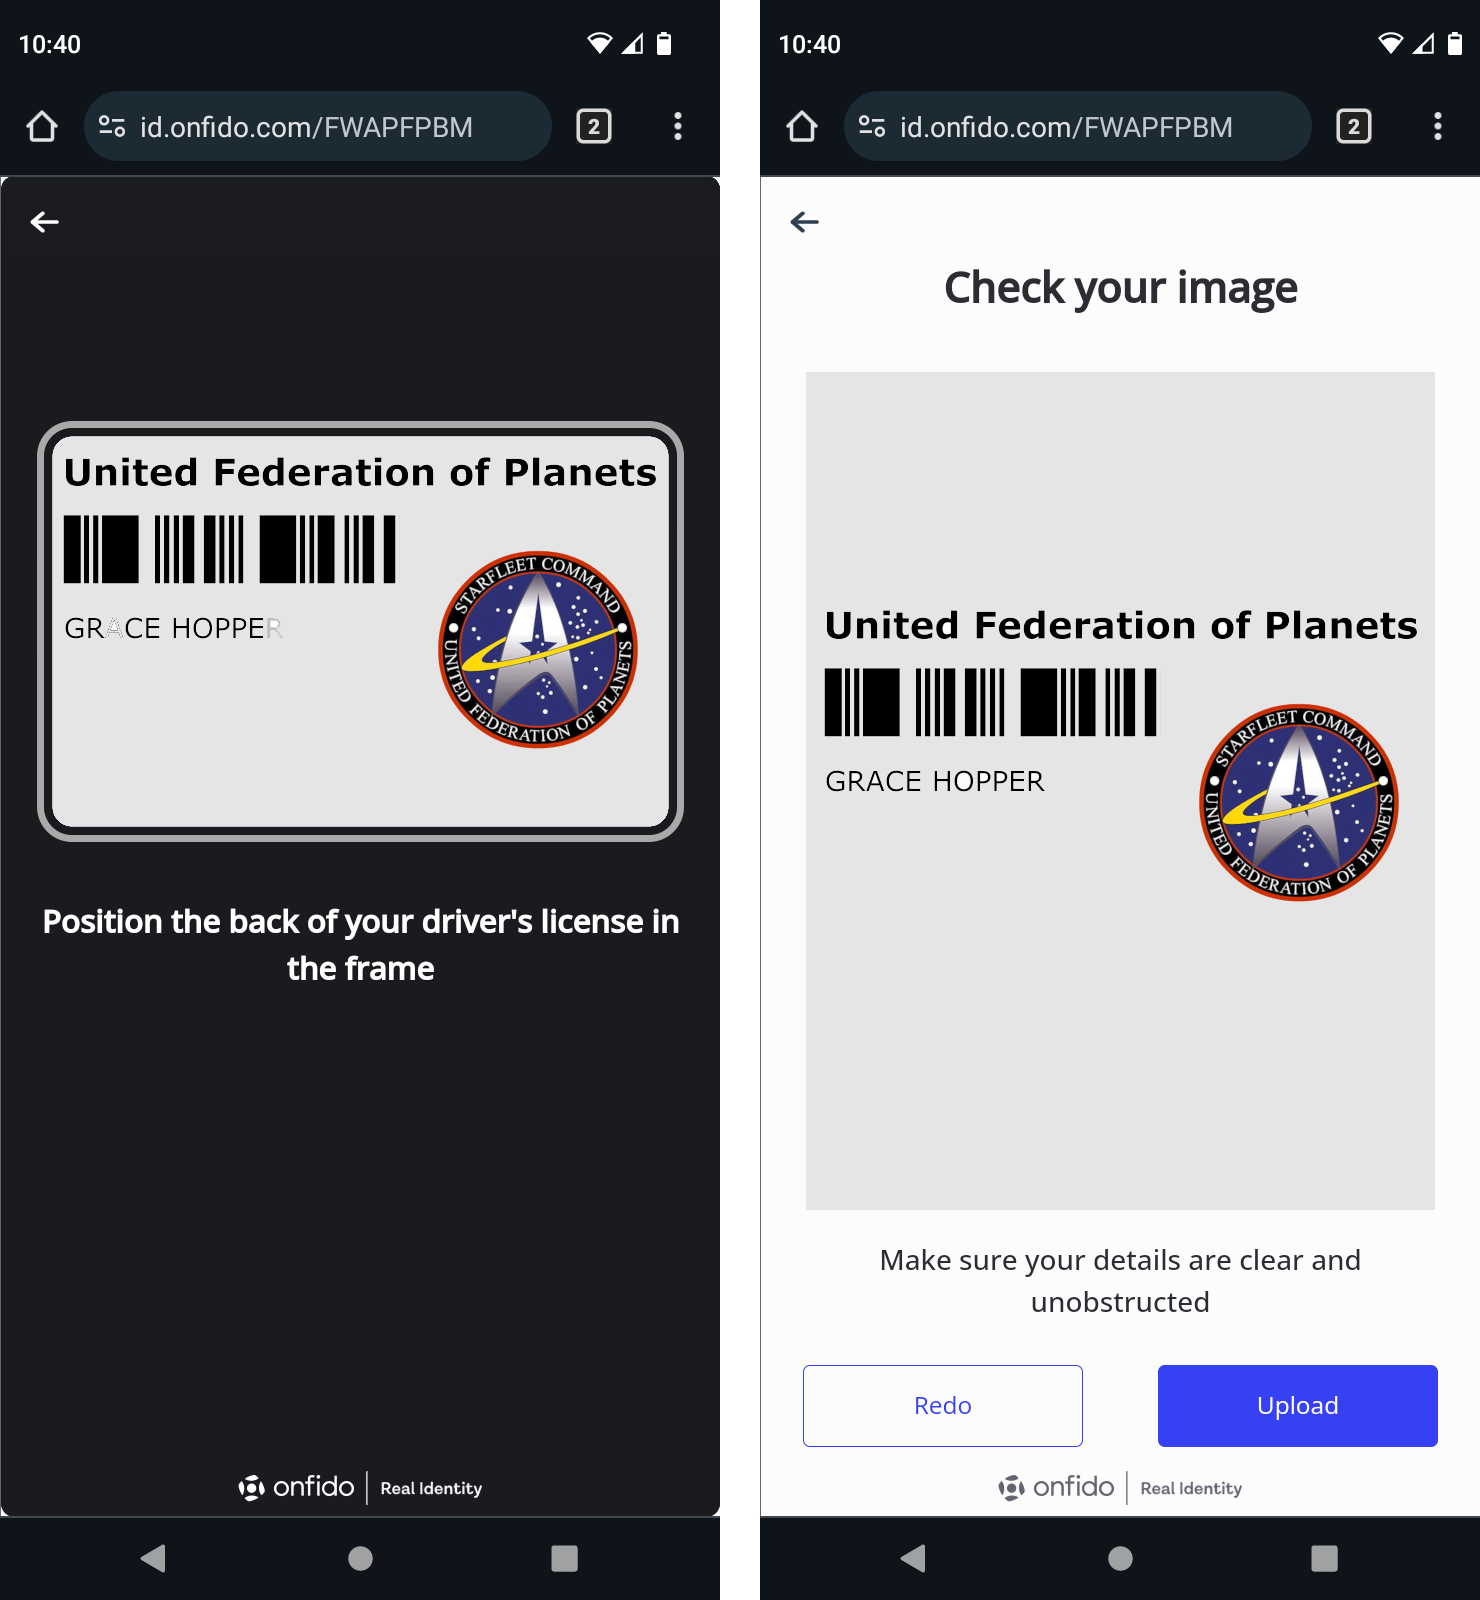
If you are asked to upload the back of the document, repeat the process to capture a picture of the back. You will have a chance to review it; Redo it if you need to, or click Upload if you're satisfied.
-
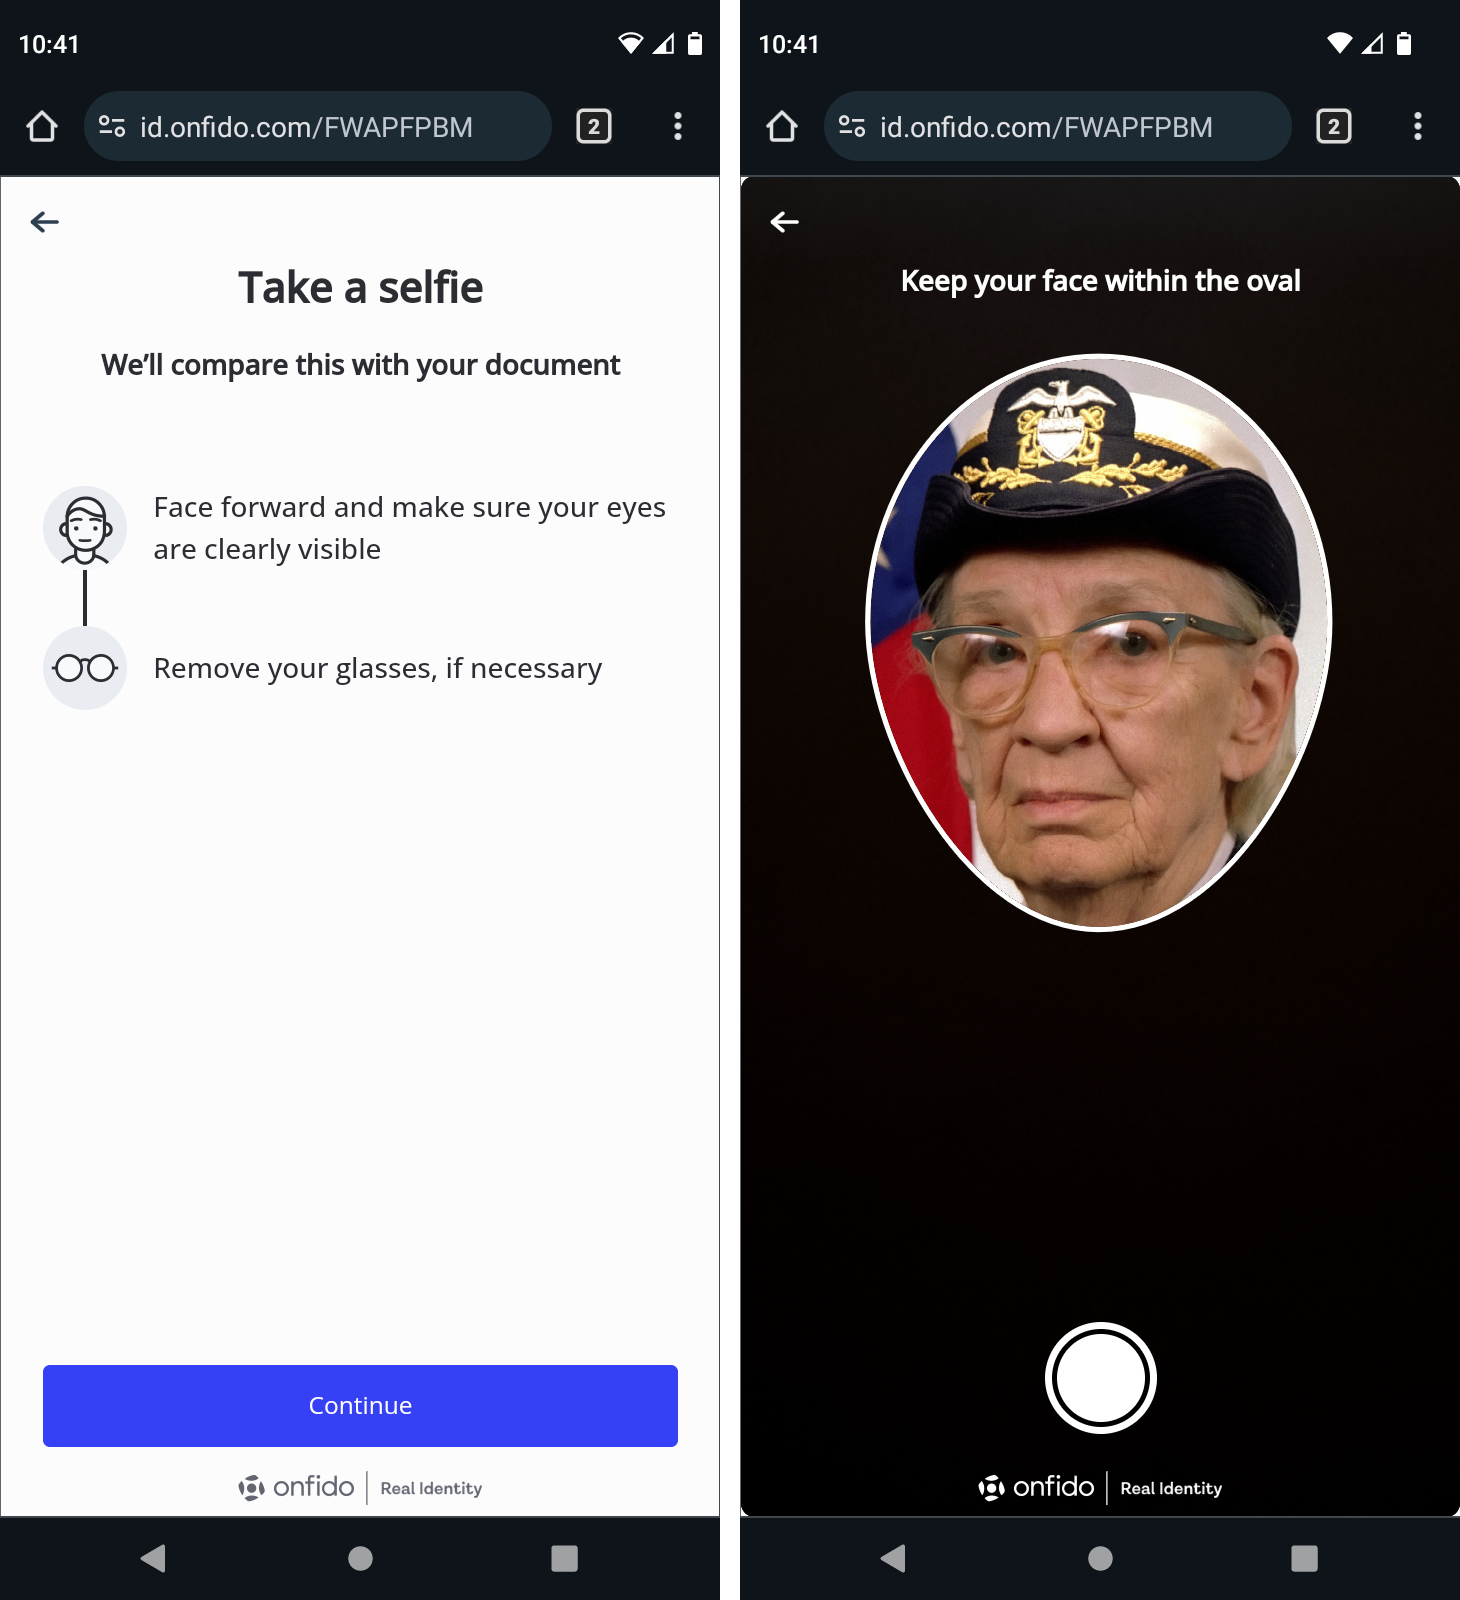
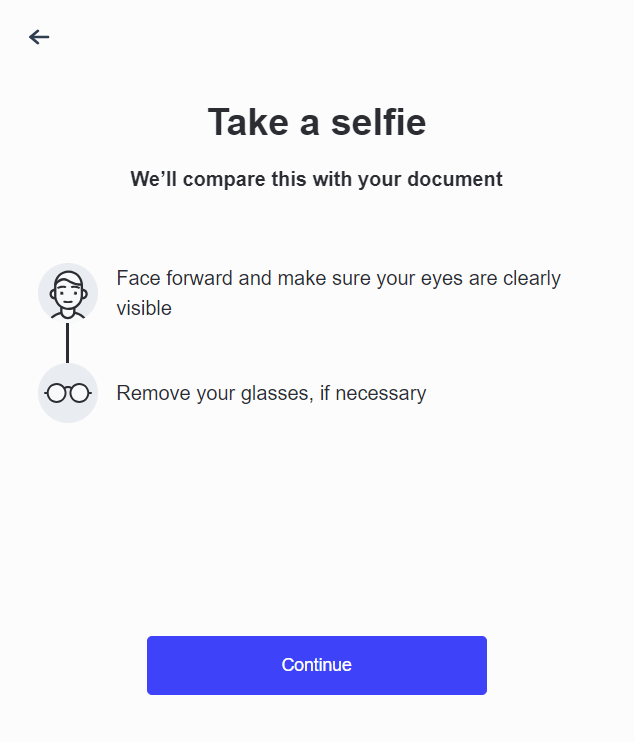
Next you will be asked to take a selfie to be compared to the photo in the picture ID. Make sure you are in good lighting; you may wish to remove any glasses or hats. When ready, click Continue and center your face in the oval, then press the shutter button to take the picture.
-
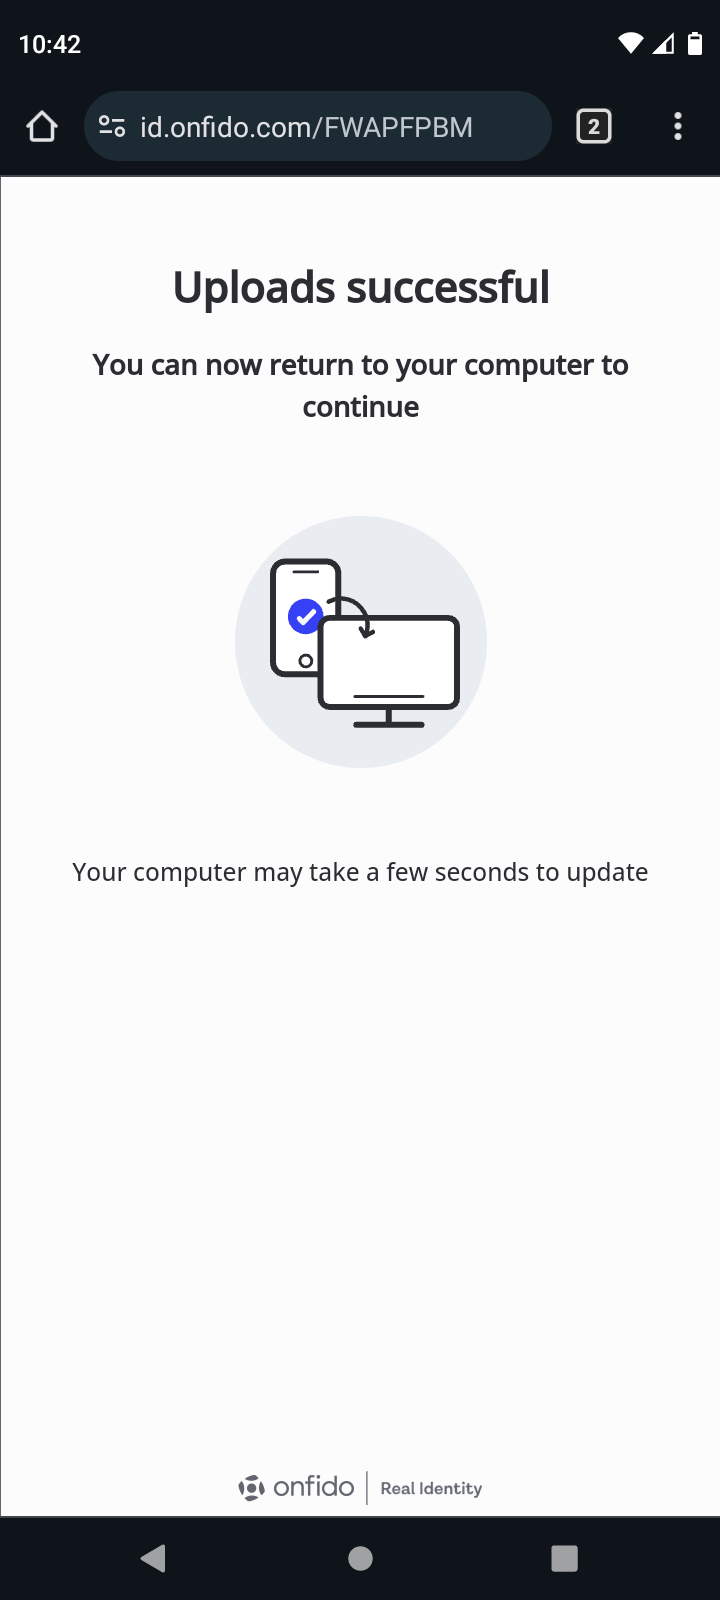
When all documents have been received, you will receive a success message. After this appears, it is safe to close the HYPR Affirm dialog on the phone and continue on your workstation.
Document Verification via Workstation
Use your workstation to upload a picture ID to be used as a comparison for facial recognition and name checking.
Permission Granted
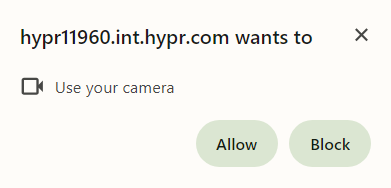
Make sure the workstation's browser has permissions to use the Camera, or you will receive warnings. If you do receive these warnings, Allow permission.
It may be necessary to start the IdV flow from the beginning, or even to restart the browser, after granting Camera permissions to the browser.
-
To take a picture of your documents using your workstation, or if you already have images ready to use, click upload photo - no scans or photocopies on the initial document submission page.

-
Make sure the face and name can be seen clearly. Redo it if you need to, or click Upload if you're satisfied.
-
On the upload page for the back of the document, if it is required, click upload photo - no scans or photocopies on the initial document submission page.
-
Make sure the face and name can be seen clearly. Redo it if you need to, or click Upload if you're satisfied.
-
Next, provide a selfie as for comparison with your photo ID. Make sure you are in good lighting; you may wish to remove any glasses or hats. When ready, click Continue.
-
Center your face in the oval, then press the shutter button to take the picture.

-
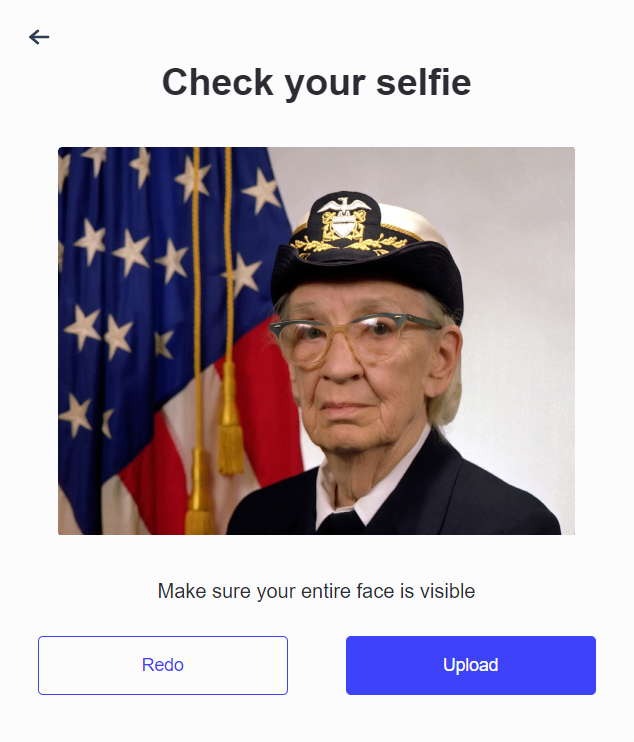
Make sure your face can be seen clearly. Redo it if you need to, or click Upload if you're satisfied.
-
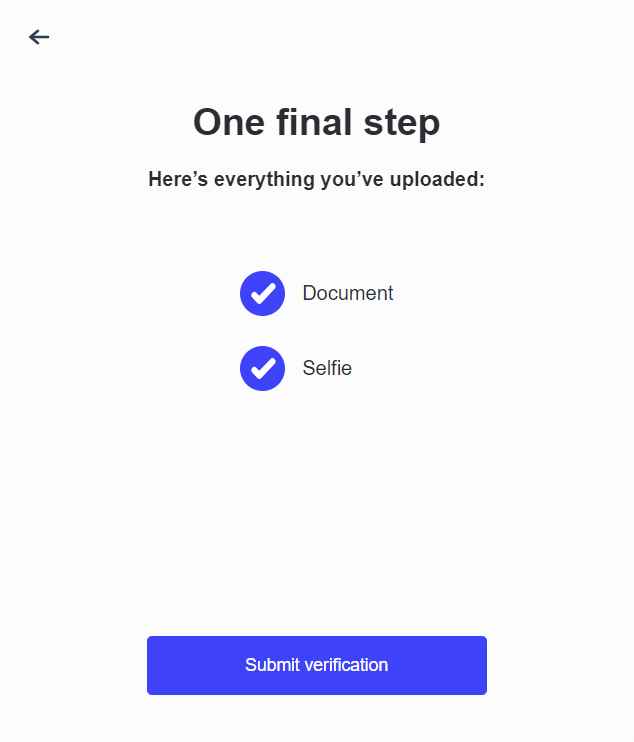
A list appears of the items you have submitted for identity verification. Click Submit verification.
-
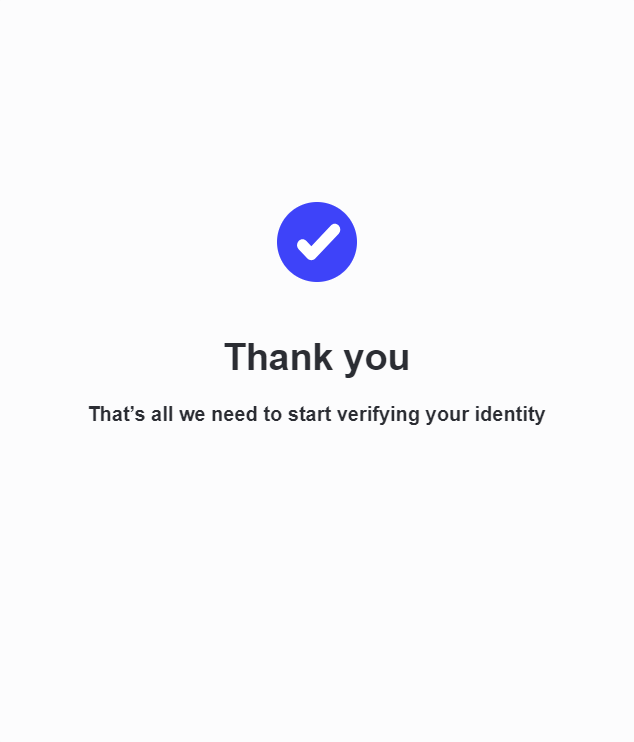
When all documents have been received, you will receive a success message. After this appears, it is safe to close the HYPR Affirm dialog on the phone and continue on your workstation.
Hang Tight
You may see a message stating, "Hang tight, we're wrapping up!" At this time the approver is notified that a HYPR Affirm IdV request has been initiated. The approver may join at any time prior to granting approval, but is needed once all qualifying conditions have been met.
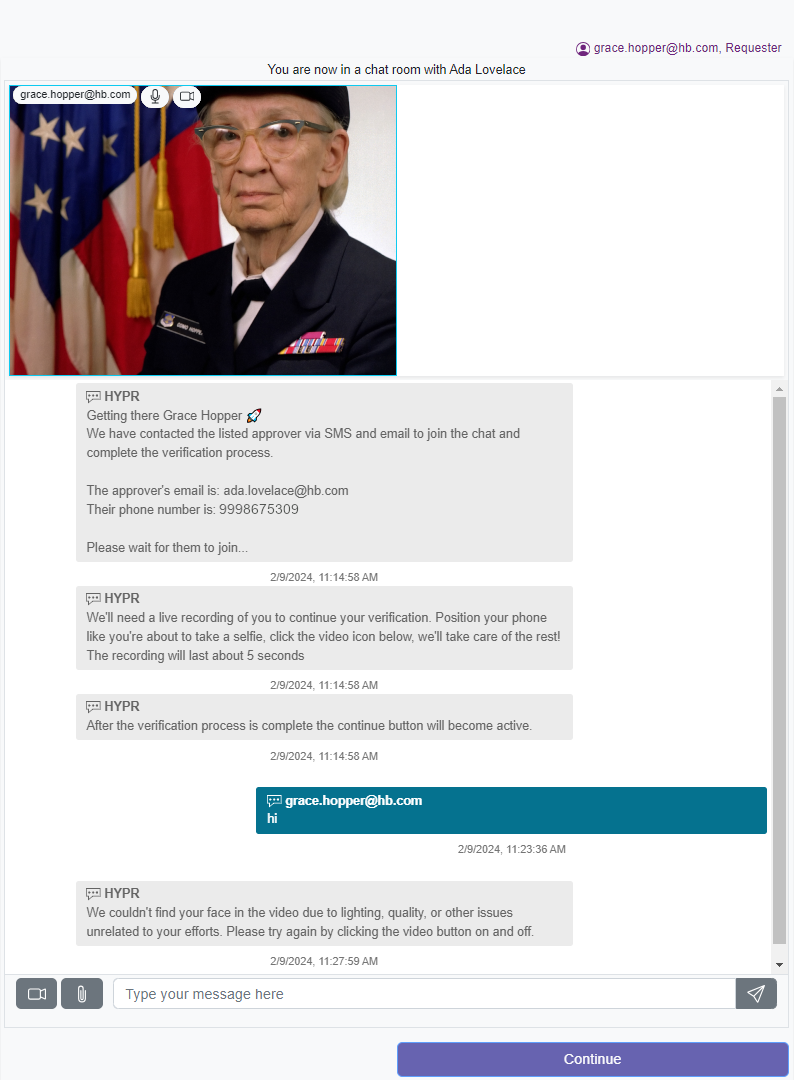
Approver Chat
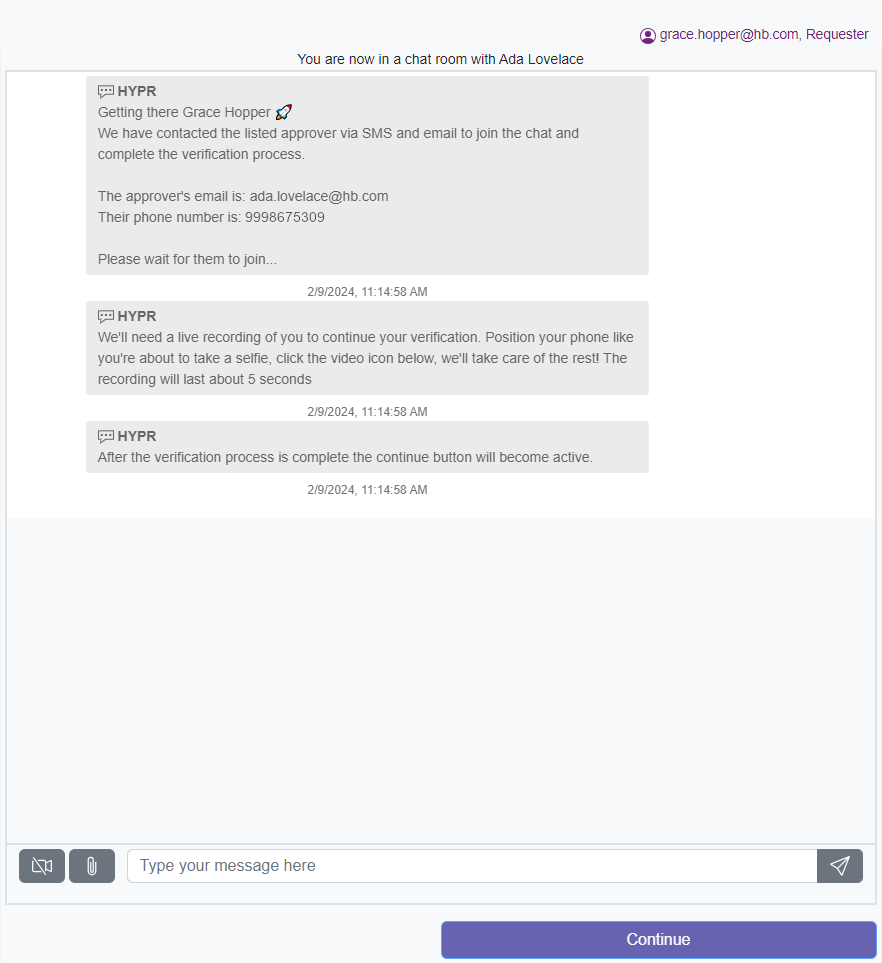
If Approver Chat is enabled, you are joined to a chat room on the workstation, where you can:
- Attach more files
- Join video chat
- Send chat text
A Continue button at the bottom will remain unusable until all the conditions required by the organization are satisfied.
If video chat is enabled, you will be able to join by enabling the camera icon next to the message field.
Offer Expires While You Wait
This session will remain active for 1 hour, after which a new one will need to be started.
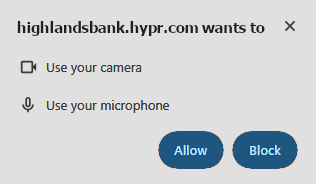
- You may be asked to allow camera and microphone access. If this happens, click Allow. Clicking Block may restart the verification flow.
- The video chat opens. HYPR Affirm uses the video to compare your face to official documents or previously facial captures. Make sure you are in a well-lit environment; that you remove any headwear, possibly including glasses; and that your camera view is unobstructed. If HYPR Affirm cannot make out your face clearly, it will make recommendations to fix the issue and try again.
- You will need to upload a picture ID. Once this file is uploaded, HYPR Affirm will compare it to your face in the video. If this is not your first time using HYPR Affirm, previous facial captures will be used for the comparison to your current video image. Your approver may require other documents, which you can also upload here.
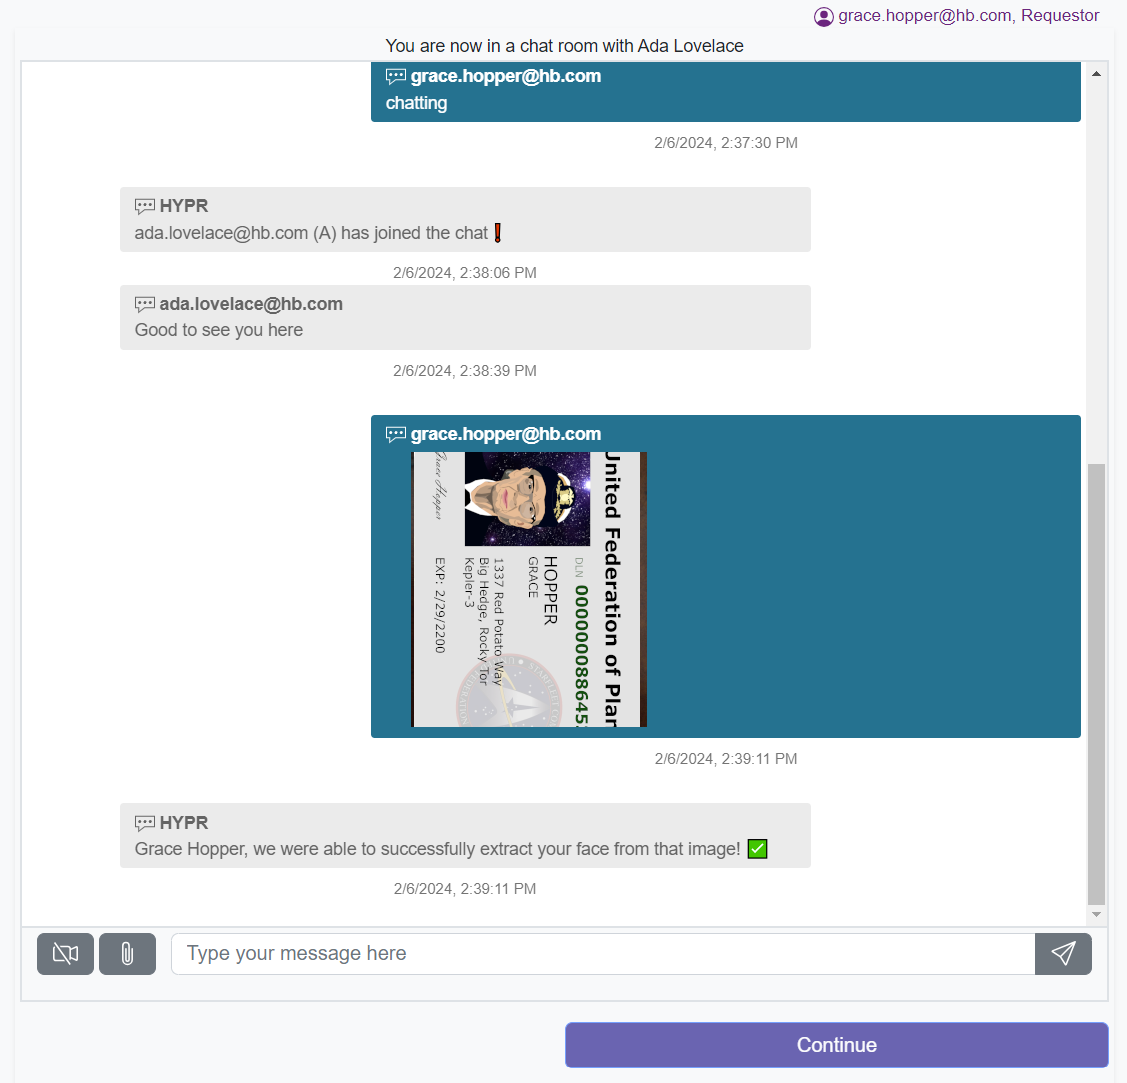
- HYPR Affirm will make the comparison of the video facial capture to that of the picture ID capture, and if they are a match, it will show both in the chat. The approver must be present in the chat room to continue.
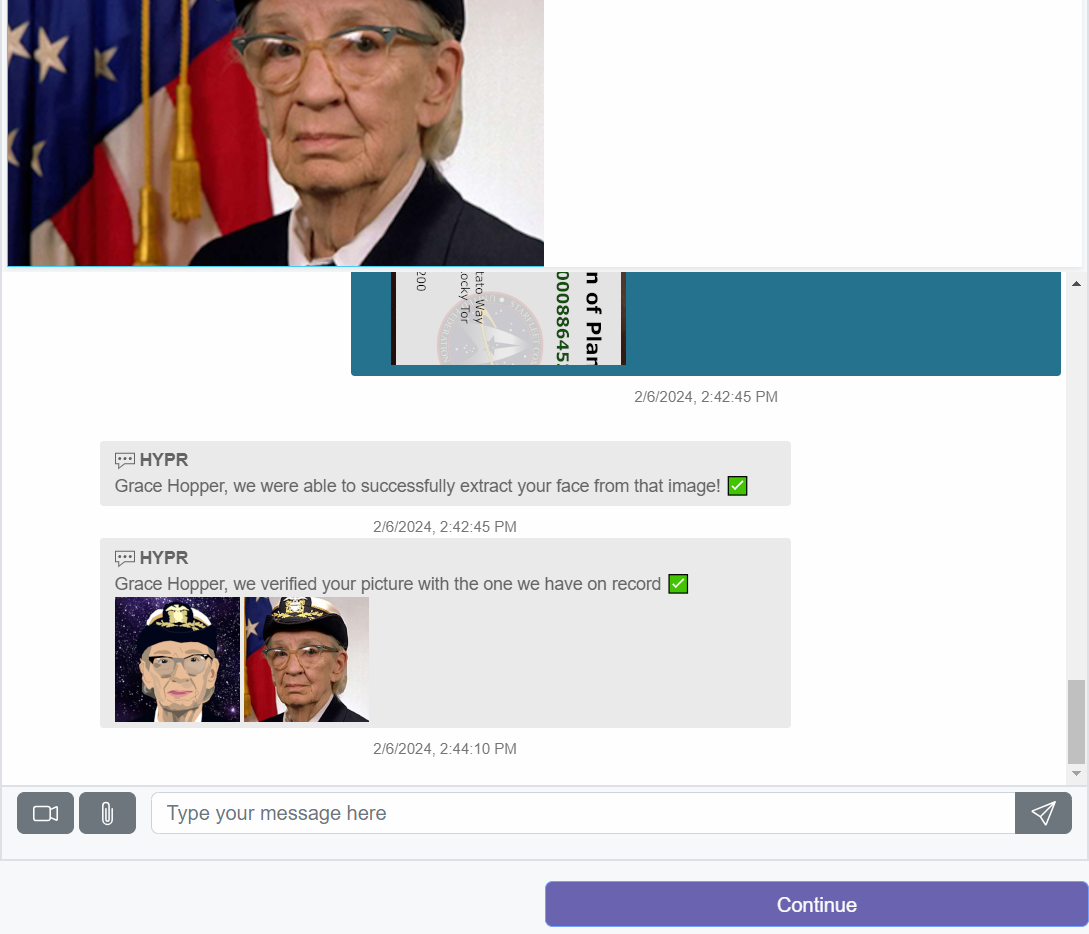
- Wait for approval. Once it is given, you will be redirected to the HYPR Device Manager, where you can pair devices to your account.
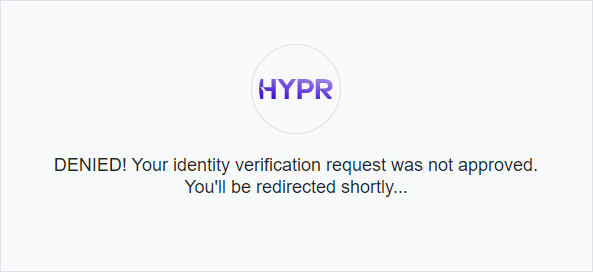
Denied
If your approver denies your identity verification, you will receive the message shown here; then you are redirected back to the HYPR Affirm Welcome page.
What the Approver Sees
-
Once the requester joins the chat, an alert is sent to the approver's phone.
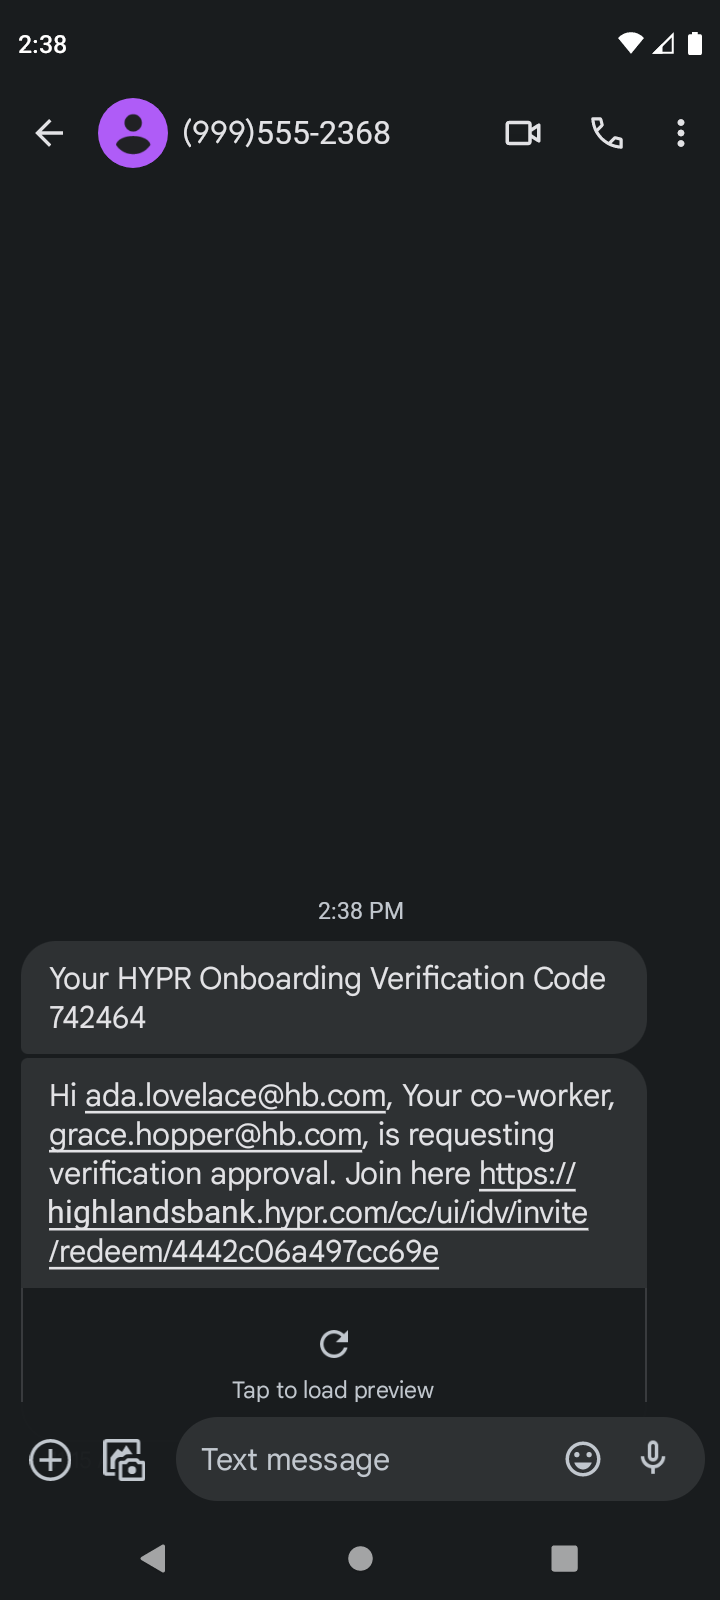
-
Click the link to join the requester in a chat room.
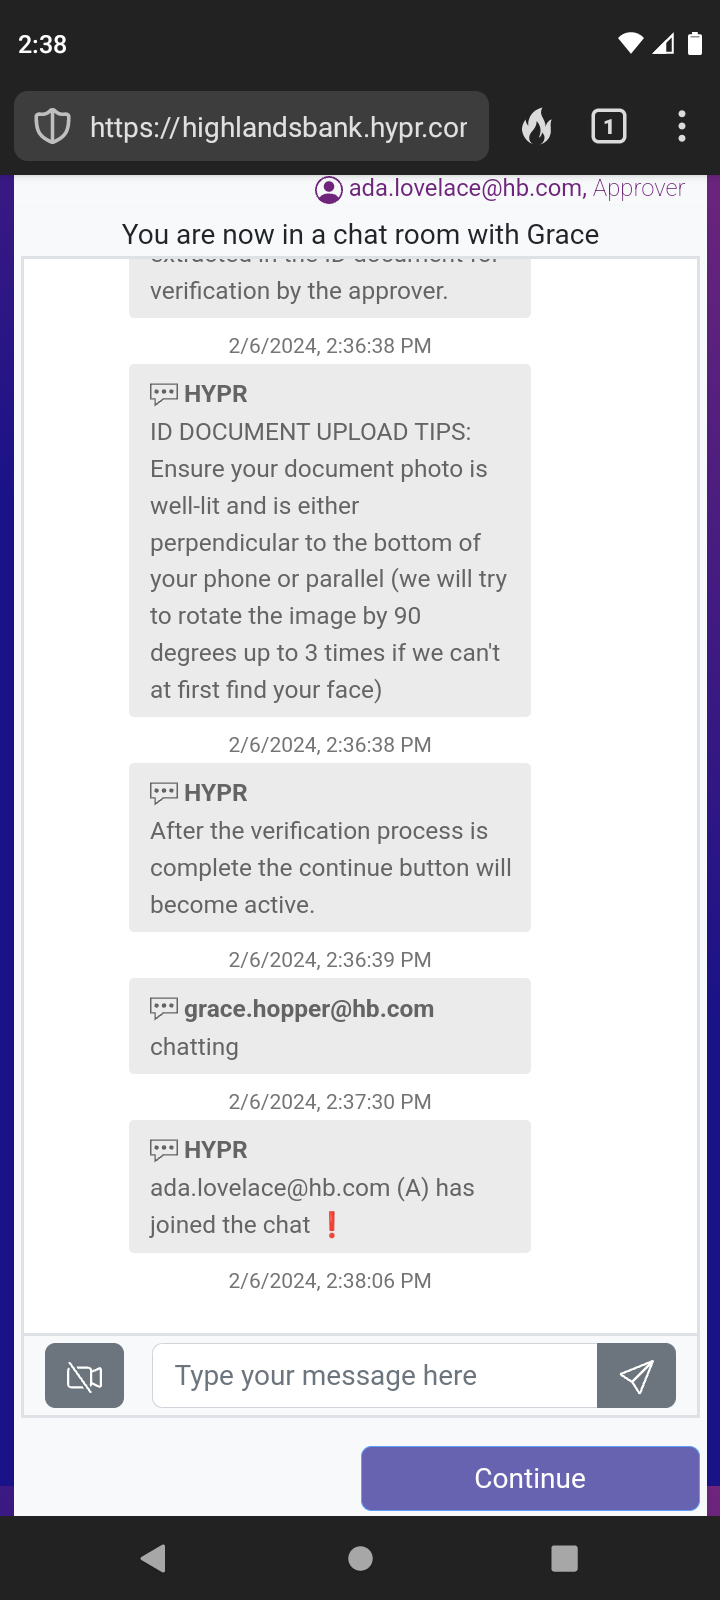
-
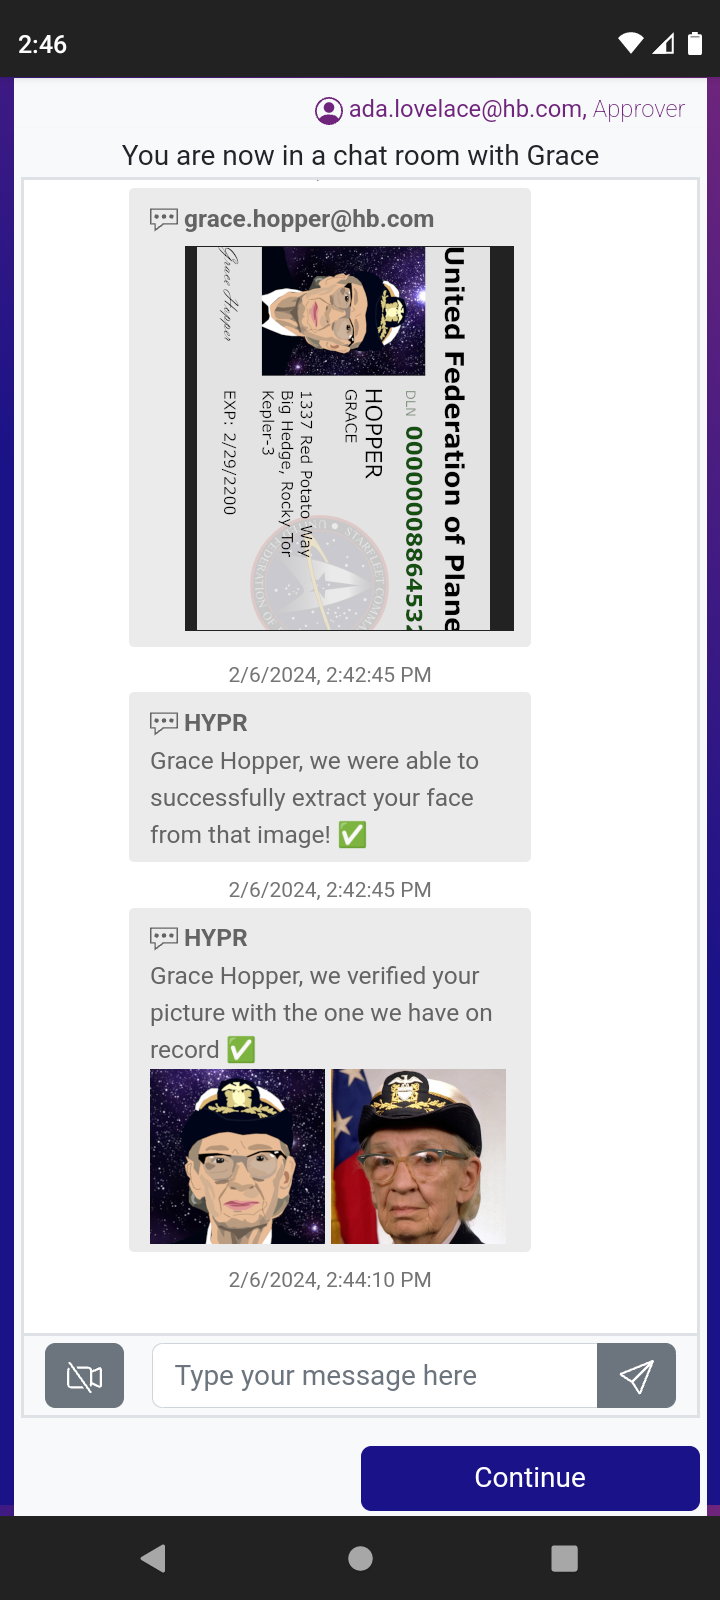
The requester uploads a picture of a photo ID.
-
Video chat starts for the requester. The approver is not required to participate in the video chat, but if it is enabled, the requester must join the video chat. HYPR will use live video facial capture to match faces with the uploaded photo ID.
-
When all of the required checks have passed, click Continue.
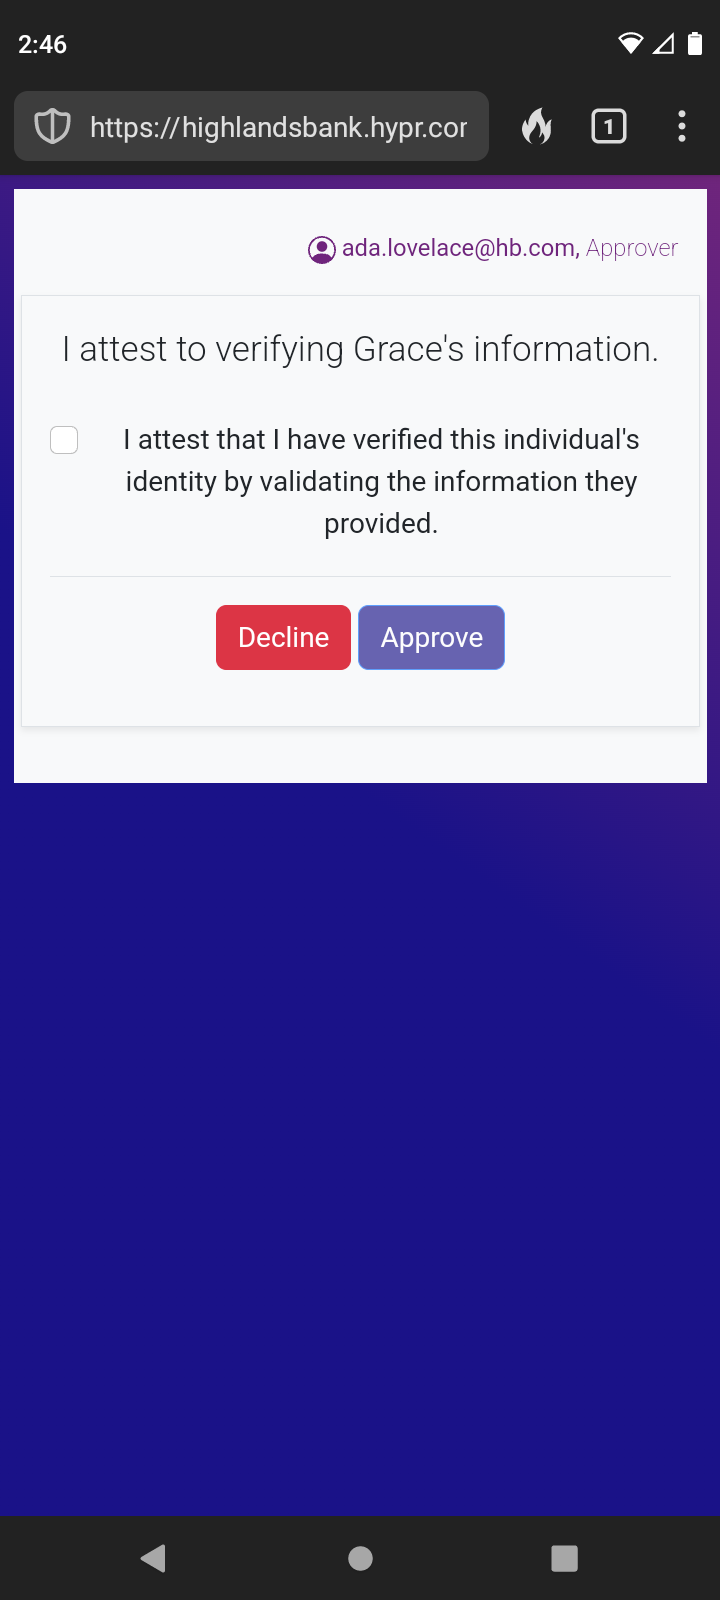
-
The choice is presented for you to Approve or Decline the requester.
- To approve, first check the box next to I attest that I have verified this individual's identity by validating the information they provided., then click Approve
- To decline, skip the check box and just click Decline
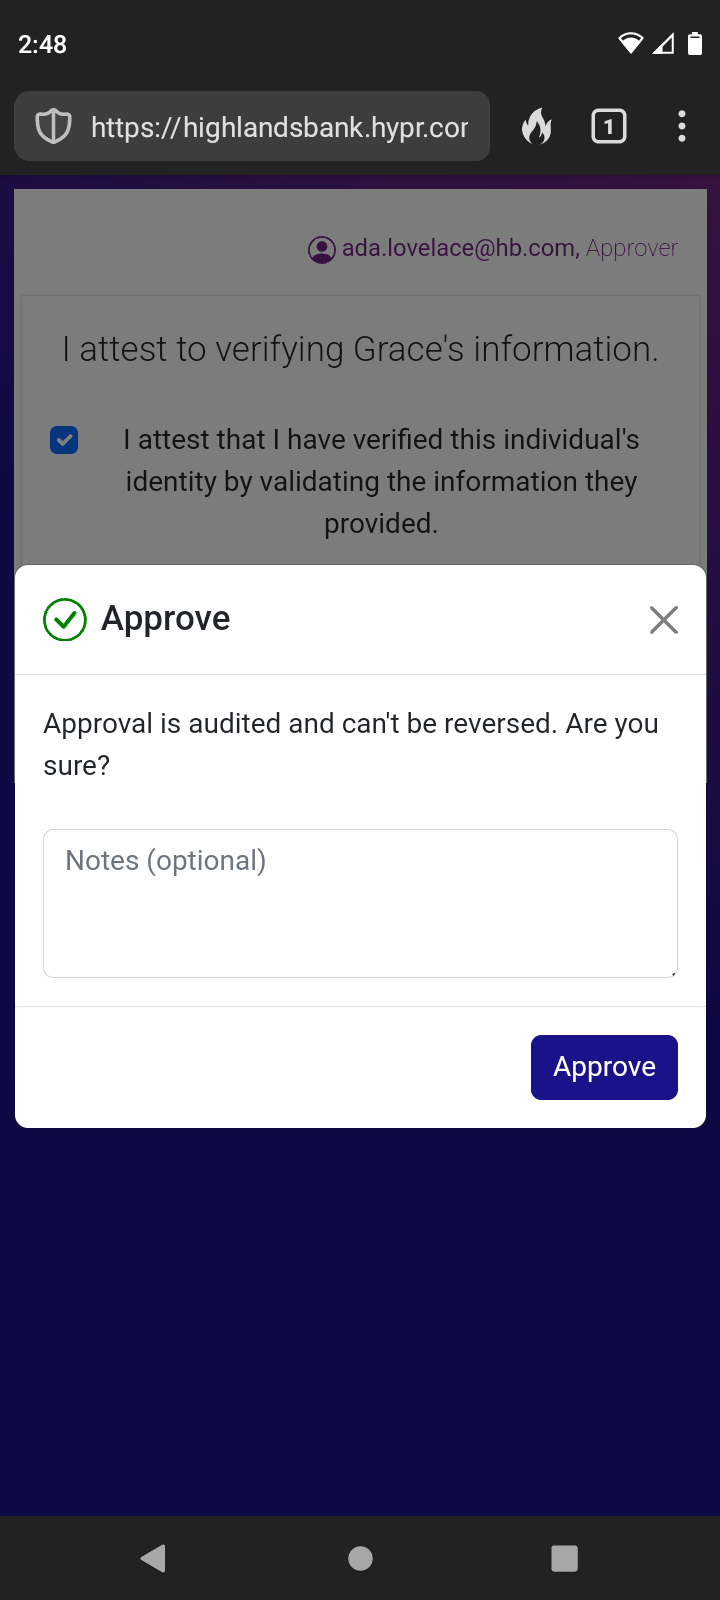
Approval Flow
The following steps are what an approver sees after choosing to Approve a requester.
-
Once Approve is clicked, a confirmation displays where you can add a comment if you like. Click Approve.
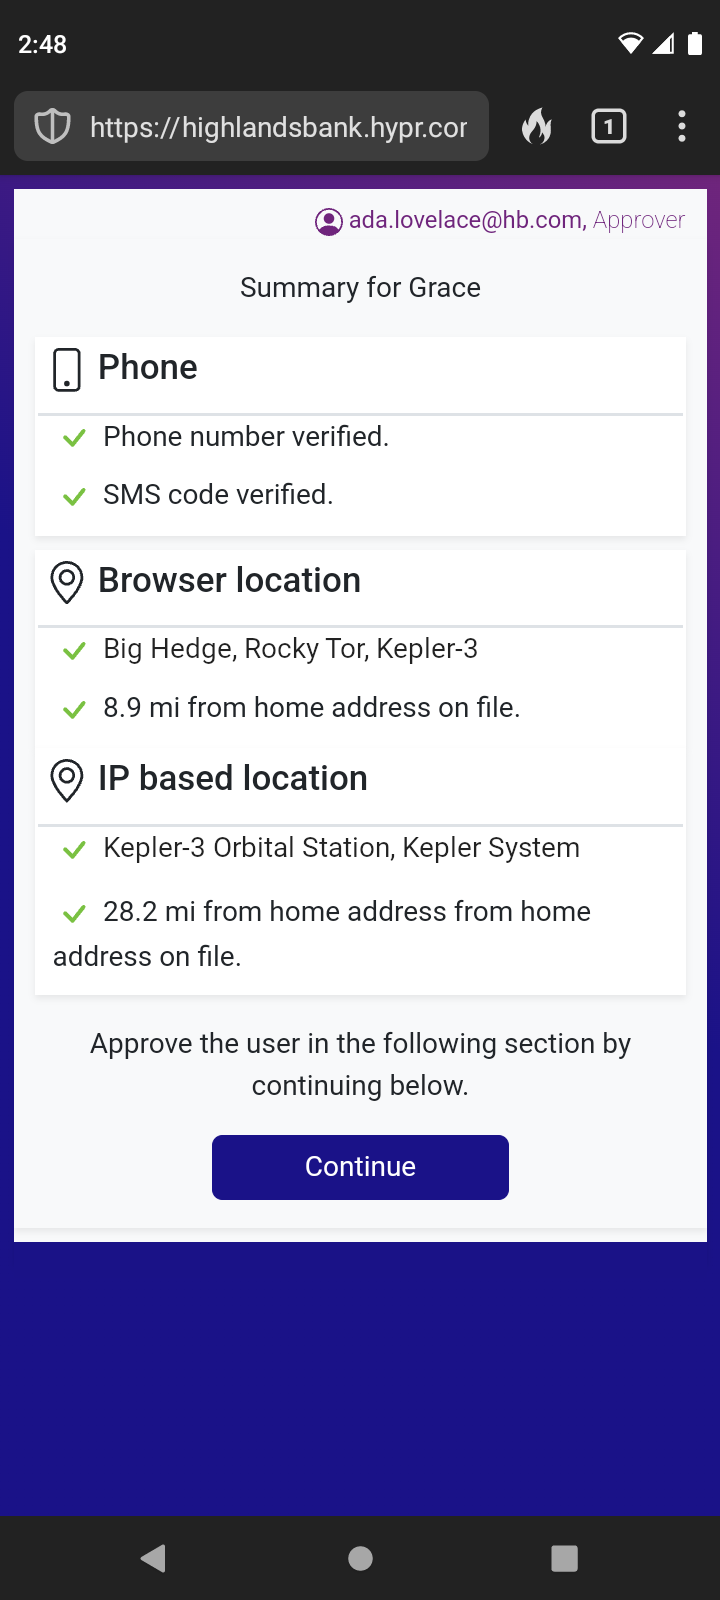
-
A summary of the requester's information displays. When you are finished reviewing it, click Continue.
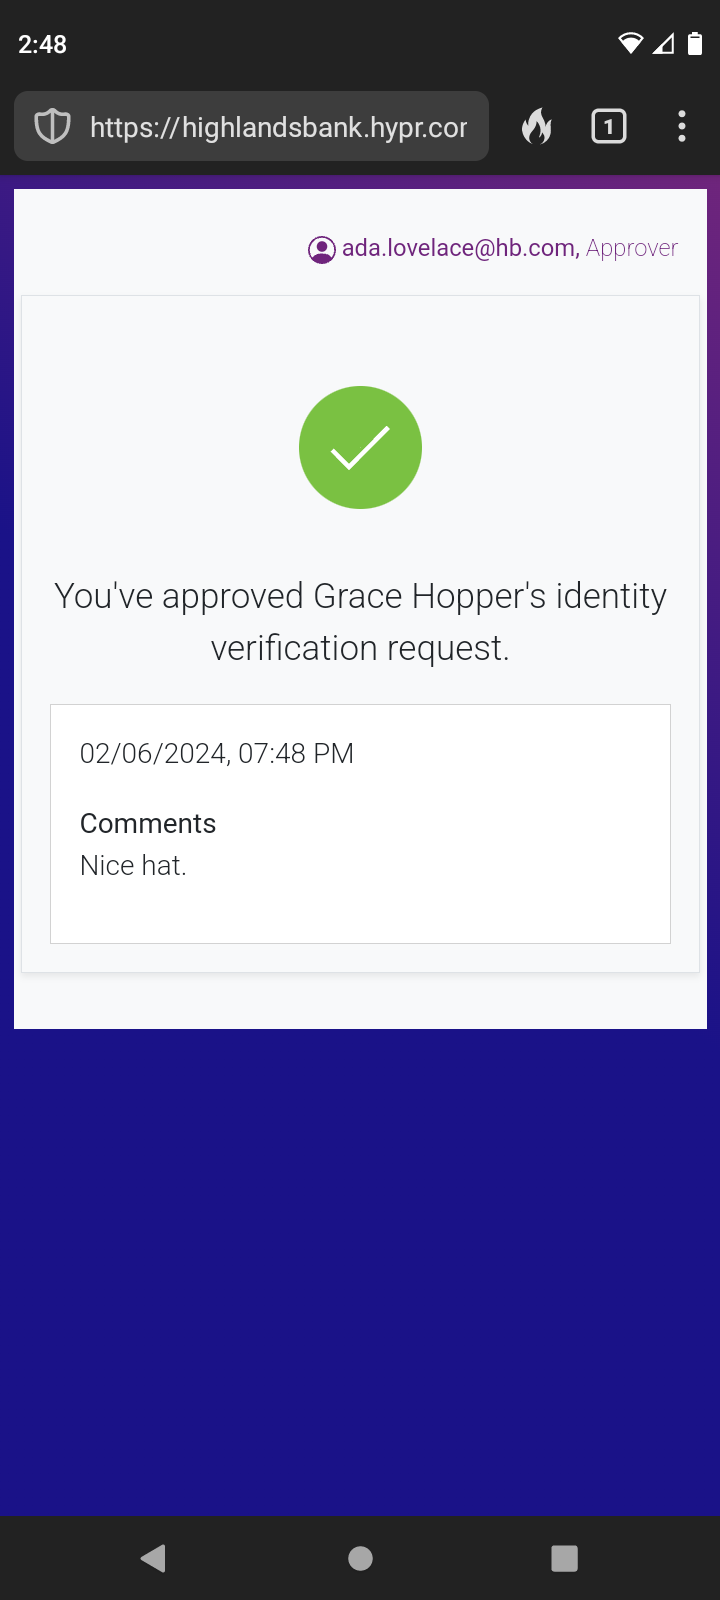
-
A success screen displays, including the comment left earlier. The IdV request has been successful; it is safe to close this window.
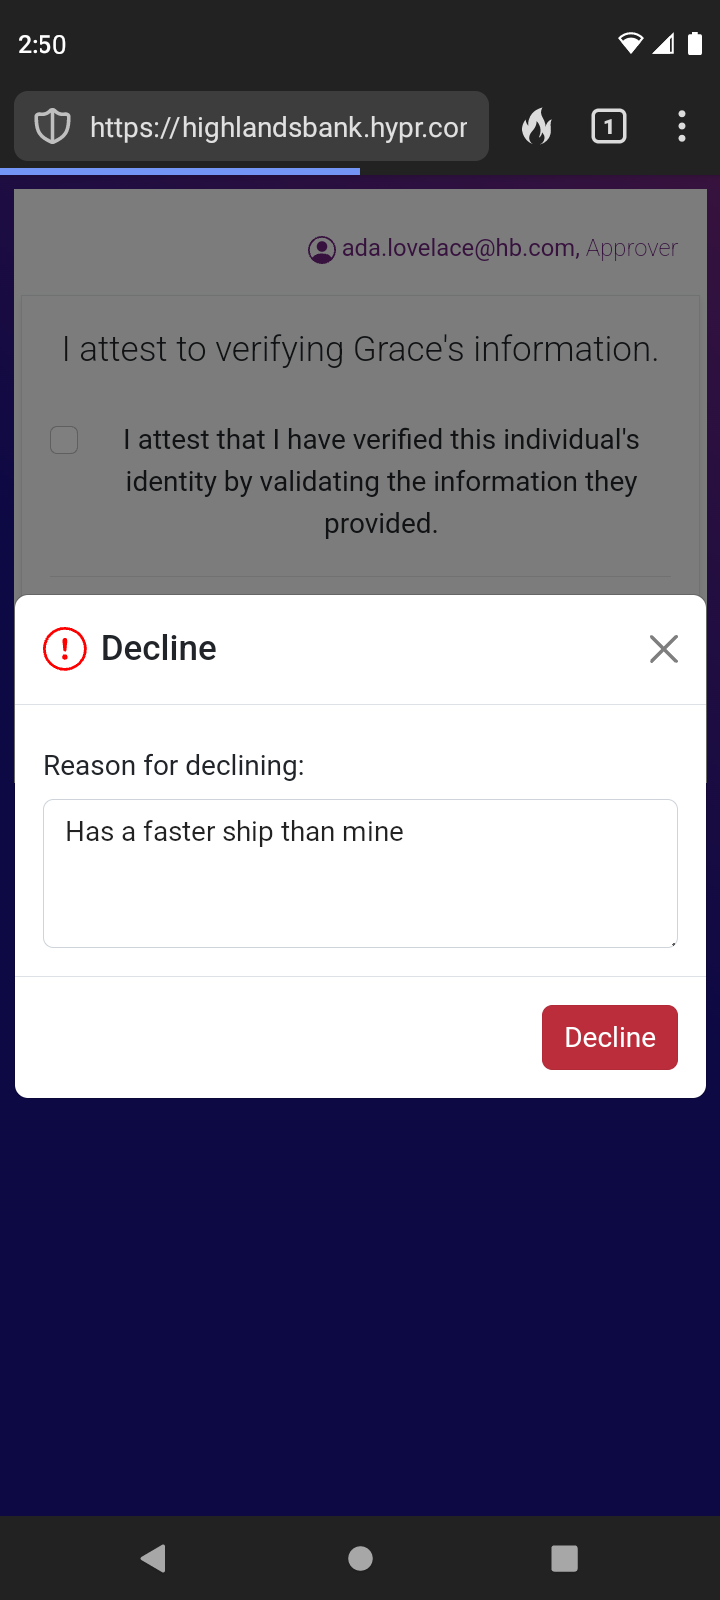
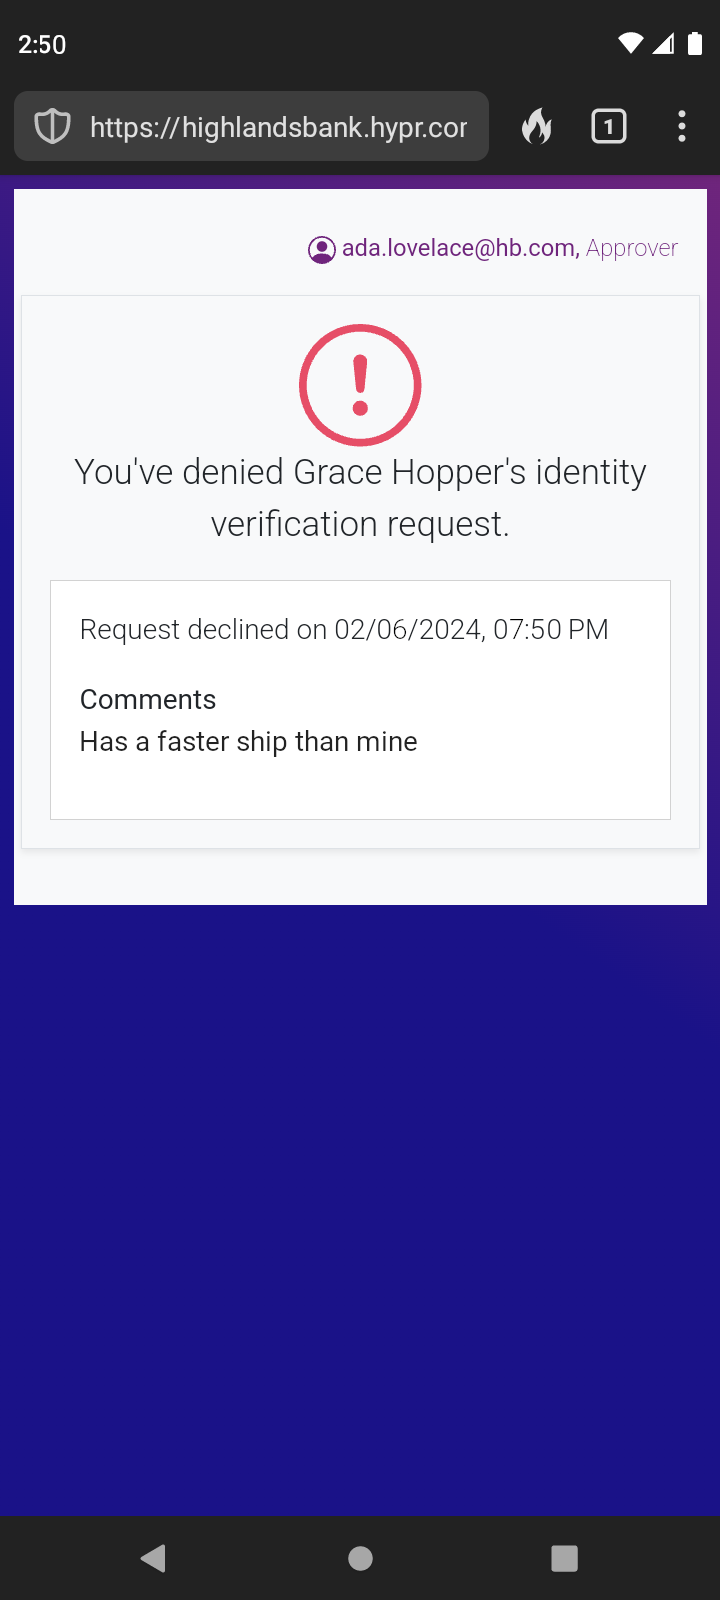
Denial Flow
The following steps are what an approver sees after choosing to Decline a requester.
-
Once Decline is clicked, a confirmation displays where you can add a reason if you like. Click Decline.
-
A success screen displays, including the reason left earlier. The IdV request has failed; it is safe to close this window.
Updated 2 months ago