HYPR Adapt
HYPR Control Center Standard
Beta Feature
This article is subject to change as the feature develops and we make improvements.
HYPR integrates robust authentication with advanced risk analytics and real-time threat intelligence from the cooperative security ecosystem to safeguard against immediate and emerging threats. HYPR Adapt empowers organizations to proactively identify and mitigate identity-related risks, all while enhancing the user experience through personalized interactions.
How It Works
- In HYPR Control Center (CC), a HYPR Admin defines Risk Policies based on the results from the Risk Assessment. HYPR Adapt can also be administered via the HYPR API.
- Configure RP applications to use HYPR Adapt Settings.
- When users log in to the affected RP application too frequently, they will be blocked from authenticating for a specified length of time.
- Create custom Event Handlers to include useful data points and trigger actions.
What Users Experience
When a user exceeds the Authentication Failure Threshold in the allotted timespan, they will be unable to login, except using exempt authenticators, if any, until the Response Duration has elapsed. The following message will appear until the account is unlocked.
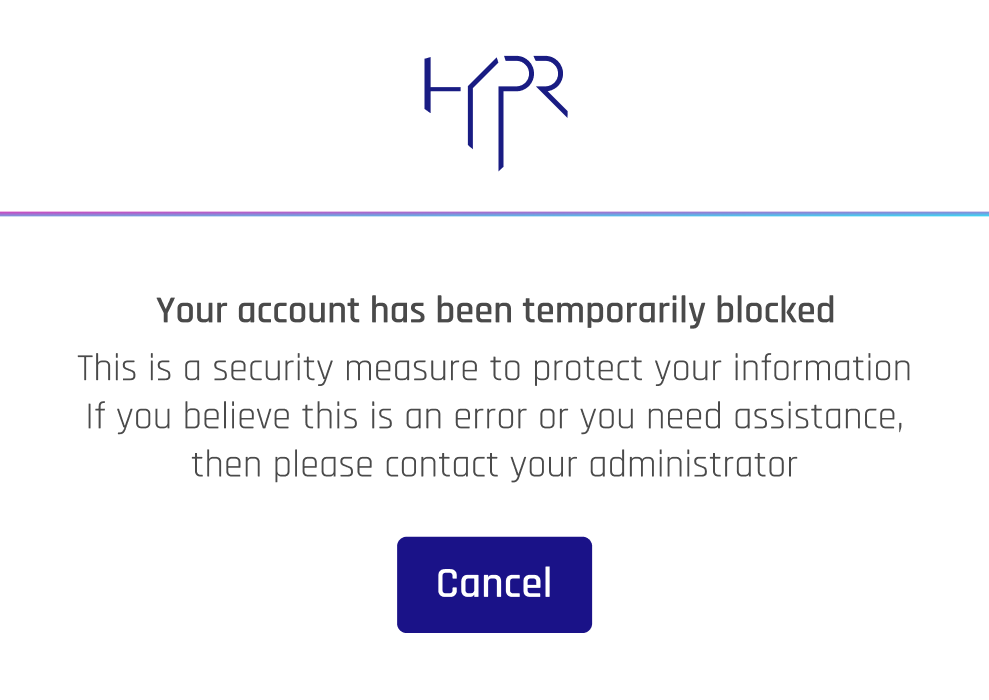
The HYPR Passwordless authentication experience otherwise remains unchanged.
For detailed descriptions of the authentication process, see QR Login and Pairing with a Security Key: Authentication.
Administering HYPR Adapt
Controls for HYPR Adapt are found in the left navigation of Control Center Standard Mode. If no policies exist, The Add New Policy button, a welcome message, and some simple instructions are displayed.
Adding a New Risk Policy
Risk policies block further login attempts after a specified number of failures within a window of time.
-
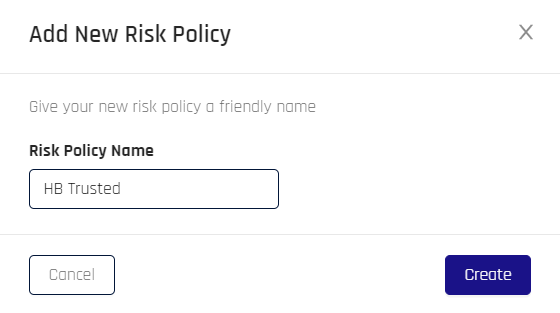
Click Add New Risk Policy. The Add New Risk Policy dialog opens.
-
Type a Risk Policy Name, then click Create.
-
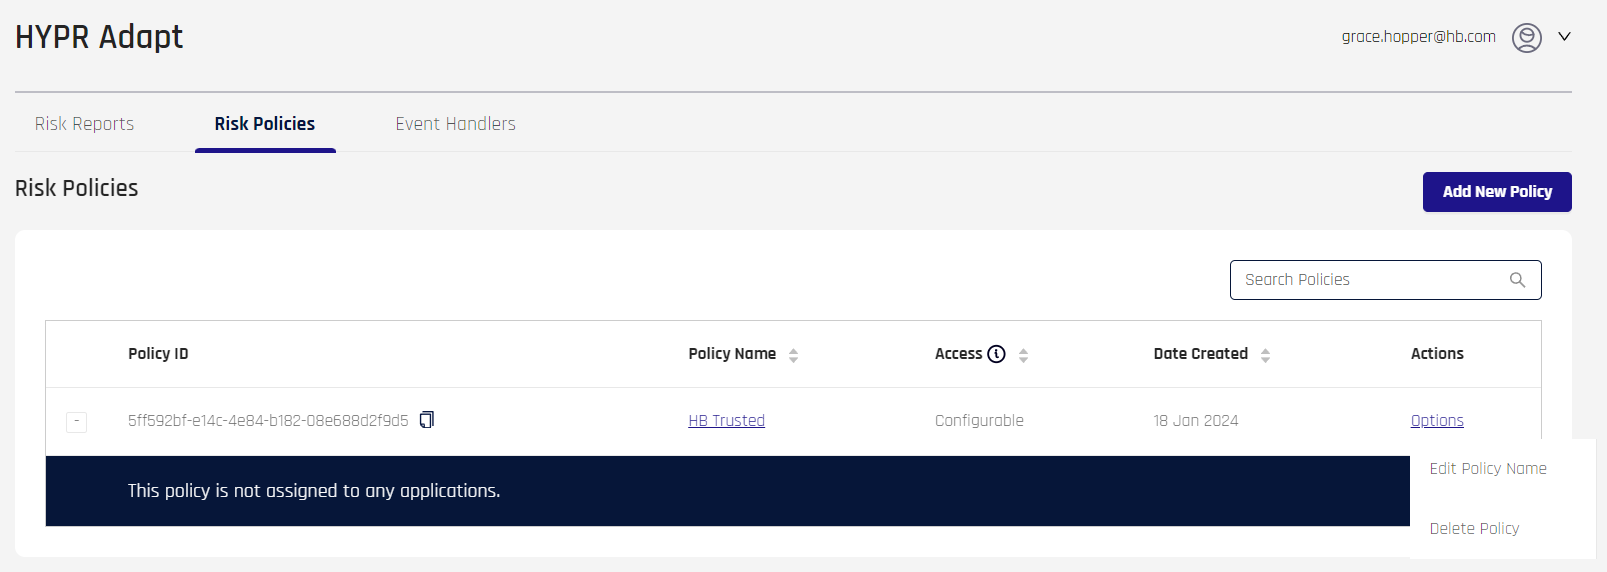
HYPR Adapt returns to the main page, which lists all Risk Policies. Here you can Edit and Manage Risk Policies. A newly created policy, if expanded using the [+] symbol to its left, will show a message: "This policy is not assigned to any applications." To finish setting up a new policy, click the Policy Name entry.
Continue in the next section.

Editing a Risk Policy
Click the Policy Name link to edit the desired Risk Policy. The Policy Properties dialog opens.
To return to the HYPR Adapt main page, click Risk Policies at the top of the page.
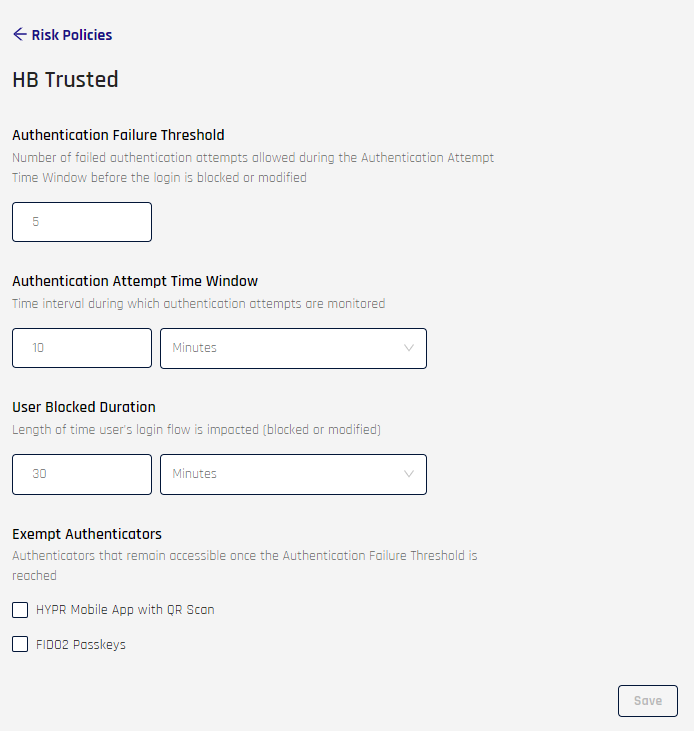
- Authentication Failure Threshold: Enter the number of failed authentication attempts allowed during the Authentication Attempt Time Window; the default is 5
- Authentication Attempt Time Window: Use the field and drop-down to set the time period during which the Authentication Failure Threshold is tracked; the default is 10 Minutes
- User Blocked Duration: Use the field and drop-down to set the time period during which the user's account is blocked or modified; the default is 30 Minutes
- Exempt Authenticators: Choose authenticators that will still function once the Authentication Failure Threshold is reached:
- HYPR Mobile App with QR Scan: HYPR Mobile App QR login will be allowed
- FIDO2 Passkeys: FIDO2 security keys or platform authenticator keys will be allowed
Complete the Risk Policy Properties fields as desired, then click Save at the bottom of the page.
Managing Risk Policies
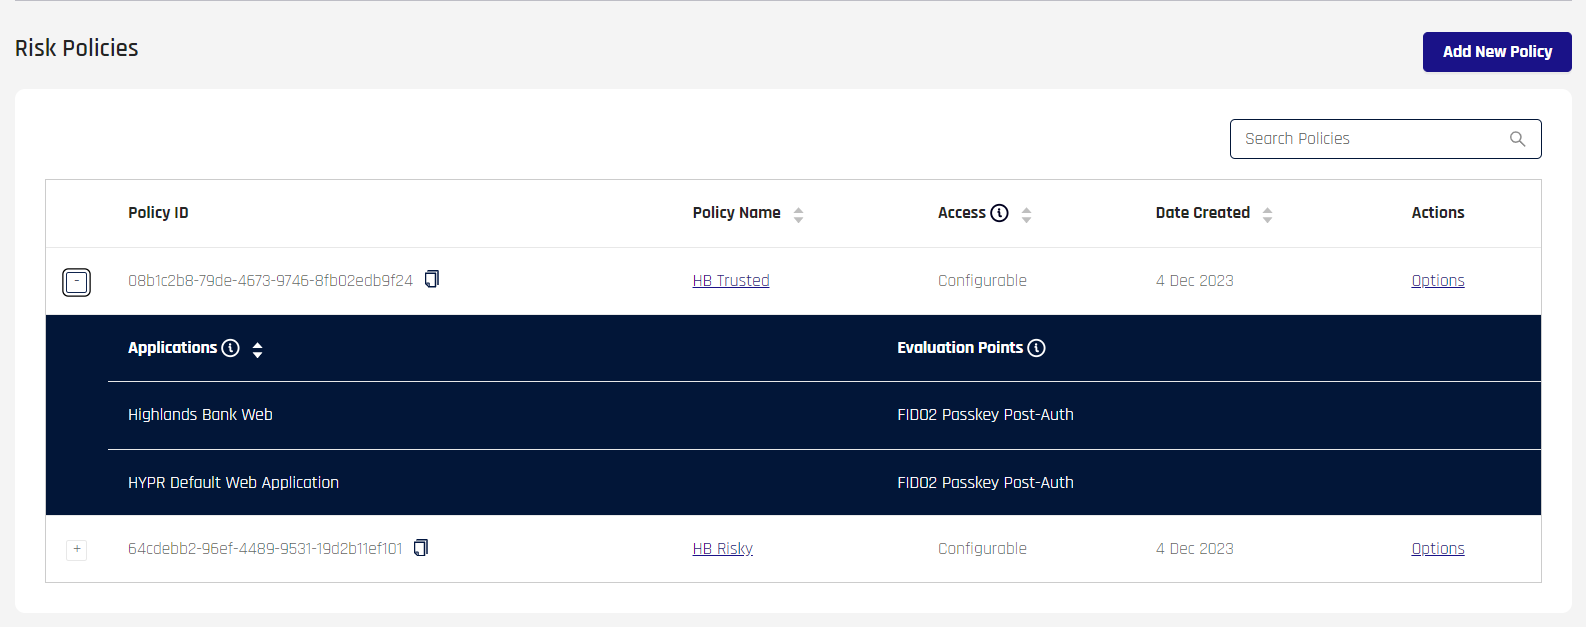
When one or more policies are defined, the HYPR Adapt main page displays the Add New Policy button, a search bar (Search Policies), and a list of created policies.
This list contains the following fields:
-
Policy ID: The unique identifier for the Risk Policy
-
Policy Name: The policy's name as assigned at creation. Click this link to open the Risk Policy Properties dialog
-
Access: Configurable or View Only; View Only Access is only visible via the HYPR Adapt API
-
Date Created: The date the policy was last updated
-
Actions: Hover over Options to activate a drop-down menu:
-
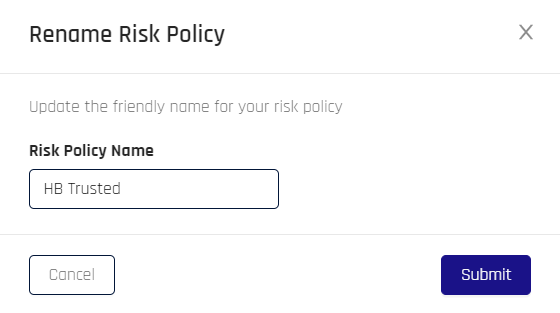
Edit Policy Name: Opens a the Rename Risk Policy dialog to change the policy's name; when finished, click Submit to save your changes, then clear the confirmation message
-
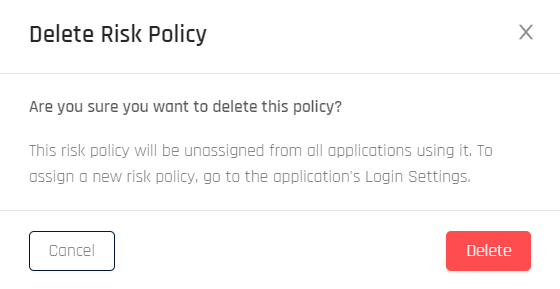
Delete Policy: Offers a confirmation dialog which, if confirmed by clicking Delete, removes the Risk Policy
-
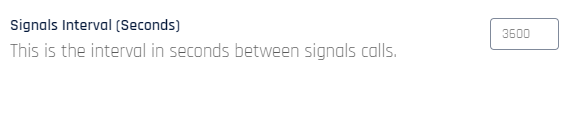
Signals Interval
In Control Center Advanced Mode: Workstation Settings, set the interval (in seconds) that HYPR polls for signal data. The default is 3600 seconds, or 1 hour.
Remember to scroll to the bottom of Workstation Settings and click Save when finished.
Assign Risk Policy
Policy assignment occurs in CC Advanced Mode Login Settings. One or more RP application Risk Policies may be assigned to an RP application on the Login Settings page.

Click Assign Risk Policy to open the assignment dialog.
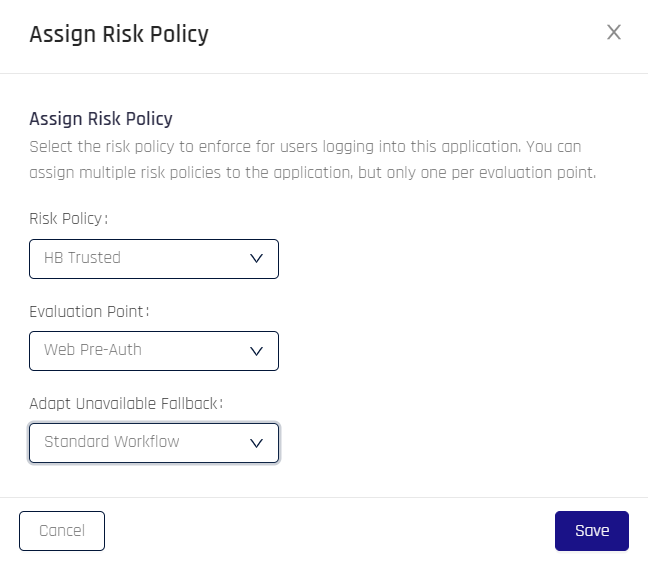
- Risk Policy: Use the drop-down menu to select a policy to govern this application's behavior
- Evaluation Point: Choose the point in the authentication flow where the policy will be applied. Options include the following:
- Web Pre-Auth: Just before web authentication
- HYPR Mobile Pre-Auth: Just before HYPR Mobile App authentication
- FIDO2 Passkey Pre-Auth: Just before FIDO2 Passkey authentication
- Web Post-Auth: Just after web authentication
- HYPR Mobile Post-Auth: Just after HYPR Mobile App authentication
- FIDO2 Passkey Post-Auth: Just after FIDO2 Passkey authentication
- Pre-HYPR Integration: Just before the affected HYPR Integration's authentication
- Post-HYPR Integration: Just after the affected HYPR Integration's authentication
- Adapt Unavailable Fallback: Choose behavior for when Adapt is not available to verify the policy. Options include the following:
- Standard Workflow: Proceed normally, with no change to the authentication flow
- Block Authentication: Block the user from authenticating for the User Blocked Duration defined for the applied policy
- QR Scan Only: Allow only HYPR Mobile App QR authentication
Click Save when finished, and clear the confirmation message in the upper right of Control Center. The Login Settings page now lists applied policies under HYPR Adapt Settings.
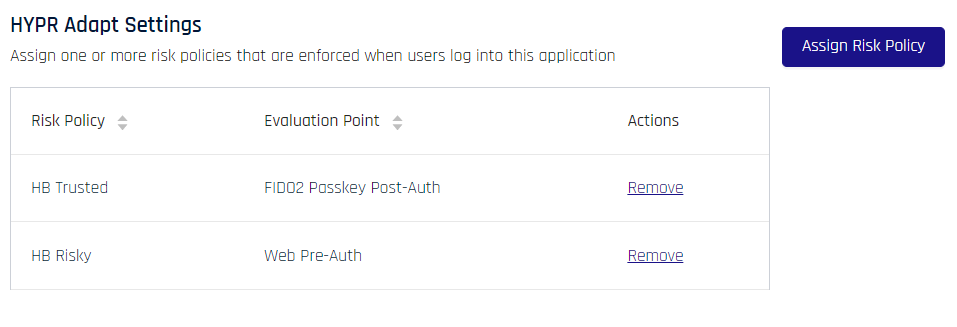
While a policy is associated with an RP Application, the HYPR Adapt main page's enumerated policy list will show affected RP Applications when the [+] next to the Risk Policy is expanded.
Unassign Risk Policy
Policy unassignment occurs in CC Advanced Mode Login Settings.
To dissociate a policy from the currently selected RP Application, click Remove at right of the entry to be removed, then confirm removal in the resulting dialog. HYPR will return to Login Settings.
Event Handlers
Get more out of HYPR Events by adding functionality using Event Handlers.
The main pane of the Event Handlers tab will display the Add Event Handler button to the right of the title, and then it will have columns (even if the list is empty) that define Event Handlers.
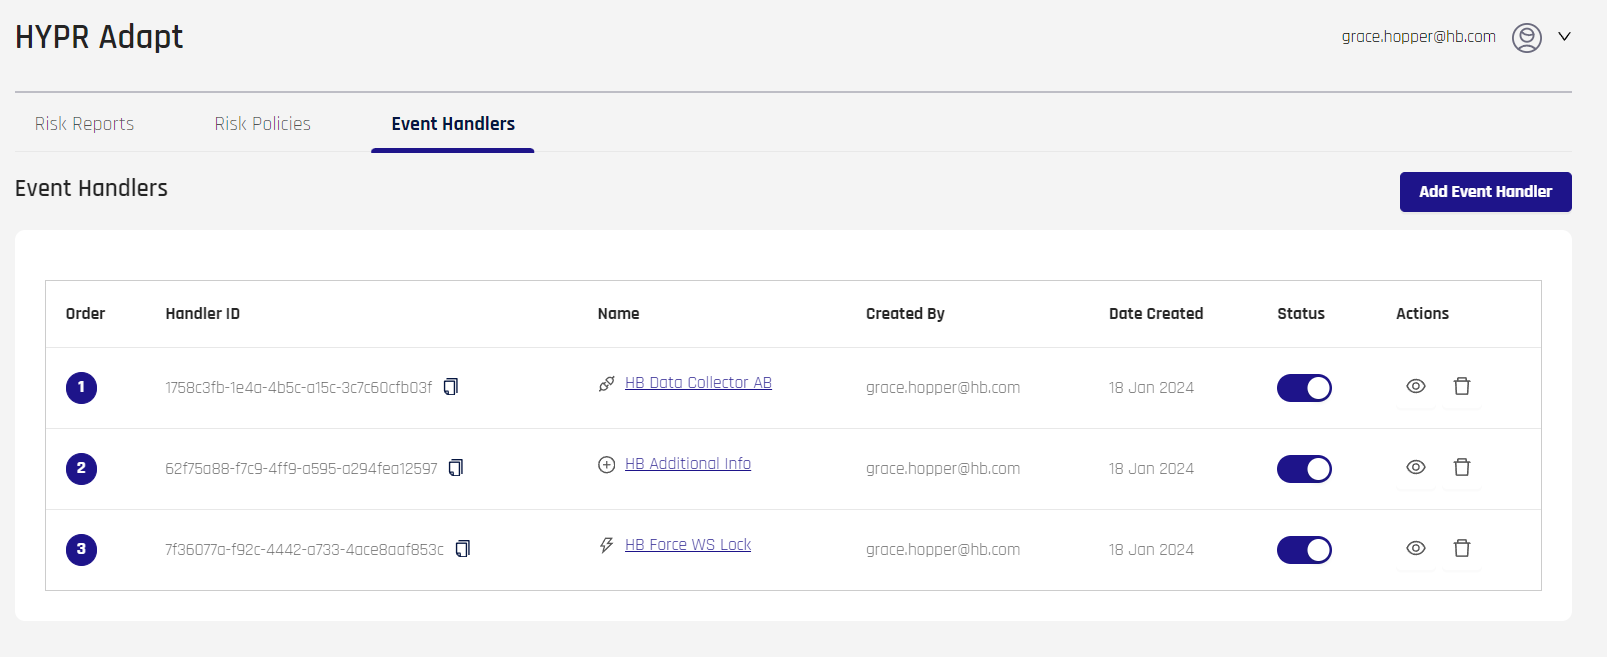
The information in the columns is as follows:
- Order: The numeric order in which the Event Handler will occur
- Handler ID: The unique identifier for the Event Handler
- Name: The name of the Event Handler, assigned at creation; click this to open the Event Handler's properties page
- An icon symbolizing the Event Handler Type chosen at creation will appear just to the left of the Name
- Created By: The username who created the Event Handler
- Date Created: The date of Event Handler creation
- Status: A toggle indicating if the Event Handler is active or inactive
- Actions:
- View (eye icon): Edit the Event Handler; this is the same as clicking the Name entry
- Delete (trash can icon): Remove the Event Handler from HYPR Adapt
Adding an Event Handler
-
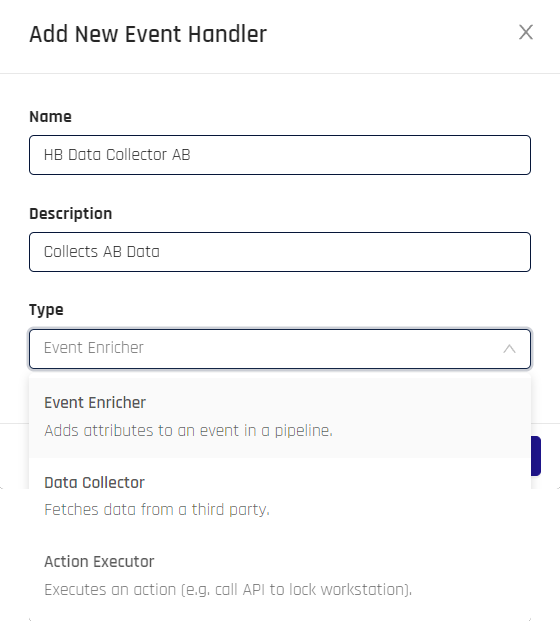
Click Add Event Handler in the upper right of the main pane. The Add New Event Handler dialog displays.
-
Type a Name and Description for your Event Handler, then choose the Type:
- Data Collection: Gather external data elements
- Event Enricher: Add custom data points to an Event
- Action Executor: Trigger an action based on Event occurrence
-
Clear the confirmation message in Control Center's upper right corner.

-
HYPR Adapt returns to the Event Handlers tab, which lists all Event Handlers.
Editing an Event Handler
To view or edit Event Handler properties, click the Event Handler Name column entry or click the eye icon under Actions. The Event Handler properties page opens. It contains three tabs:
- Configuration: Set attributes, scheduling, and priority for this Event Handler
- Test: Send an Event to test this Event Handler
- Handler Code: Add custom JavaScript to this Event Handler
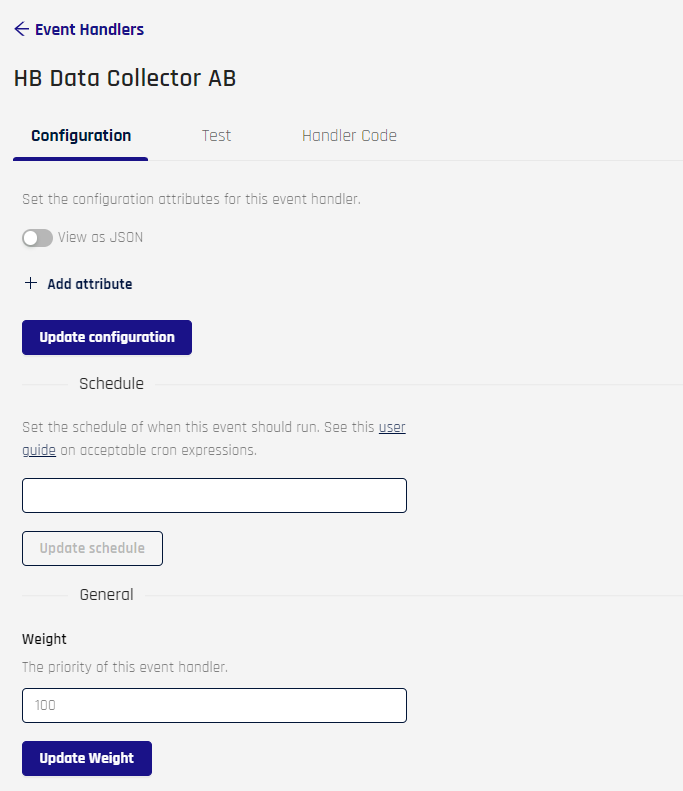
Configuration Tab
-
Set configuration attributes for this handler. This can be accomplished in two ways.
-
Click + Add Attribute and type the values into the fields that appear. For security reasons, once these values are saved, when a key contains the strings, key, secret, or token, or if it starts with pass, Adapt will thereafter display
<REDACTED>\in its place; actual values will still be available to the Event Handler.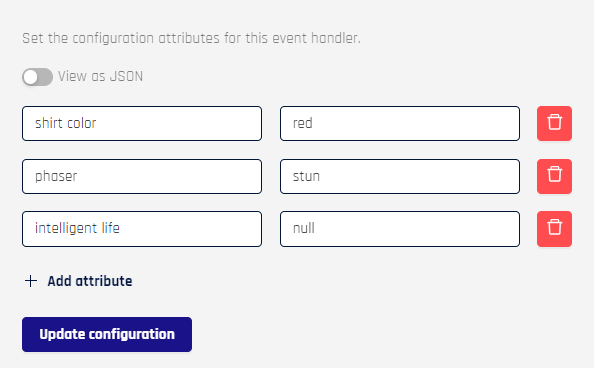
-
Toggle View as JSON and add entries manually
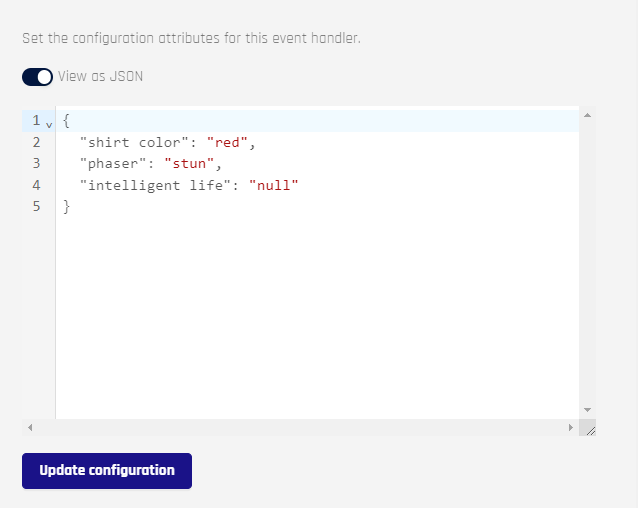
-
Click Update Configuration when finished.
-
-
Set a schedule for this Event using this cron expressions reference. Only the values inside the parentheses in
cron()are needed. Click Update Schedule when finished.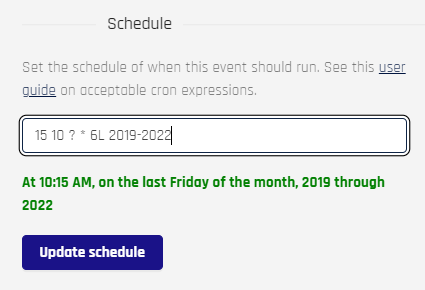
-
Set a weight to determine the numeric priority of this Event Handler. Use the spinner to set the Weight field to a value from 0 to 10000. Click Update Weight when finished.

Test Tab
Test the Event Handler using custom or provided sample Events. When first opening the Test tab, the Request and Response fields will be empty.
Select a sample Event from the drop-down to populate the request field; default code for your choice will populate the top field as shown here:
- Data Event: An Event used for data collection or processing
{ "event": { "message": { "id": "305877548250697728", "version": 4, "type": "AUDIT", "eventName": "TEST_DATA_EVENT", "message": "Test Data Event", "eventLoggedBy": "CONTROL_CENTER_SERVER", "eventTimeInUTC": "1706732513319", "loggedTimeInUTC": "1706732513319", "traceId": "", "additionalDetails": {}, "rpAppId": "controlCenterAdmin", "machineUserName": "hypr", "serverRelVersion": "9.0.0.427352", "origin": "localregion", "eventTags": "ADMIN", "isSuccessful": true } } } - Action Event: An Event used to help execute an action
{
  "logLevel": "FINE",
  "event": {
    "message": {
      "message": "Test action event",
      "eventName": "TEST_ACTION_EVENT",
      "eventTags": "SCHEDULED",
      "source": "HYPR"
    }
  }
}
When you are satisfied with your Event JSON, click Send Event to have HYPR generate the Event; then wait for results in the field below.
Handler Code Tab
This tab displays custom JavaScript used with the Event. It defaults to the following code:
  /**
   * Each event coming into the ingestion pipeline is passed to this function
   * It may modify the event as needed and return the modified payload
   *
   * This is run in a ES 2022 runtime
   * No browser or NodeJS APIs are available
   * HYPR exposes a ctx object. The following methods are available on the ctx object
   * - getEventAsJson()
   * - httpGet()
   * - httpPost()
   * - log()
   */

  function handle(event) {
    let input = JSON.parse(event);

    ctx.log("FINE", "Modifying event data");

    input['currentTime'] = Date.now();

    ctx.log("FINE", "Custom handler input=" + JSON.stringify(input));

    return input;
  }

  handle(ctx.getEventAsJson());
Make adjustments as needed and click Save when you are finished.
API
Updated 2 months ago