Passwordless with Enterprise Passkey
Pairing a HYPR Enterprise Passkey
Previously, pairing a workstation to a HYPR Enterprise Passkey required additional steps involving Entra. With HYPR Passkey, HYPR creates the Entra passkey during setup based on your signed-in Windows/Entra identity. You may be prompted once to enable the mobile Credential Provider; no separate registration in the Entra portal is required.
The HYPR Mobile App supports only one Entra passkey credential per device. You may still register other FIDO2 passkeys to the account; just not another Entra Passkey.
Using a HYPR Enterprise Passkey requires your mobile device to have biometrics enabled. Before setting up a passkey, check that biometrics are enabled on your mobile device. You will also need to set up at least one type of biometrics data (e.g., face or fingerprint).
In the HYPR Mobile App, when registering a passkey for the first time, you will be prompted to enable the Credential Provider:
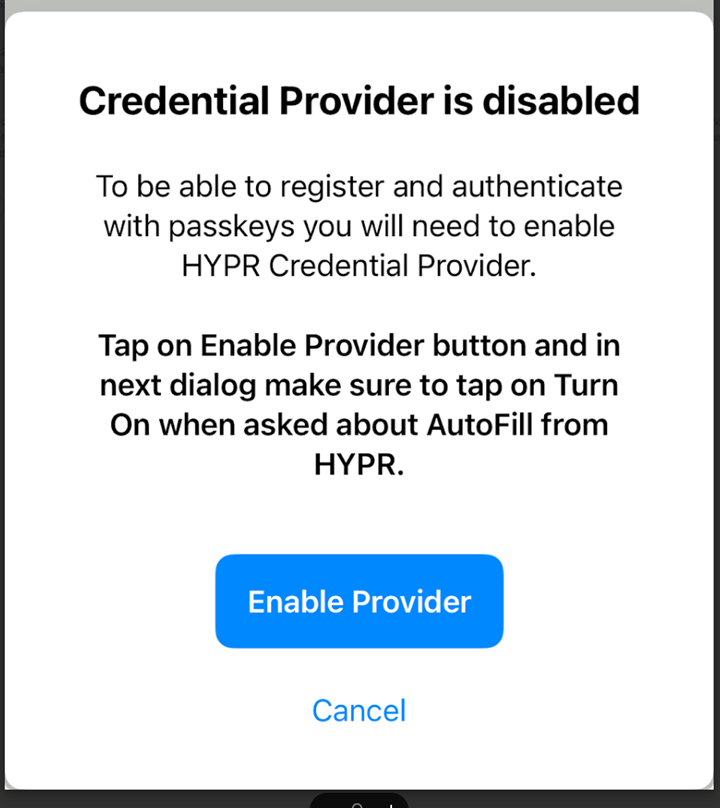
Tap Enable Provider to be able to register and authenticate using a passkey.
Setting Up HYPR Passkey
HYPR Passkey extends Enterprise Passkey deployments by letting the HYPR Mobile App act as the passkey provider on supported iOS and Android devices.
Enterprise Passkeys and HYPR Passkey flows are part of the same capability: Enterprise Passkeys are the Entra‑side passkeys, and HYPR Passkey is the mechanism used by mobile OSes to expose HYPR as a passkey provider. When a user completes registration on an Enterprise Passkey integration (from workstation or web/mobile), HYPR provisions a FIDO2 passkey into Entra ID that can be used across web, mobile and workstation sign‑in.
Prerequisites
HYPR Tenant Configuration
Before users can set up HYPR Passkey, the following RP App Feature Flags must be enabled for each Enterprise Passkey RP app in Control Center:
Required RP App Feature Flags:
AZURE_PROVISION_APIENDPOINT_API_SECURITY_TOKEN_DEVICEENDPOINT_API_SECURITY_TOKEN_WORKSTATIONFIDO2_MOBILE_AUTHENTICATORFIDO2_MOBILE_3PPP_ENABLEDANDROID_BIOMETRIC_PROMPT_SECURITYRP_APP_WORKSTATION_ENABLEDVIRTUAL_DESKTOP_INFRASTRUCTURE- Optional - Enable (checked) for this RP app if you want roaming logins to be enabled
These feature flags must be configured per Enterprise Passkey RP app in Control Center before HYPR Passkey can be used. In Control Center, "global" and application-specific feature flags are managed using the same screen and interface. "Global" refers to feature flags that must be enabled for all applications by ticking the higher-level checkbox. Application-specific flags should be enabled on an application-by-application basis (i.e., tick them only for your app and not globally). Contact your administrator to ensure these flags are properly configured.
Entra ID Configuration
The following must be configured in your Entra ID tenant:
-
Enable FIDO2 Security Keys:
- Navigate to Entra Active Directory → Security → Authentication methods
- Click on Passkey (FIDO2) authentication method policy
- Enable security keys and set to Include All users
- Leave registration as Optional
-
Configure FIDO2 Settings:
- Set Enforce attestation to your organization's preference (HYPR supports both True and False)
- Ensure Allow self-service setup is enabled
-
For Hybrid-Joined Workstations:
- Enable AES256_HMAC_SHA1 on Domain Controllers
- Configure Active Directory and Entra to support Entra AD Kerberos
- Install the Azure AD Kerberos PowerShell module
- Configure support for administrative accounts (by default, high-privilege accounts can't use security keys)
Workstation Requirements
- Windows 10/11 with supported patch levels
- Entra-joined or Hybrid-joined workstation
- HYPR Passwordless for Windows 10.3.0+ installed
- For hybrid-joined: healthy on-premises AD connectivity
- Mobile device with iOS 17+ or Android 15+ and biometrics enabled
This error can occur if passkeys are not enabled on your mobile device for the HYPR Passwordless app, or due to Entra configuration (for example, Conditional Access or MFA policies). Administrators should refer to the Enterprise Passkey and HYPR Passkey Setup Guide – Troubleshooting playbook for the full checklist, including mobile passkey enablement and Entra policy checks.
HYPR Passkey Setup Process
Entra-joined devices
- Verify HYPR tenant configuration
- Contact HYPR Support to confirm required feature flags are enabled
- Verify your tenant has an active Entra ID integration configured
- Ensure the integration is enabled in HYPR Control Center
- Configure Entra ID (if not already done)
- Enable Passkey (FIDO2) authentication method and target intended users/groups
- Configure FIDO2 settings including attestation per policy
- Verify join status with
dsregcmd /status(AzureAdJoined: YES; DomainJoined: NO)
- Install and configure HYPR Passwordless
- Download and install HYPR Passwordless for Windows from your tenant
- Ensure the workstation is Entra-joined and meets patch requirements
- Verify network connectivity and required permissions
- Enable the mobile Credential Provider
- In the HYPR Mobile App, ensure the Credential Provider is enabled when prompted and grant camera, Bluetooth and biometric permissions
Hybrid-joined devices
- Verify HYPR tenant configuration
- Contact HYPR Support to confirm required feature flags are enabled
- Verify your tenant has an active Entra ID integration configured
- Ensure the integration is enabled in HYPR Control Center
- Configure Entra ID and DC prerequisites
- Enable Passkey (FIDO2) authentication method and target intended users/groups
- Configure FIDO2 settings including attestation per policy
- On Domain Controllers, enable AES256_HMAC_SHA1 and configure Entra AD Kerberos (install Azure AD Kerberos PowerShell module)
- If needed, enable security key sign-in for administrative/high‑privilege accounts per Microsoft guidance
- Prepare the workstation and policies
- Verify
dsregcmd /statusshows Hybrid Azure AD Joined (AzureAdJoined: YES; DomainJoined: YES) - Ensure line‑of‑sight to on‑prem AD at login (direct or VPN as policy allows)
- Via Intune/Group Policy, enable Windows sign‑in with security keys (FIDO2 Credential Provider) on hybrid devices
- Ensure no certificate templates or CBA enforcement policies are applied that would force x509 instead of passkeys
- Verify
- Enable the mobile Credential Provider
- In the HYPR Mobile App, ensure the Credential Provider is enabled when prompted and grant camera, Bluetooth and biometric permissions
HYPR Passkey Functionality
- The HYPR Mobile App acts as a native passkey provider on iOS and Android, enabling Entra login across Windows OS and browsers
- Session passkey SSO is available after desktop login; QR fallback is available when proximity cannot be established
- Only one Entra passkey per device is supported; other FIDO2 passkeys may coexist
- Identity alignment: The Windows account/Entra tenant you use during pairing determines which Entra identity the passkey is created for
- Works with both Entra-joined (cloud-only) and hybrid-joined workstations/accounts
- Managed devices/workstations: ensure MDM does not block passkey providers, Bluetooth proximity, camera access, or associated domains
Troubleshooting
If no Passkey Appears in My Passkeys After Pairing
- Verify Feature Flags: Contact HYPR Support to confirm
FIDO2_MOBILE_3PPP_ENABLEDis enabled - Check Mobile Credential Provider: Ensure you have enabled Credential Provider when prompted by the pop-up in the HYPR Mobile App
- Verify Biometrics: Ensure device biometrics are set up; passkeys require biometrics
- Confirm Identity Alignment: Check the Windows user and Entra tenant are correct:
- In Windows: Settings → Accounts → Access work or school (and
whoami /upn) - If you paired while signed into a different Windows/Entra profile, the passkey may be associated with that identity
- To correct: remove any unintended Entra passkey from the HYPR Mobile App (My Security Keys), sign into Windows with the intended Entra user, then re-run pairing
- In Windows: Settings → Accounts → Access work or school (and
- Check App Permissions: Verify camera, Bluetooth/proximity permissions are granted
- Verify Workstation Status: Ensure workstation is Entra-joined or hybrid-joined and running supported HYPR Passwordless version
- MDM Policies: If managed, ensure MDM policies do not block passkey providers or required associations
- Hybrid-joined Specific: Verify workstation has healthy on-premises AD connectivity and hybrid trust (device shows "Hybrid Azure AD Joined" in Entra ID)
Pairing with HYPR on a Domain-joined Workstation
-
Login to Windows as an Entra cloud-only or hybrid account (i.e.,
carol.shaw@highlands_entra.com). -
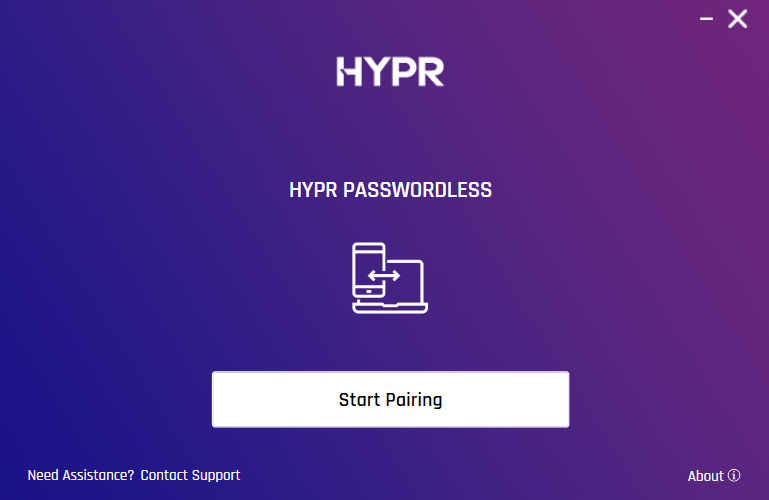
Launch the HYPR Passwordless client.
-
Click Start Pairing.
-
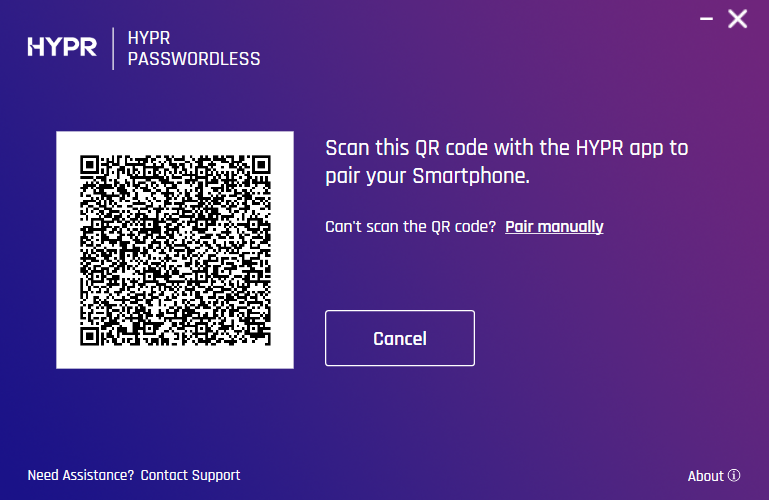
Scan the QR code on the screen. You will be prompted to authenticate on your device.
-
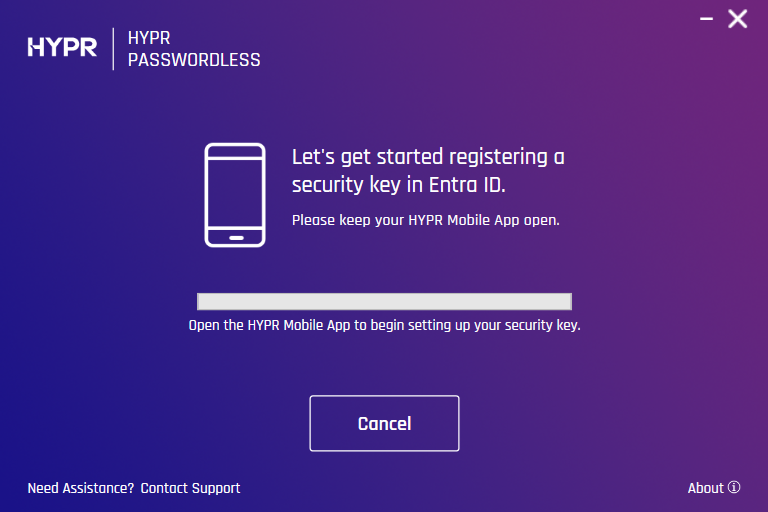
Wait for the pairing to be completed.
-
You will be notified once the pairing has been established successfully.
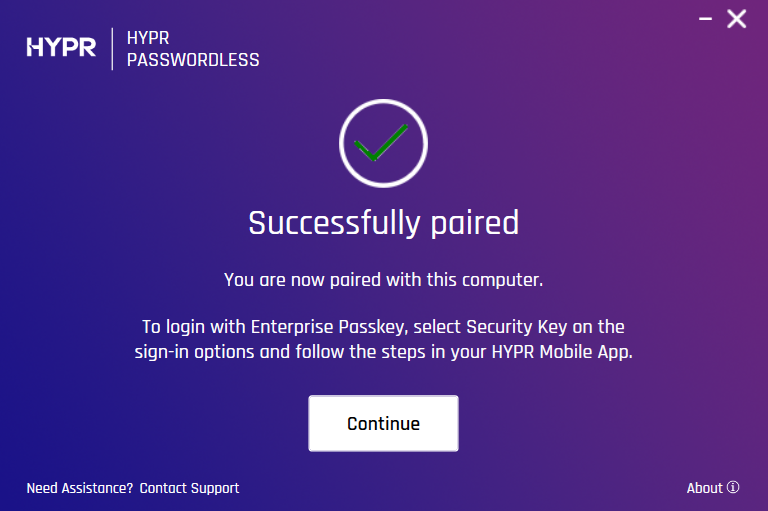
-
HYPR Passwordless client returns to the main screen, now displaying your paired device. The device’s HYPR Mobile App menu now contains your workstation account in the My Computers section.
With HYPR Passkey Fabric enabled, QR-based workstation access can also prompt you to save that computer in the HYPR Mobile App. When you choose to save it, the workstation becomes part of your persistent My Computers list for future passwordless use.
For more information about pairing your mobile device, see HYPR Passwordless and the HYPR Mobile App
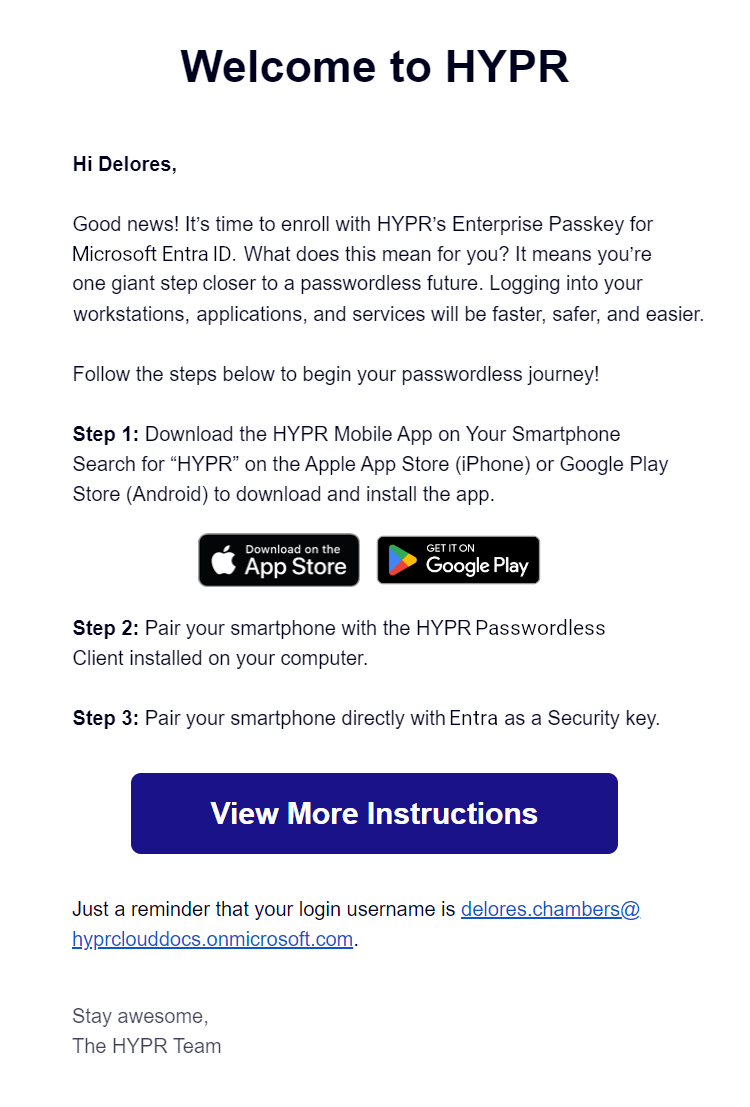
Invitation Emails
Unlike other integrations' enrollment processes, HYPR Enterprise Passkey does not send invited users a link to pair with Device Manager. Instead, the email is informational only, and the link provided connects to this article.
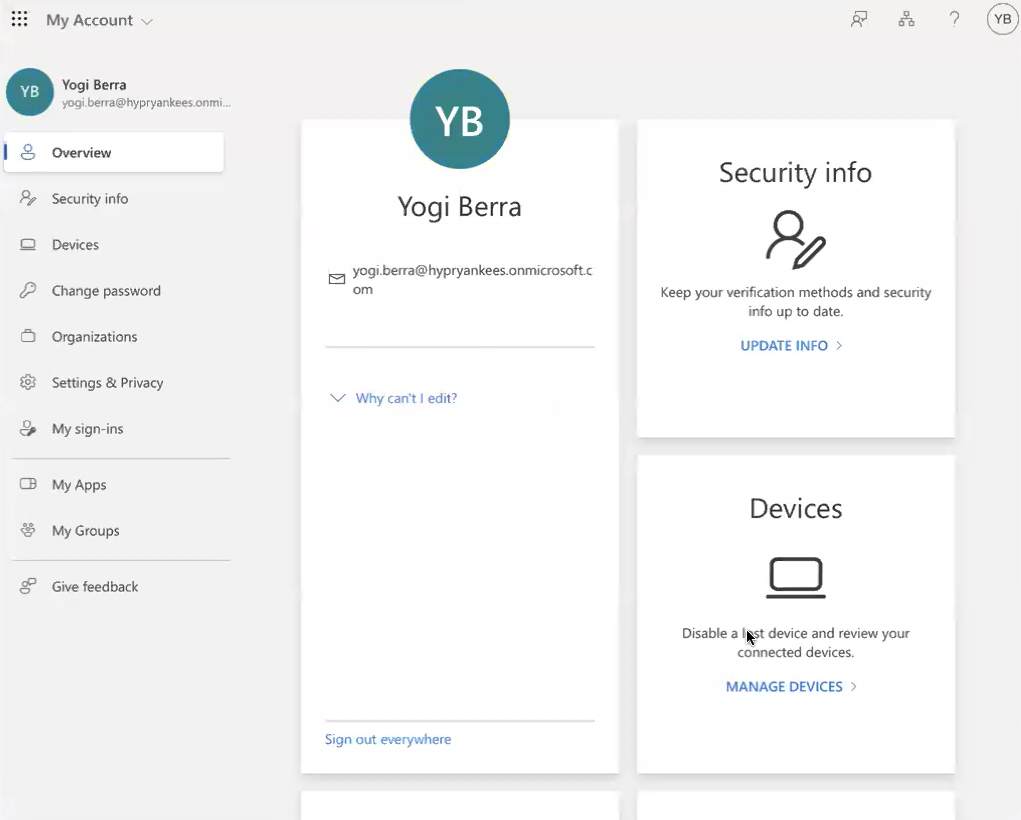
Logging In with HYPR Enterprise Passkey
Logging In to Windows
The Windows sign-in experience for Enterprise Passkey uses the built-in Security key sign-in UI.
Windows currently presents passkey-based workstation sign-in under the Security key sign-in method. When you use HYPR Enterprise Passkey, your phone and the HYPR Mobile App act as the authenticator (“security key”) for Windows. This label is controlled by Windows and applies to passkey-based Windows sign-in in general.
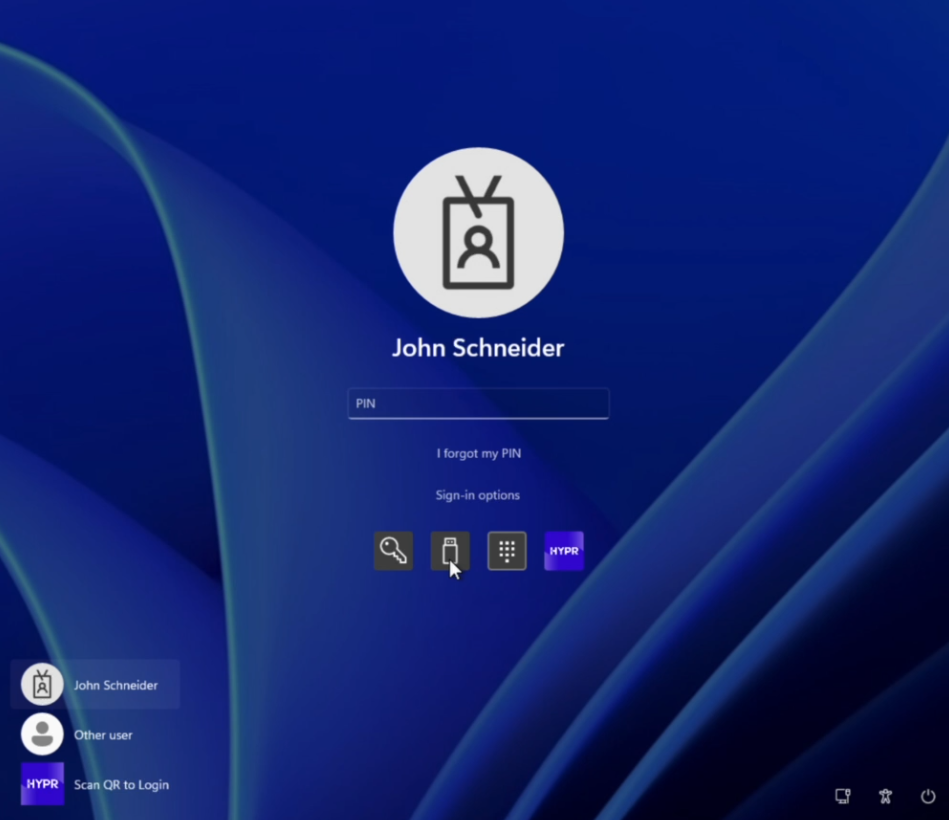
To sign in to Windows with a HYPR Enterprise Passkey:
- On the Windows sign-in screen, select Sign-in options.
- Select Security key.
- Open the HYPR Mobile App on your phone and select your workstation under My Computers, then follow the prompts to complete biometric verification.
If Windows remembers Security key as your last sign-in method, you should be able to go straight to step 3. Otherwise, you might need to select Security key after a password, Windows Hello, smart card, or other sign-in, or after reboot.
If you are signing in to a different workstation (roaming) or Windows prompts you to initiate a session, select the HYPR tile and then Scan QR to Login, and scan the QR code with the HYPR Mobile App.
For general workstation sign-in flows and fallbacks, see Tap to Login and Unlocking/Locking.
2-Step Enterprise Passkey Login (Cross-Platform)
-
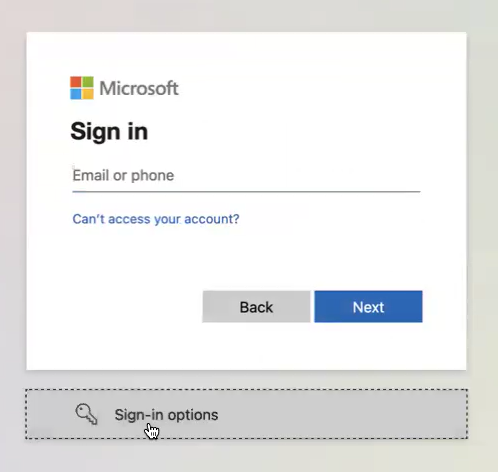
On your workstation, navigate to the Microsoft login screen (login.microsoft.com in your browser or otherwise).
-
When prompted, select Sign-in options:
-
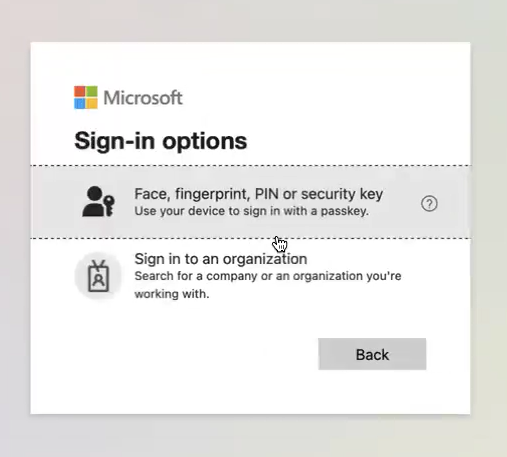
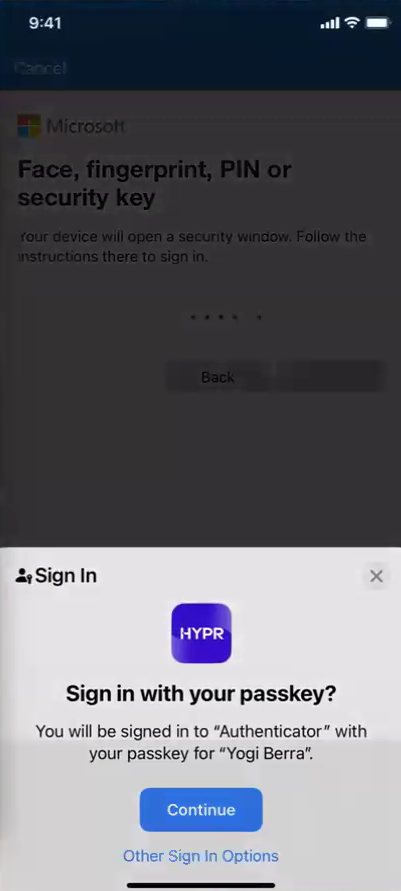
Select Face, fingerprint, PIN or security key.
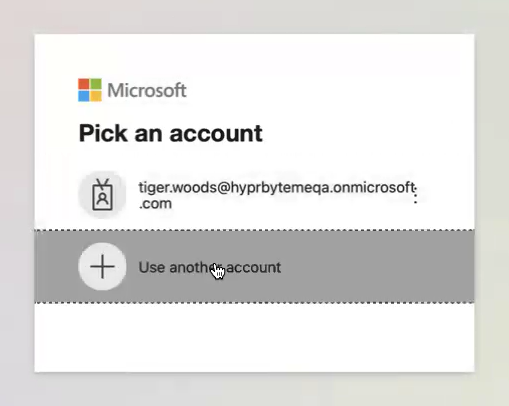
-
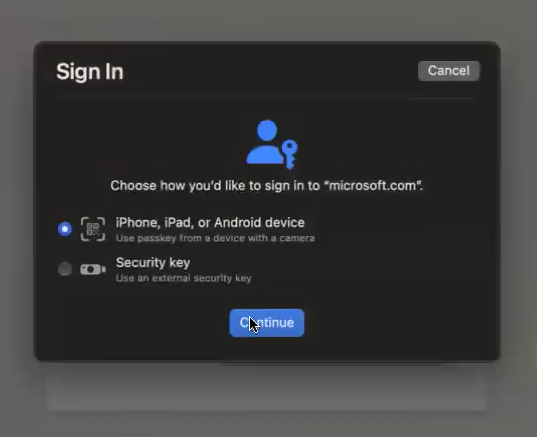
When prompted how you would like to sign in, select iPhone, iPad, or Android device and click Continue.
-
You will be shown a QR code. To continue, scan the QR code using your device's camera.
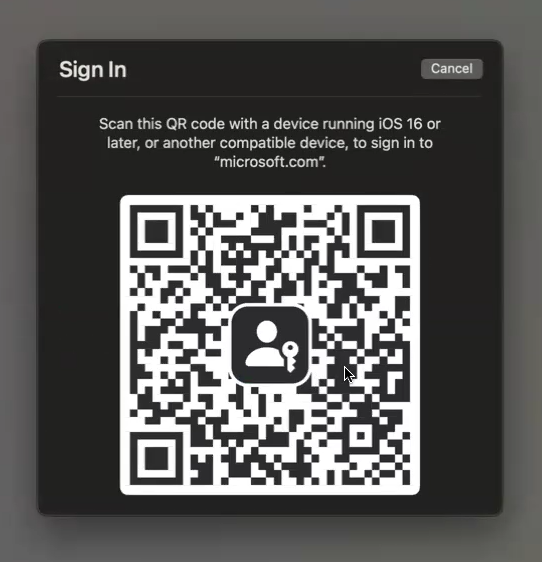
If you are using the HYPR Mobile App to scan the QR code, make sure that the app has access to the camera (tap Allow if prompted):

-
Tap Continue if prompted to connect to your other device.

-
Tap Continue when prompted to sign in with your passkey.

If the mobile device is within the distance proximity limit and the user passes the biometrics check, they will be logged in to their Microsoft account:
Logging In to Entra Protected Content on Mobile
-
On your mobile device, navigate to the Microsoft Sign in screen (via browser or app like Copilot), enter your email address and tap Next.

-
Tap Next again and then tap Continue when prompted to sign in with your passkey.
If the mobile device is within the bluetooth proximity limit and the user passes the biometrics check, the user will be logged in to their Microsoft account.