Getting Started
Control Center is where administrators install, configure, and manage HYPR for their organization. This page covers getting in for the first time, signing in afterwards, and finding your way around once you are there.
If you are an end user, or new to HYPR, start with the HYPR Mobile App and Passwordless Client menus instead. If you are a developer customizing HYPR for your organization, see the HYPR Passwordless API and the HYPR SDK.
What You Can Do in Control Center
-
Administer passwordless end users
-
Configure HYPR Passwordless client login settings
-
Set up and manage SSO and other integrations
-
Manage administrator accounts
-
Download the Windows and Mac installers for HYPR Passwordless
-
Monitor user activity and system health
-
View the Audit Trail
-
Create and manage API access tokens
Depending on what your organization has purchased, Control Center is also where you manage HYPR Affirm for identity verification and HYPR Adapt for risk-based policy.
Signing In for the First Time
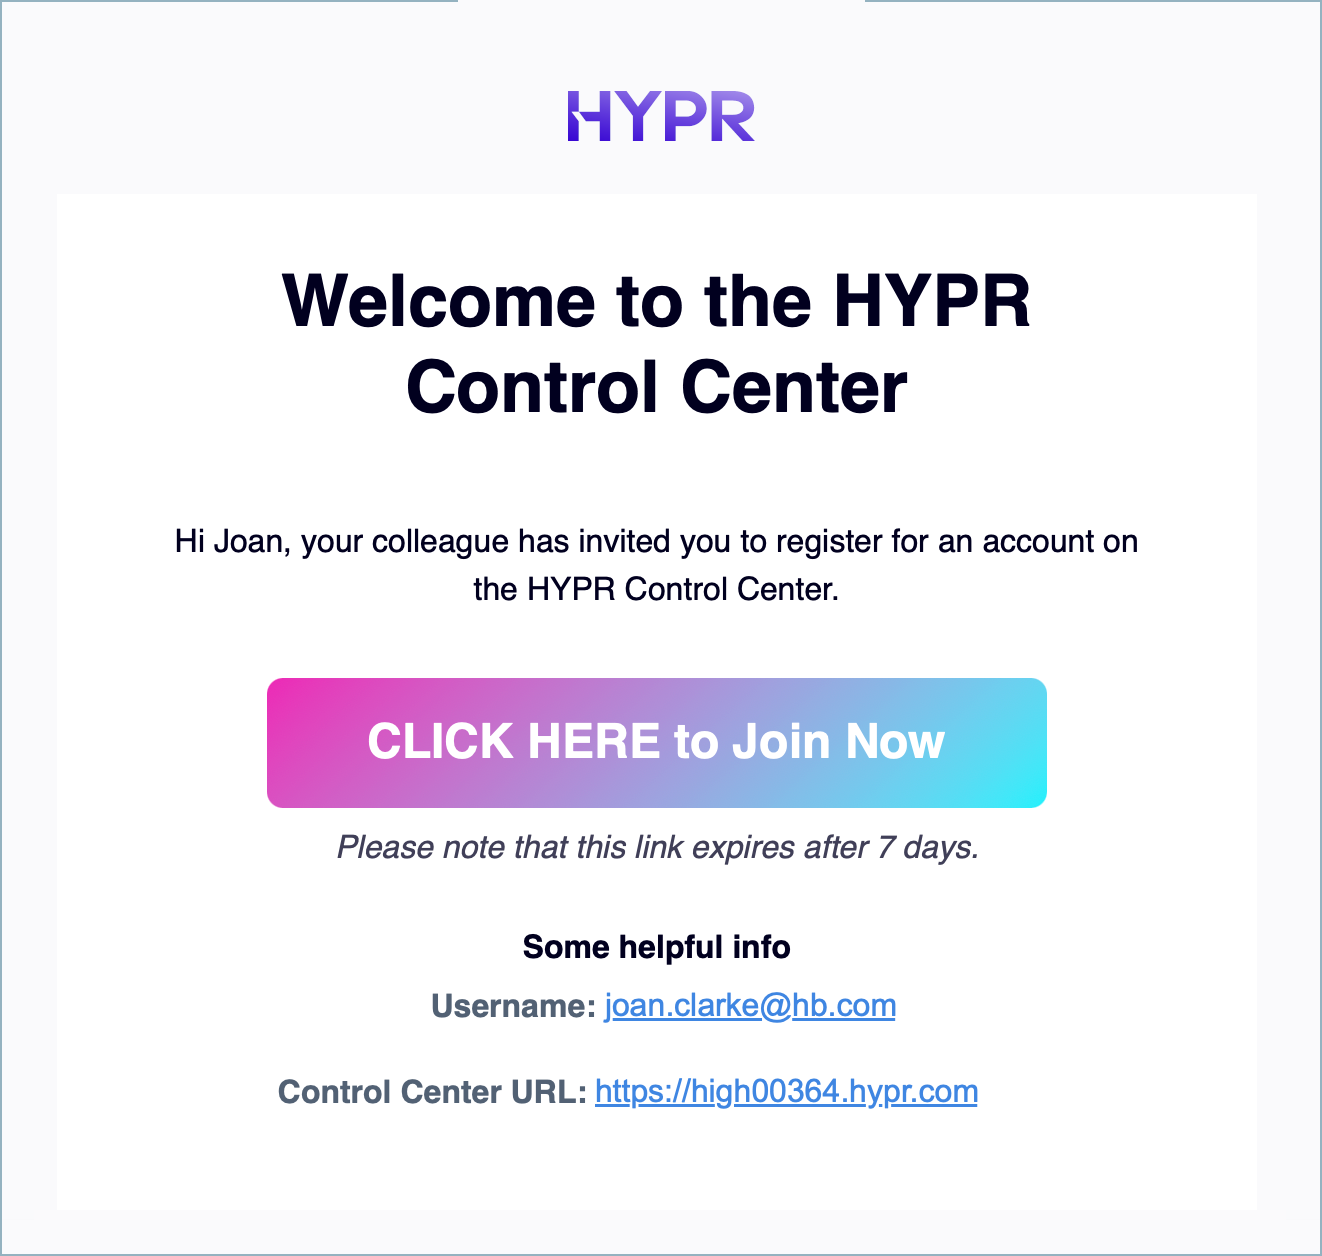
Your first visit is through a Magic Link, which arrives in an invitation email and takes you to registration.
-
Open the email and click CLICK HERE to Join Now.
 First Time?
The Control Center URL link in that email opens a login dialog, but it will only let you in once you have successfully registered with HYPR.
-
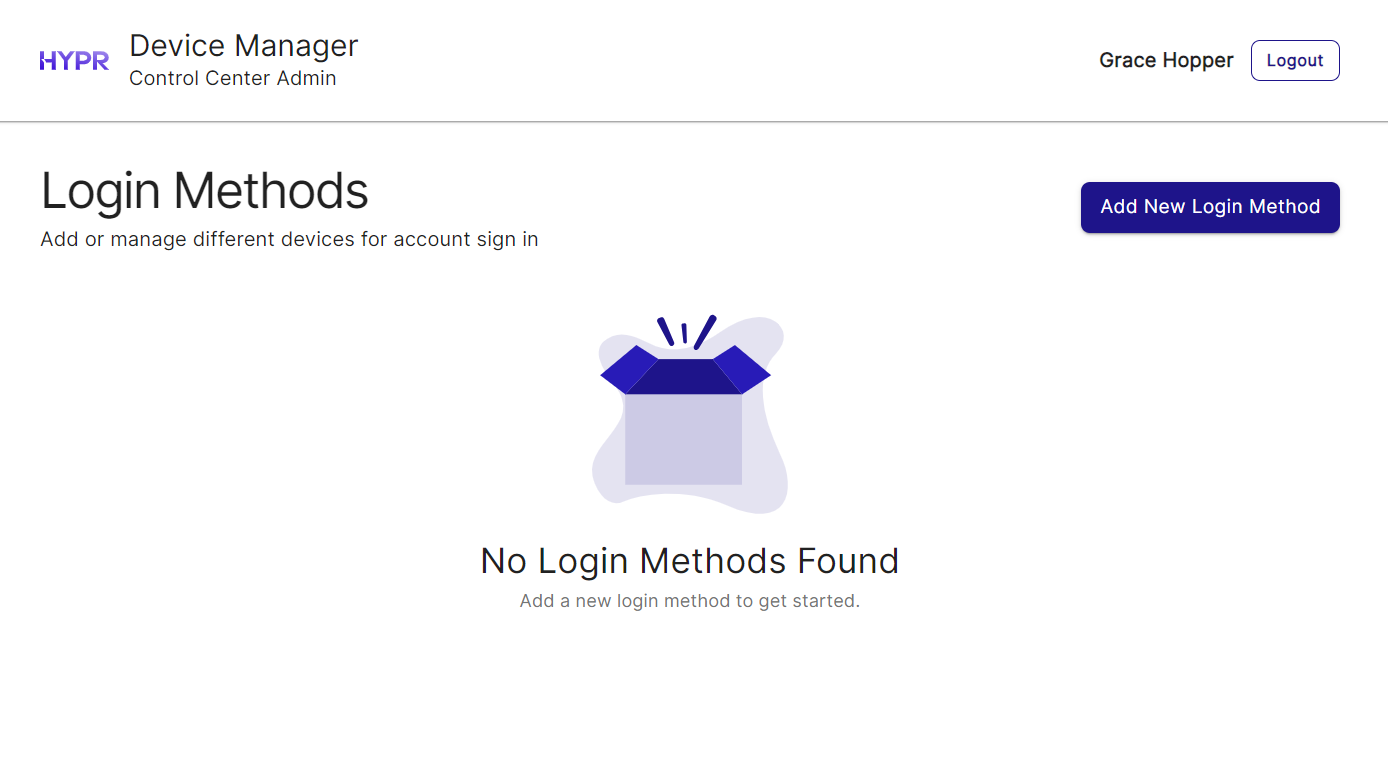
The button opens HYPR Device Manager, where you pair your first device. Follow Adding a Device.
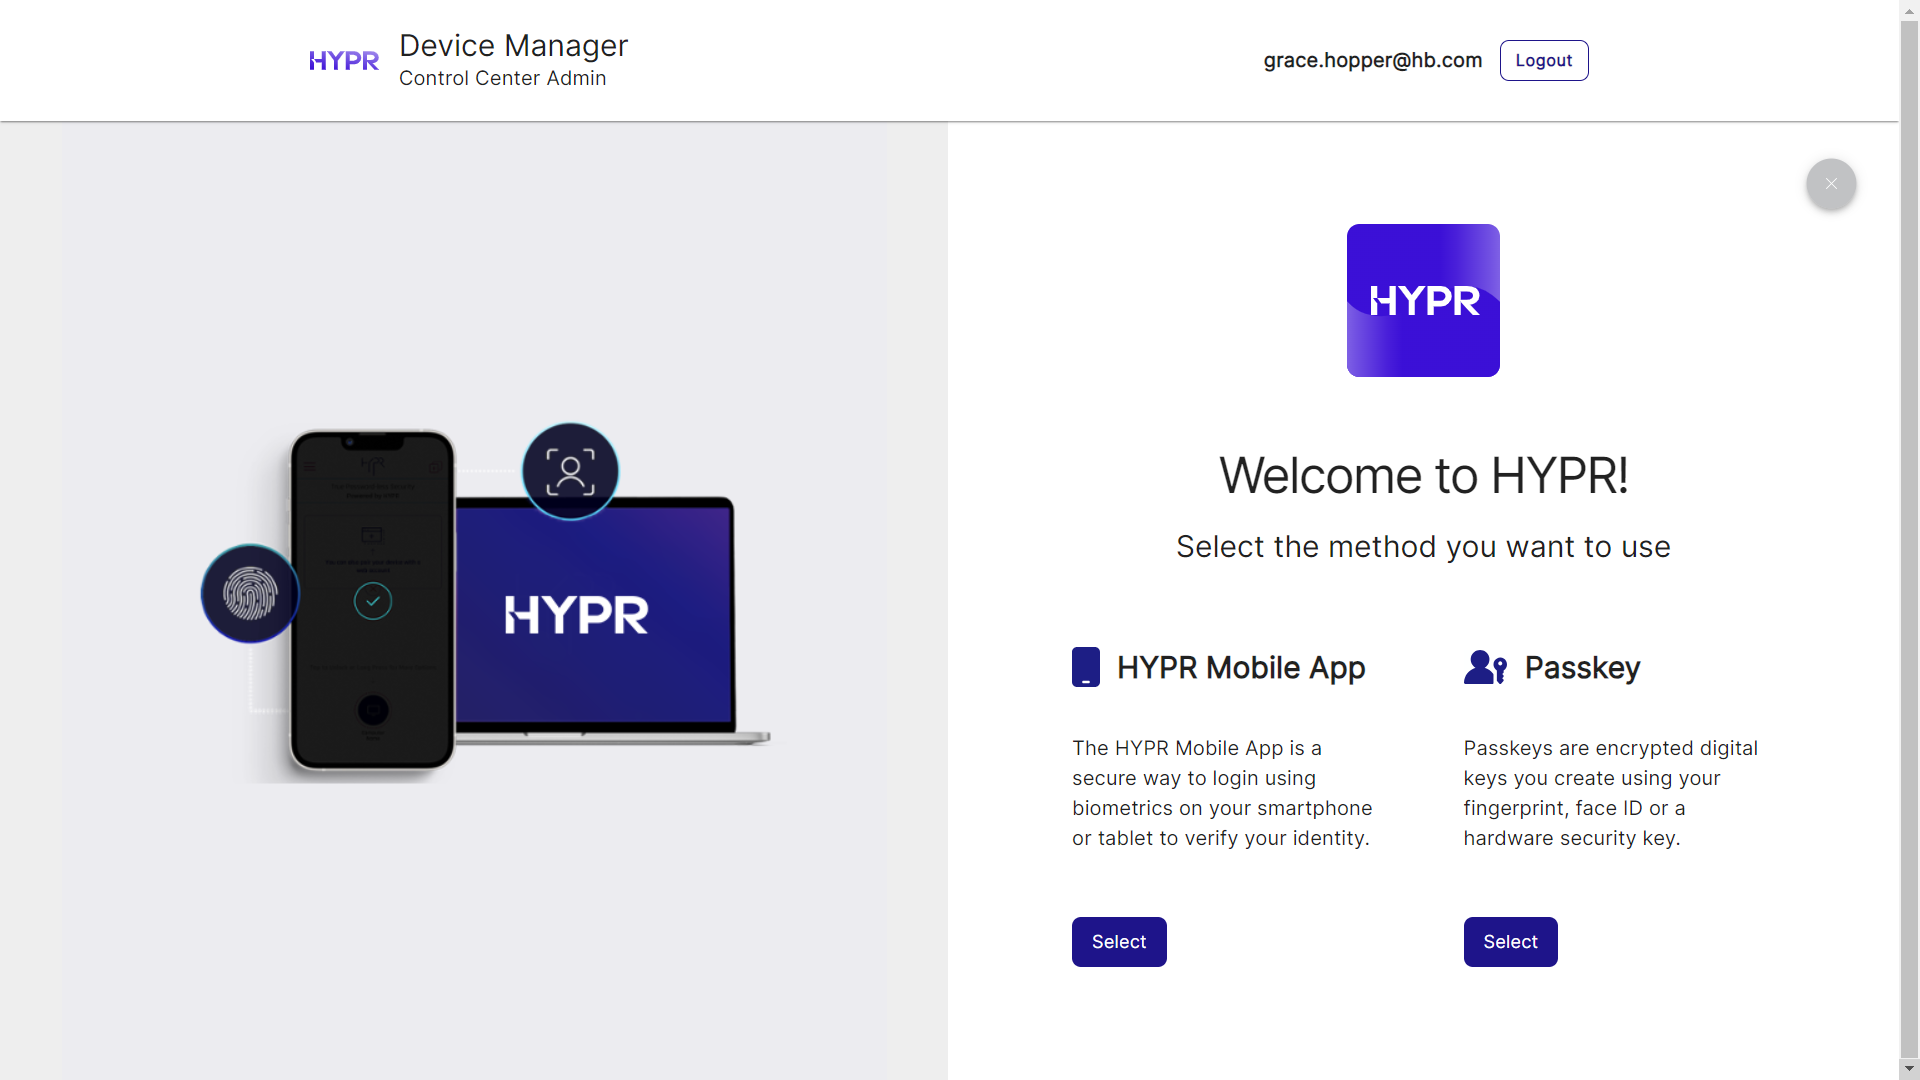
Device Manager then asks which method you want to pair. Choose HYPR Mobile App or Passkey, and follow the prompts.
 Using Device Manager 1.0?
If your organization still runs the earlier Device Manager, follow Registering a New Device instead. The screens differ from those shown here.
Once you have paired a device, Control Center opens on the Dashboard. This is true in both Standard and Advanced modes.
Device Manager is for Control Center administrators and for users of your SSO integrations. Workstation users do not use it — they register and remove devices through the HYPR Mobile App and the HYPR Passwordless client, where the client asks which device to pair.
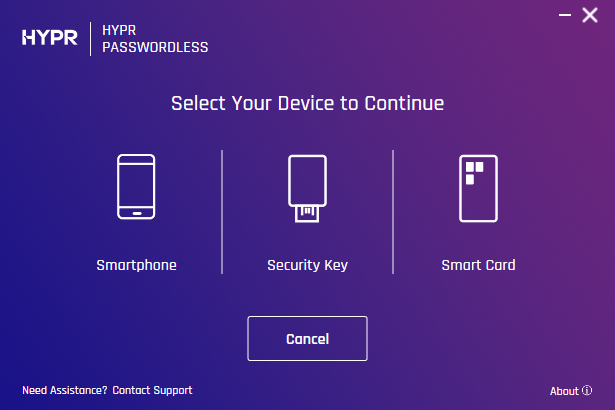
For those flows see Pairing a Mobile Device and HYPR Passwordless.
Signing In as a Registered User
-
Go to your tenant URL, which is in your registration email — for example,
https://highlandsbank.hypr.com. -
Enter your username at the login dialog. This is the email address you registered with. Click Next.
-
Control Center asks What device are you signing in with? Choose one:
- HYPR Mobile App — complete the prompts on your device. Policies vary, but may include PIN entry, fingerprint, face, or voice recognition.
- Passkey — follow the prompts to use your security key, your device biometric, or a HYPR Enterprise Passkey.
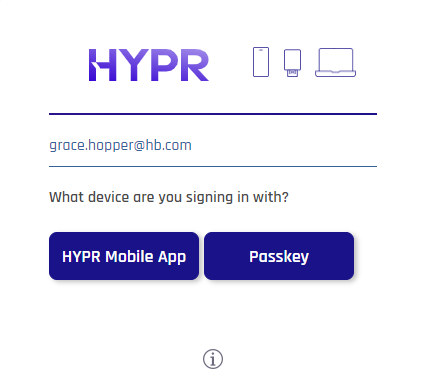
Once you authenticate, Control Center opens on the Dashboard, with the navigation menu on the left and the dashboard panels filling the main pane.
To add or remove a sign-in device afterwards, open Device Manager from the account menu; it opens in a new tab. See HYPR Device Manager.
Finding Your Way Around
Control Center has two modes, and the navigation pane differs between them.
Standard Mode
The HYPR logo always returns you to the Control Center Dashboard.
Beneath it is the navigation menu. You will see some or all of these options, depending on what your organization has purchased:
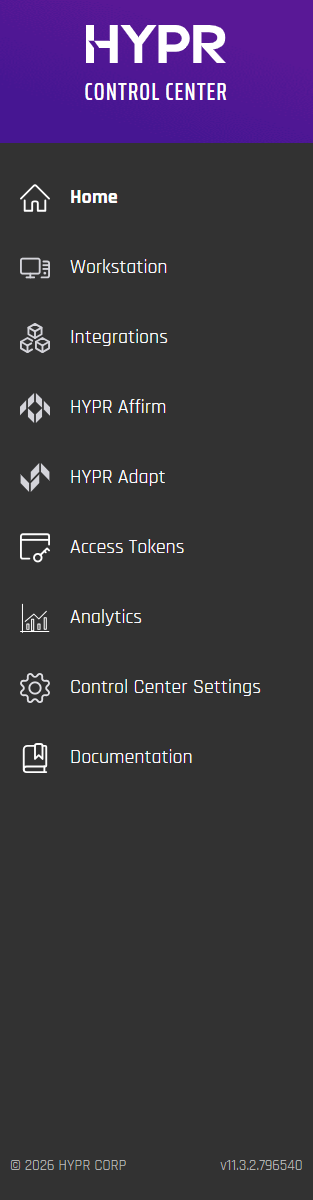
Control Center Settings holds the settings that apply to Control Center itself, arranged as tabs. Which tabs appear depends on how your tenant is deployed:
- Control Center Users
- User Roles
- Audit Trail
- FIDO2 Settings
- Custom Branding
- HYPR Support Access
At the foot of the navigation pane are your display name and role, and below them the Control Center version, in the form:
v[major].[minor].[patch].[build]
Advanced Mode
The HYPR logo returns you to the Dashboard and also resets the page so that no application is selected.
Below it you will find, in order:
- a Home heading
- an Analytics heading, shown depending on what your organization has purchased and on your role
- a dialog to Choose an App or Add Application — the navigation and main pane change once an application is selected
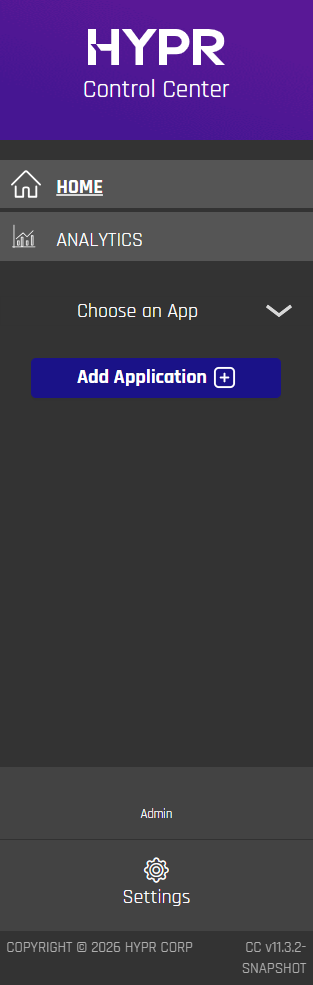
At the foot of the navigation pane are your display name and role, and beneath them a gear marked Settings. It opens Server Settings, which is available to administrators.
Server Settings holds the settings that apply to the server rather than to a single application, arranged as tabs:
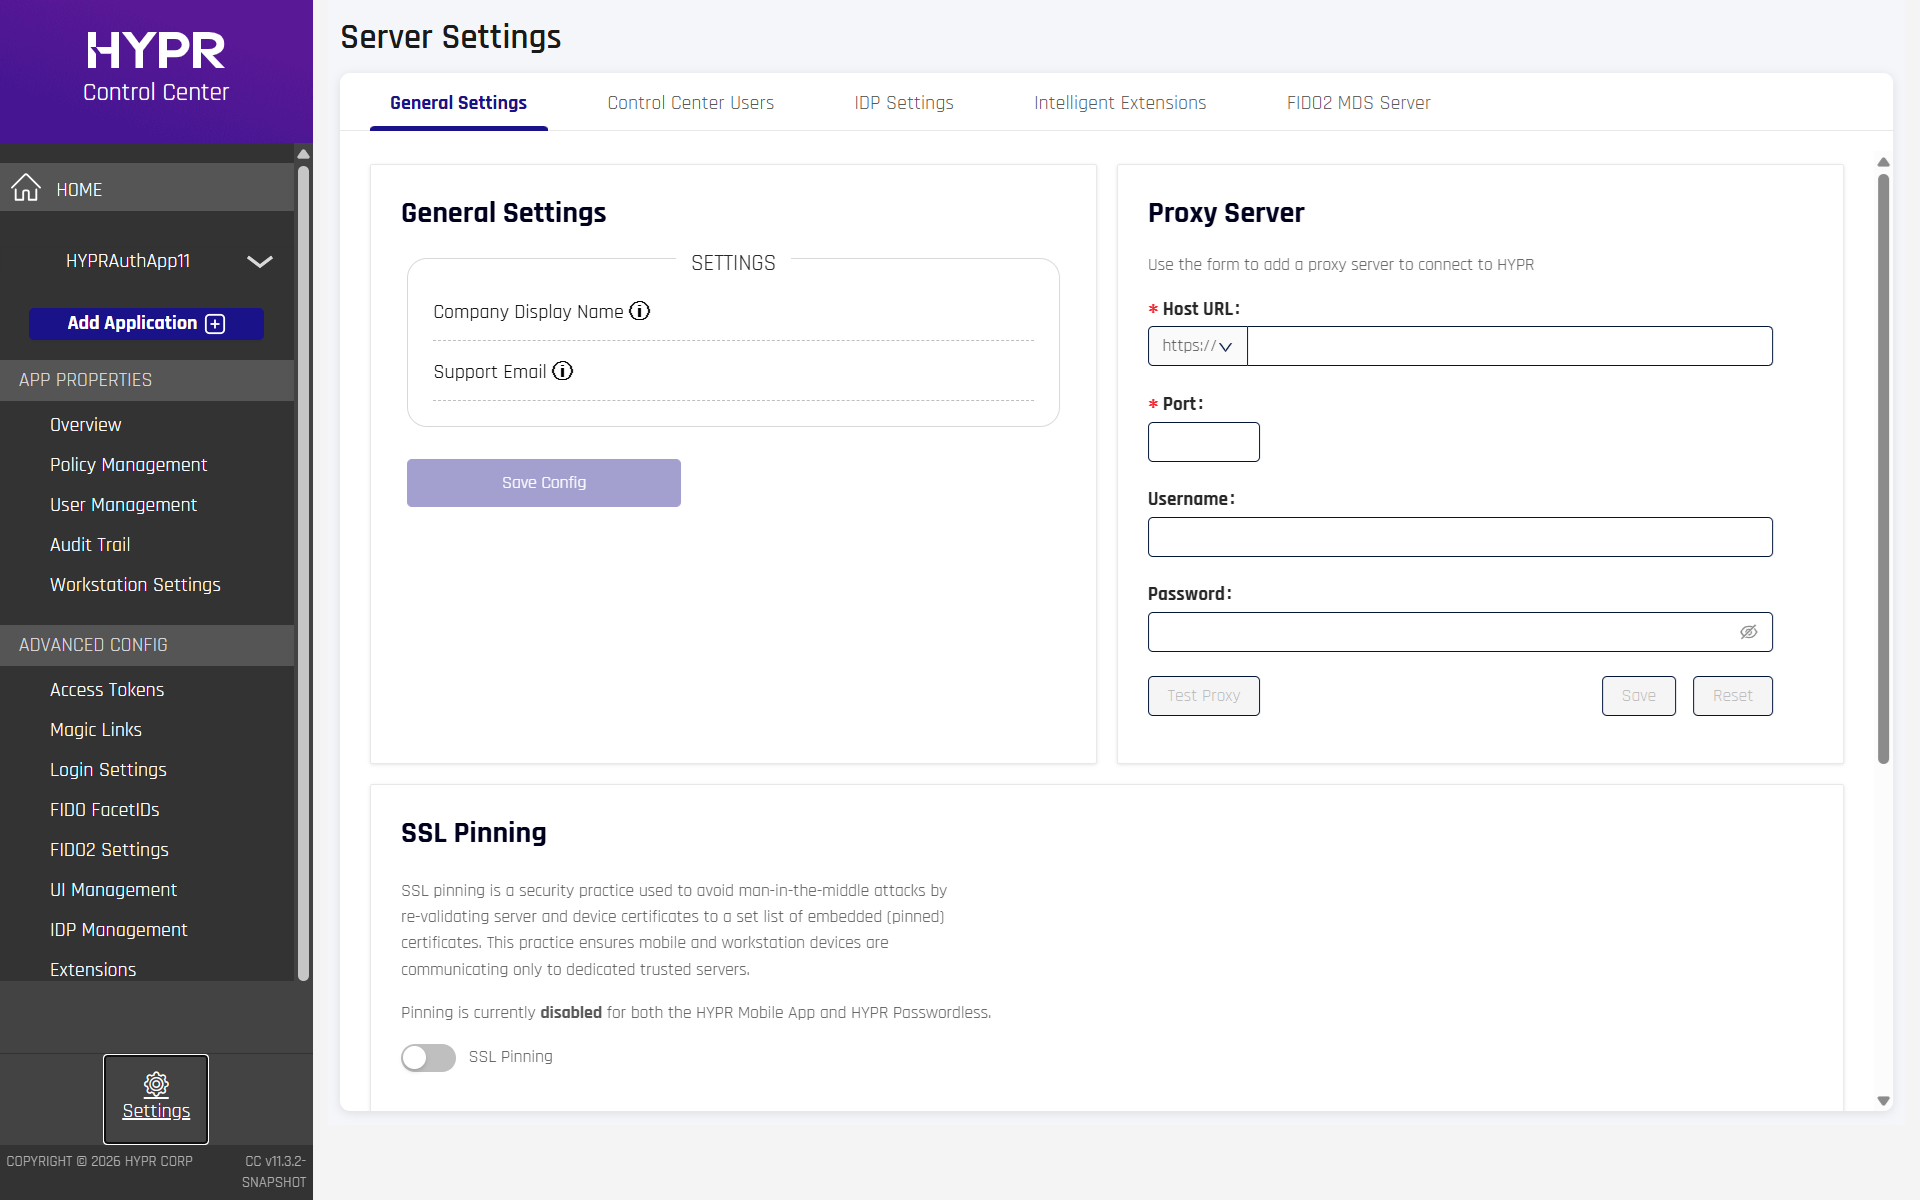
- General Settings — the company display name and support email, together with the proxy server and SSL pinning controls
- Control Center Users — the accounts that can sign in to Control Center, and the roles they hold
- IDP Settings — the identity provider that protects Control Center sign-in, separate from the IDP Management of any single application
- Intelligent Extensions — the extensions made available to your applications
- FIDO2 MDS Server — the FIDO2 authenticator metadata Control Center trusts
Once you choose an application, the navigation pane gains that application's own sections — App Properties and Advanced Config:
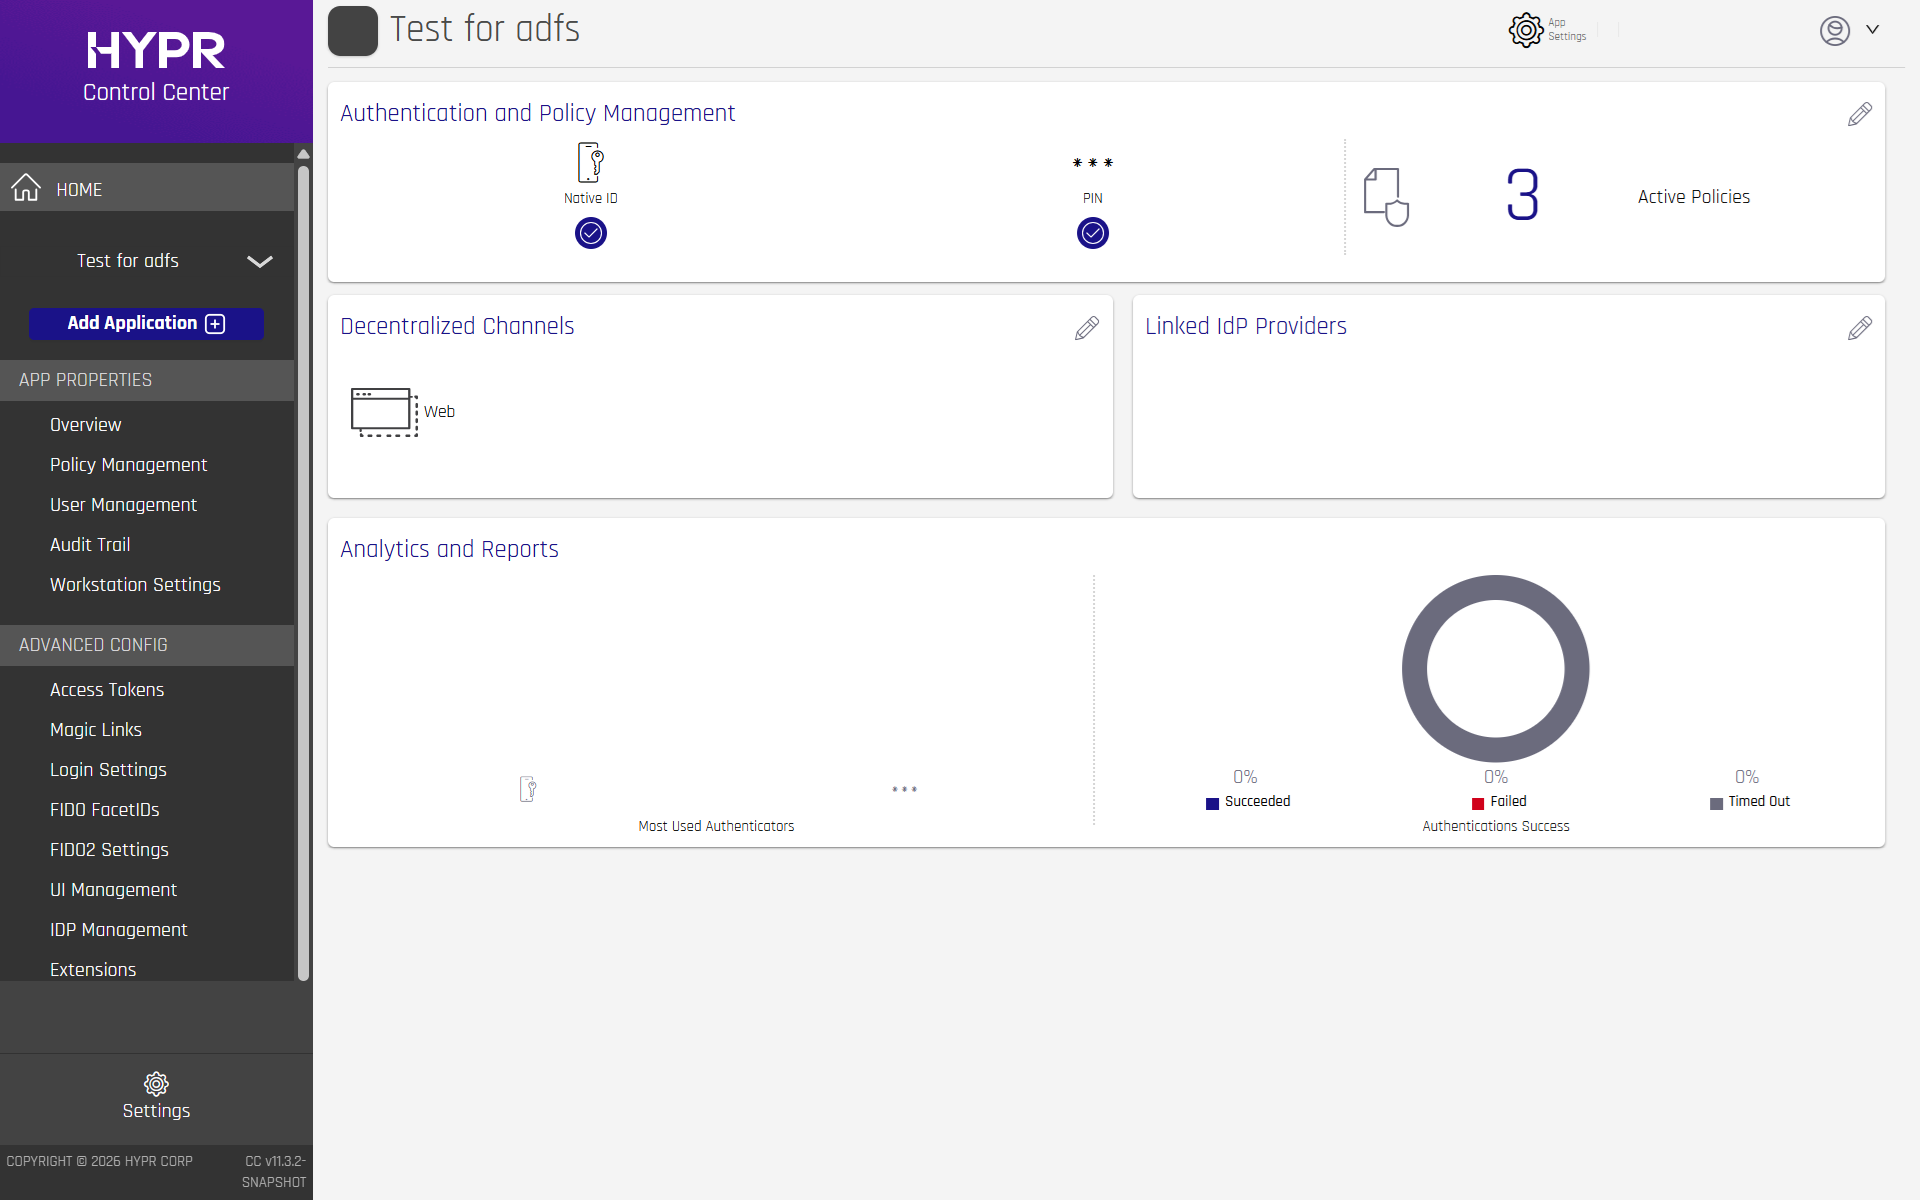
Below the gear is the Control Center version, which shows one fewer segment than in Standard mode:
CC v[major].[minor].[patch]
The Dashboard
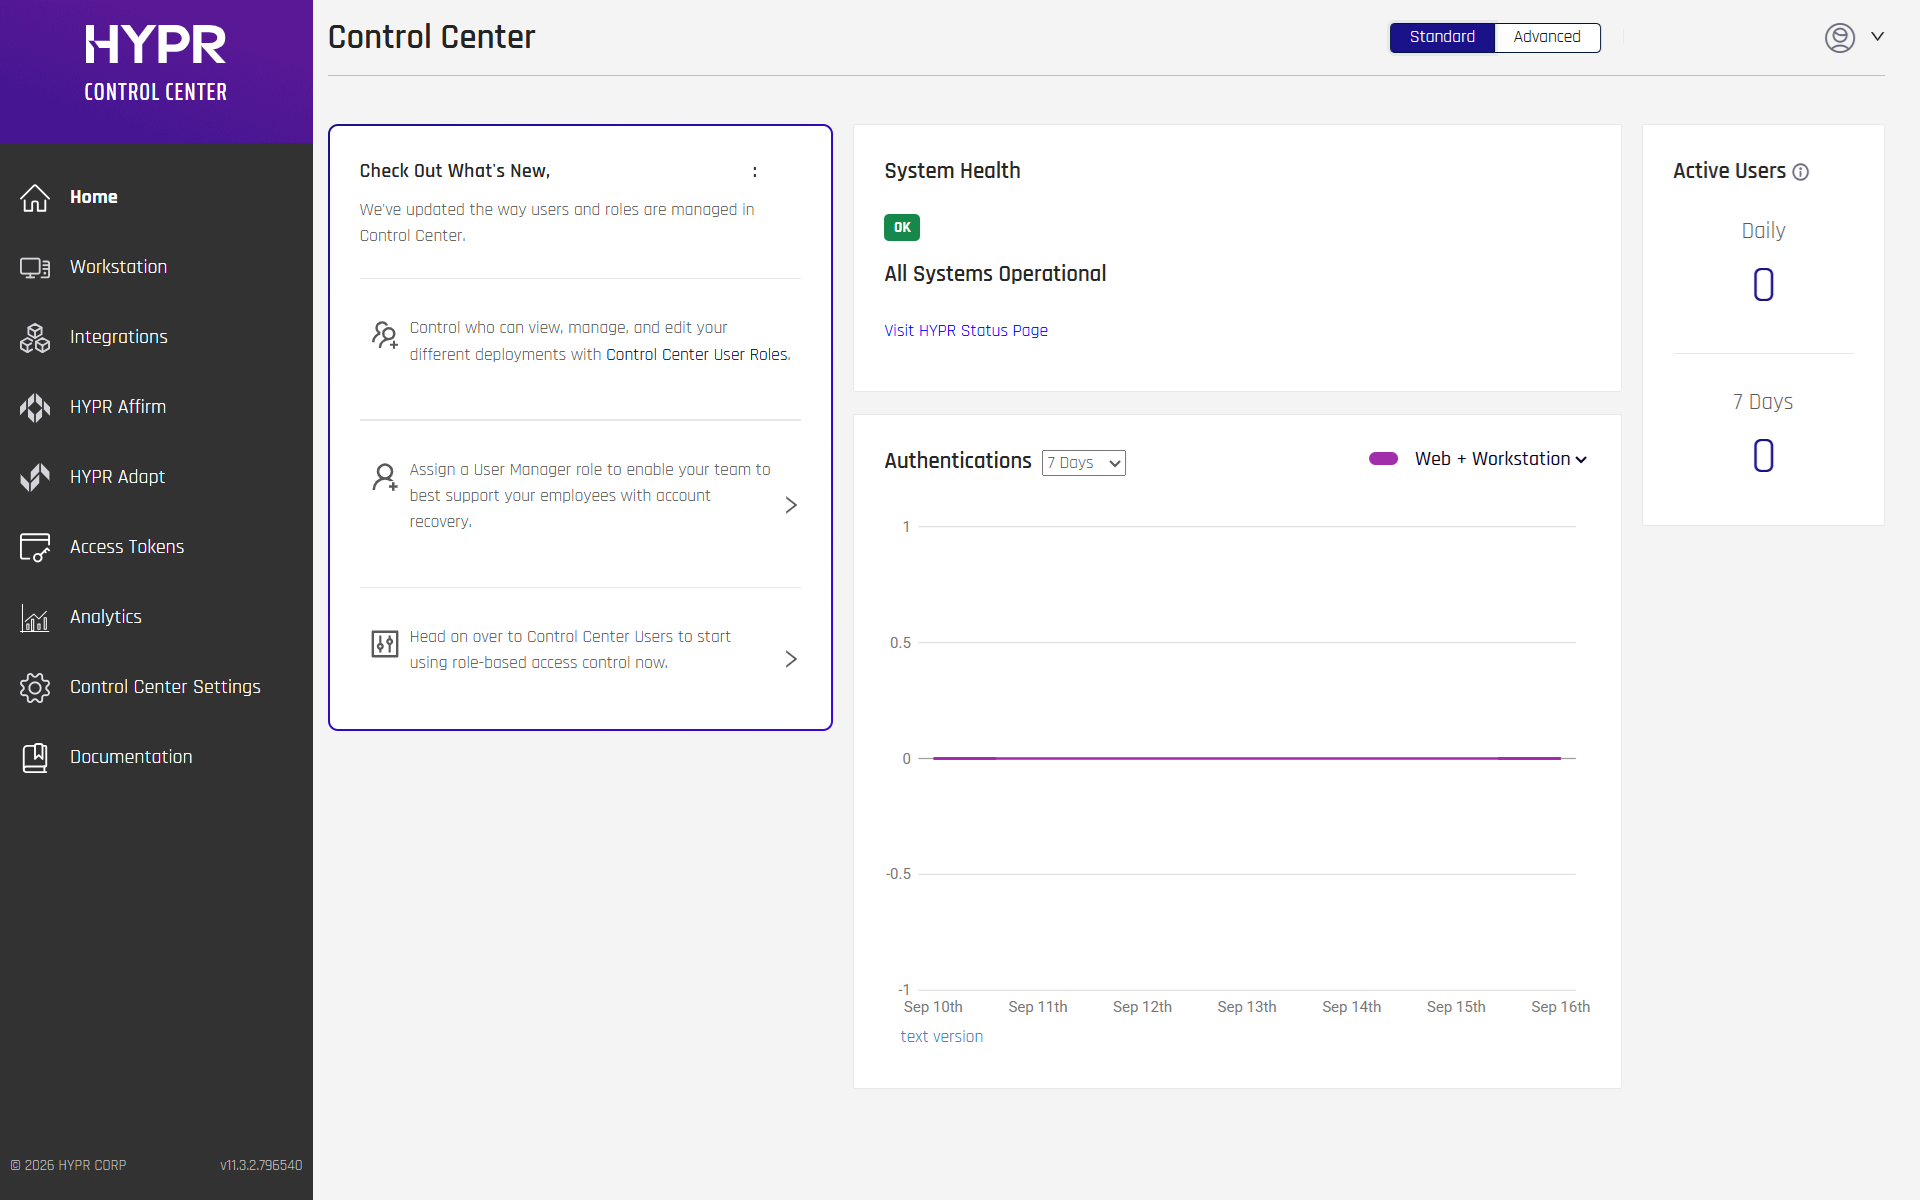
The default Home page shows:
-
What's New, in the leftmost panel
-
System Health, a high-level view of the components supporting HYPR. Hover over any one to see a description of its status
-
Authentications, a graph of recent activity, sortable two ways:
- by period — the past day, past week, or past 30 days
- by channel — web, workstation, or both
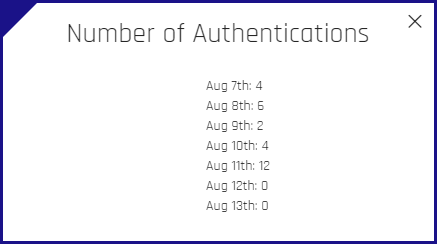
Click the text version link for a list of authentications over the period you selected.
-
Active Users, the total number of users daily and weekly
In Advanced mode, the Dashboard changes once an application has been selected.
Where to Next
Setting up
- Server Config — configure the HYPR server behind Control Center
- Application Config — create and configure an RP application
- Passwordless Client Config — settings for the Windows and Mac clients
- Integrations — SSO and third-party connections
Running it
- Control Center Security Best Practices — hardening guidance
- Access Tokens — create tokens and choose their permissions
- Analytics Dashboard — reporting beyond the Home page
- HYPR Device Manager — how users pair and manage their devices