User Experience and Passkey Workflows
This section covers the user experience for setting up passkeys and the workflows for acquiring passkeys and linking devices.
Users can start Enterprise Passkey registration either from HYPR Passwordless for Windows or from web/mobile (for example, via Magic Links to Device Manager or dynamic links that open the HYPR app). When a user completes registration on an Enterprise Passkey integration, HYPR provisions a passkey into Entra ID that can be used for Entra‑protected web apps, mobile access and Windows workstation login.
Installing the HYPR Mobile App
Before a HYPR passkey can be set up, you need to download the HYPR Mobile App from either the App Store or Play Store, as well as enable the Passkey provider within the settings on your specific mobile platform.
-
Download the HYPR Mobile App
- iOS: Download from the App Store
- Android: Download from Google Play Store
- Ensure you have version 10.5.0 or later
-
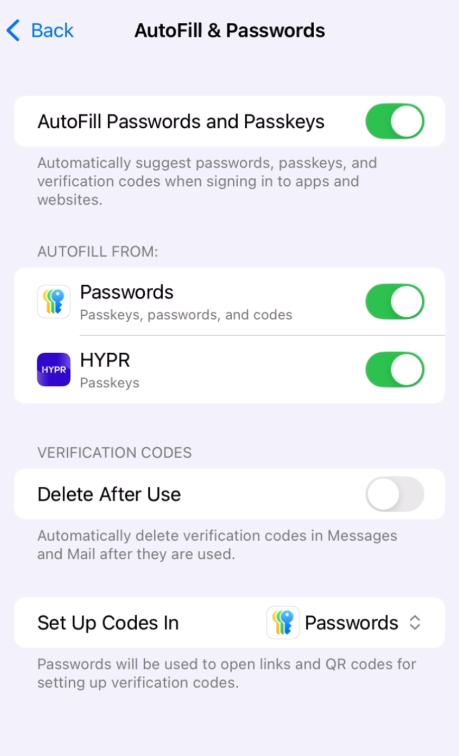
Enable HYPR Passkeys (iOS)
-
Open Settings > General > Passwords
-
You can see the native Passwords app is on
-
Turn on HYPR toggle
-
Ensure Native Passwords is also enabled
-
-
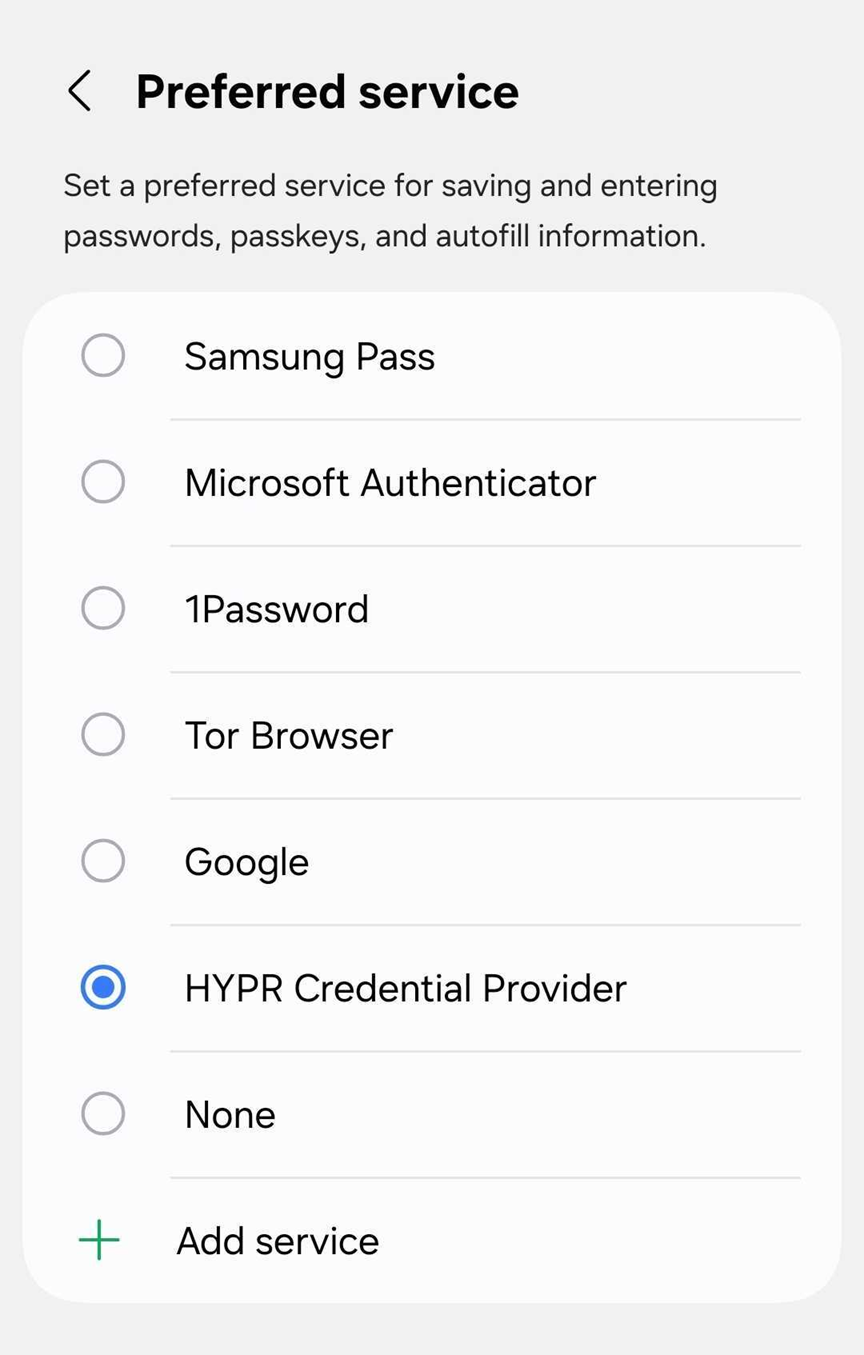
Enable HYPR Passkeys (Android)
-
Open Settings > Security and privacy > More security settings
-
Navigate to Passkeys
-
Enable the HYPR toggle (if HYPR is not present among the available toggles, select Preferred service on the Passkeys screen and there select HYPR)
-
With a brand new 10.5.x from the App Store and Play Store, both toggles should be enabled

-
The exact procedure to enable different passkey providers on Android devices may differ depending on the make of the phone and the version of Android it is running. You can also search for "passkey" in the system search bar, which should generally navigate you to the Passwords, passkeys, and autofill section (the exact name of this section may also be different). For more precise information about this, consult the appropriate help guides from the manufacturer of the exact model.
The HYPR Mobile App must be version 10.5.0 or later to support Enterprise Passkey functionality. Both iOS and Android versions are available in their respective app stores.
For more information about mobile app functionality, see:
Installing HYPR Passwordless for Windows™
If not installed on your workstation already, your network administrator should provide you with an MSI installer for HYPR Passwordless for Windows™ and a hypr.json configuration file.
Make sure both are in the same directory or folder, and run the MSI installer. Follow the on-screen prompts and complete the installation.
Registration Flow Overview
There are two flows for setting up a HYPR Enterprise Passkey for users: workstation-to-web and web-to-workstation. For more information, see Workstation to Web Single Registration and Web to Workstation Single Registration.
Workstation to Web Flow:
- Users register once on their workstation using HYPR Passwordless for Windows™
- HYPR automatically creates both desktop and web profiles
- Users can then access both workstation and web applications with a single registration
Web to Workstation Flow:
- Users register once through a web application interface using a Magic Link created by HYPR Control Center™
- HYPR creates both web and desktop profiles automatically
- Users can access both web applications and workstation with a single registration
- Ideal for customers looking to make their onboarding process completely passwordless
For detailed configuration steps, see the Single Registration documentation and the Enterprise Passkey and HYPR Passkey Setup Guide.
Quick troubleshooting tips for users
-
QR code is not offered in the browser on your workstation
- Windows automatically offers the QR‑based passkey flow for machines that are physically next to you by using Bluetooth to detect your registered mobile device. If you are on a virtual machine, or if Bluetooth is disabled or unavailable, you may not see this option. In that case, use the standard HYPR QR login flows instead of relying on the Windows‑initiated QR prompt.
-
You see “The FIDO2 security key could not be registered with Entra ID. Error Code: 1550012.”
- This error can be due to passkeys not being enabled on your mobile device for the HYPR Passwordless app, or to Entra configuration (for example, Conditional Access or MFA policies) blocking passkey creation. Contact your administrator and mention the exact error code. Administrators can use the Enterprise Passkey and HYPR Passkey Setup Guide – Troubleshooting playbook (which includes mobile passkey enablement and Entra Sign‑in logs checks) to diagnose the issue.
Web to Workstation Flow for Enterprise Passkey with HYPR Passkey
The web-to-workstation flow allows users to register once through a web application interface and gain access to both web applications and workstation authentication. This flow is ideal for customers aiming for a completely passwordless experience for their users from start to finish, as it enables users to complete a single registration ceremony on their workstation and automatically receive access to both desktop and web environments. HYPR creates both web and desktop profiles in the background, providing unified access with minimal user effort.
The first part of this section, which involves generating a Magic Link for the user, should be carried out by the tenant administrator
-
In your browser, navigate to HYPR Control Center™ and log in as an administrator.
-
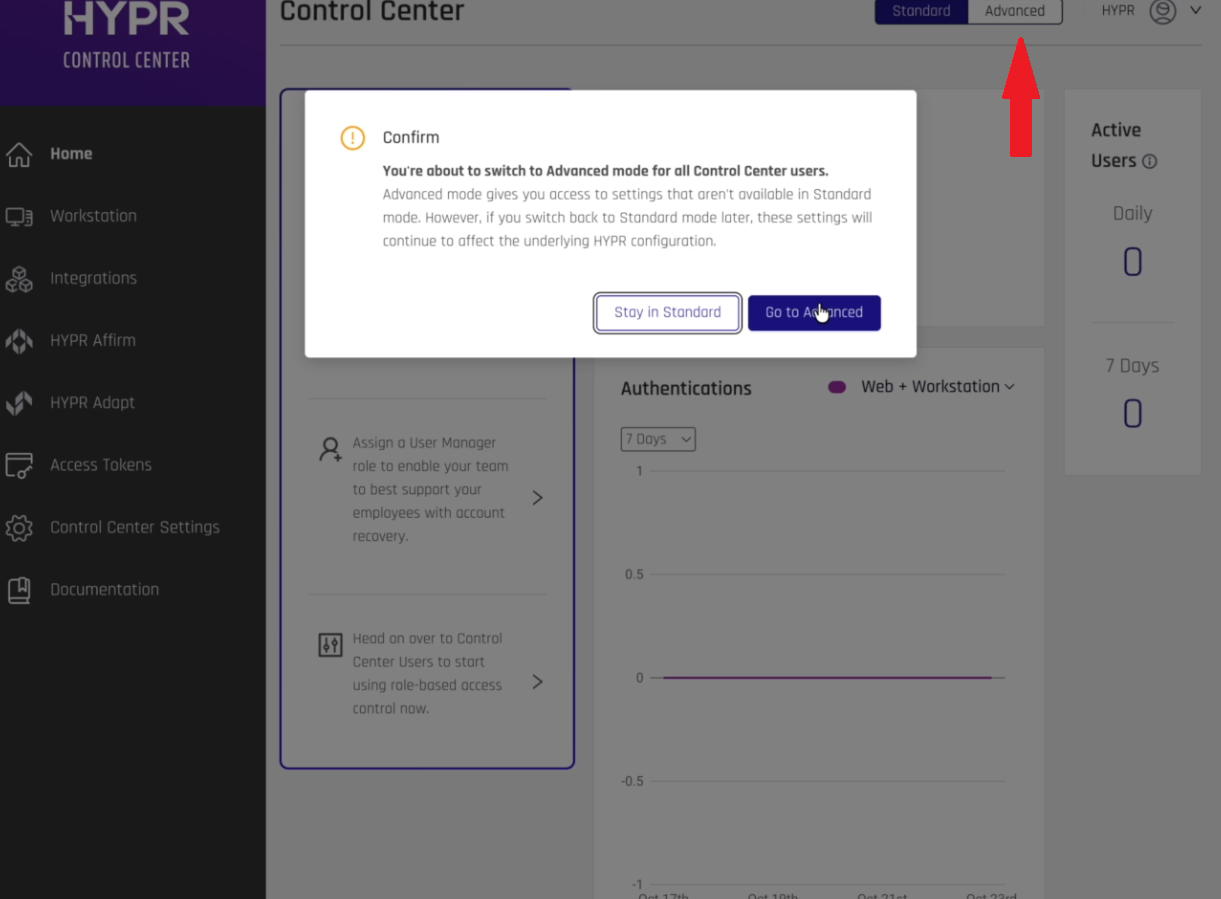
In HYPR Control Center™, switch to Advanced mode.
-
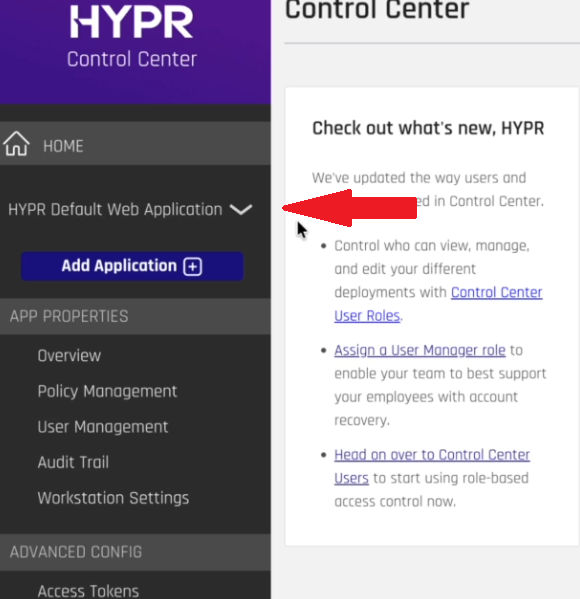
Make sure HYPR Default Web Application is selected in the drop-down menu in the left pane.
-
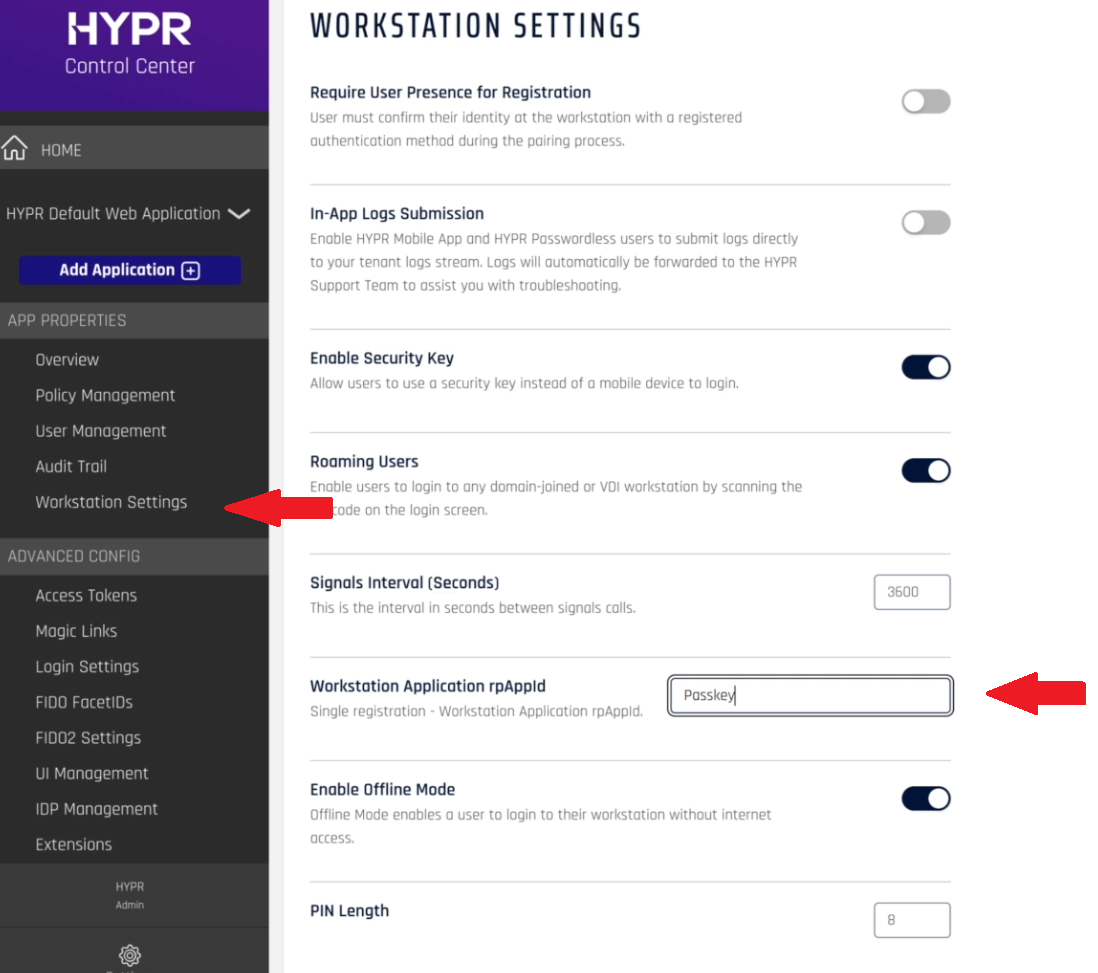
In the menu in the left pane, select Workstation Settings, and on the Workstation Settings screen, specify the name of the application you created in the Workstation Application rpAppId field, e.g., "Passkey".
-
Click Save at the bottom of the page. If the credentials are saved correctly, you should see a green notification at the top of your screen. Make sure that the credentials have been saved and now show up by default on this page.
-
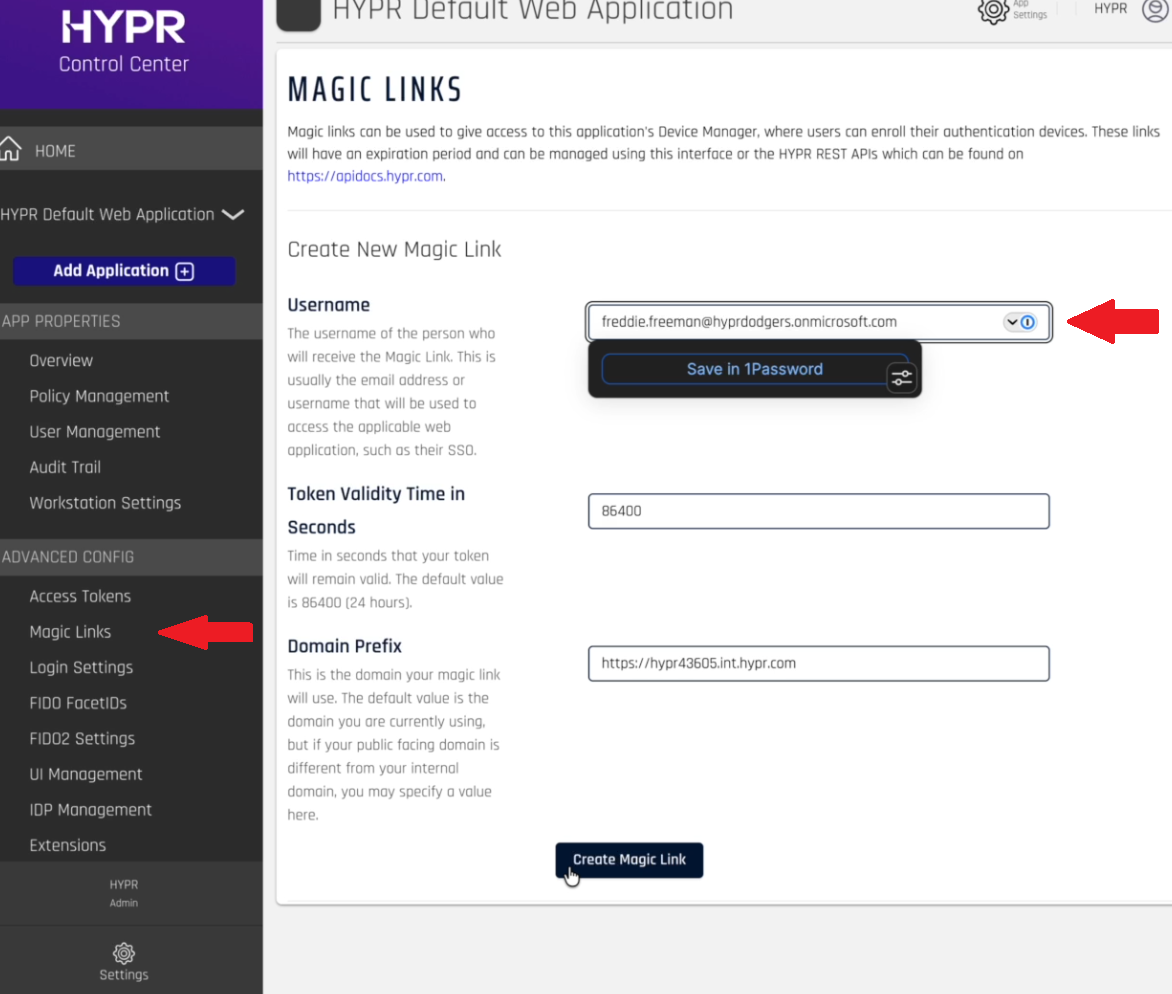
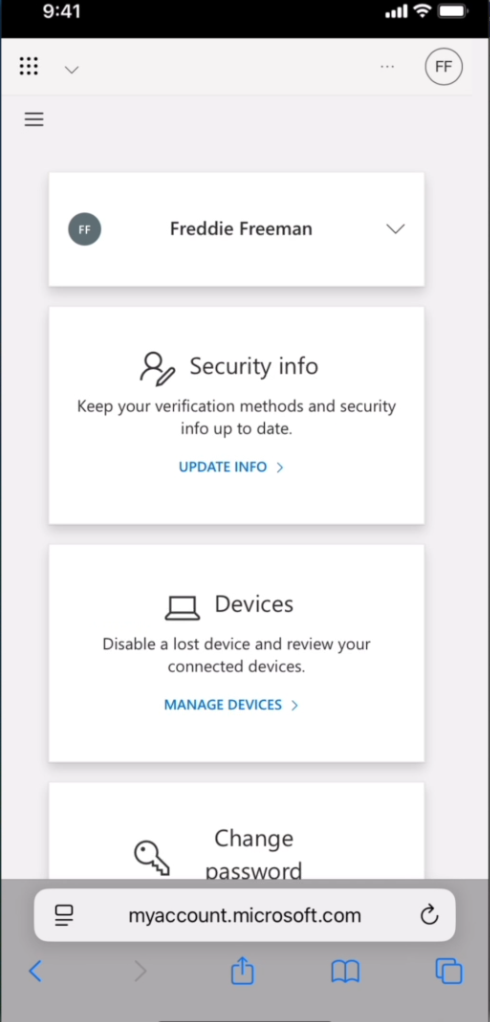
In the pane on the left, click Magic Links and on the Magic Links screen, specify the Entra domain email of a user who you would like to set up with a HYPR passkey for passwordless login. Click Create Magic Link on the bottom of the page.
-
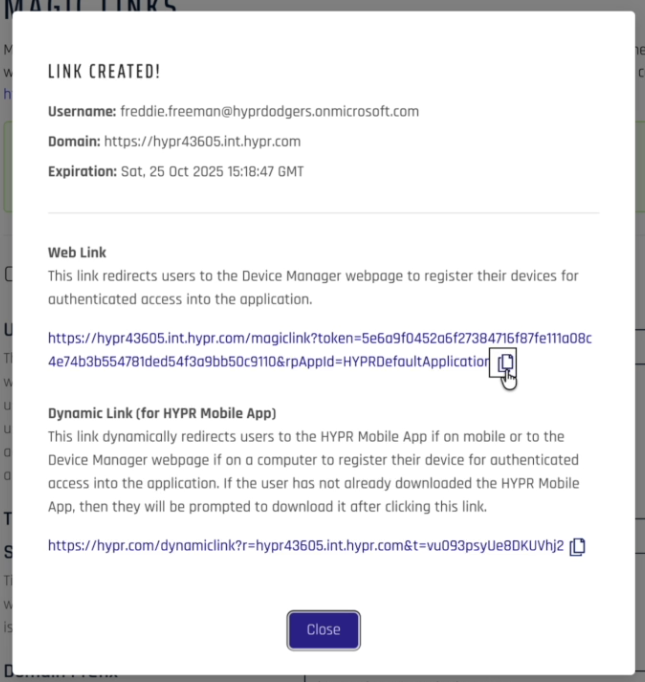
On the Link Created dialog box, click the Copy icon to copy the created magic link.
-
This link can now be provided to the owner of the email address, allowing them to register a mobile device, creating a passkey and allowing it to be used for passwordless login.
Once the tenant administrator provides you with your personal Magic Link, you can use it to begin linking your mobile device.
-
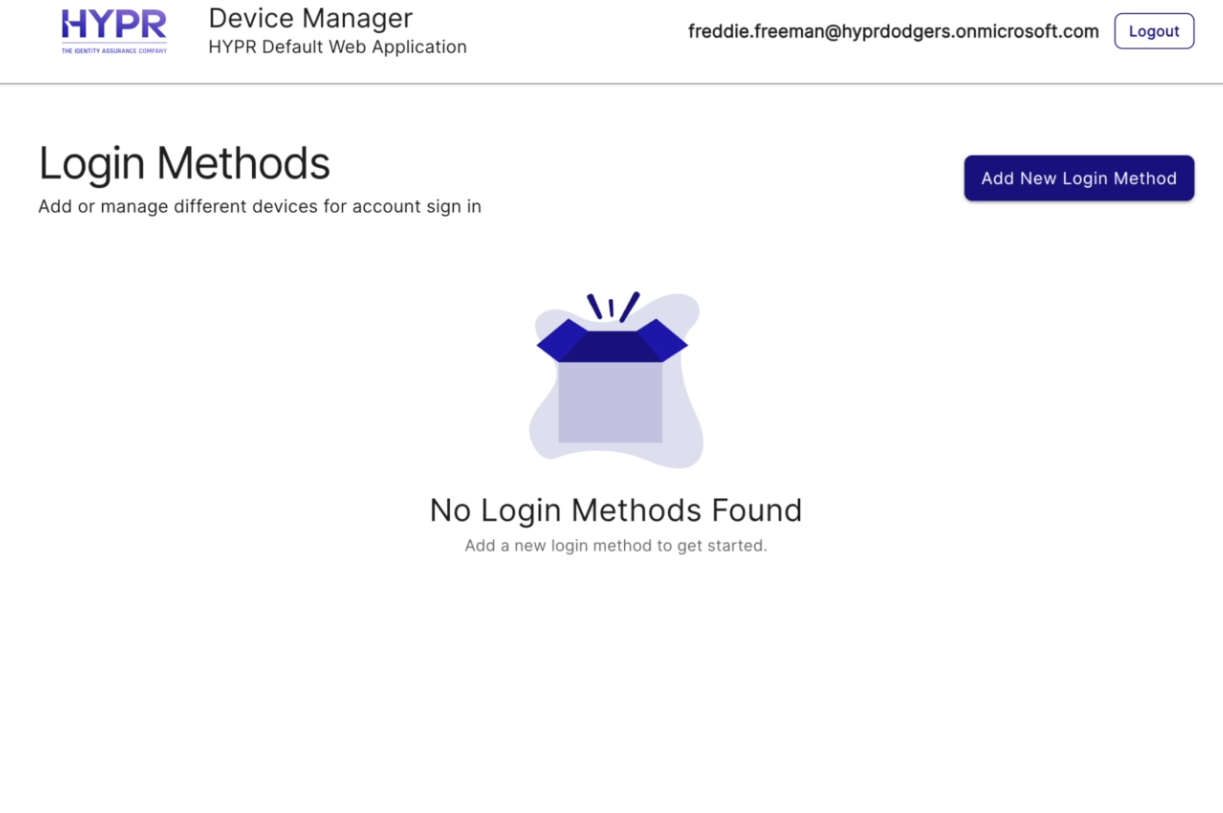
Open the provided Magic Link in either your desktop browser, click Add New Login Method, and select HYPR Mobile App.
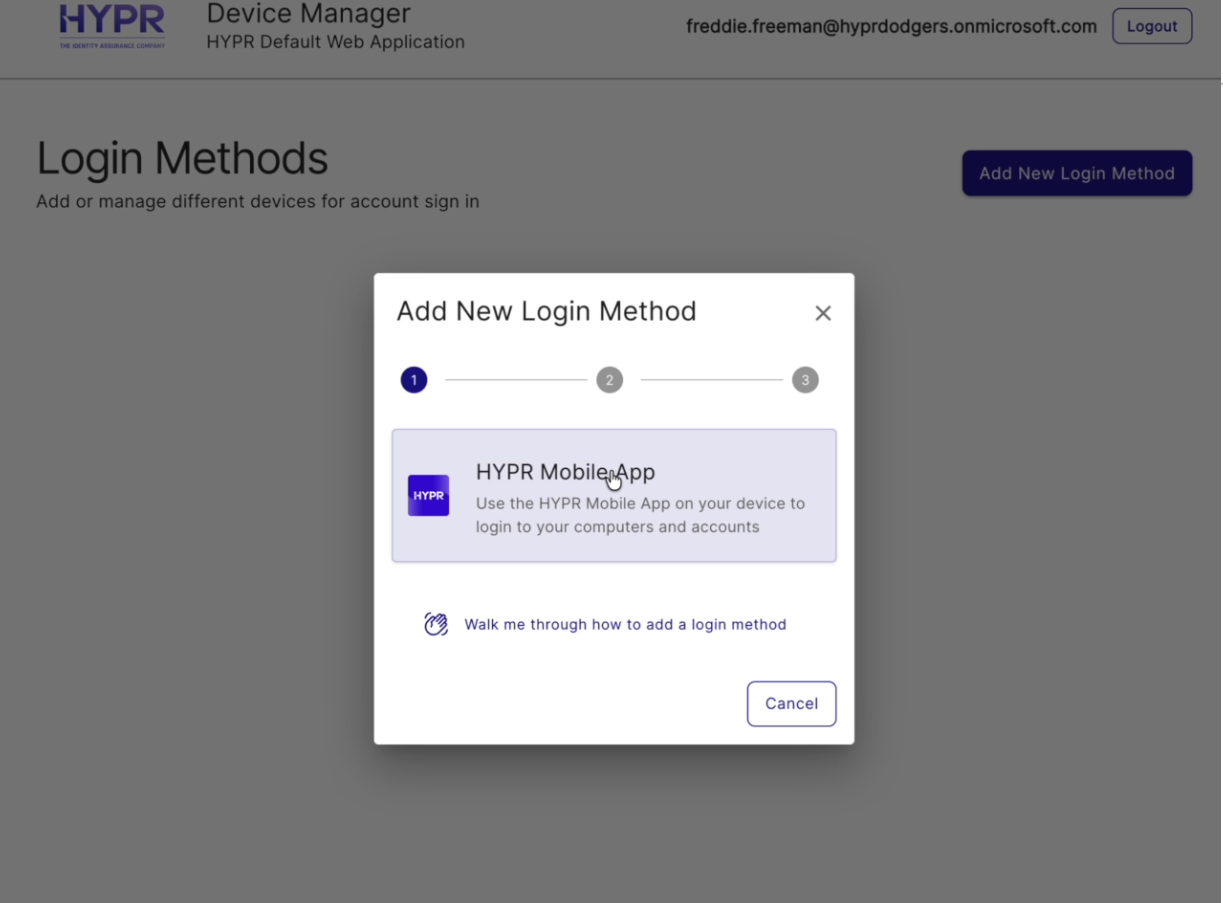
-
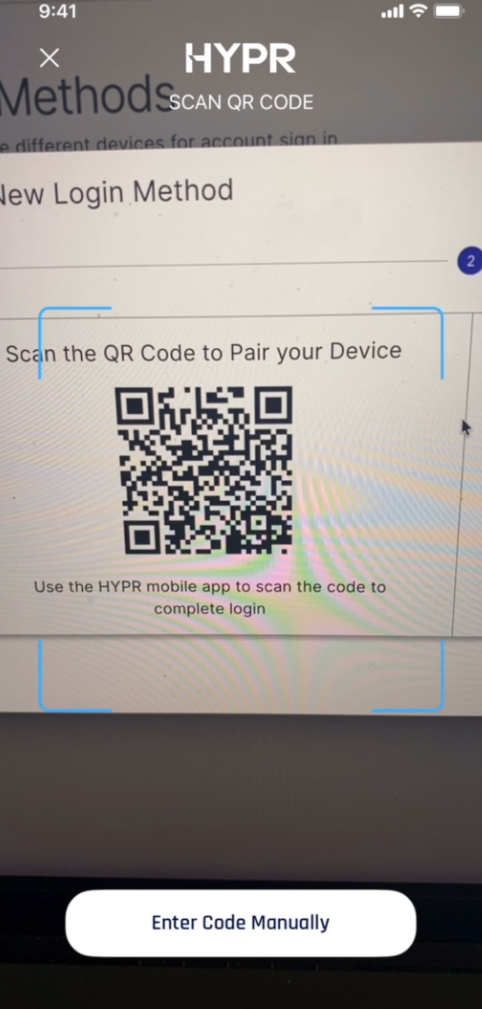
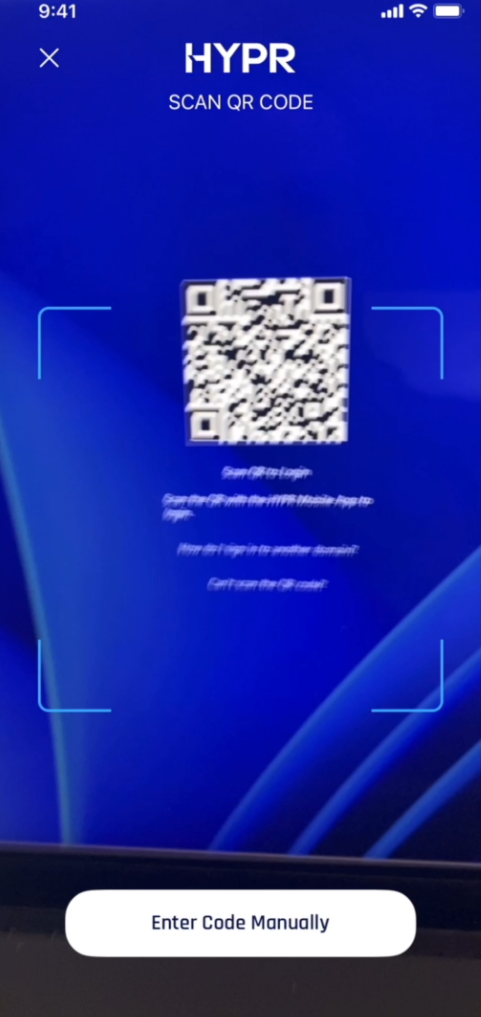
Open the HYPR Mobile App and tap the QR code icon in the upper right of the screen. Use the built-in QR code scanner to scan the QR code provided in the Add New Login Method dialog in your desktop browser.
Camera and Biometric PermissionsMake sure to allow the mobile device to use the camera and biometric verification when prompted to do so.
-
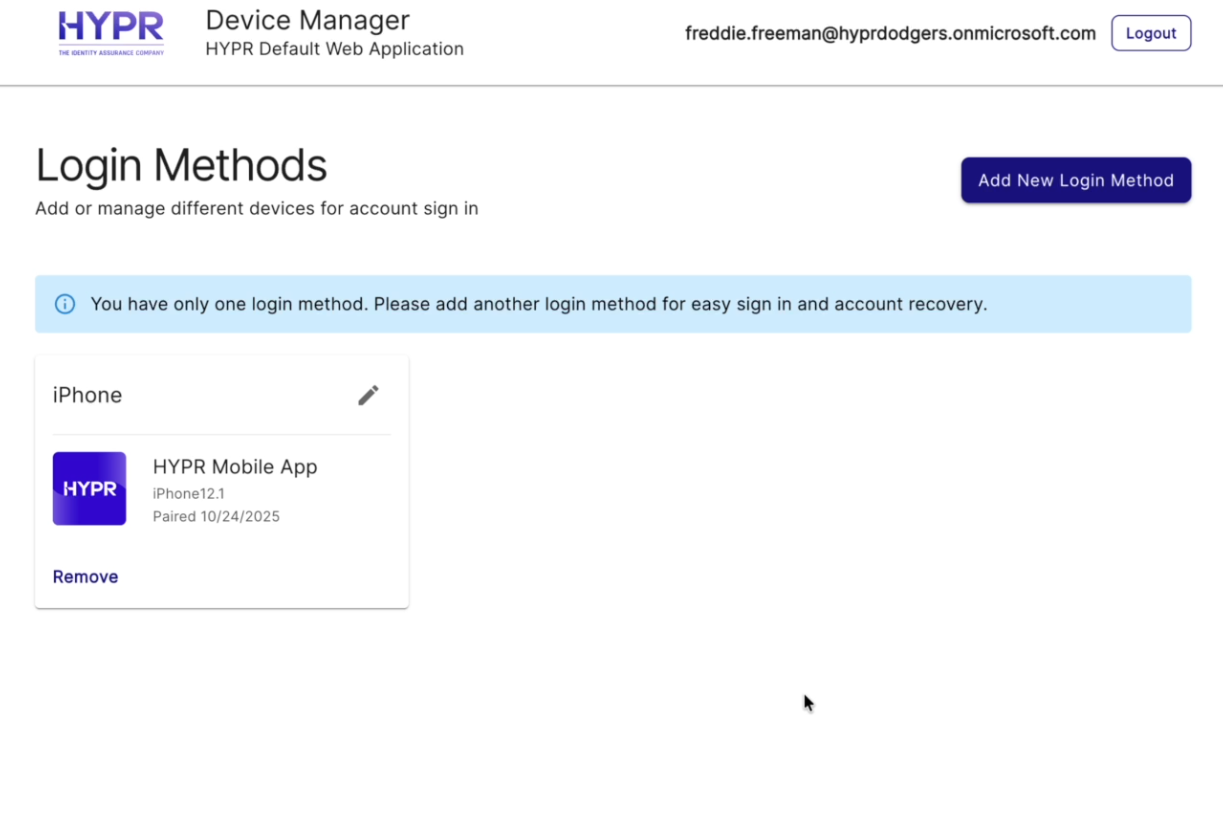
Wait for the pairing to be completed.
-
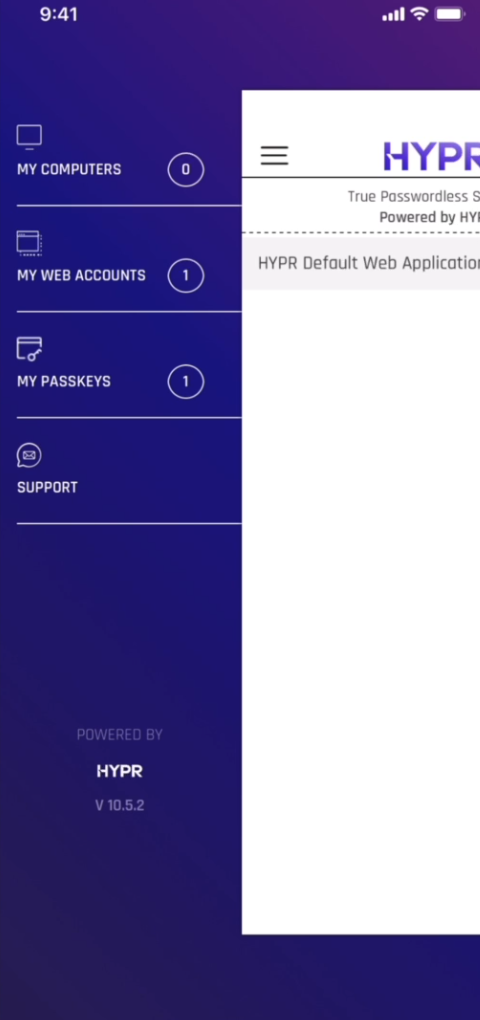
If the pairing completes successfully, you will see your new login method added in device manager, as well as a web account and passkey in your mobile app.
With Unified Single Registration Experience for Enterprise Passkeys enabled, the first QR-based workstation sign-in can also prompt you to save that computer in the HYPR Mobile App. If you choose to save it, the workstation is added to My Computers and becomes part of your regular passwordless workstation experience.
For supported Android workstation scenarios, offline and recovery options are tied to this saved-workstation relationship. For the exact Offline PIN user flow, see Offline Authentication.
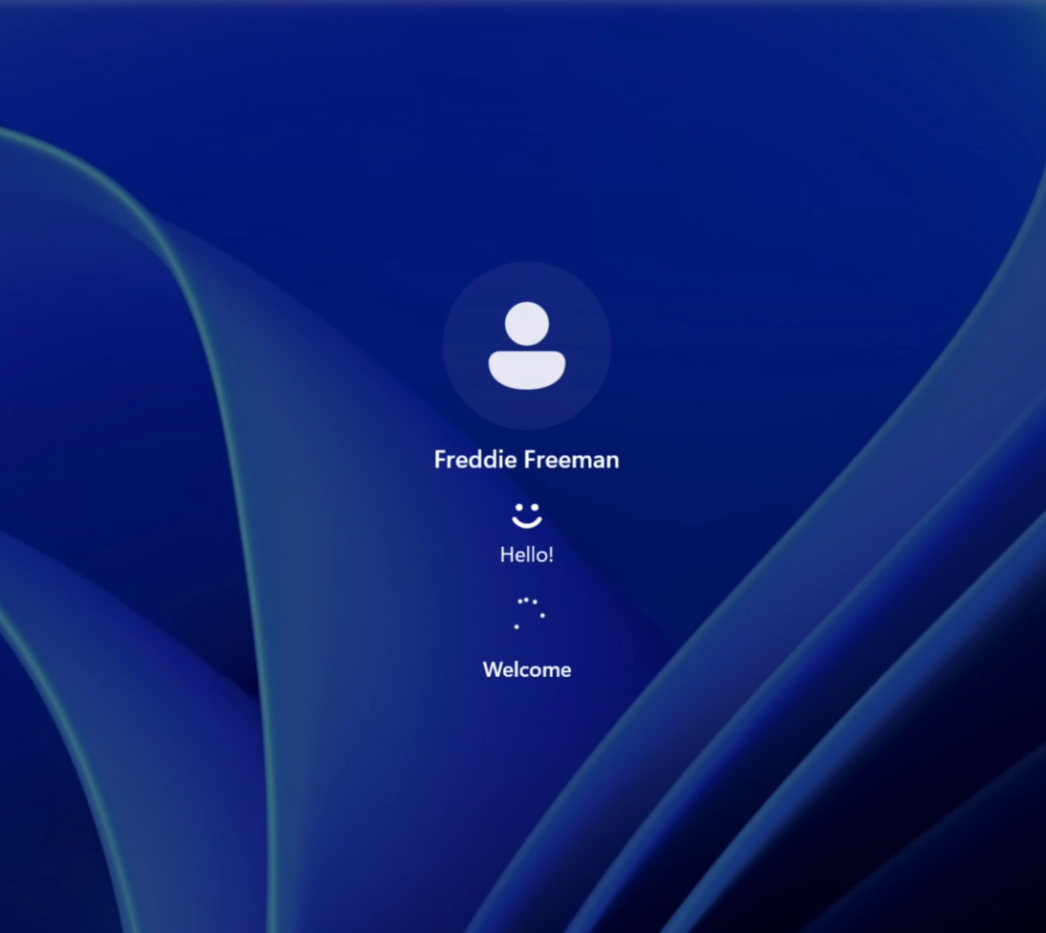
The passkey created on your mobile device can now be used to log in to Entra-protected content on your mobile device:
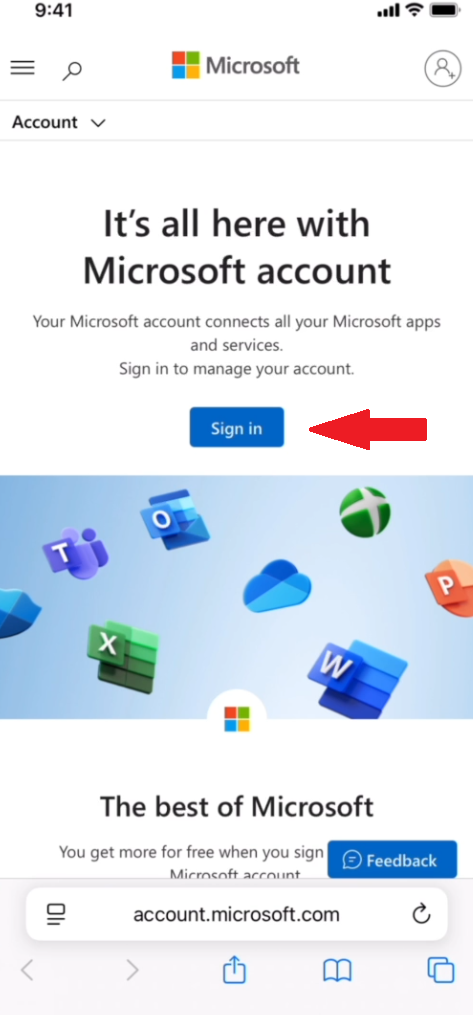
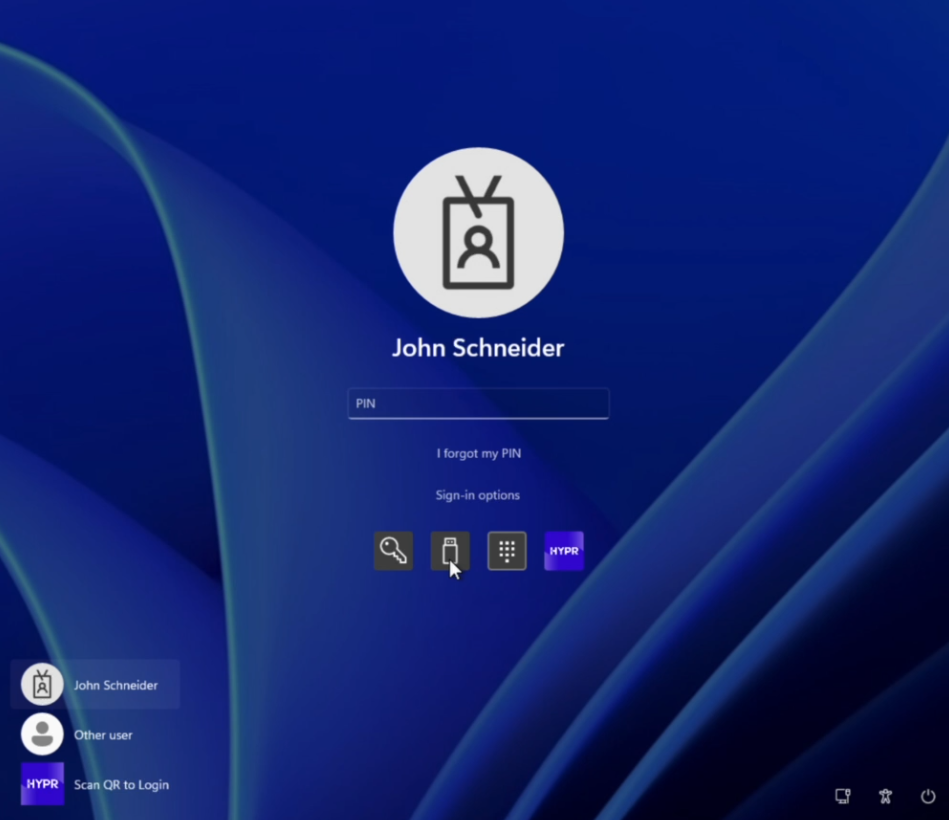
If you are logging in to a different workstation (roaming), you may be prompted to use Scan QR to Login on the Windows login screen:
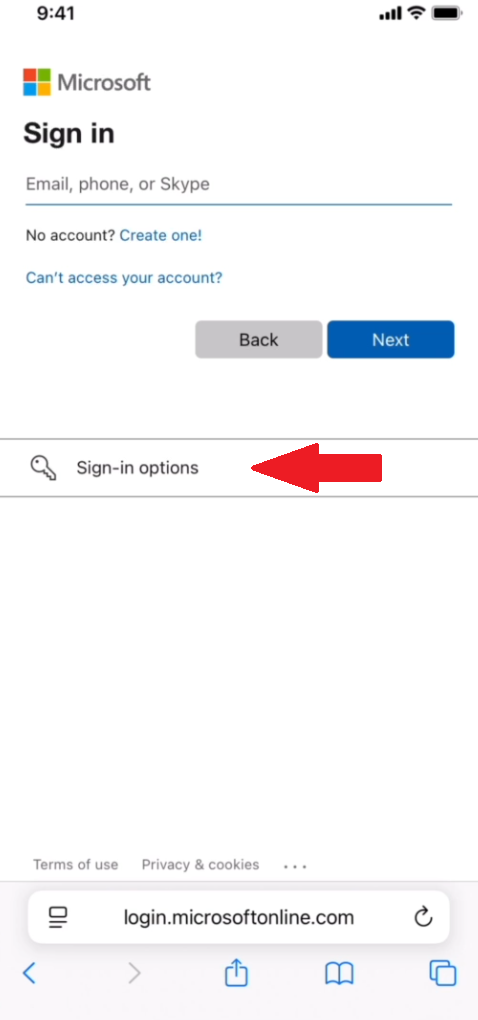
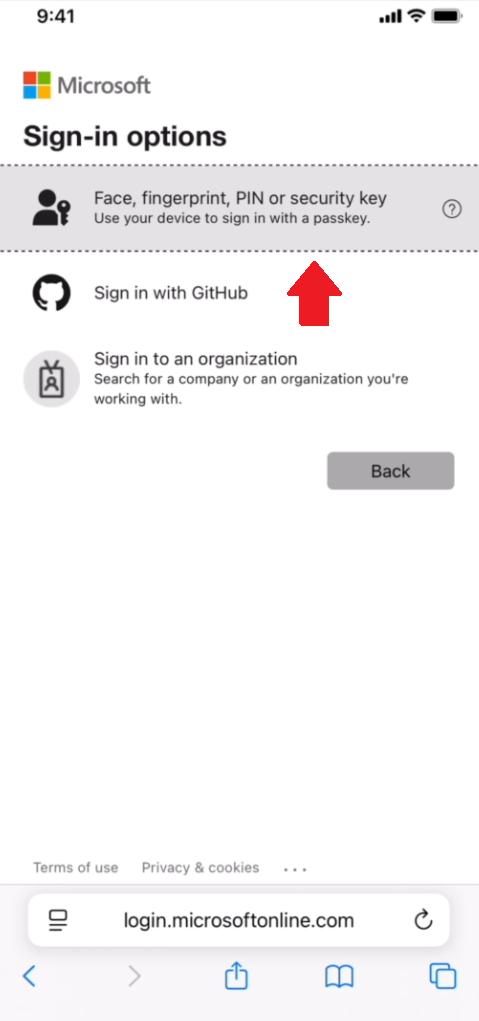
Windows presents Enterprise Passkey workstation sign-in under the Security key sign-in method. On the Windows sign-in screen, select Sign-in options and then Security key.
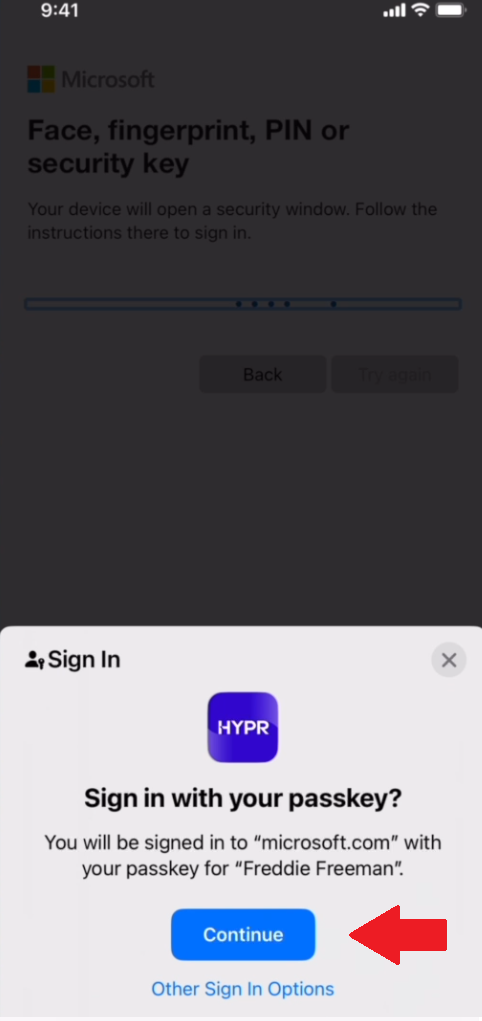
If Windows prompts you to initiate a session (for example, when logging in to a different workstation), select the HYPR tile and then Scan QR to Login, and scan the QR code with the HYPR Mobile App.
If your Android device temporarily has no connection when you need to sign in to Windows, HYPR can offer an Offline PIN authentication flow instead. For details on generating and using Offline PINs, see Offline Authentication.

For more information about web-to-workstation flows, see:
Workstation to Web Flow for Enterprise Passkey with HYPR Passkey
The workstation-to-web flow allows users to register once on their workstation using the HYPR Passwordless client and gain access to both workstation and web applications. HYPR creates both desktop and web profiles in the background, providing unified access with minimal user effort.
User Experience
-
Log in to Windows as an Entra cloud-only or hybrid account (e.g.,
user@domain.com) -
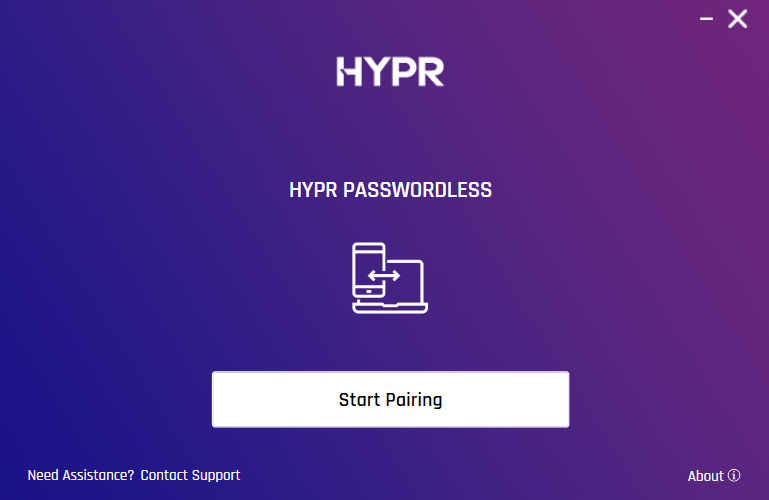
Launch HYPR Passwordless for Windows™ on the workstation
-
Click Start Pairing in HYPR Passwordless for Windows™
-
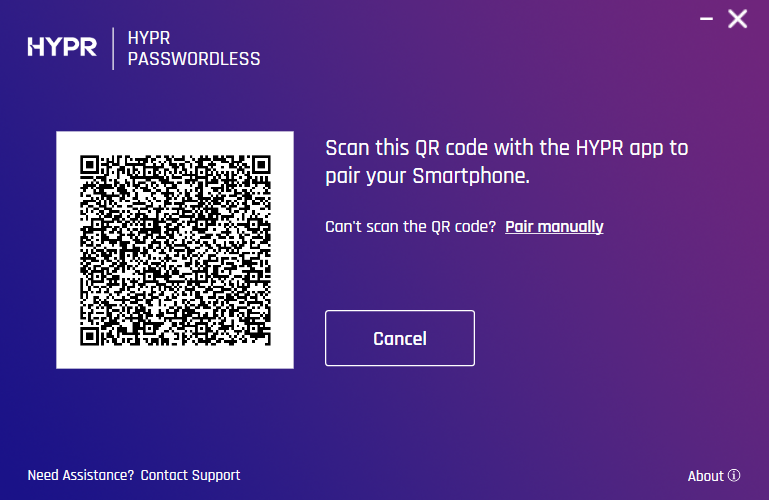
Scan the QR code displayed on the workstation screen using the HYPR Mobile App. You will be prompted to authenticate on your device.
-
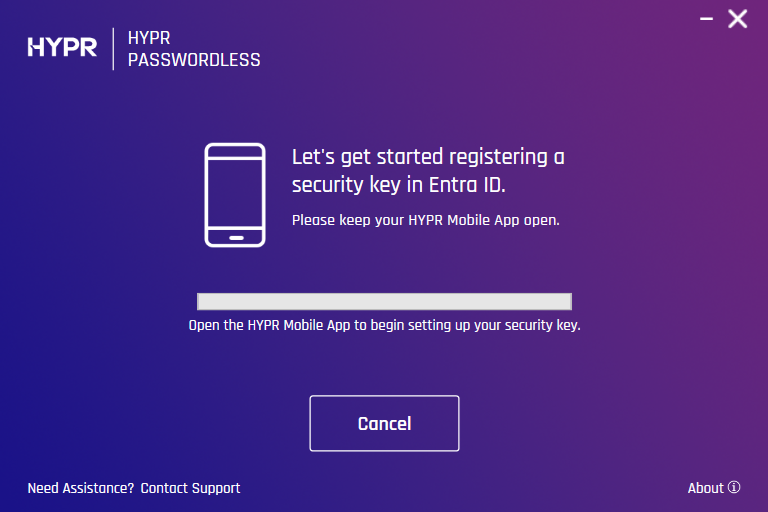
Wait for the pairing to be completed.
-
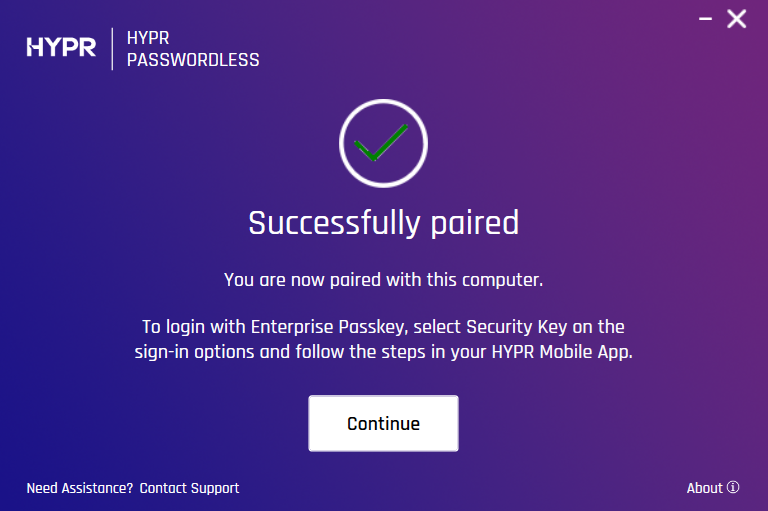
You will be notified once the pairing has been established successfully.
-
HYPR Passwordless for Windows™ returns to the main screen, now displaying your paired device. The HYPR Mobile App menu now contains your workstation account in the My Computers section and your passkey in My Security Keys.
For more information about the workstation-to-web flow prerequisites and detailed setup instructions, see Setting Up HYPR Passkey.
For more information about pairing your mobile device, see HYPR Passwordless and the HYPR Mobile App.
Key Benefits
- Single Registration: Users register once on the workstation for access to both workstation and web applications
- Automatic Profile Creation: HYPR automatically creates both desktop and web profiles
- Unified Access: Users can access both workstation and web applications with a single registration
- Session Passkey SSO: Provides session passkey SSO after desktop login with QR-based fallback when proximity cannot be established
Important Considerations
- One Passkey Limit: Only one Entra passkey per device is supported (other passkeys may coexist)
- Identity Alignment: The Windows account/Entra tenant used during pairing determines which Entra identity the passkey is created for
- Biometrics Required: Mobile device biometrics must be enabled for passkey functionality
- Credential Provider: Users may be prompted to enable the mobile Credential Provider during first-time setup
For more detailed information about the workstation-to-web pairing process and user experience, see Pairing a HYPR Enterprise Passkey.
For more information about workstation-to-web flows, see:
Troubleshooting Common Issues
If No Passkey Appears in My Passkeys After Pairing
If users don't see their passkey after pairing, check the following:
- Confirm Credential Provider: Verify the mobile Credential Provider is enabled in the HYPR Mobile App, and that HYPR is enabled as a credential provider in the Passkey settings of your mobile device
- Check Biometrics: Ensure device biometrics are set up; passkeys require biometrics
- Verify Account Type: Must login as Entra cloud-only or hybrid account (not local Windows account)
Common Pairing Issues
- Camera Access: Ensure mobile device camera permission is enabled for QR code scanning
- Bluetooth/Proximity: Check that Bluetooth and proximity features are working
- Network Connectivity: Verify both devices have internet connectivity
- Version Compatibility: Ensure HYPR Passwordless for Windows™ 10.5.0+ and the current HYPR Mobile App version
- Account Type: Must login as Entra cloud-only or hybrid account (not local Windows account)
If you encounter issues during setup or need additional assistance, contact HYPR Support at support@hypr.com or visit our support portal at support.hypr.com.
See Also
- Administrator Configuration
- Troubleshooting
- End User Guide: Setting Up Passwordless Login - Complete user-facing guide with step-by-step instructions for all passwordless login flows