Custom Branding
Some functionality is limited. This article is subject to change as the feature develops and we make improvements.
Future releases will expand the capabilities to other HYPR ecosystem components.
Check out the following articles for other methods of customizing HYPR:
-
See UI Management (CC Advanced Mode) for customizing the HYPR Mobile App, web channel Push Notifications, and the Device Manager
-
See Home Screen Widgets for mobile desktop icon configuration
-
See HYPR Passwordless Advanced Branding to customize the desktop client
The Custom Branding interface, including SMS notification branding and per-component branding toggles, requires the ENABLE_CUSTOM_BRANDING feature flag to be enabled for your tenant. If you do not see the Custom Branding tab in Control Center Settings, contact HYPR Support or your HYPR representative.
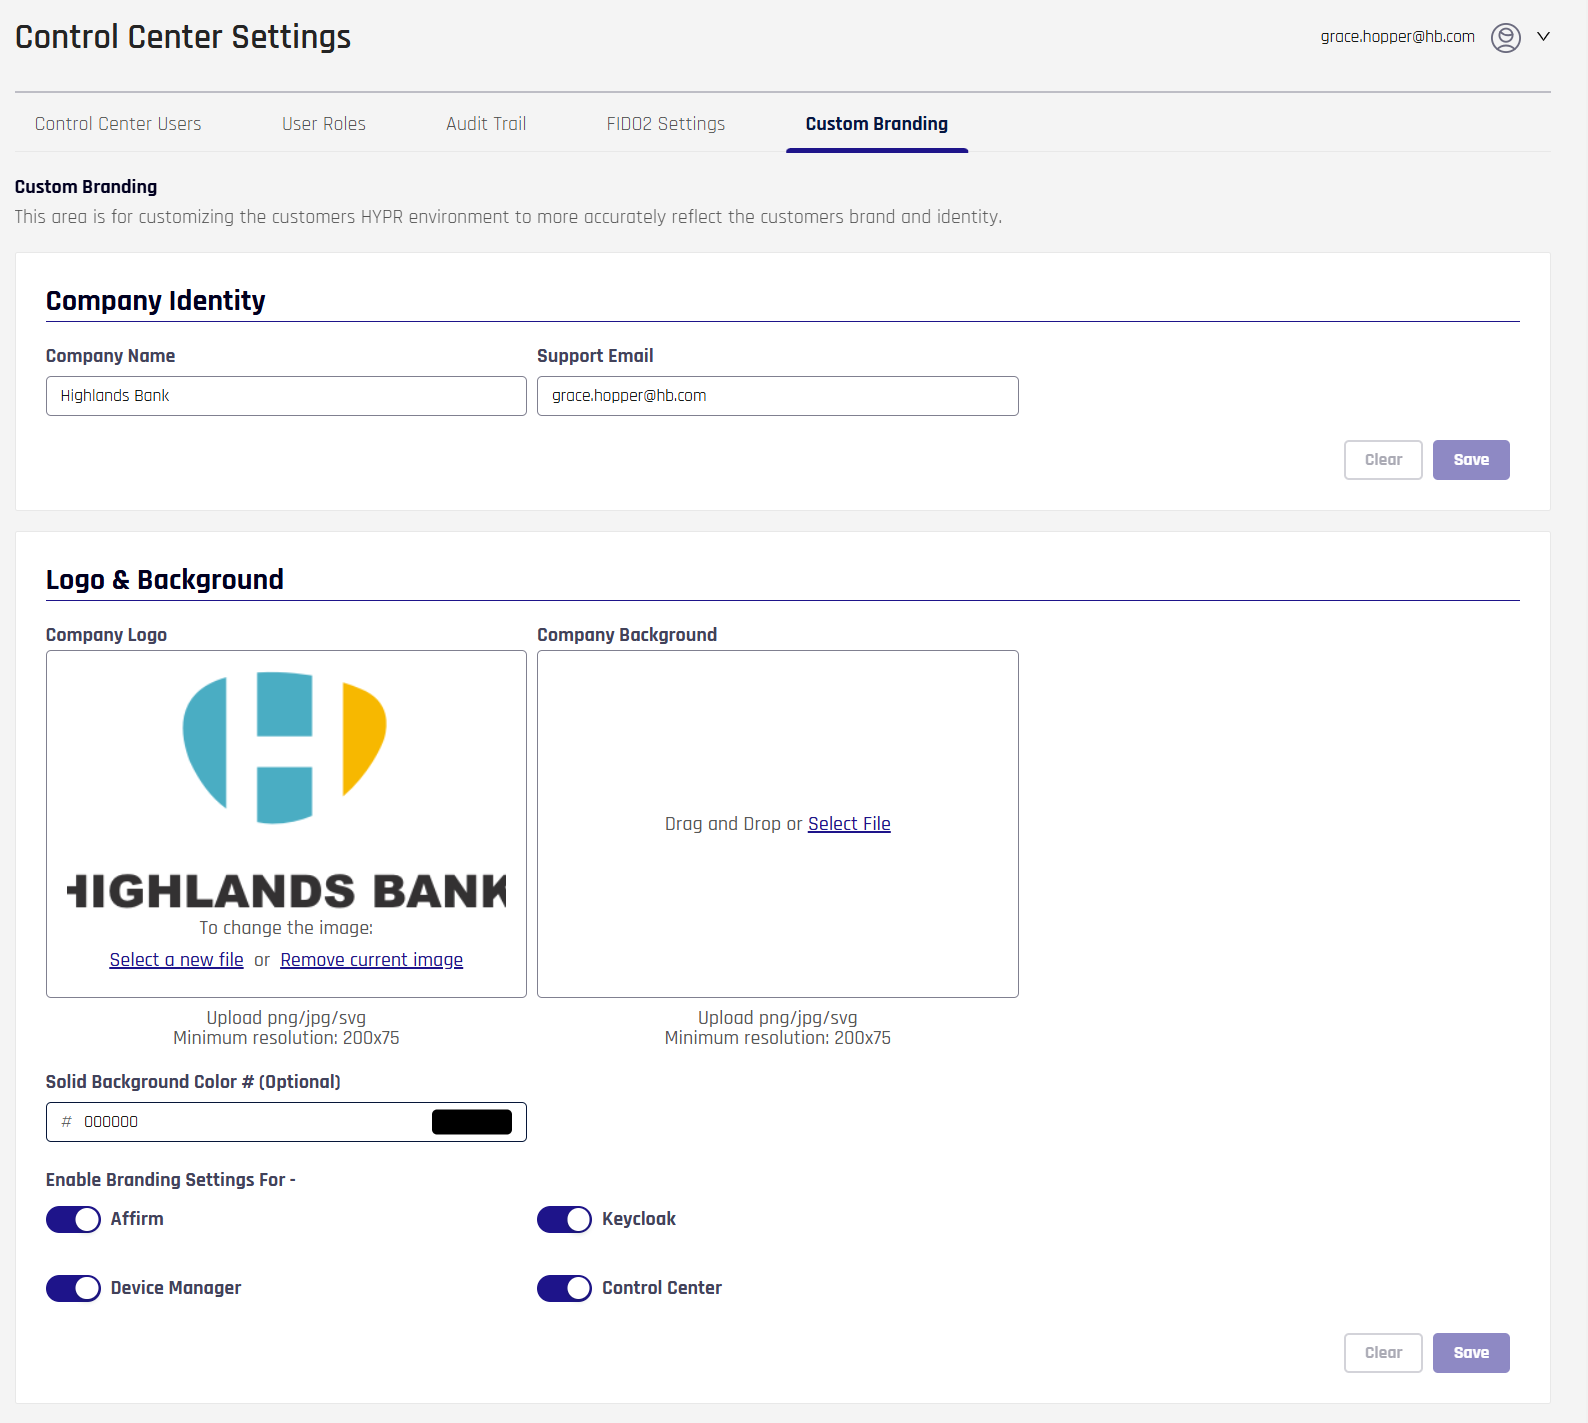
Custom Branding is found under a tab in Control Center Settings. Here you can customize the Company Identity, the Logo, and the background of the affected components.
Company Identity
To change Company Identity, add values to the Company Name and Support Email fields, then click Save Configuration. These values are used as the branded company identity in outbound communications, including Affirm SMS and Helpdesk SMS notifications.
SMS Notification Branding
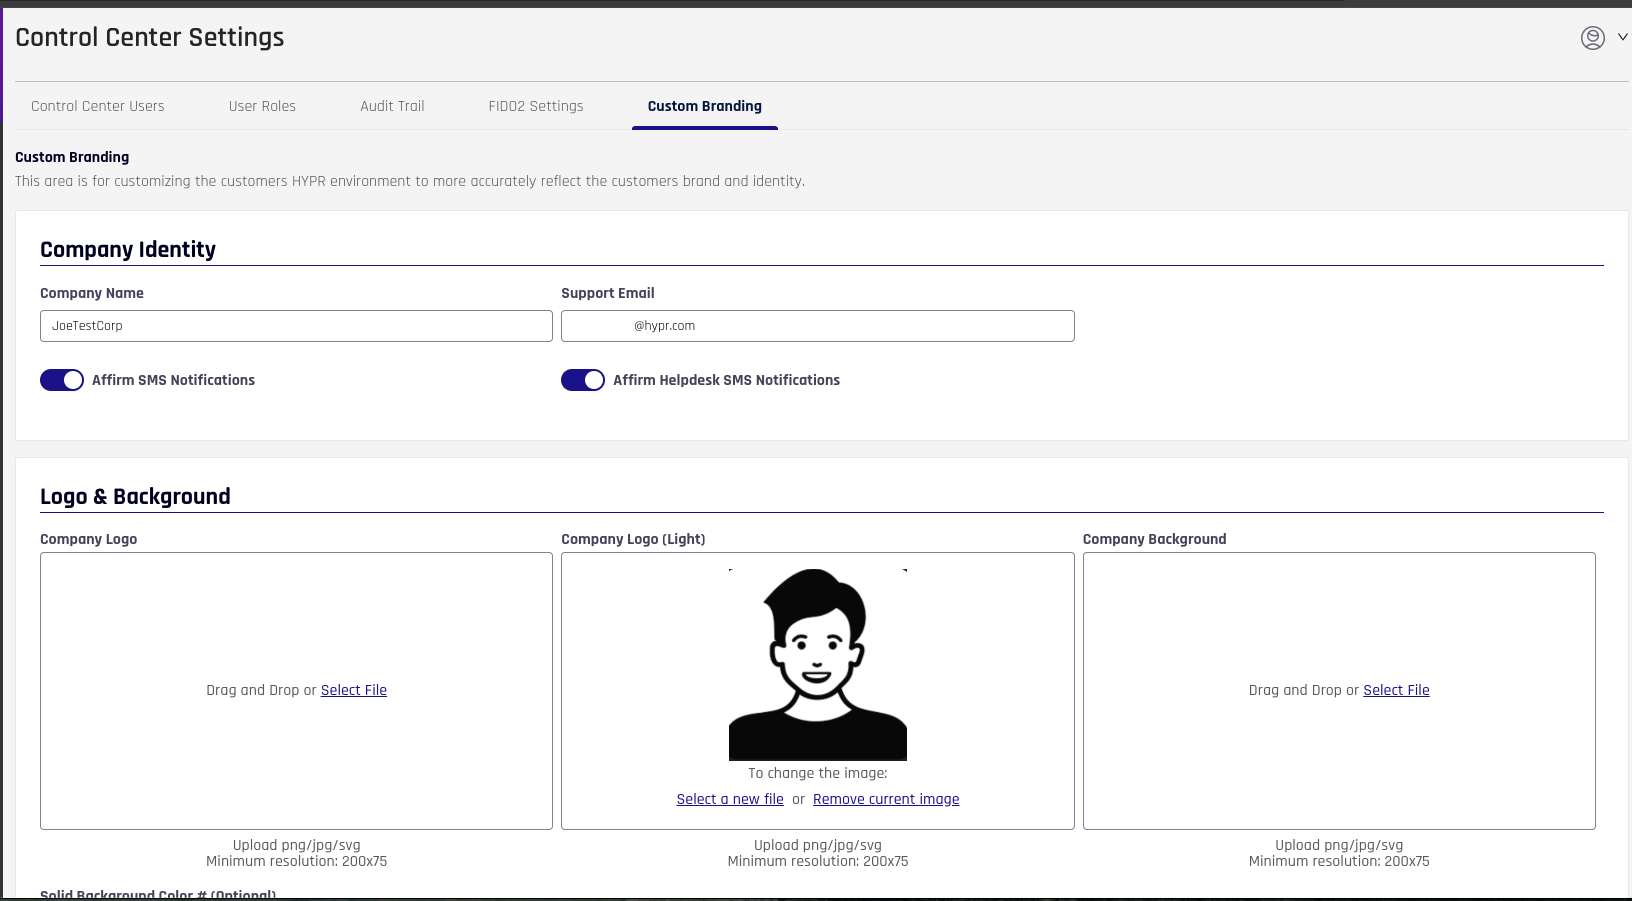
In the Company Identity section, you can control whether branded SMS notifications are sent using the toggle switches:
- Affirm SMS Notifications: Enable or disable OTP verification and Manager/Approver text messages
- Affirm Helpdesk SMS Notifications: Enable or disable Help Desk text messages
When enabled, SMS notifications use the configured Company Name and Support Email as part of their branding. For more information, including message templates and placeholders, see SMS Notification Branding.
Logo & Background
To change the Logo & Background, complete the following steps:
-
Company Logo: This image typically appears on modals and in the HYPR Mobile App.
-
Add a Logo: Either drag and drop an image the desired image onto the tile, or click Select a new file to open a browser dialog on your local machine and choose an image
-
Remove/Replace the Logo: Click Remove current image to clear the logo when you no longer need it or wish to replace it with a new one
-
-
Company Background: The repeating background image behind HYPR modals. If this image is defined, it will appear in front of the Solid Background Color.
-
Add a background image: Either drag and drop an image the desired image onto the tile, or click Select a new file to open a browser dialog on your local machine and choose and image
-
Remove/Replace the background image: Click Remove current image to clear the logo when you no longer need it or wish to replace it with a new one
-
-
Add or change the Solid Background Color # (Optional): Type a hexadecimal color to fill the background behind the Authenticator Background image. Leave this value blank to use the default background color.
-
Toggle the HYPR components that will use the Custom Branding settings. Options include the following:
-
Affirm
-
Control Center
-
Device Manager
-
Keycloak
-
-
Click Save when you are finished.
-
To see your changes:
-
Affirm: Browse to
<your tenant URL>/cc/ui/idv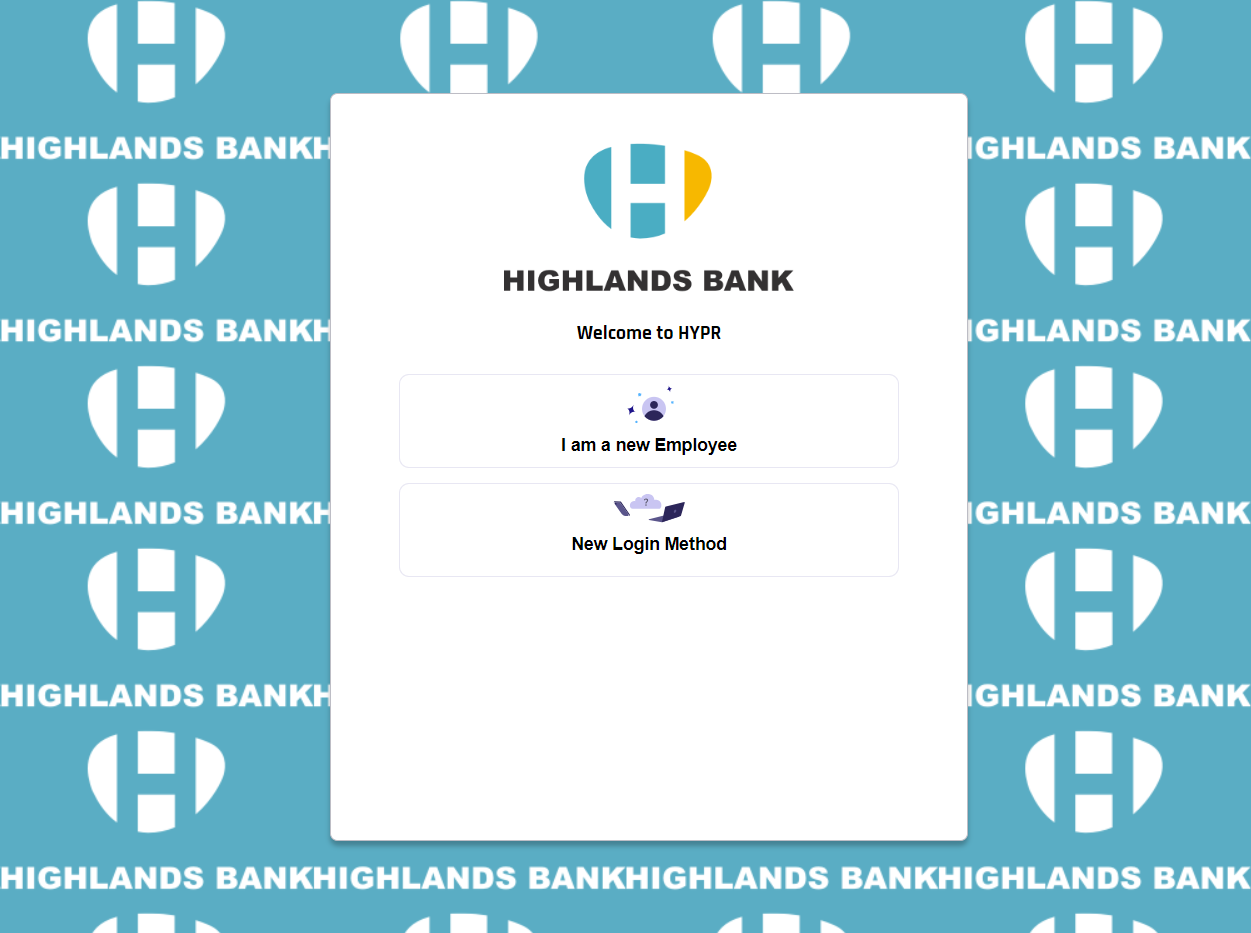
-
Control Center: Browse to
<your tenant URL>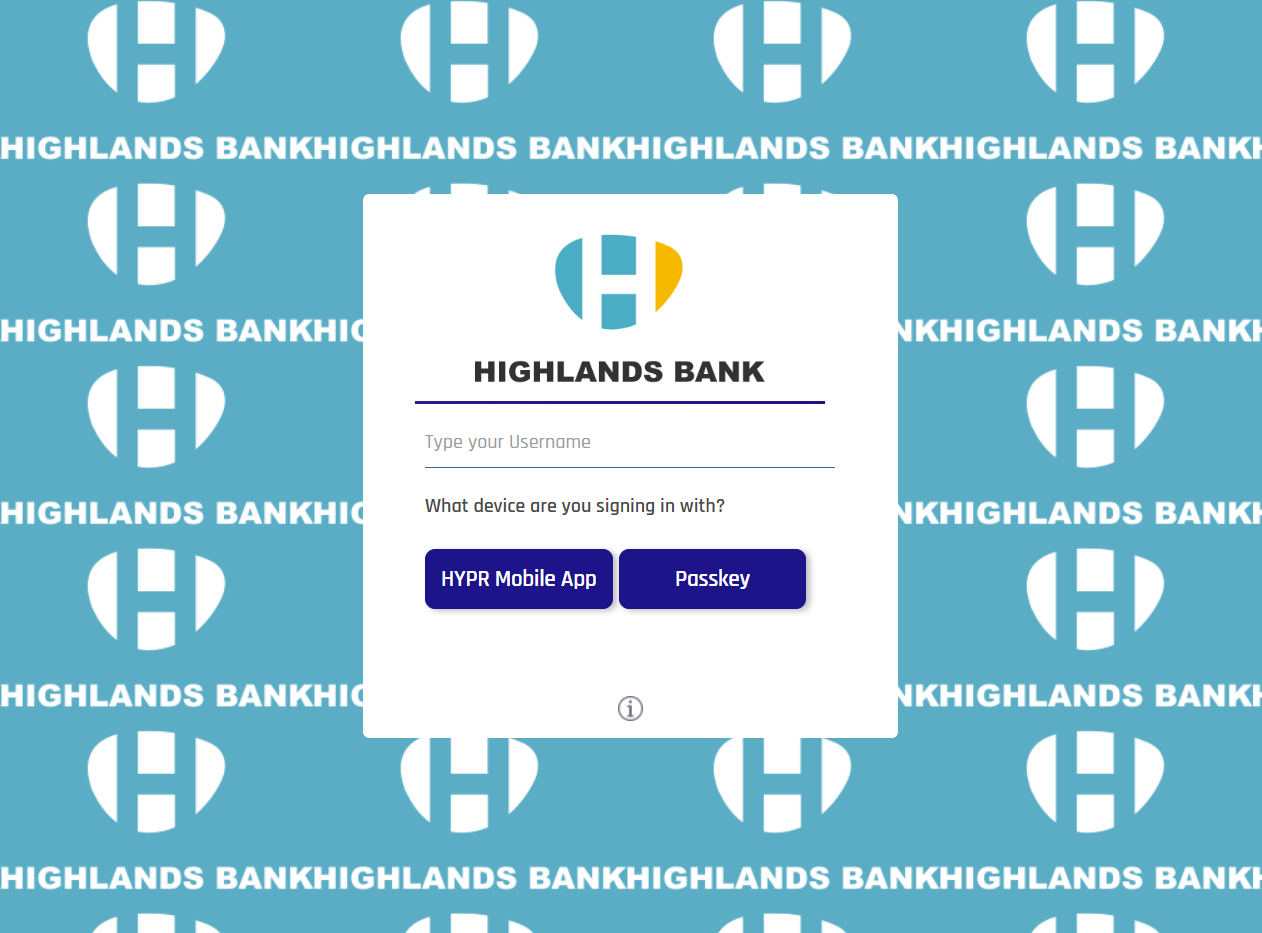
-
Device Manager: Device Manager is accessed from the Control Center UI under your profile in the upper right, or by receiving a Magic Link

-
Keycloak: Browse to
<your tenant URL>
-
Tenant-level branding is applied automatically to all Affirm workflows. Where available, workflow-specific overrides for individual Affirm flows are configured in the Affirm workflow settings.
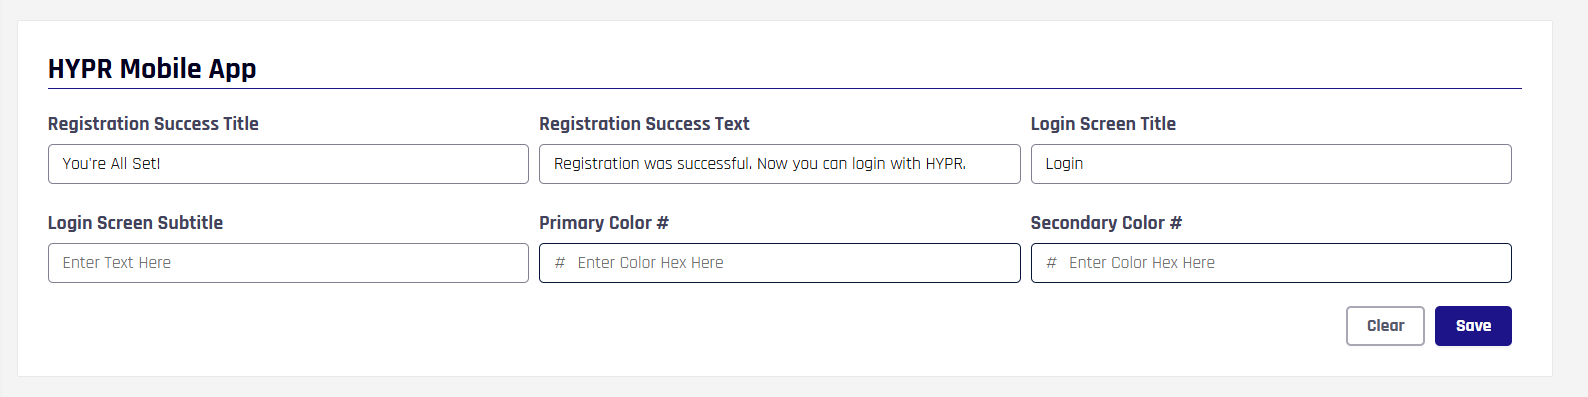
HYPR Mobile App
Configure basic messaging for the HYPR Mobile App.
| Attribute | Description |
|---|---|
| Registration Success Title | The label at the top of the modal displayed to confirm a successful registration attempt. |
| Registration Success Text | The message text of the modal displayed to confirm a successful registration attempt. |
| Login Screen Title | The label at the top of the modal displayed to prompt for an authentication attempt. |
| Login Screen Subtitle | The message text of the modal displayed to prompt for an authentication attempt. |
| Primary Color # | The main color in hexadecimal format. |
| Secondary Color # | The secondary color in hexadecimal format. |
Device Manager
Set up Device Manager with a custom message and redirect URL.

| Attribute | Description |
|---|---|
| Prompt Message | Enter the custom prompt message to be shown in Device Manager home banner. |
| Redirect URL | Enter the URL to which the user will be redirected upon clicking Continue. |
Notifications & Alerts
In HYPR 10.7.0 and later, administrators can customize the content and branding of SMS notifications sent for Affirm workflows and Help Desk operations. The Notifications & Alerts section provides toggles to enable branding for each notification type and allows customization of message content.
Available Notification Types:
- Affirm Notifications: Includes OTP verification messages and Manager (Approver) notification messages
- Help Desk Notifications: Includes Help Desk text messages
SMS messages support dynamic placeholders for the company name configured in the Company Identity section of Custom Branding.
For detailed configuration instructions, see SMS Notification Branding.
Affirm Studio
Affirm administrators can customize the content and branding displayed on end-user verification screens through Affirm Studio (introduced in HYPR 10.3.0 as the End User Screen Management System). This feature provides:
- Screen-Specific Customization: Customize content for each verification step
- Content Management: Control titles, descriptions, instructions, and button labels
- Branding Consistency: Apply company branding across all verification screens
- API Integration: Programmatic control through REST API endpoints
For detailed configuration instructions, see Affirm Studio.