Custom Branding
Custom Branding is a tab in Control Center Settings. On it, you customize the company identity, the logo and the background of the affected HYPR components.
Some functionality is limited. This article is subject to change as the feature develops and we make improvements.
This page covers Control Center component branding and notification branding.
To customize the end-user verification screens in HYPR Affirm, use Affirm Studio (End User Screen Management) instead.
The following pages cover other ways to customize HYPR:
- UI Management (Control Center Advanced Mode): customizing the HYPR Mobile App, web channel push notifications and Device Manager
- Home Screen Widgets: configuring the mobile desktop icon
- HYPR Passwordless Advanced Branding: customizing the desktop client
The Custom Branding interface, including SMS notification branding and per-component branding toggles, requires the Custom Branding feature to be enabled for your tenant. If you do not see the Custom Branding tab in Control Center Settings, contact HYPR Support or your HYPR representative.
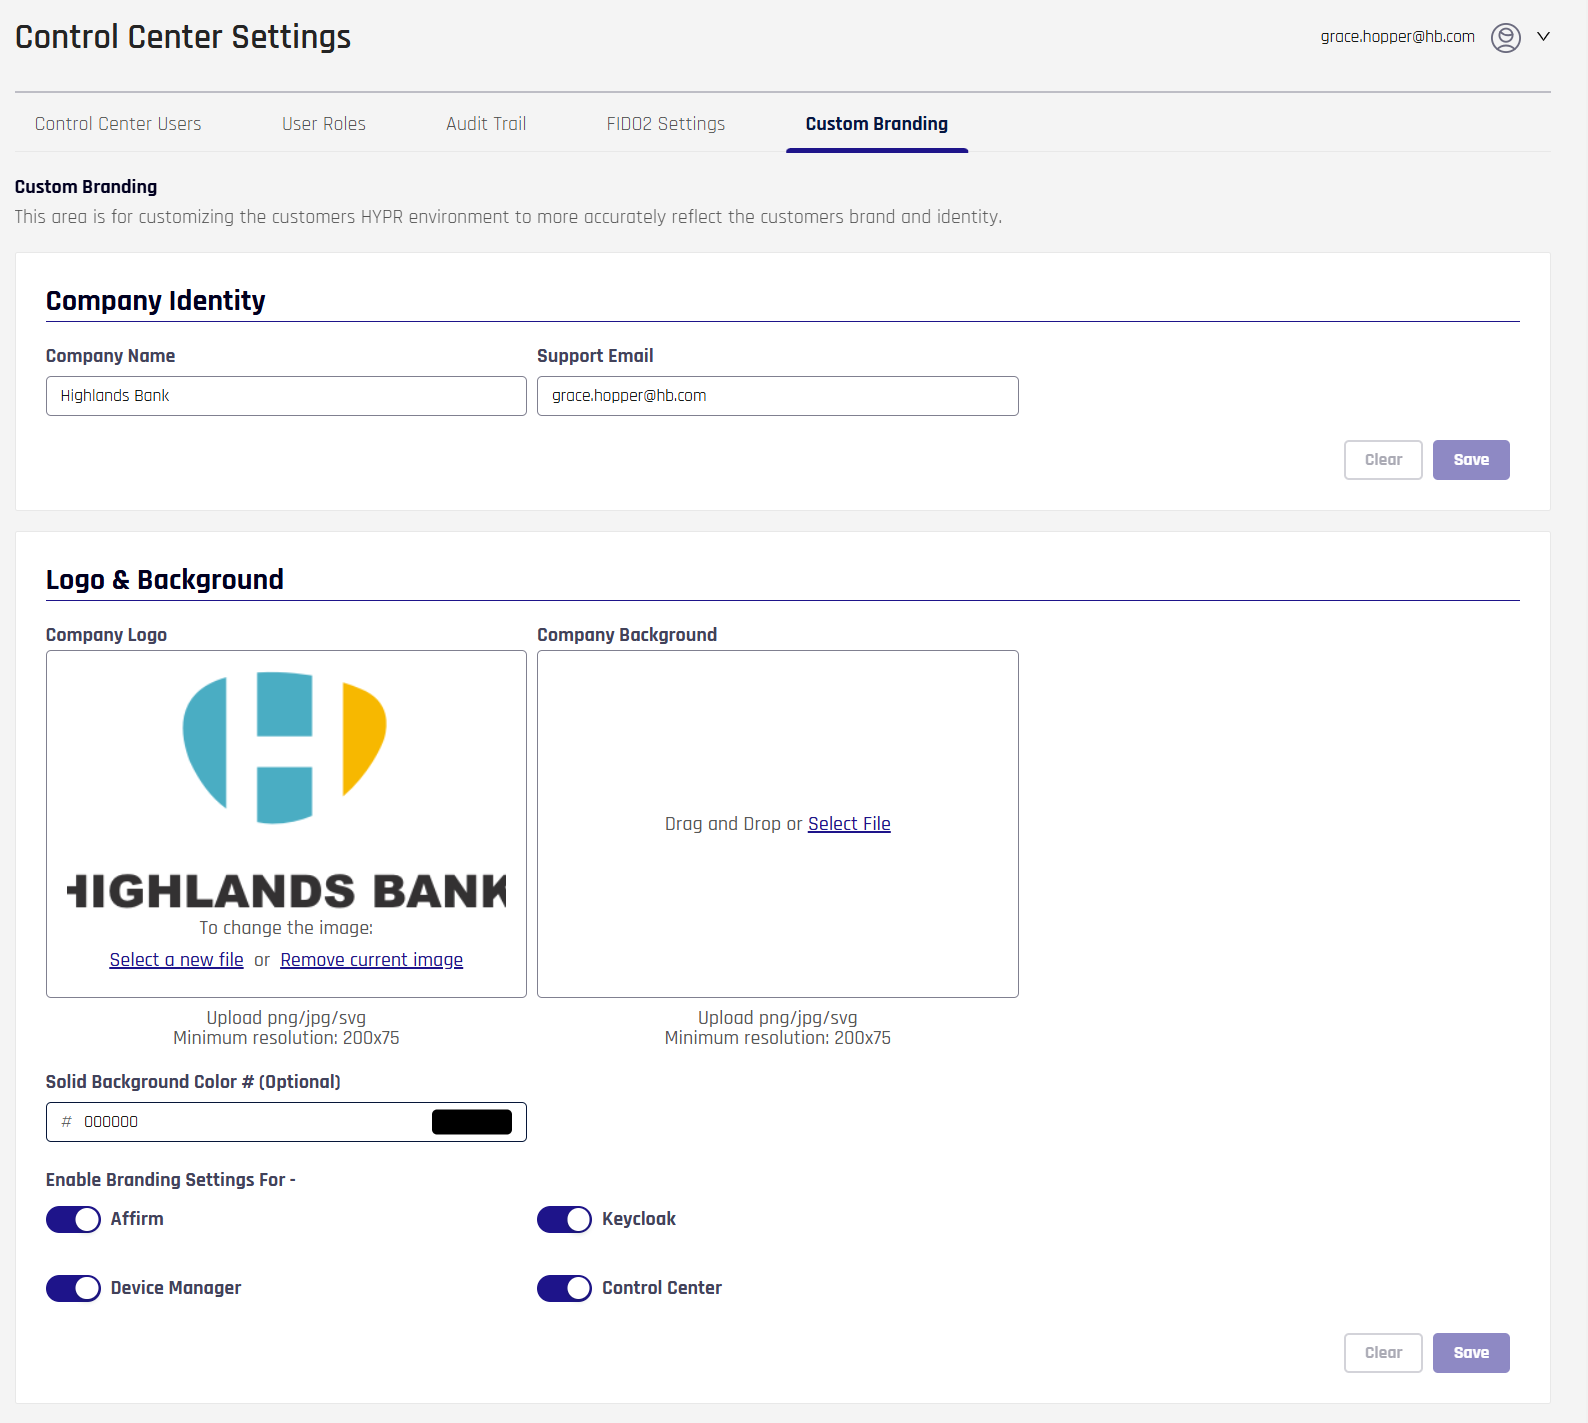
The tab holds the Company Identity, Logo & Background, HYPR Mobile App, Device Manager and Keycloak cards. One Save Configuration button at the bottom of the tab saves all of them. Clear Changes discards changes you haven't saved.
Company Identity
To change the Company Identity, complete the following steps:
- Enter values in the Company Name and Support Email fields.
- Click Save Configuration at the bottom of the tab.
HYPR uses these values as your company identity in outbound communications, including Affirm SMS and Helpdesk SMS notifications. HYPR also uses the Support Email in Control Center device notification emails, so recipients reach your organization's own support contact.
SMS Notification Branding
In HYPR 10.7.0 and later, administrators can brand the text messages sent for Affirm verification flows and Helpdesk operations with the Company Name. In the Company Identity section, the following toggles control whether text messages use your Company Name:
- Affirm SMS Notifications: Uses your Company Name at the start of the OTP verification text message instead of "HYPR"
- Affirm Helpdesk SMS Notifications: Uses your Company Name in the Helpdesk verification text message instead of "Your organization"
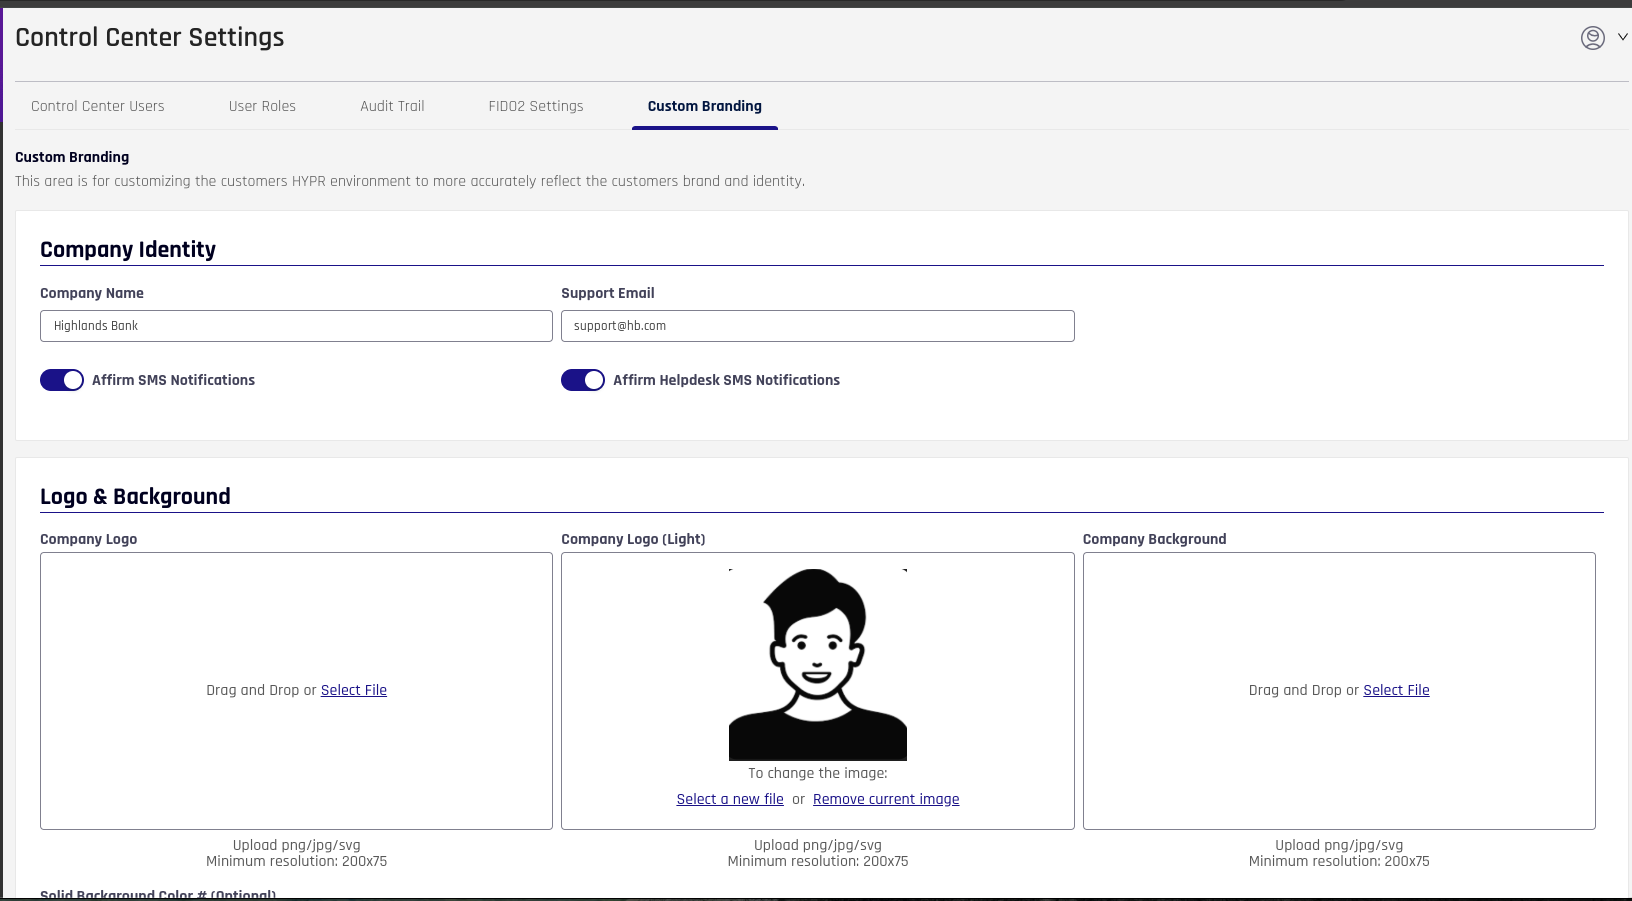
A Company Name is required to turn on either toggle. The message wording is otherwise fixed, and the manager or approver text message doesn't change. For the default text of each message, see SMS Notification Branding.
Email Notification Customization
Control Center also supports customizing email notifications and their templates. Manage email templates on the separate Notification Settings tab in Control Center Settings. There you can manage templates, versions, activation and custom images for supported notification types.
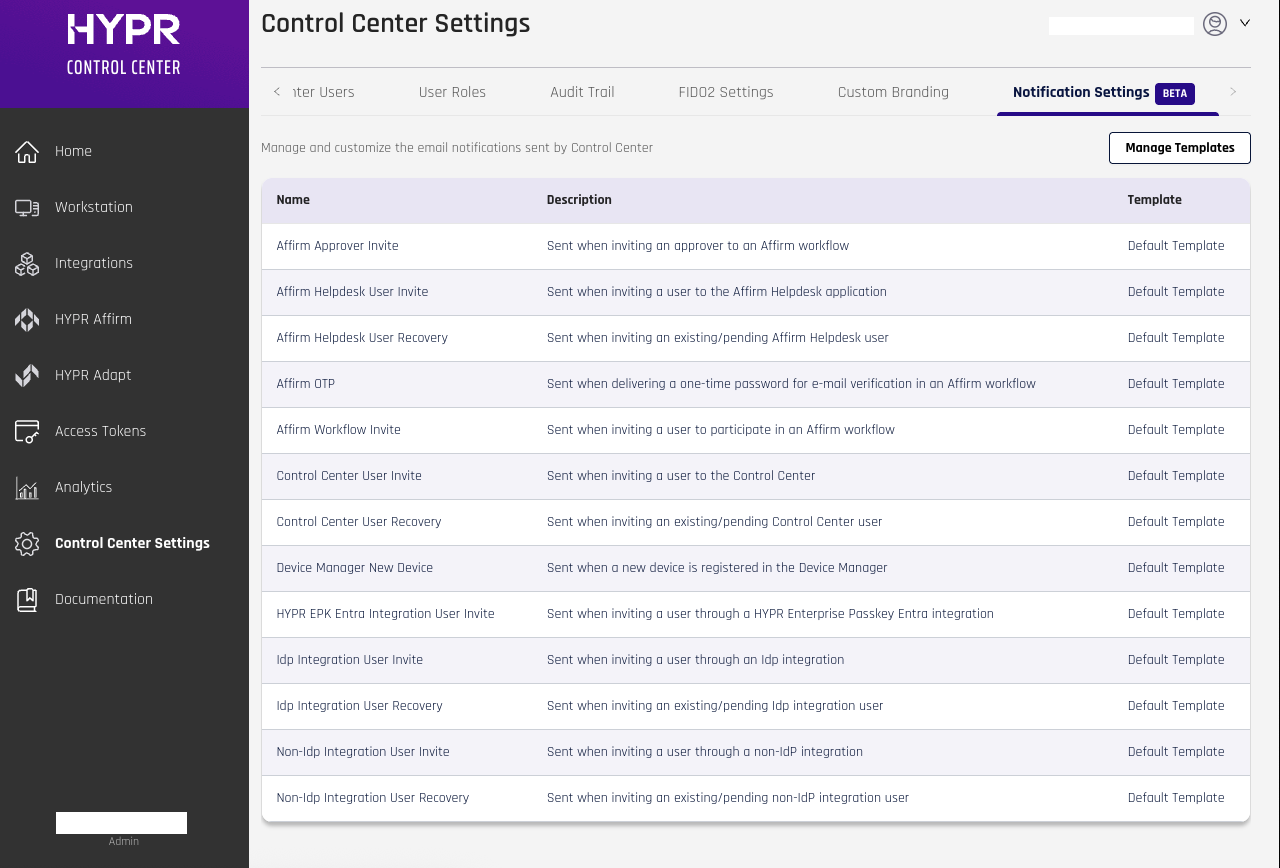
For more information, including branding edits, template version history and custom image upload caching behavior, see Email Notification Customization.
Logo & Background
To change the Logo & Background, complete the following steps:
-
Set the Company Logo. It appears on the screens of each component you turn on in step 5.
- To add a logo, drag the image onto the tile, or click Select File to open a file dialog on your local machine and choose an image. The tile accepts PNG, JPG or SVG files with a minimum resolution of 200x75.
- To replace the logo, click Select a new file. To clear it, click Remove current image.
-
Optional: Set the Company Logo (Light), a version of the logo for dark backgrounds, in the same way. If you don't set it, HYPR uses the Company Logo.
-
Set the Company Background, the repeating background image behind HYPR modals. If this image is defined, it appears in front of the Solid Background Color.
- To add a background image, drag the image onto the tile, or click Select File to open a file dialog on your local machine and choose an image.
- To replace the background image, click Select a new file. To clear it, click Remove current image.
-
Optional: In Solid Background Color # (Optional), type a hexadecimal color to fill the background behind the Company Background image. A swatch next to the field previews the color. Leave this value blank to use the default background color.
-
Under Enable Branding Settings For, turn on each HYPR component that uses these settings:
- Affirm: the Affirm requester and approver screens
- Affirm Helpdesk: the Affirm Helpdesk portal
- Keycloak
- Device Manager
-
Click Save Configuration at the bottom of the tab.
-
Check your changes on each component:
-
Affirm: Browse to
<your tenant URL>/cc/ui/idv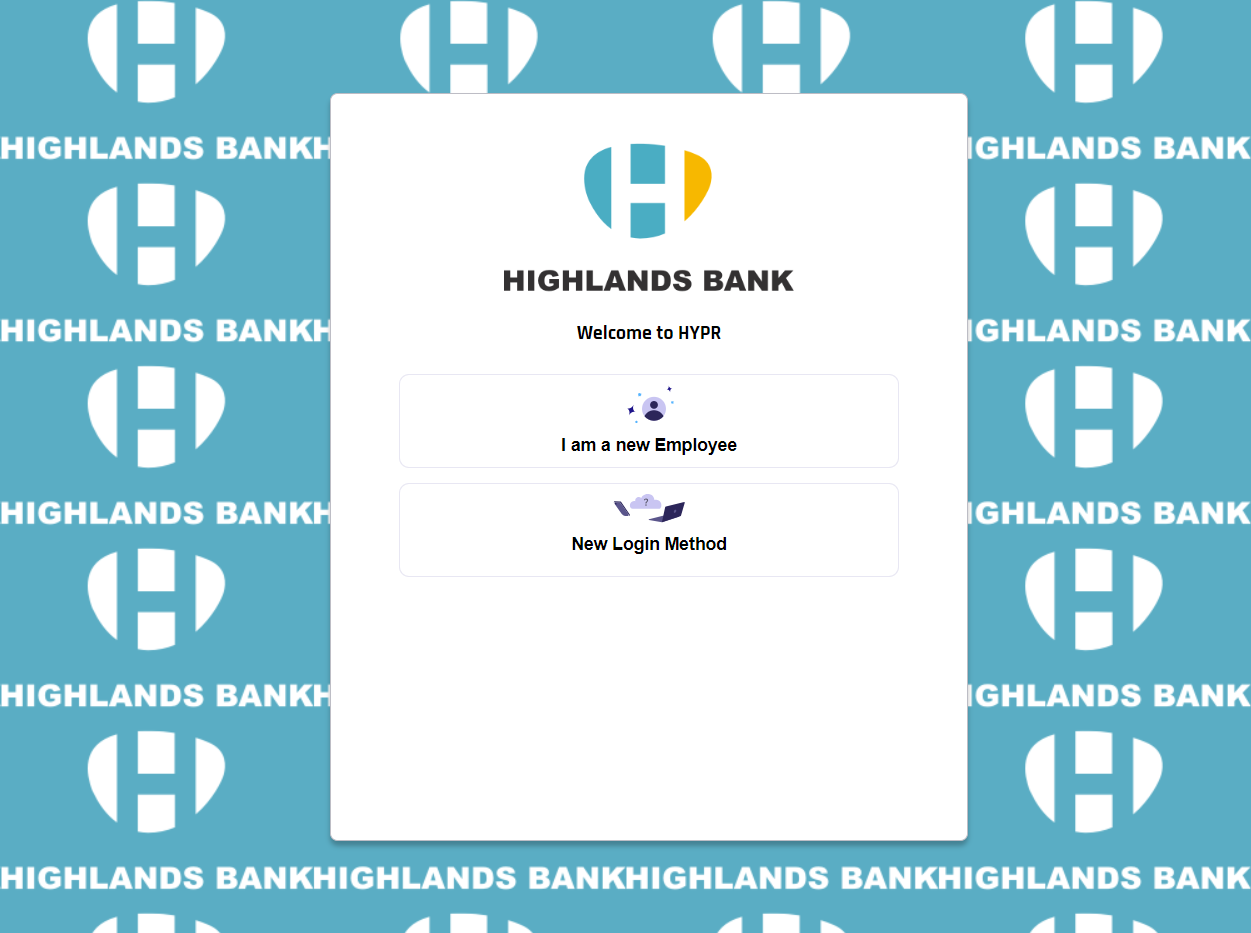
-
Device Manager: Open Device Manager from your profile in the upper right of the Control Center UI, or from a Magic Link
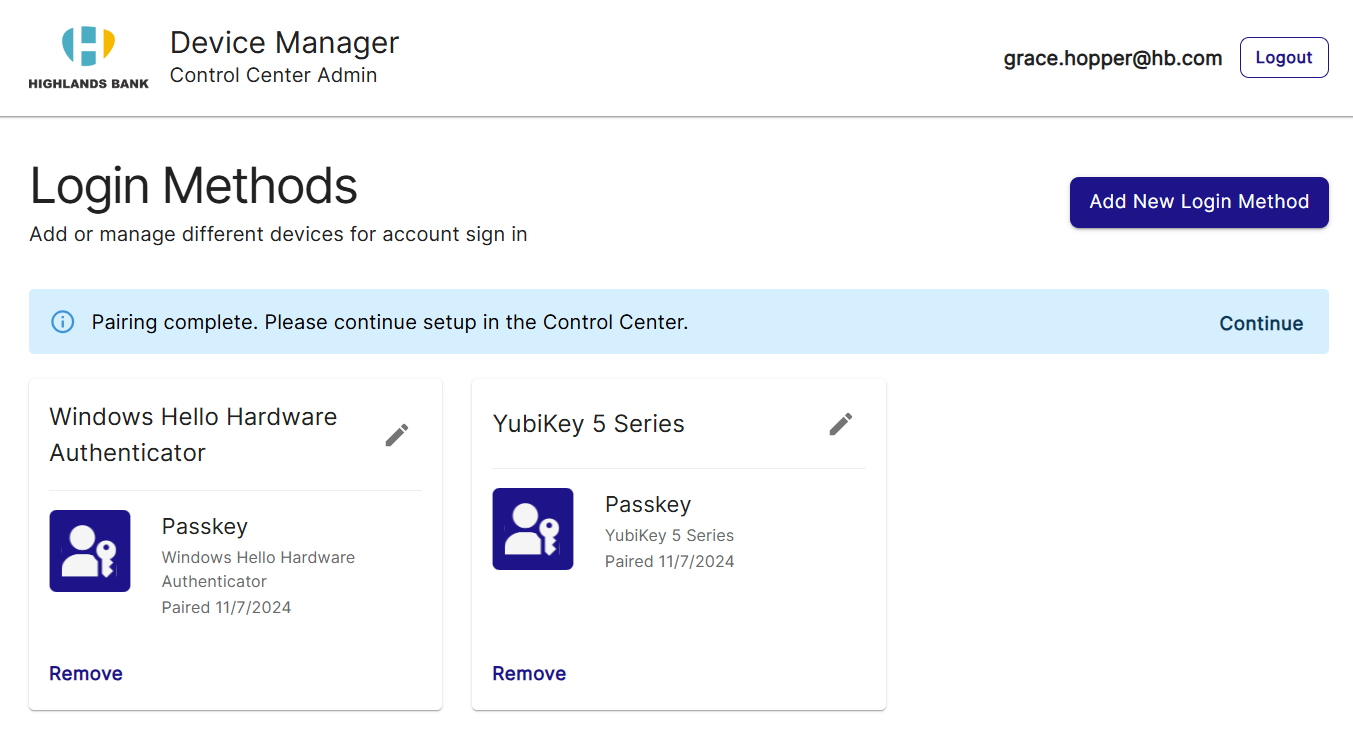
-
Keycloak: Browse to
<your tenant URL>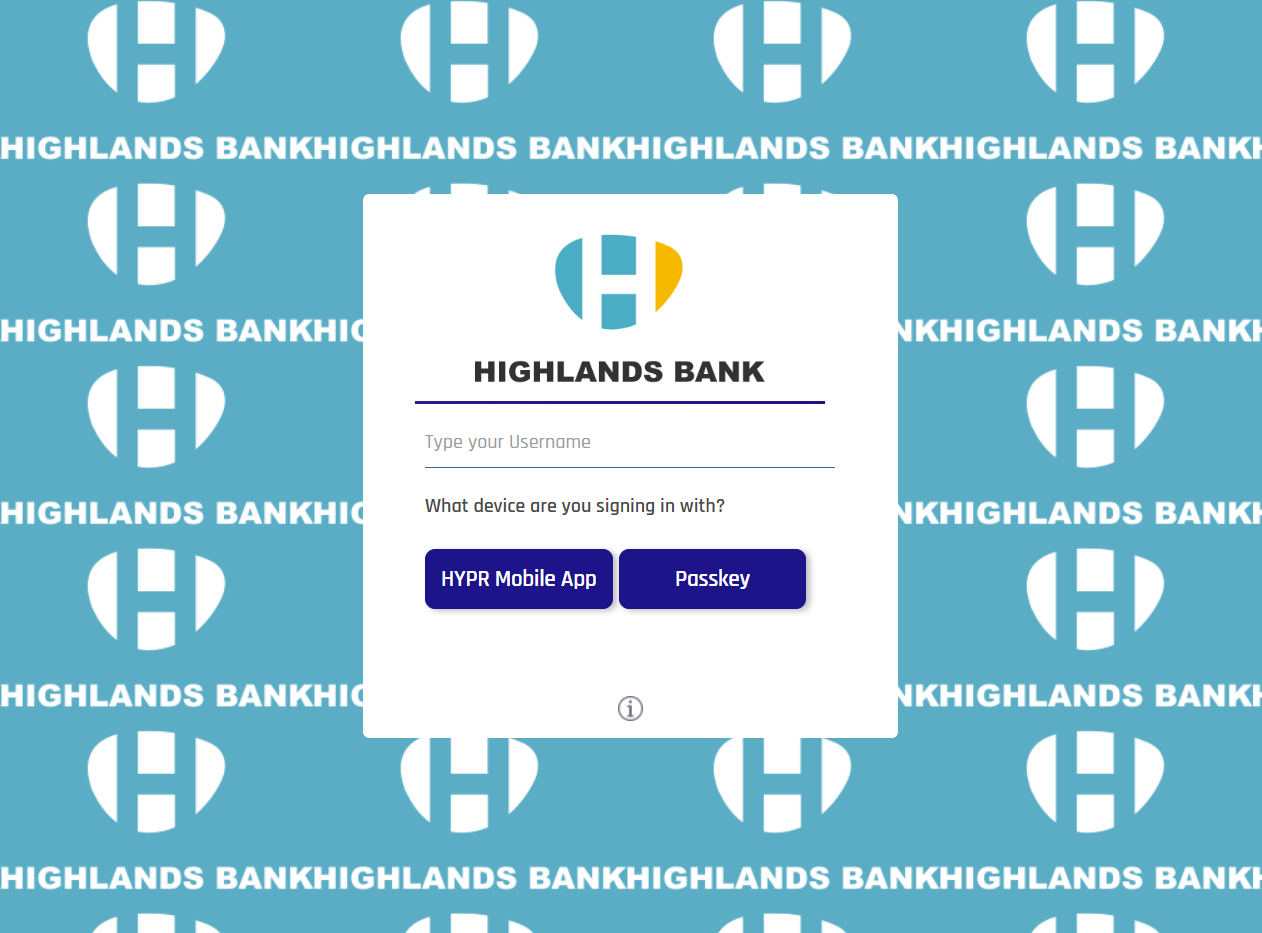
-
With the Affirm toggle on, the logo and background apply to every Affirm verification flow. To change screen content and styling for one flow, use an Affirm Studio kit.
HYPR Mobile App
Configure basic messaging for the HYPR Mobile App.
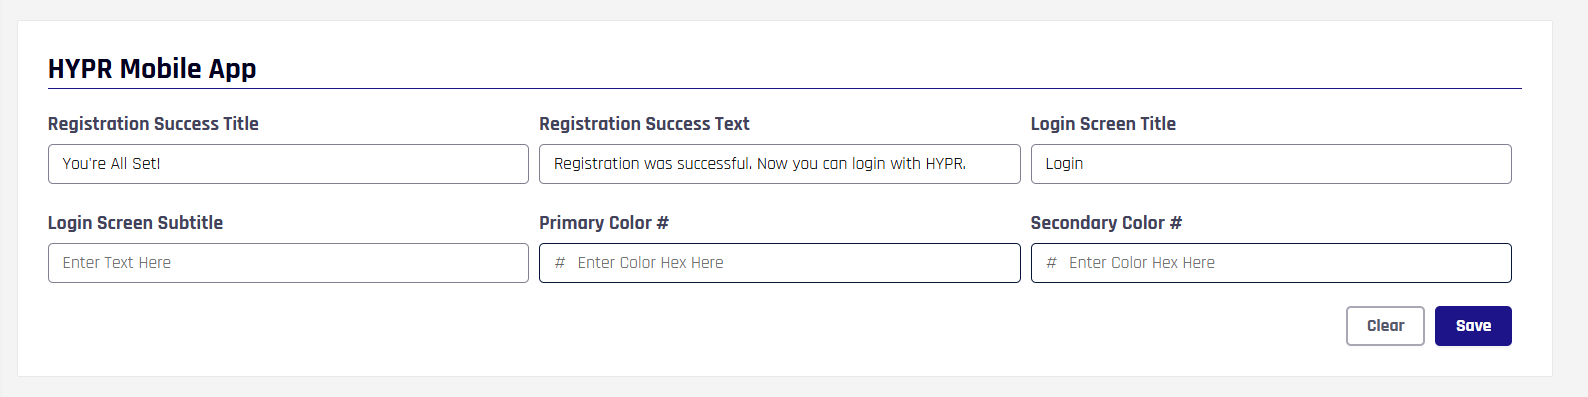
The following table describes the HYPR Mobile App settings.
| Attribute | Description |
|---|---|
| Registration Success Title | The label at the top of the modal displayed to confirm a successful registration attempt. |
| Registration Success Text | The message text of the modal displayed to confirm a successful registration attempt. |
| Login Screen Title | The label at the top of the modal displayed to prompt for an authentication attempt. |
| Login Screen Subtitle | The message text of the modal displayed to prompt for an authentication attempt. |
| Primary Color # | The main color in hexadecimal format. |
| Secondary Color # | The secondary color in hexadecimal format. |
Device Manager
Set up Device Manager with a custom message and redirect URL.

The following table describes the Device Manager settings.
| Attribute | Description |
|---|---|
| Prompt Message | The custom prompt message shown in the Device Manager home banner. |
| Redirect URL | The URL the user is redirected to after clicking Continue. |
Keycloak
Set custom links, the Affirm recovery flow URL and custom CSS for the Keycloak login pages.
The following table describes the Keycloak settings.
| Attribute | Description |
|---|---|
| QR Code Page Custom Link Label 1 to 4 | The label of a custom link shown on the QR code page. Up to four links. |
| QR Code Page Custom Link Url 1 to 4 | The URL of the matching custom link on the QR code page. |
| Affirm Recovery Flow URL | The Affirm recovery flow URL that Keycloak uses. |
| Login Page Box Custom CSS | Custom CSS for the login page box. |
| Login Page Input Custom CSS | Custom CSS for the login page input fields. |
| Login Page Button Custom CSS | Custom CSS for the login page buttons. |
| Login Page Header Border Custom CSS | Custom CSS for the login page header border. |
| Login Page Error Custom CSS | Custom CSS for login page errors. |
Affirm Studio
Affirm administrators can customize the content and branding on end-user verification screens with Affirm Studio, introduced in HYPR 10.3.0 as the End User Screen Management System. With Affirm Studio, administrators can do the following:
- Screen-Specific Customization: Customize content for each verification step
- Content Management: Control titles, descriptions, instructions and button labels
- Branding Consistency: Apply company branding across all verification screens
- API Integration: Control content programmatically through REST API endpoints
For more information, see Affirm Studio.