What the Approver Sees
Some functionality is limited. This article is subject to change as the feature develops and we make improvements.
This flow begins when the requester is finished satisfying the requirements made based upon the IdV Flow defined in Control Center.
-
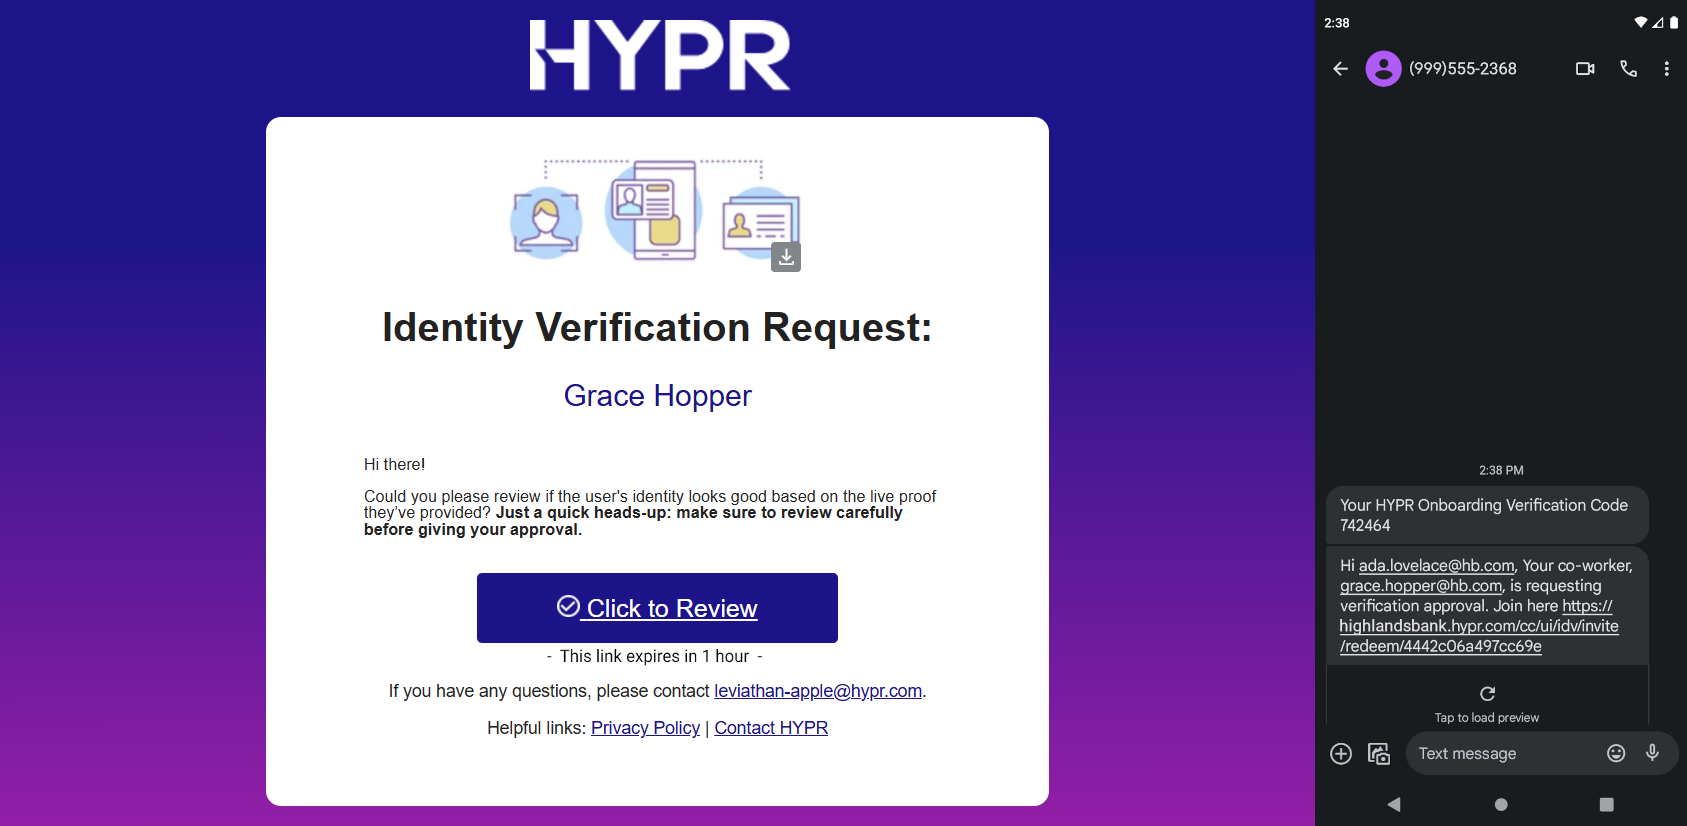
Once the requester joins the chat, an alert is sent to the approver's email address and phone.
-
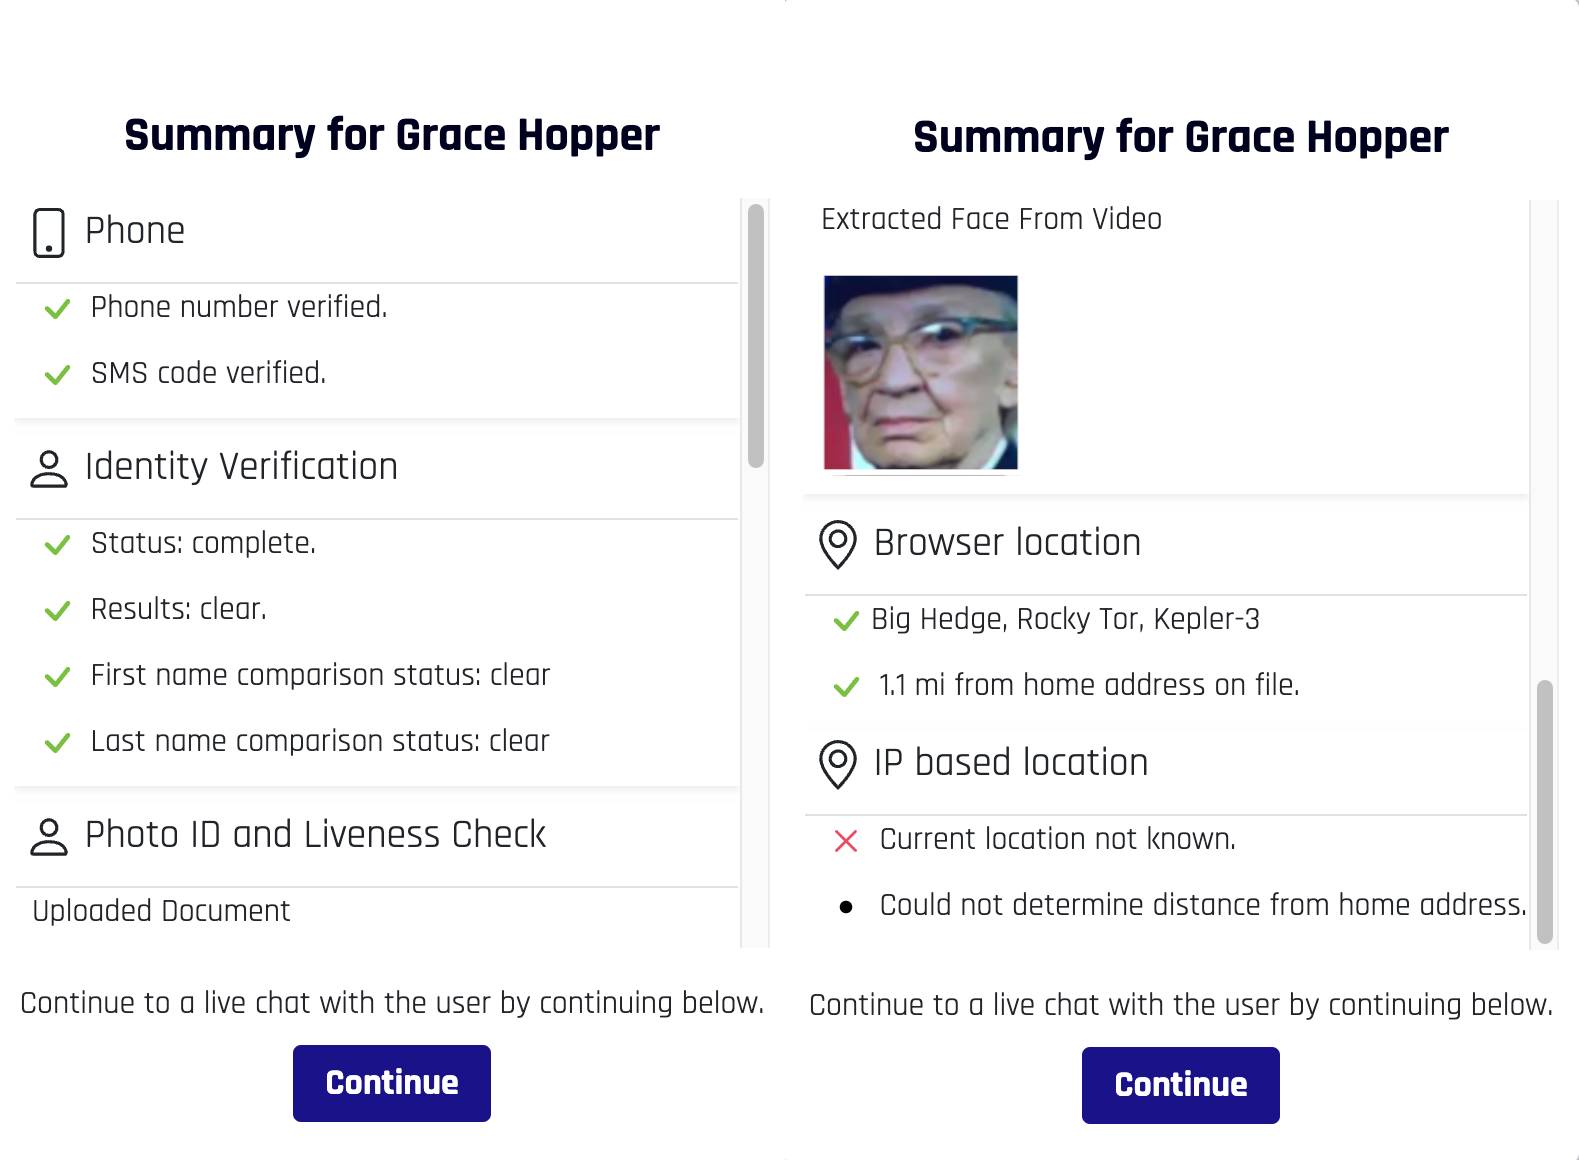
Click the link to view the identity verification information the requester has submitted.
-
Review the requester's information. Provided it is correct, click Continue to join the requester in a chat room.
-
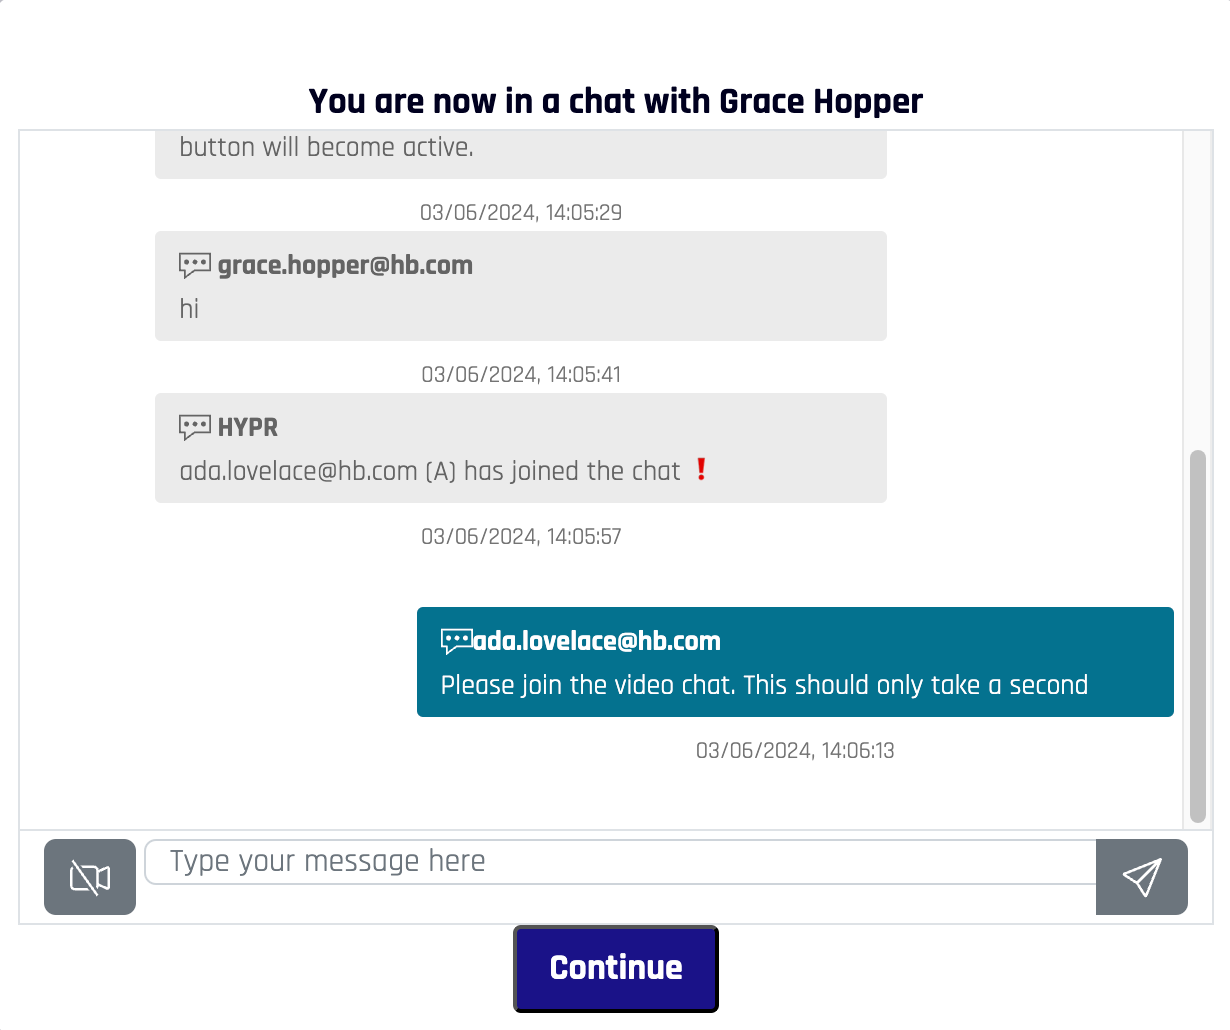
Chat starts between the requester and approver. To participate in the video chat, click the camera icon next to the text entry field.

-
When all of the required checks have passed, click Continue.
-
The review page displays again. The requester will be shown a wait screen until you are finished. Scroll down and click Continue to approve or deny the requester.

-
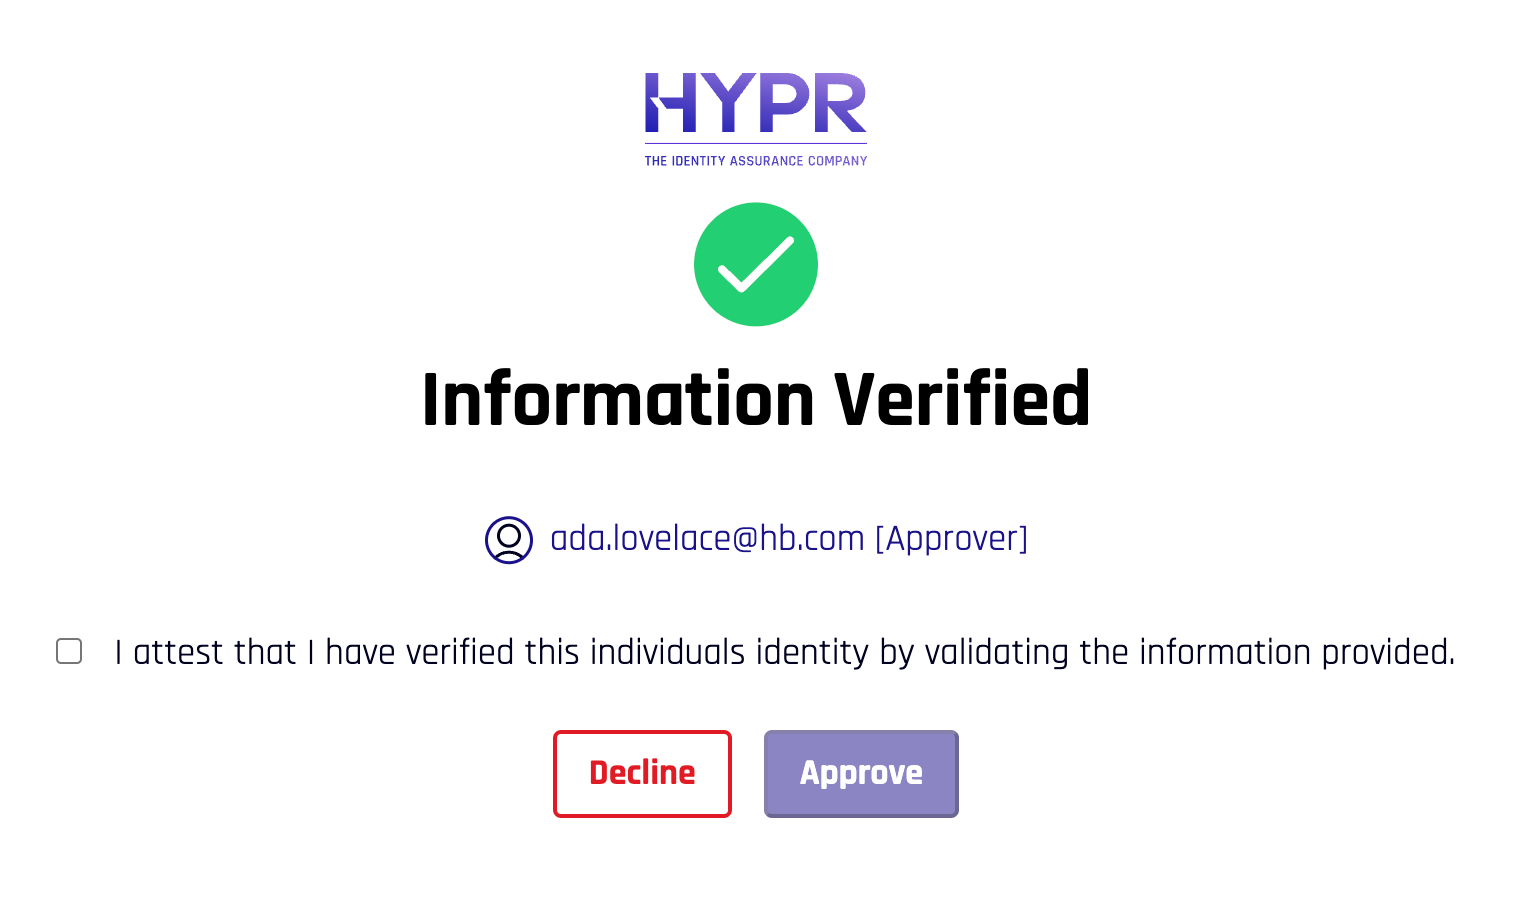
The choice is presented for you to Approve or Decline the requester.
-
To approve, first check the box next to I attest that I have verified this individual's identity by validating the information they provided., then click Approve
-
To decline, skip the check box and just click Decline
-
Approval Flow
The following steps are what an approver sees after choosing to Approve a requester.
-
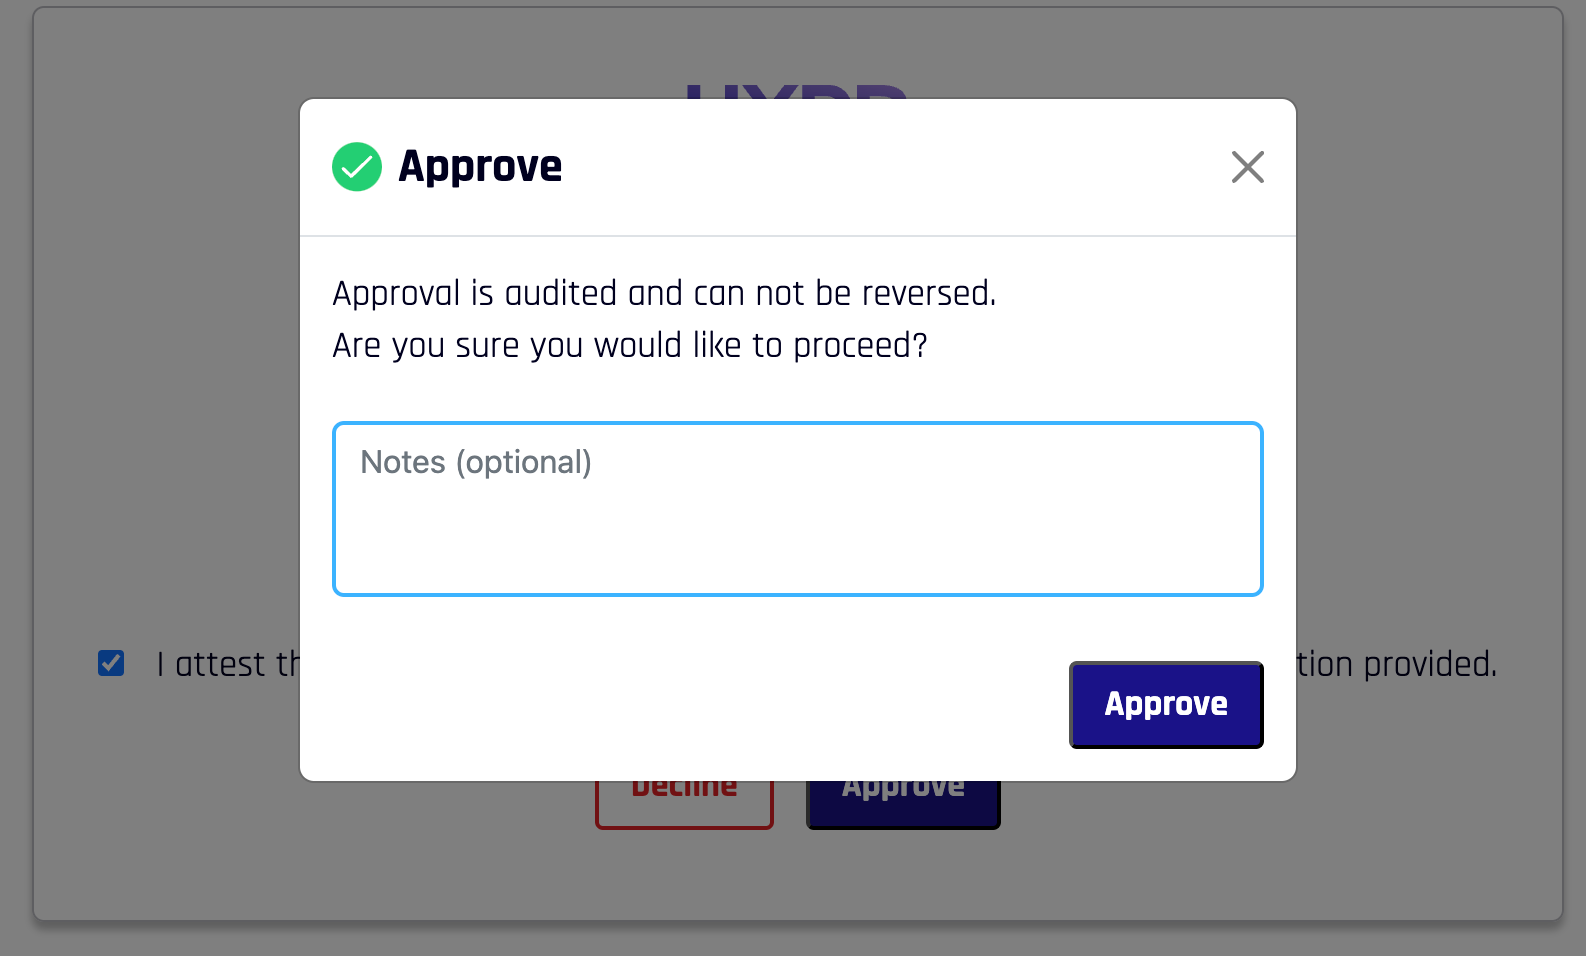
Once Approve is clicked, a confirmation displays where you can add a comment if you like. Click Approve.
-
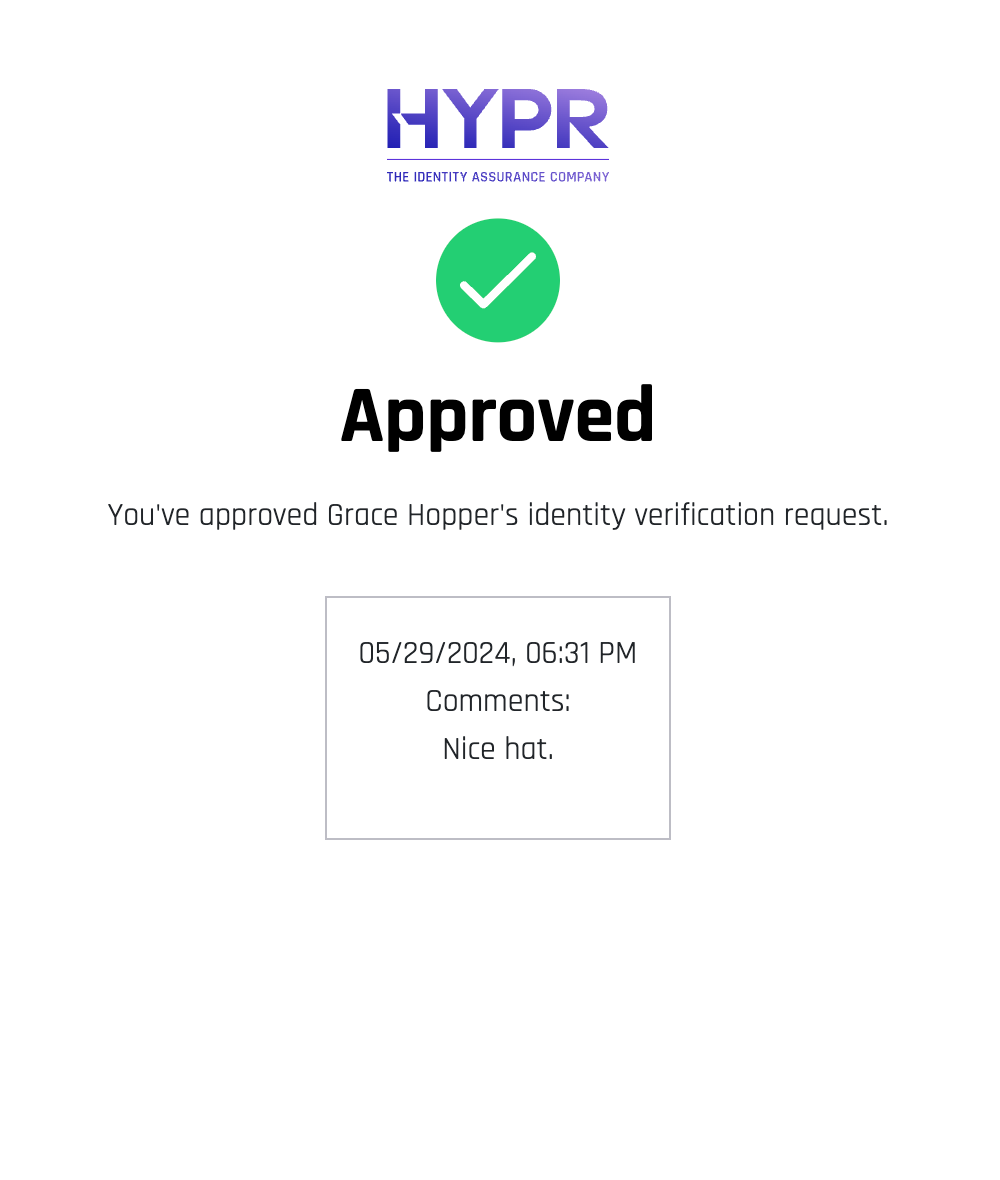
A success screen displays, including the comment left earlier. The IdV request has been successful; it is safe to close this window.
Denial Flow
The following steps are what an approver sees after choosing to Decline a requester.
-
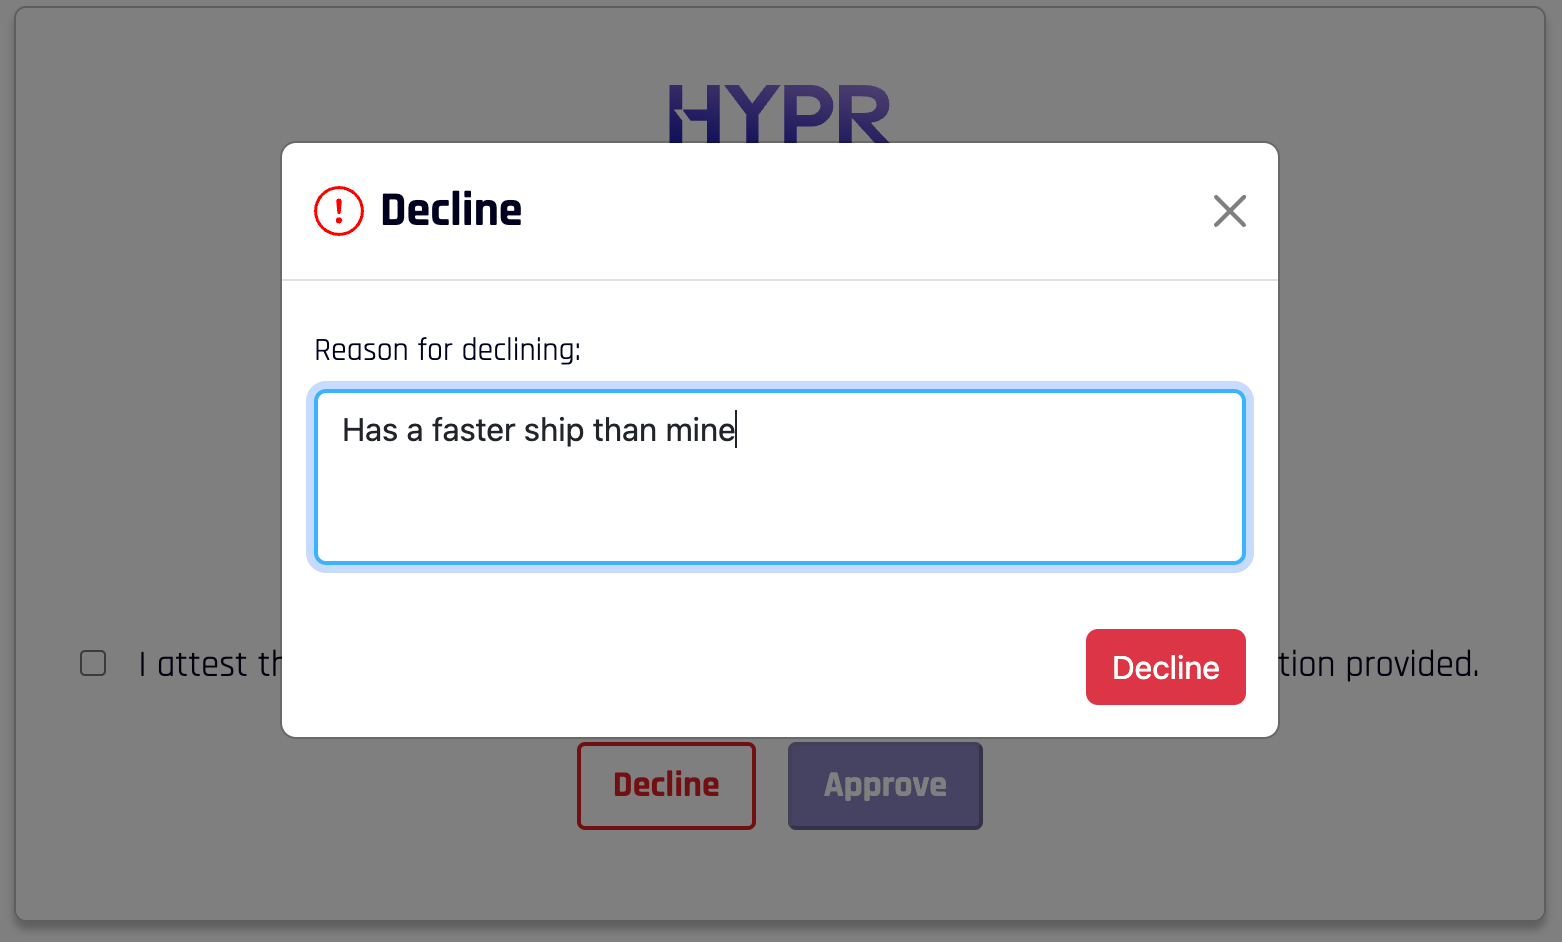
Once Decline is clicked, a confirmation displays where you can add a reason if you like. Click Decline.
-
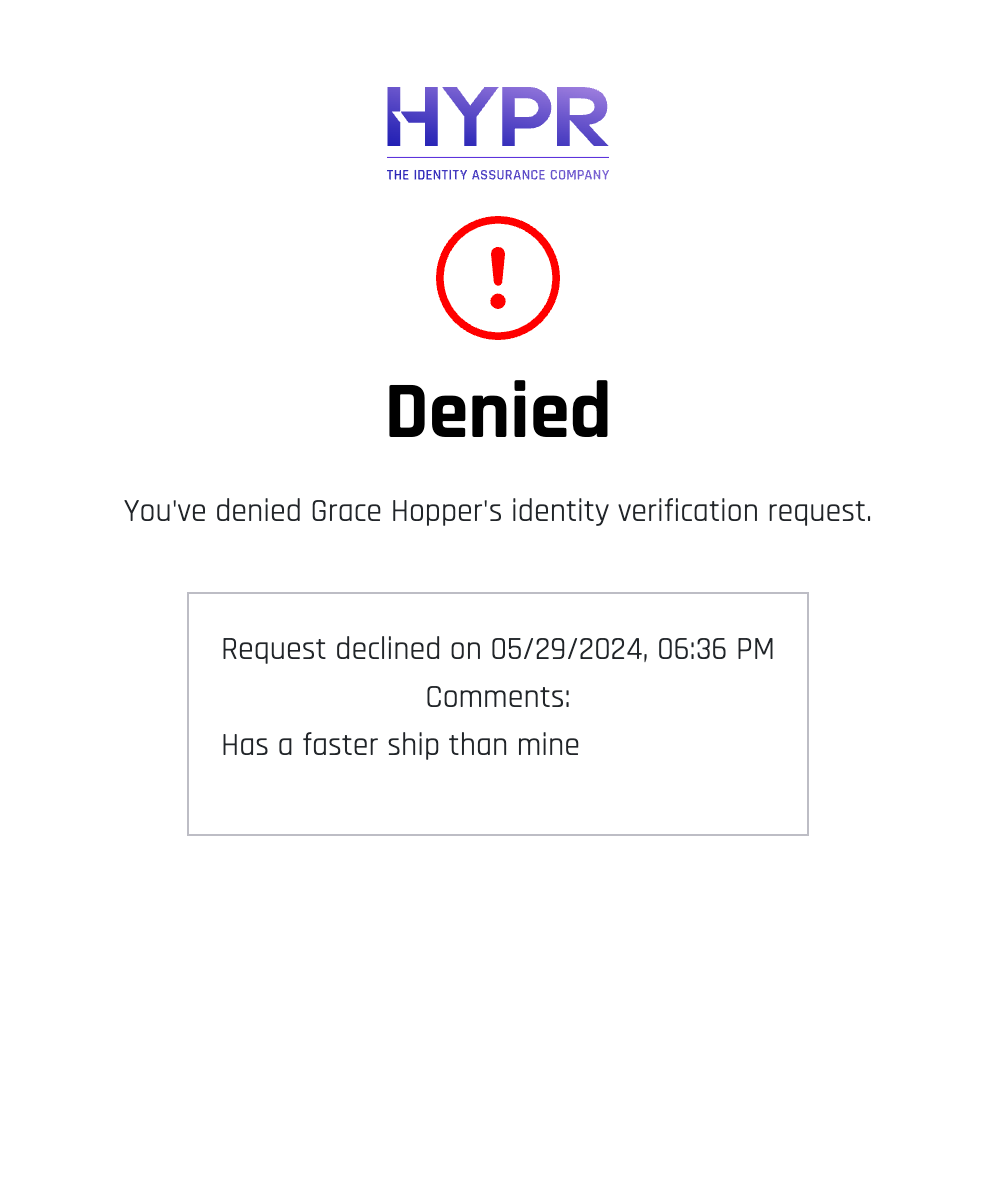
A success screen displays, including the reason left earlier. The IdV request has failed; it is safe to close this window.
