Configuring Identity Verification via Verified Credentials
Identity Verification via Verified Credentials is currently in Preview status. This feature enables users to present Microsoft Entra Verified ID credentials as a verification step in Affirm workflows.
Overview
Identity Verification via Verified Credentials enables users to present Microsoft Entra Verified ID credentials stored in Microsoft Authenticator as a verification step in Affirm workflows. This provides a privacy-preserving, decentralized identity verification method aligned with zero-trust architectures.
How It Works
When this step is active in a workflow, users are presented with a QR code or deep link option:
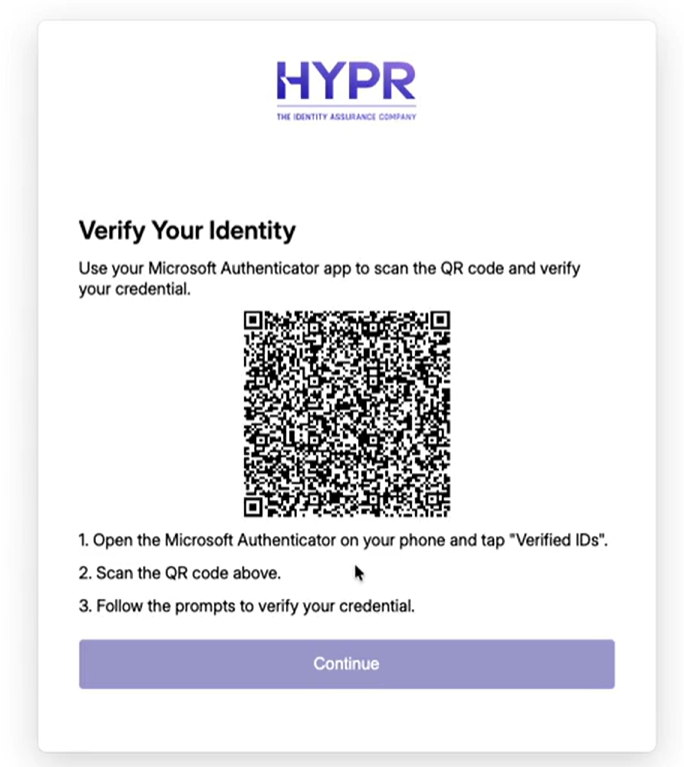
- Users open Microsoft Authenticator and scan the QR code or use the deep link
- Users select their Verified ID credential from Authenticator
- The credential is sent to Microsoft Entra for verification
- Affirm validates the credential claims, issuer trust, and expiration
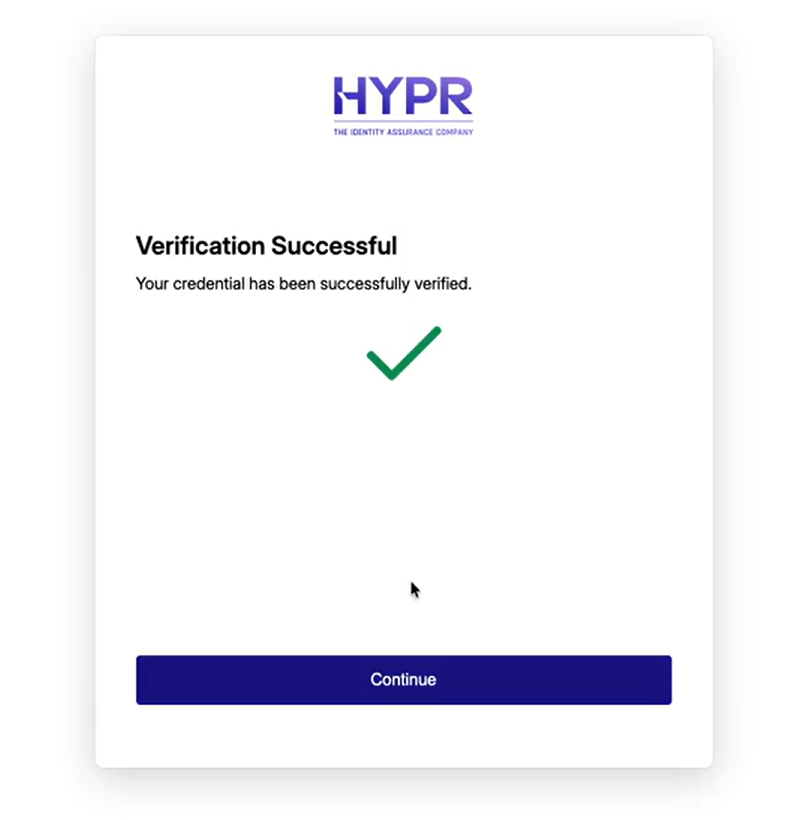
- Upon successful verification, the workflow proceeds to the next step
Configuration
Access this configuration by opening the verification steps dialog for your selected workflow and selecting the Verified Credential step. When enabled, users can present their Verified ID credential stored in Microsoft Authenticator to complete identity verification.
Configuration Fields
- Azure Application Assignment: (Optional) Select a specific Azure AD application for this verified credential step. If no application is selected, the default application from the verification flow will be used. This field includes a dropdown to select from available Azure AD applications.

- Authority ID: (Required) The authority ID for the verified credential verification. This is used to identify the credential issuer. This field is required when the verified credential step is enabled and must be entered before saving.

- Contract ID: (Required) The manifest contract ID for the verified credential verification. This is used to specify the credential contract. This field is required when the verified credential step is enabled and must be entered before saving.

- Credential Type: (Required) The type of verified credential to verify. This is used to specify the credential type. This field is required when the verified credential step is enabled and must be entered before saving.

- Retry Limit: Configure the number of attempts the requester is allowed for this step. Set the number of attempts (e.g., 3) and the time window (e.g., 60 minutes) within which those attempts must occur.
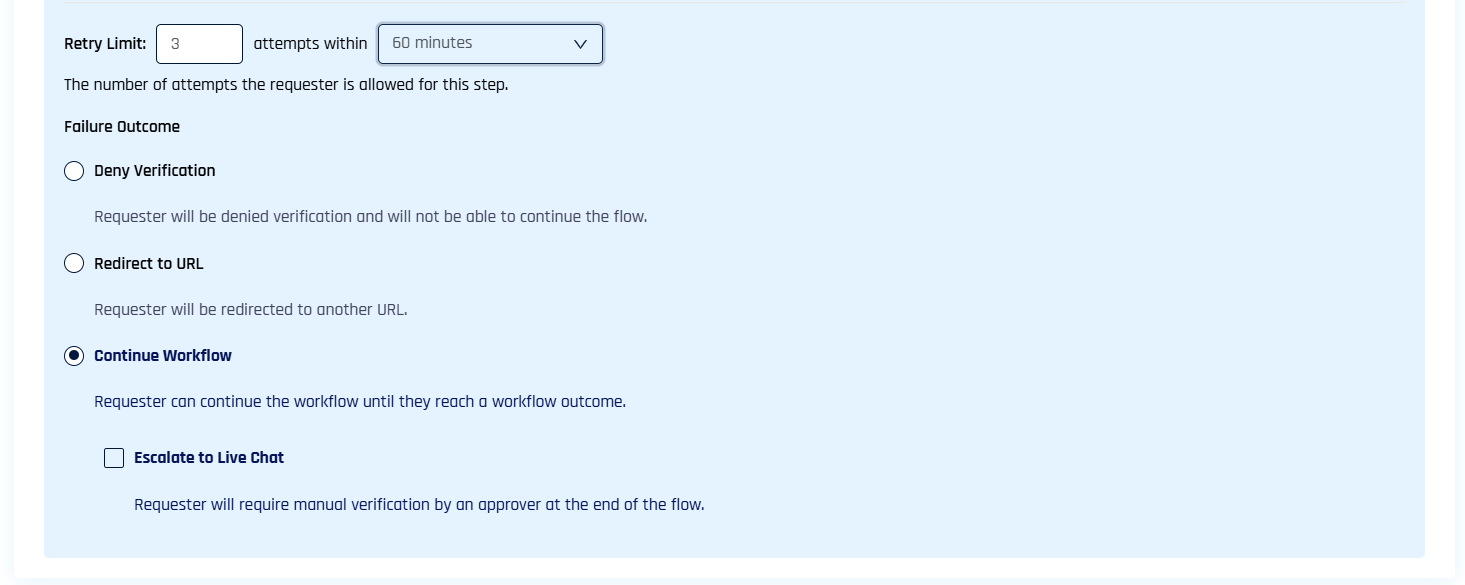
- Failure Outcome: Determine what happens if this verification step fails. Select one of the following options:
- Deny Verification: Requester will be denied verification and will not be able to continue the flow
- Redirect to URL: Requester will be redirected to another URL
- Continue Workflow: Requester can continue the workflow until they reach a workflow outcome
- Escalate to Live Chat: (Checkbox option) Requester will require manual verification by an approver at the end of the flow
Prerequisites
- At least one Entra ID integration must be enabled via HYPR
- Users must have Microsoft Authenticator installed with a pre-issued Verified ID credential
- The Verified ID credential must be issued by a trusted authority configured in Entra ID
Related Documentation
For information about issuing Verified ID credentials as an outcome (after verification succeeds), see Configuring Outcome: Entra ID Verified ID.
For general information about configuring Affirm workflows, see Administering HYPR Affirm.