Using the HYPR Device Manager
HYPR Device Manager
Accessing the Device Manager
The way you access the Device Manager depends on the part of the HYPR environment you’re using.
- Use case 1: Control Center users interact with the Device Manager when they register a device for the first time, and they also have access to a self-service instance of the Device Manager they can return to at any time to add or remove devices. See Control Center Users for instructions on accessing the self-service Device Manager.
- Use case 2: If your organization has any SSO integrations set up, users of these will interact with the Device Manager when they register a device for the first time, or when an administrator sends them a magic link. A self-service Device Manager may also be available depending on the type of integration. Please see Integration Users for more information.
- Use case 3: Workstation users register new devices and remove unwanted ones through the HYPR Mobile App and the Passwordless client; they don’t use the Device Manager. Please see Using HYPR Passwordless.
Control Center Users
HYPR Control Center users, typically administrators, can access a self-service instance of the Device Manager and use it to change the devices with which they log in to the Control Center.
- Login to Control Center.
- Click Device Manager on the pop-up menu under the email address.

Integration Users
Integration users interact with the Device Manager when they create a pairing during the initial enrollment process for the integration, or when an administrator sends them a Magic Link. Please see the documentation for Integrations for more information on integration user enrollment and pairing with HYPR.
For Okta integrations, a self-service Device Manager is also available from the user’s Okta home page. This instance lets them change the devices they use for passwordless login with their Okta applications.

Adding/Removing Devices
Registering a New Device

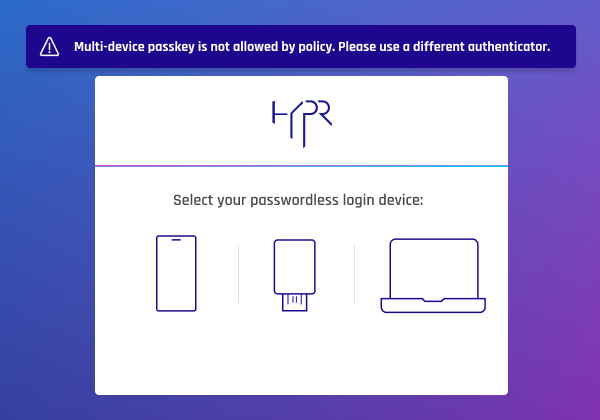
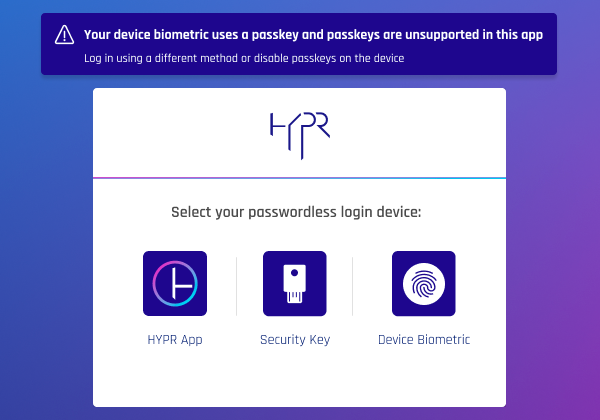
To register or create a new "pair" click the icon for the method you want and follow the instructions on the screen.
Not Enough Options
Options for pairing security keys and computers may not appear; if you expect to see these, make sure FIDO2 Settings have been configured correctly. This task is performed by an administrator through the HYPR Control Center.
Any devices you pair here are only for logins that use the email address shown in the upper right of the screen.
No Camera?
If you are unable to use your device's camera with your HYPR Mobile App, follow the instructions for using QR Fallback from the Device Manager.
After you successfully create a pairing, the Device Manager interface is updated to show the new pairing. If a synced passkey is paired, Device Manager displays Synced Passkey as the pairing type. If synced passkeys are enabled, a single device passkey will be labelled as a Device-bound Passkey.
You may have to refresh the page to see your new pairing listed.

The HYPR Passwordless client and the HYPR Mobile App are critical components in the pairing and authentication process. The following articles describe pairing with these other components:
- Using the HYPR Passwordless client: Pairing with a Security Key
- Using the HYPR Passwordless client: Pairing with the HYPR Mobile App
- HYPR Mobile App: QR Login
Synced Passkeys
If you have enabled Allow Synced Passkeys under Control Center Settings: FIDO2 Settings, users can pair and authenticate using passkeys that require more than one method. As a result, some error scenarios may occur when Allow Synced Passkeys is disabled. To circumvent these issues, you will most likely need to re-pair your account with a new method. If you have any questions or concerns, contact an administrator.
- User attempts to use a synced passkey
- Allow Synced Passkeys was enabled in the past, but is not now, and a user attempts to use a synced passkey
Removing a Device
Risky Removal
Be careful about removing (unpairing) a device unless you have another way to access the part of the HYPR environment where you currently use it to log in. For HYPR Control Center users, bear in mind that if you remove the only device you have paired, you will not be able to access the Control Center until another administrator sends you a login recovery email or a magic link.
Unpairing a device in one instance of the Device Manager doesn’t remove it from other instances. For example, if you use the same device for logging in to both the Control Center and your Okta applications, removing it from the Device Manager associated with the Control Center won’t remove it from the Device Manager associated with Okta.
- To remove a device, click Unpair.

- Click Confirm in the next screen.

Changing Device Manager Branding
The logo and colors for the Device Manager can be updated through the Advanced Settings in the HYPR Control Center. See UI Management for more information.
Updated 4 months ago