Okta: OIDC Integration for HYPR Affirm Helpdesk
The HYPR Affirm Helpdesk portal uses OpenID Connect (OIDC) to authenticate helpdesk agents. This article describes how to configure Okta as the OIDC provider, define role-based access for agents, and connect the integration in HYPR Control Center.
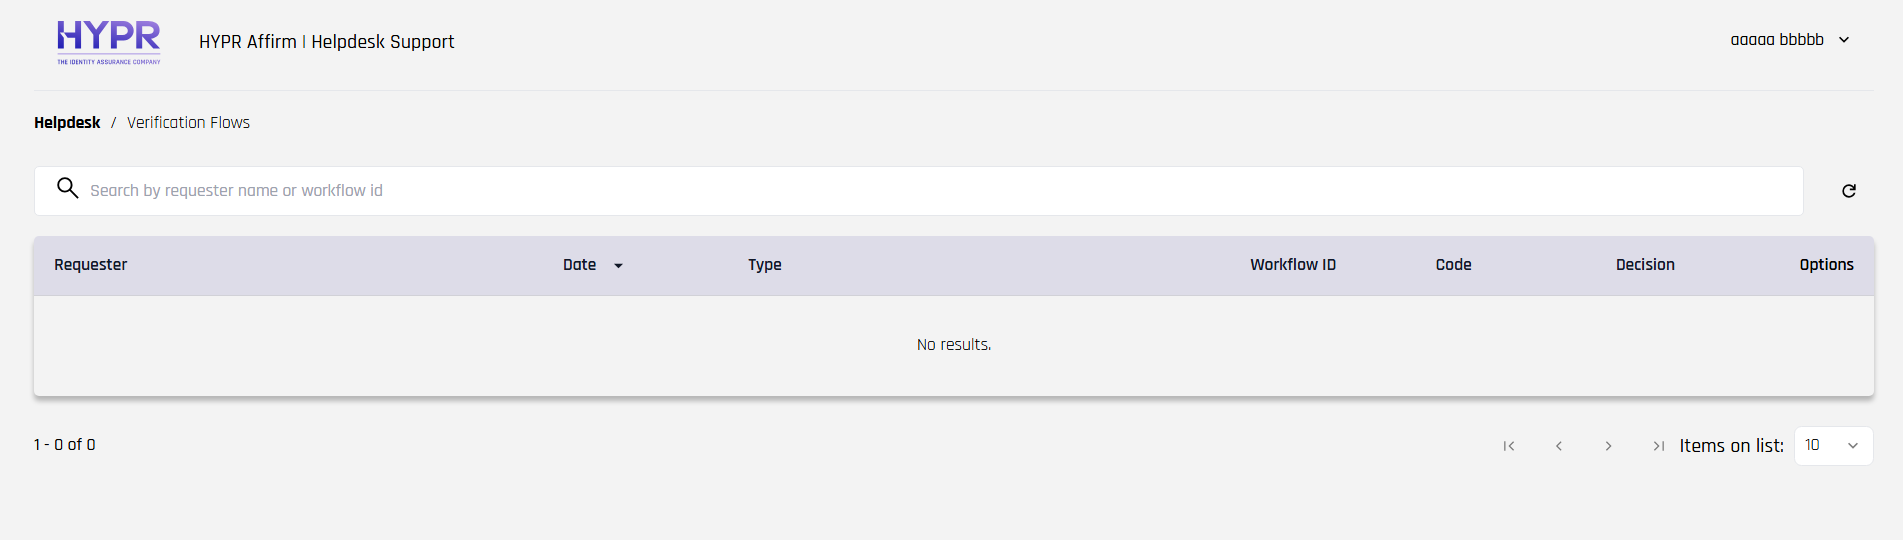
When configuration is complete, helpdesk agents navigate to the Helpdesk portal URL and are redirected to Okta to sign in. HYPR reads the role claim from the returned OIDC token and grants the agent either Viewer or Editor access to the Helpdesk portal.
The HYPR Affirm Helpdesk portal requires the AFFIRM_HELPDESK_SUPPORT feature flag. Contact your HYPR representative to enable it on your tenant before proceeding.
Prerequisites
- Okta administrator access
- Users in your Okta directory with at least one group identifying helpdesk editors
- A HYPR Control Center account with HYPR Affirm deployed
- A dedicated Helpdesk relying party application configured in HYPR Control Center
Helpdesk Agent Roles
The Affirm Helpdesk portal supports two roles. HYPR reads the affirm_helpdesk_role claim from the OIDC token to assign the corresponding role to each agent.
| Role | Accepted Claim Values | Access |
|---|---|---|
| Viewer | AFFIRM_HELPDESK_VIEWER or HYPR_AFFIRM_HELPDESK_VIEWER | View verification workflows and activity records |
| Editor | AFFIRM_HELPDESK_EDITOR or HYPR_AFFIRM_HELPDESK_EDITOR | View and initialize verification workflows |
Fallback behavior:
- If
affirm_helpdesk_roleis not present, HYPR checks forhypr_roleas a secondary claim. - If neither claim is present, the user is granted Viewer access by default.
- When a user is assigned both roles, Editor takes precedence and all Editor authorities apply.
Users who authenticate successfully through Okta but whose token contains no role claim are granted Viewer access. To prevent a user from accessing the Helpdesk portal entirely, remove their assignment from the Helpdesk application in Okta.
Create an Okta OIDC Web Application
-
Sign in to your Okta Admin Console.
-
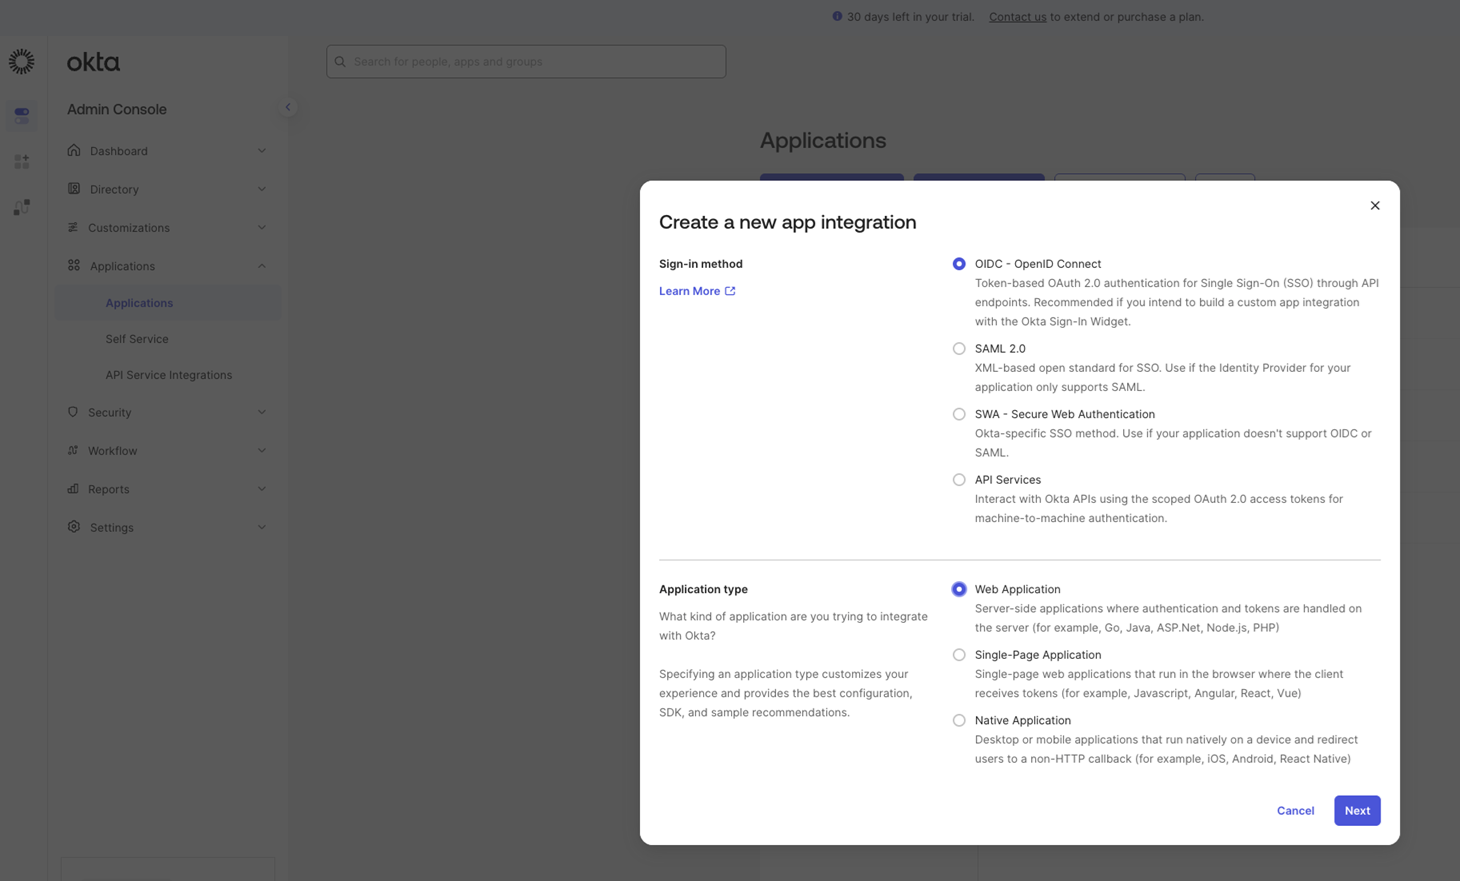
Go to Applications → Applications and click Create App Integration.
-
Select OIDC - OpenID Connect as the sign-on method and Web Application as the application type, then click Next.
-
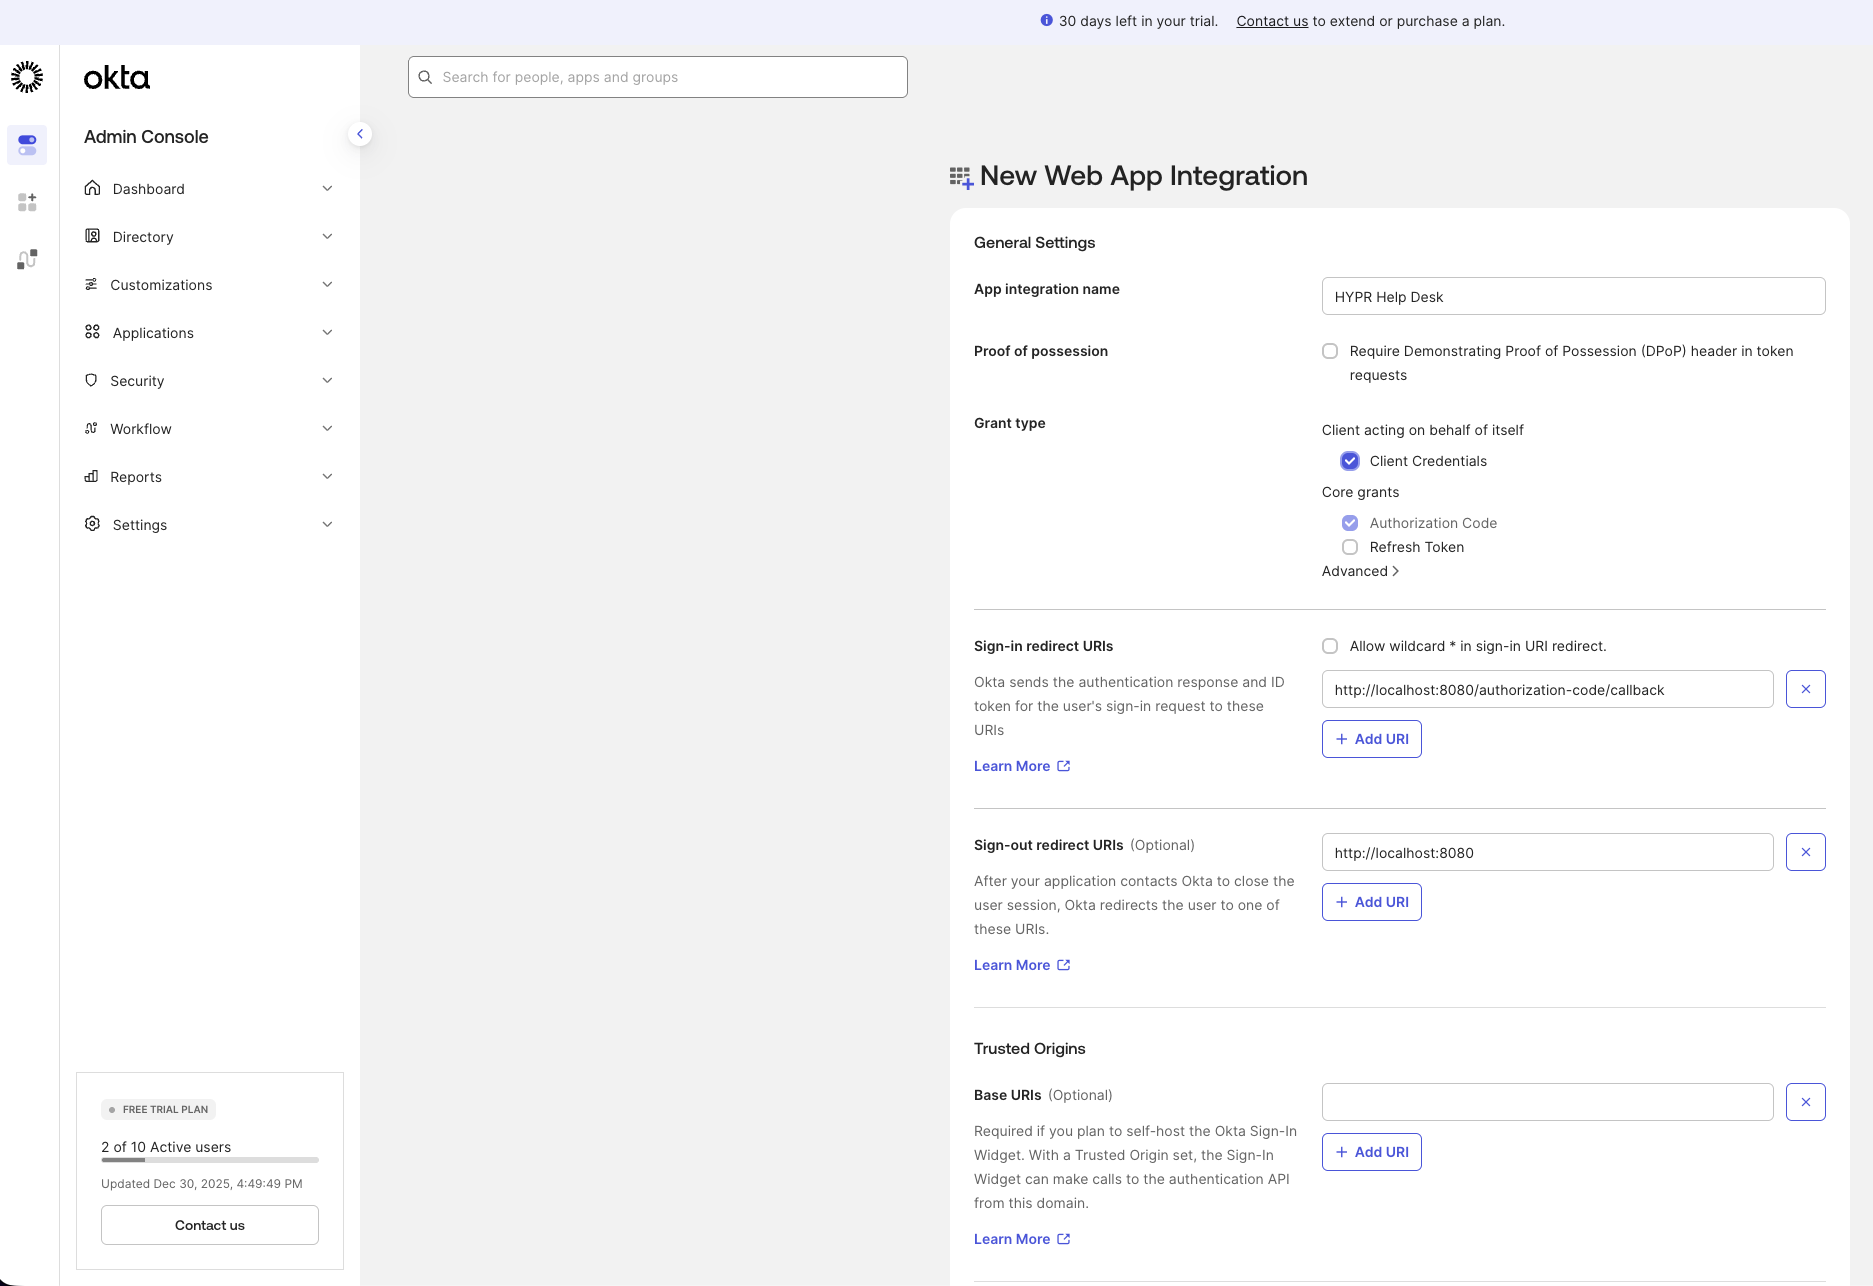
Enter a name for the application, then scroll to the Login section before saving.
Configure the Application Login Settings
In the Login section of the new OIDC application:
-
Set Sign-in redirect URIs to:
{HYPR_TENANT_URL}/login/oauth2/idv/support/code/{HYPR_RELYING_PARTY_APP}Replace
{HYPR_TENANT_URL}with your HYPR tenant URL and{HYPR_RELYING_PARTY_APP}with the name of your dedicated Helpdesk relying party application in HYPR Control Center. -
Set Initiate login URI to:
{HYPR_TENANT_URL}/cc/ui/idv/support/helpdesk -
Set Sign-out redirect URIs to:
{HYPR_TENANT_URL}/login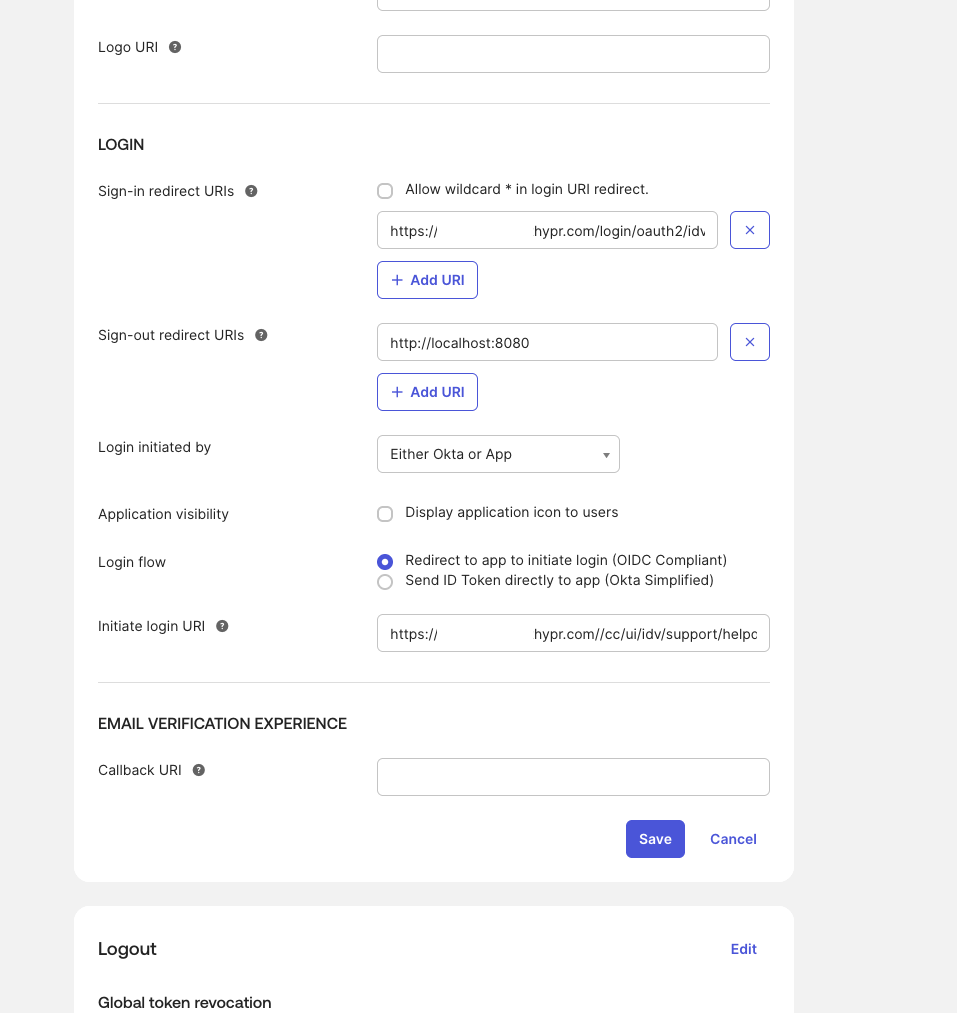
-
Click Save.
-
From the application's General tab, copy the Client ID and Client secret. You will need these values when configuring HYPR Control Center.
Add a Role Claim to the Authorization Server
HYPR reads the affirm_helpdesk_role claim from the OIDC token to determine each agent's Helpdesk role. Configure this claim in your Okta authorization server.
-
Go to Security → API → Authorization Servers.
-
Click the authorization server you want to use (for example, Default).
-
Go to the Claims tab and click Add Claim.
-
Configure the claim with the following values:
Field Value Name affirm_helpdesk_roleInclude in token type ID Token Value type Expression Value isMemberOfGroup("{YOUR_EDITOR_GROUP}") ? "HYPR_AFFIRM_HELPDESK_EDITOR" : "AFFIRM_HELPDESK_VIEWER"Replace
{YOUR_EDITOR_GROUP}with the Okta group whose members should receive Editor access in the Helpdesk portal. Members outside this group receive Viewer access.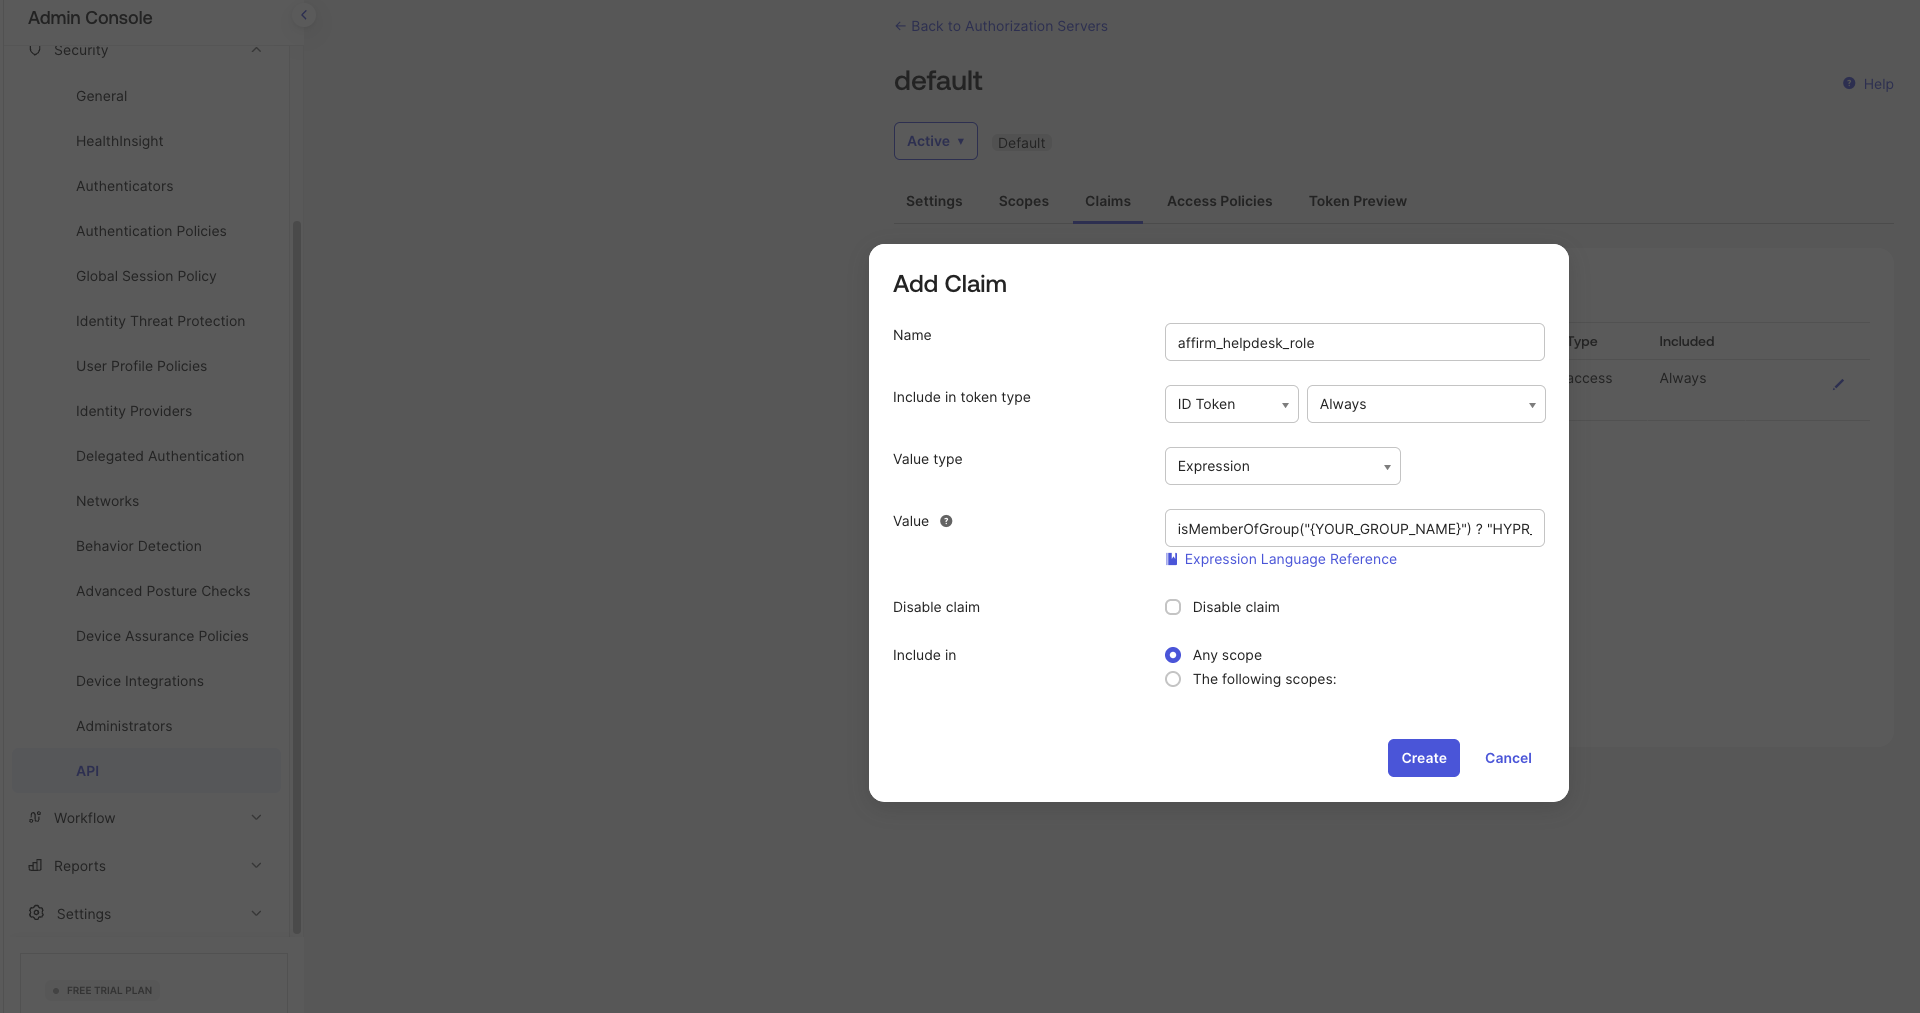
-
Click Create.
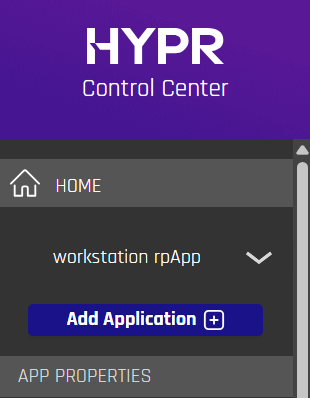
Configure IDP Management in HYPR Control Center
-
In HYPR Control Center, switch to Advanced mode using the toggle in the upper right corner.

-
In the left navigation, select your Helpdesk relying party application.
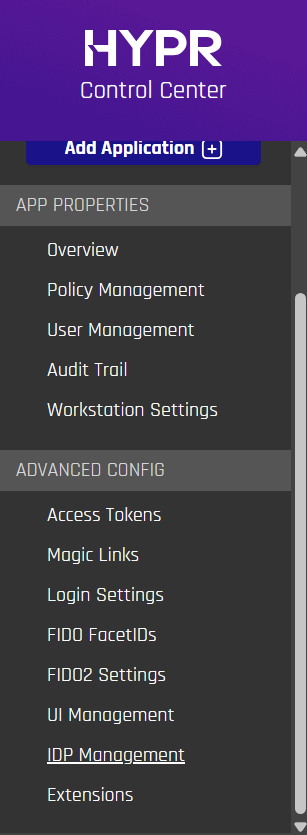
-
Under Advanced Config, select IDP Management.
-
Enter the following values, replacing
{OKTA_TENANT_URL}with your Okta tenant base URL:Field Value OAuth URL {OKTA_TENANT_URL}/oauth2/v1/authorizeToken URL {OKTA_TENANT_URL}/oauth2/v1/tokenUserInfo URL {OKTA_TENANT_URL}/oauth2/v1/userinfoJWKS URL {OKTA_TENANT_URL}/oauth2/v1/keysHYPR URL {HYPR_TENANT_URL}Client ID The Client ID from your Okta OIDC application Client Secret The Client Secret from your Okta OIDC application User Name Claim Attribute preferred_username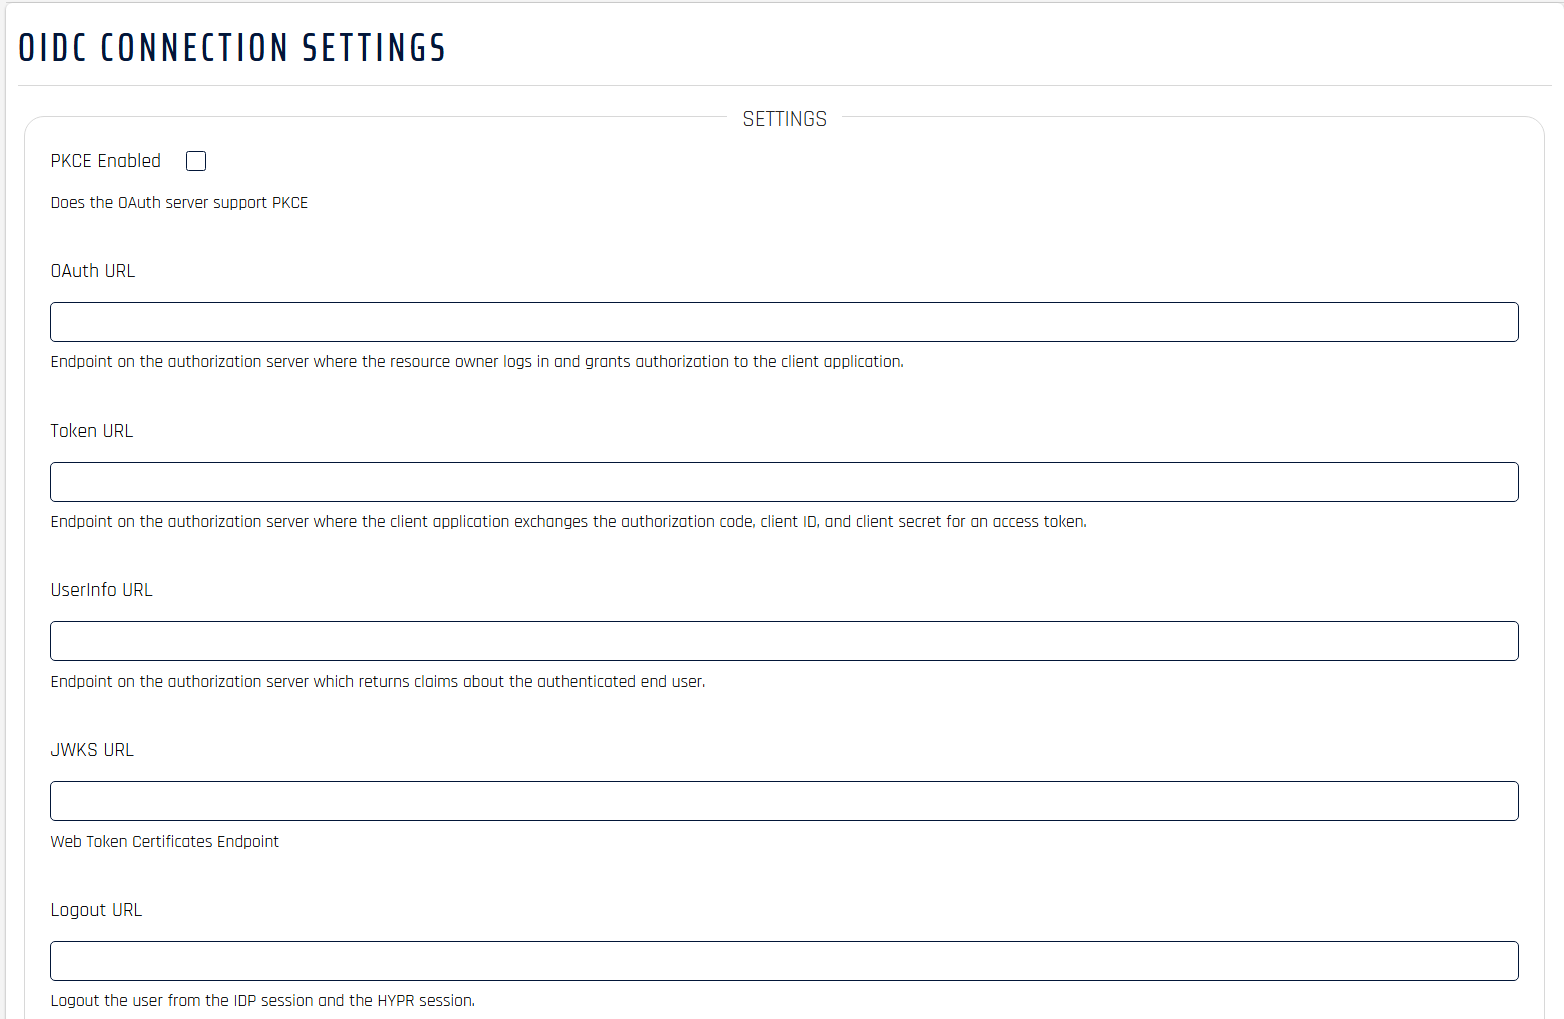
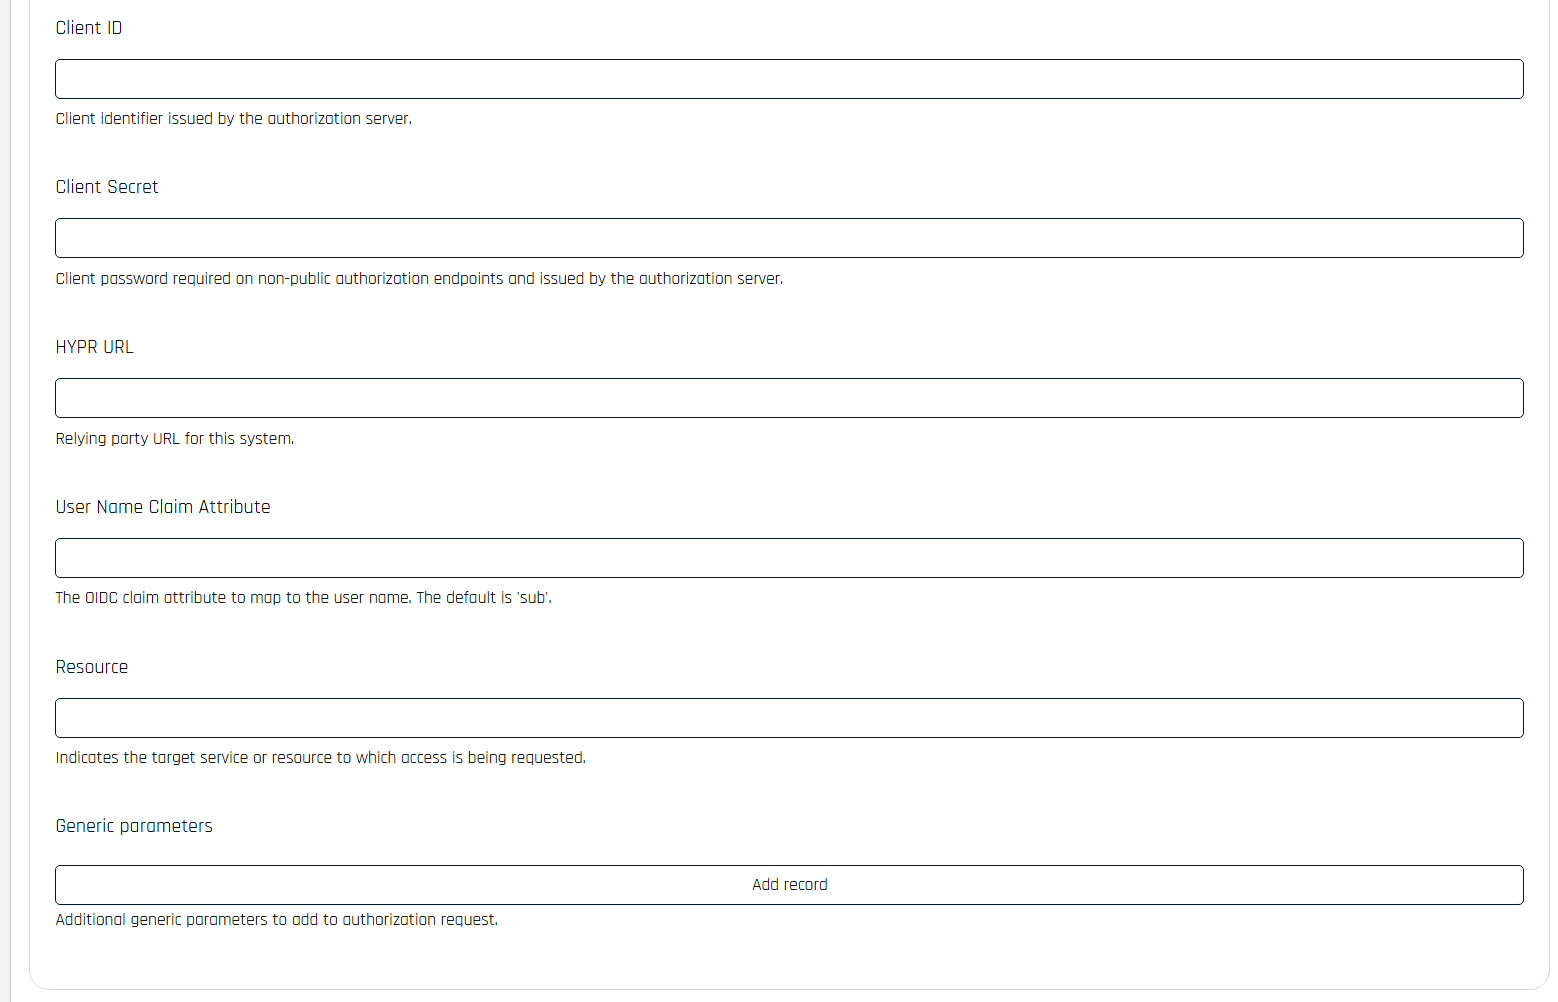
-
Click Save Config.
Add Helpdesk Users in Control Center
After saving the IDP configuration, add the agents who need access to the Helpdesk portal.
-
In HYPR Control Center, go to HYPR Affirm → Helpdesk Users.
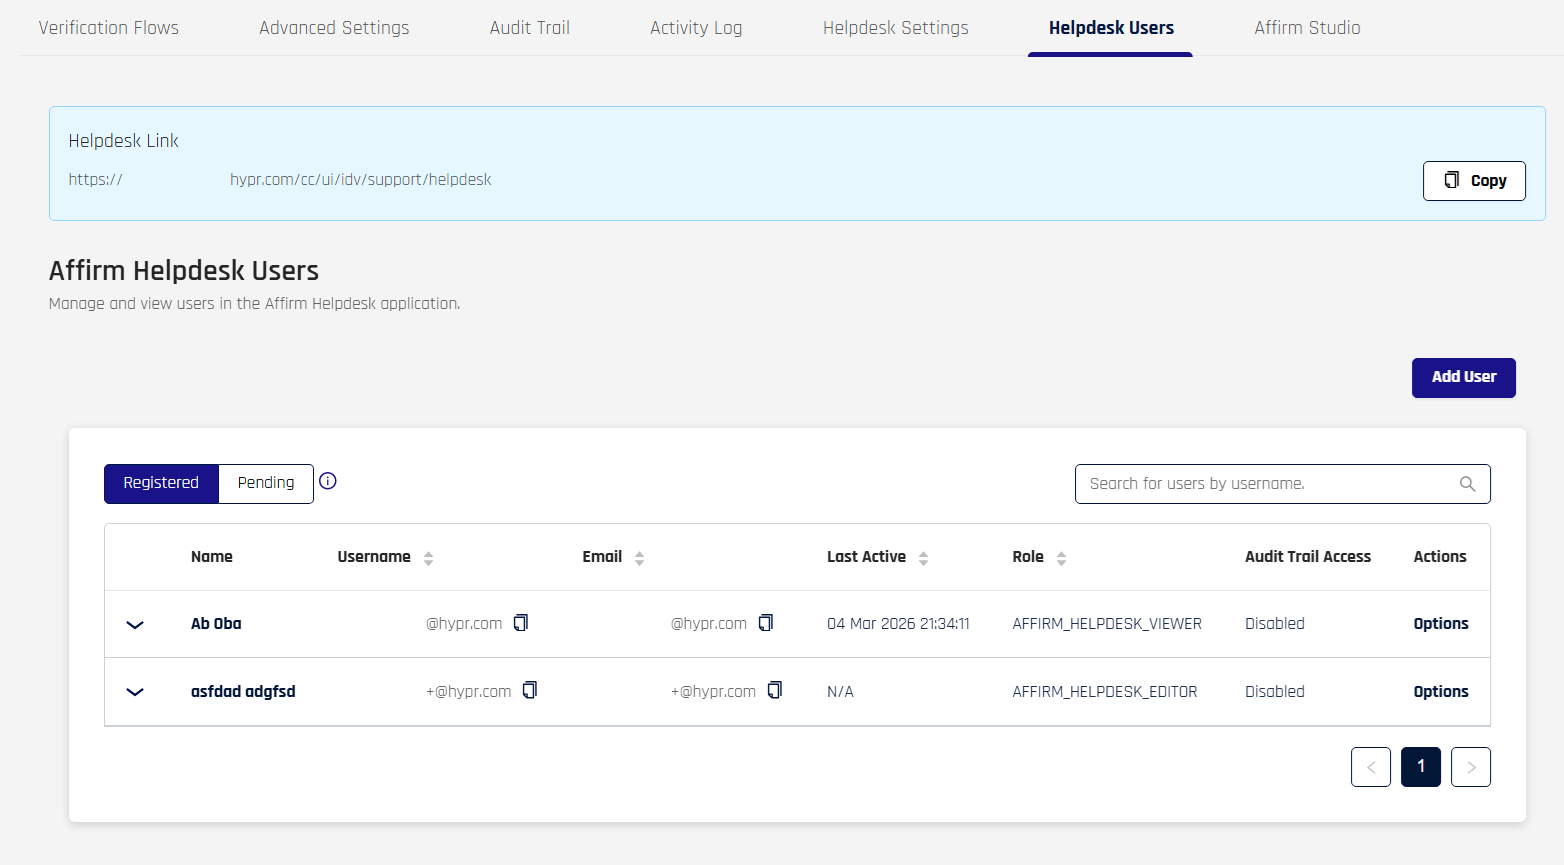
-
Click Add User, enter the agent's details, and assign the appropriate Helpdesk role.

For full instructions on managing Helpdesk users and configuring Helpdesk settings, see HYPR Affirm Helpdesk Support.
Access the Helpdesk Portal
Once configuration is complete, helpdesk agents access the portal at:
{HYPR_TENANT_URL}/cc/ui/idv/support/helpdesk
Navigating to this URL redirects agents to the Okta sign-in page. After authenticating, HYPR reads the affirm_helpdesk_role claim and grants access with the appropriate Viewer or Editor role.