Rotating the Entra ID Credential
Overview
HYPR authenticates to Microsoft Entra ID with either a client secret or a client certificate. Both carry an expiry date set when they were created. Once that date passes, HYPR can no longer reach Entra ID and the integration stops working.
Replace the credential before it expires. Rotation is two tasks: create the replacement in Entra ID, then enter it in the HYPR Control Center.
Entra ID shows a client secret value once, at the moment you create it. Record the value and its expiry date then, so you can plan the next rotation.
What You'll Need
A new credential in Entra ID. Create it before you begin, using the same steps as the original setup:
The Control Center path that matches your setup. Where you enter the new credential depends on how the Entra ID connection was created, not on which you prefer:
| How the connection was created | Where to rotate |
|---|---|
| As an integration | Standard Mode |
| As an application's identity provider | Advanced Mode |
Rotating in Standard Mode
Use this path when the Entra ID connection appears under Integrations.
-
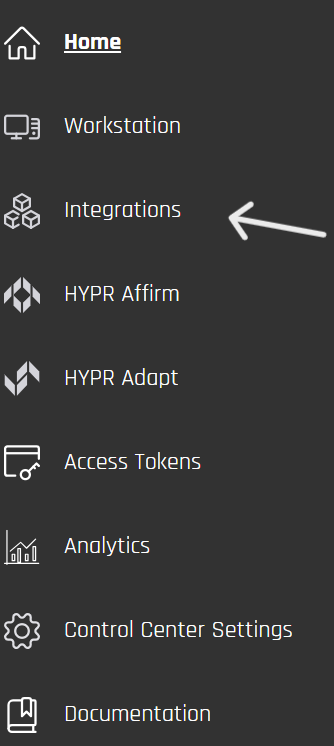
In the Control Center, click Integrations.
-
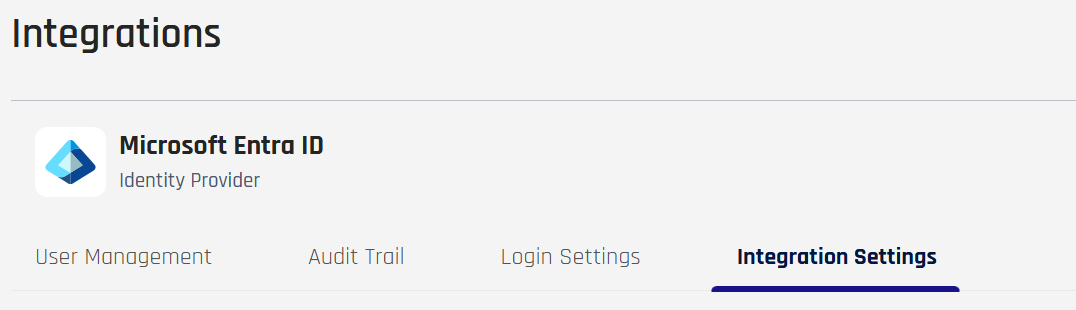
Select the Microsoft Entra ID integration. The integration opens on its own tabs.
-
Select the Integration Settings tab.
-
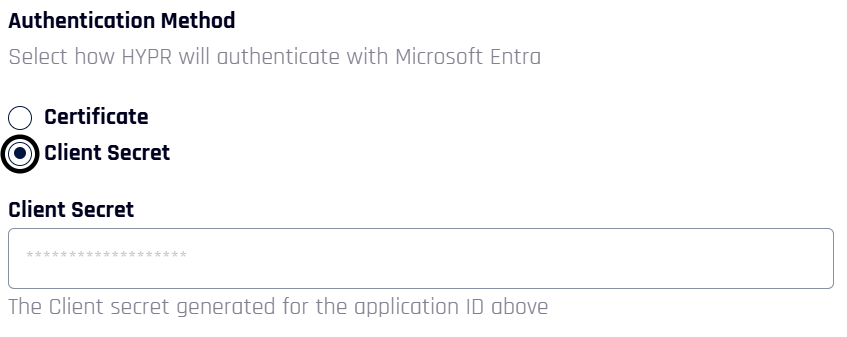
Locate Authentication Method. It is set to either Certificate or Client Secret.
-
Enter the new client secret, or upload the new certificate, to match the method in use.
-
Scroll to the foot of the page and click Update Integration. The integration saves and begins using the new credential.

Rotating in Advanced Mode
Use this path when Entra ID is configured as an application's identity provider. Two places hold a credential, and which you need depends on what the connection protects:
- An application's own connection — rotate it in that application's IDP Management.
- Control Center's sign-in, when access to the Control Center is itself protected by the identity provider — rotate it in Server Settings under the IDP Settings tab.
Both use the same fields. Only their scope differs.
An application's identity provider
-
In the Control Center, switch to Advanced Mode and choose the application whose Entra ID connection you are rotating.
-
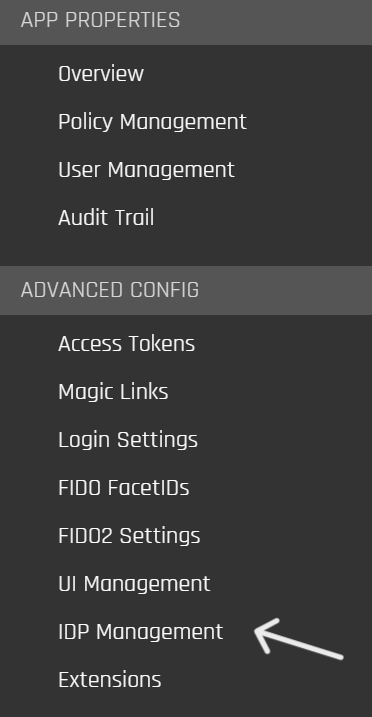
In the navigation pane, under Advanced Config, click IDP Management.
-
Enter the new value in Client Secret, or upload the new certificate.

-
Scroll to the foot of the page and click Save Config. The connection saves and begins using the new credential.

Control Center's own sign-in
Follow the preceding steps, with one change: instead of choosing an application, click the gear marked Settings at the foot of the navigation pane, then select the IDP Settings tab. Server Settings is available to administrators.
Confirming the Rotation
Sign in to an application that uses the connection. A successful authentication confirms HYPR is reaching Entra ID with the new credential.
If the rotation does not take effect, see Entra ID Cleanup, or contact HYPR Support.