Entra Verified ID for HYPR Affirm
When a requester successfully completes a HYPR Affirm verification flow, HYPR can issue a Microsoft Entra Verified ID credential as the outcome. The credential is stored in Microsoft Authenticator and can be reused as a decentralized identity artifact in future verification flows.
This integration requires defining a verifiable credential in Entra ID, then connecting it to HYPR Affirm using the authority ID, credential type, and manifest contract ID values obtained from Entra.
This outcome requires an Entra ID integration enabled in HYPR and an Entra app registration with the correct permissions — see Entra ID Application Setup for HYPR Affirm. Entra must provide username (UPN) and email address for all target users; additional attributes may be required depending on your verification flow configuration.
For where the Verified ID outcome is selected in the verification flow editor, see Configure Verification Steps → Verified Outcome.
First, define the credential to be used, then assign it to the desired application and use the resulting values in HYPR Control Center.
Define the issuable verifiable credential in Entra ID
-
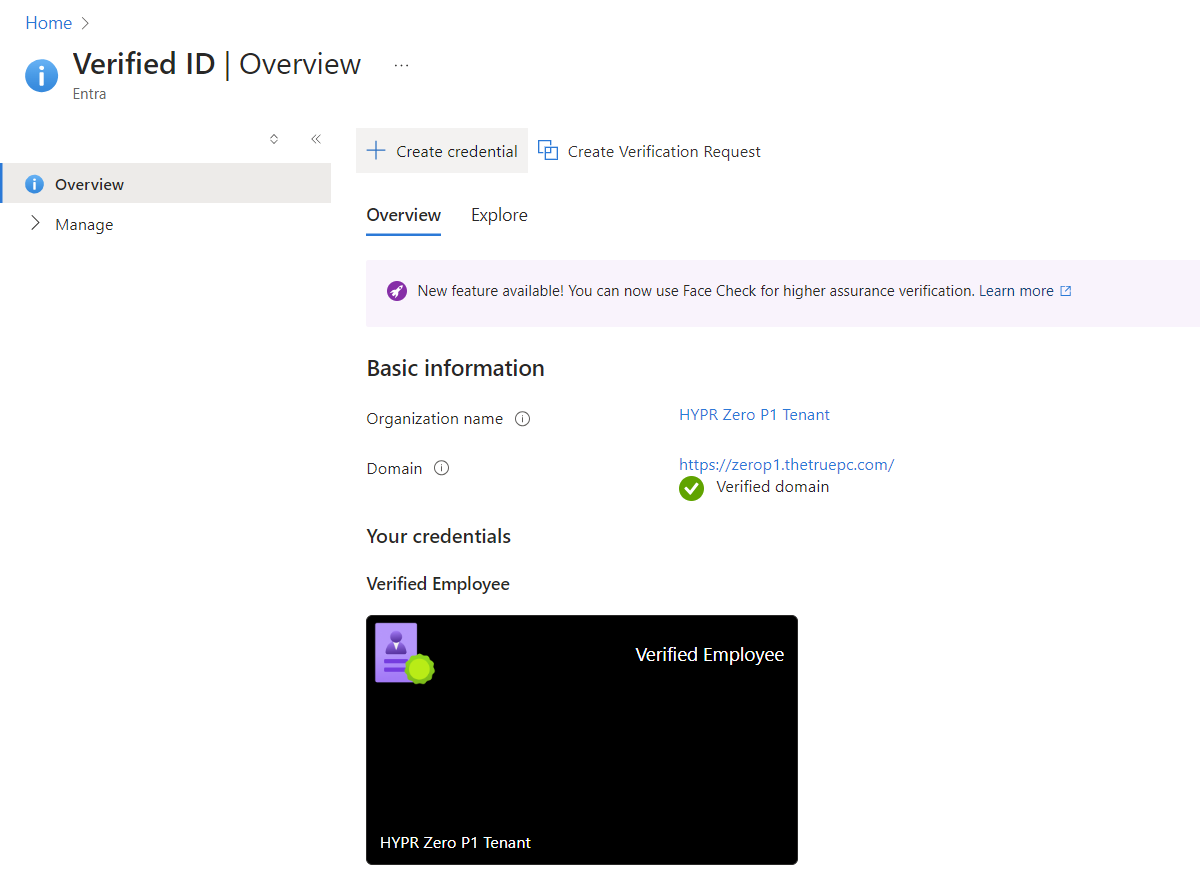
As an Entra ID user with administrative rights, search for Verified ID. Click the result of the same name to open the Verified ID Overview.
-
Click + Create Credential.
-
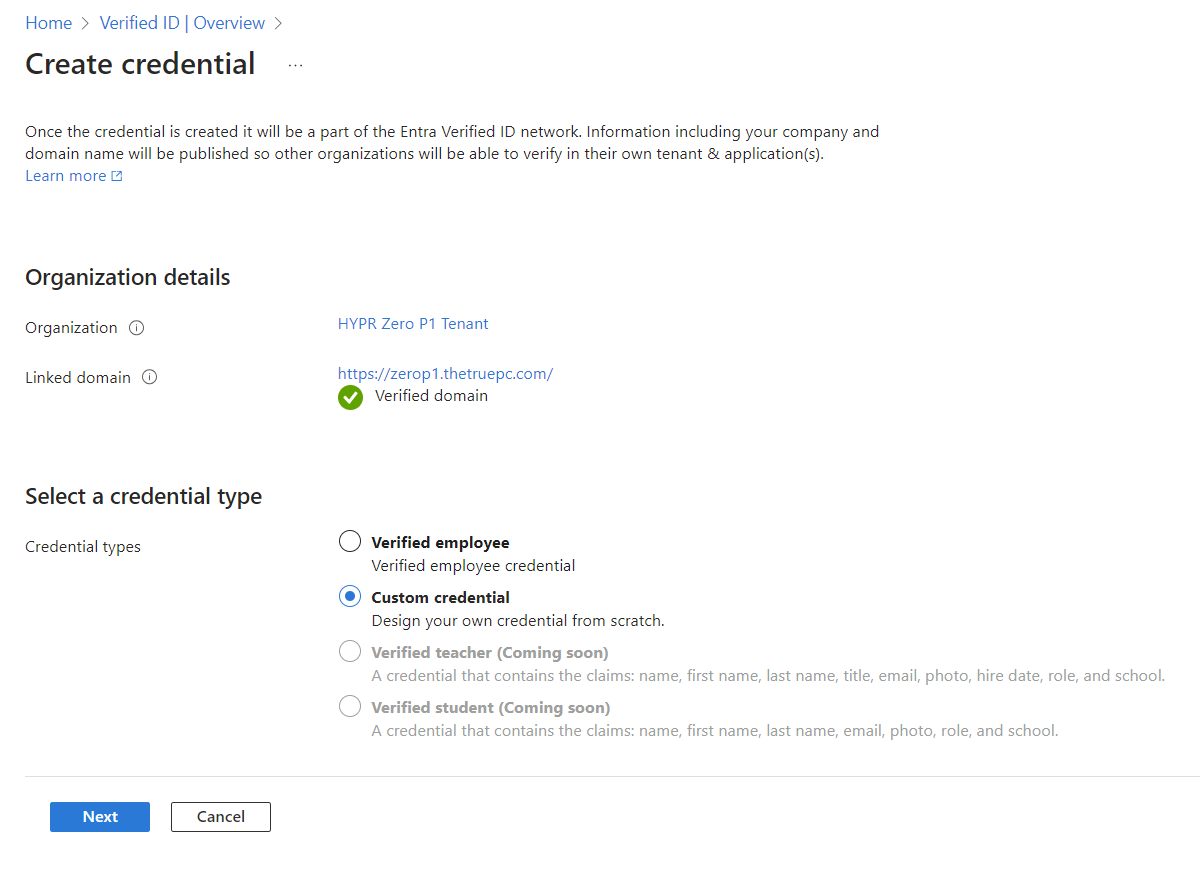
The following dialog opens. Choose Custom credential and click Next.
-
The Create a new credential dialog appears.
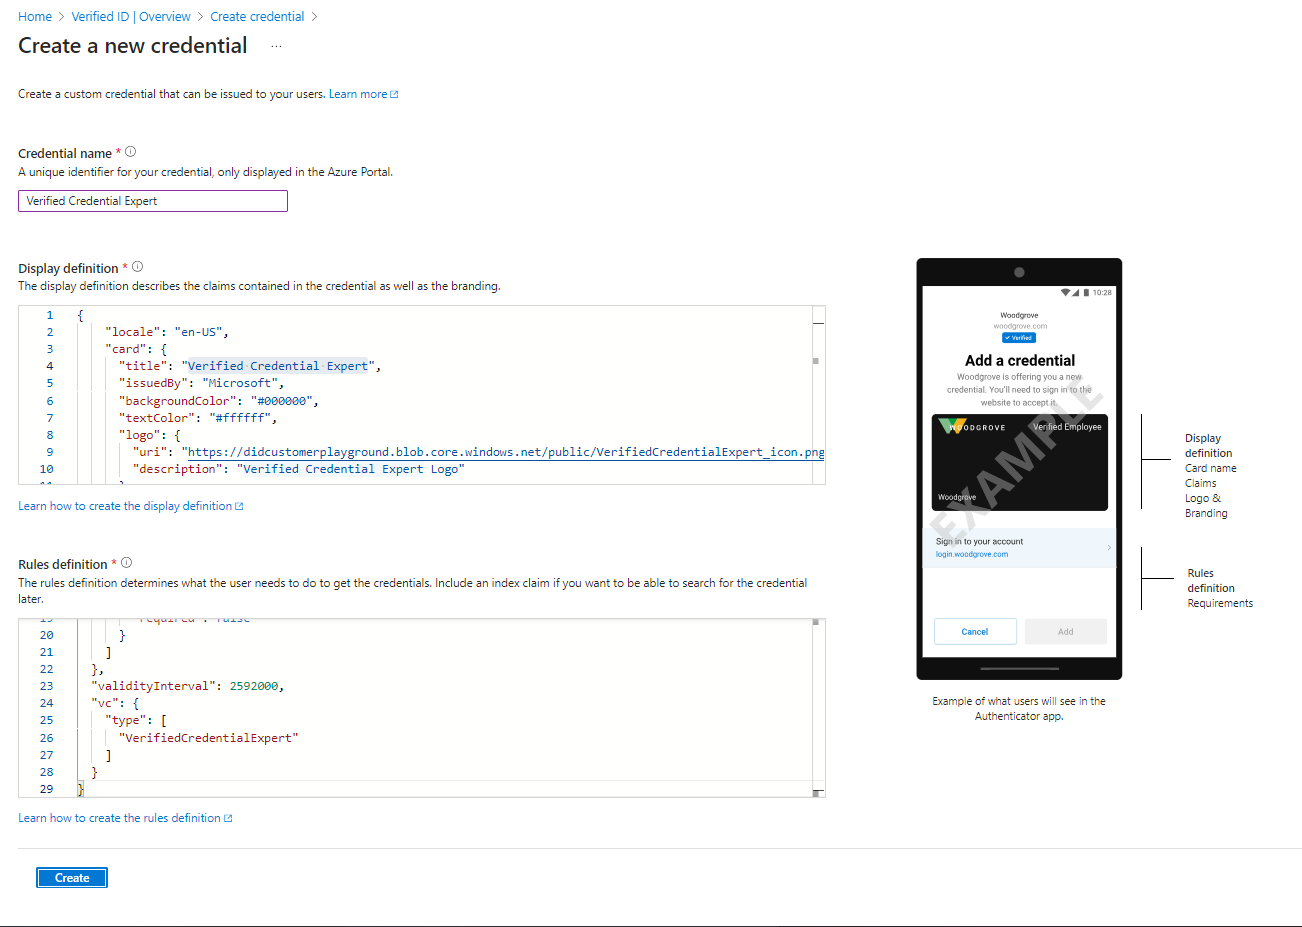
Complete the fields as follows:
-
Type Verified Credential Expert into Credential name
-
Copy the following code into the Display definition.
{
  "locale": "en-US",
  "card": {
    "title": "Verified Credential Expert",
    "issuedBy": "Microsoft",
    "backgroundColor": "#000000",
    "textColor": "#ffffff",
    "logo": {
      "uri": "https://didcustomerplayground.blob.core.windows.net/public/VerifiedCredentialExpert_icon.png",
      "description": "Verified Credential Expert Logo"
    },
    "description": "Use your verified credential to prove to anyone that you know all about verifiable credentials."
  },
  "consent": {
    "title": "Do you want to get your Verified Credential?",
    "instructions": "Sign in with your account to get your card."
  },
  "claims": [
    {
      "claim": "vc.credentialSubject.firstName",
      "label": "First name",
      "type": "String"
    },
    {
      "claim": "vc.credentialSubject.lastName",
      "label": "Last name",
      "type": "String"
    }
  ]
} -
Copy the following code into the Rules definition field:
{
  "attestations": {
    "idTokenHints": [
      {
        "mapping": [
          {
            "outputClaim": "firstName",
            "required": true,
            "inputClaim": "$.given_name",
            "indexed": false
          },
          {
            "outputClaim": "lastName",
            "required": true,
            "inputClaim": "$.family_name",
            "indexed": true
          }
        ],
        "required": false
      }
    ]
  },
  "validityInterval": 2592000,
  "vc": {
    "type": [
      "VerifiedCredentialExpert"
    ]
  }
} -
Click Create when you are finished
-
-
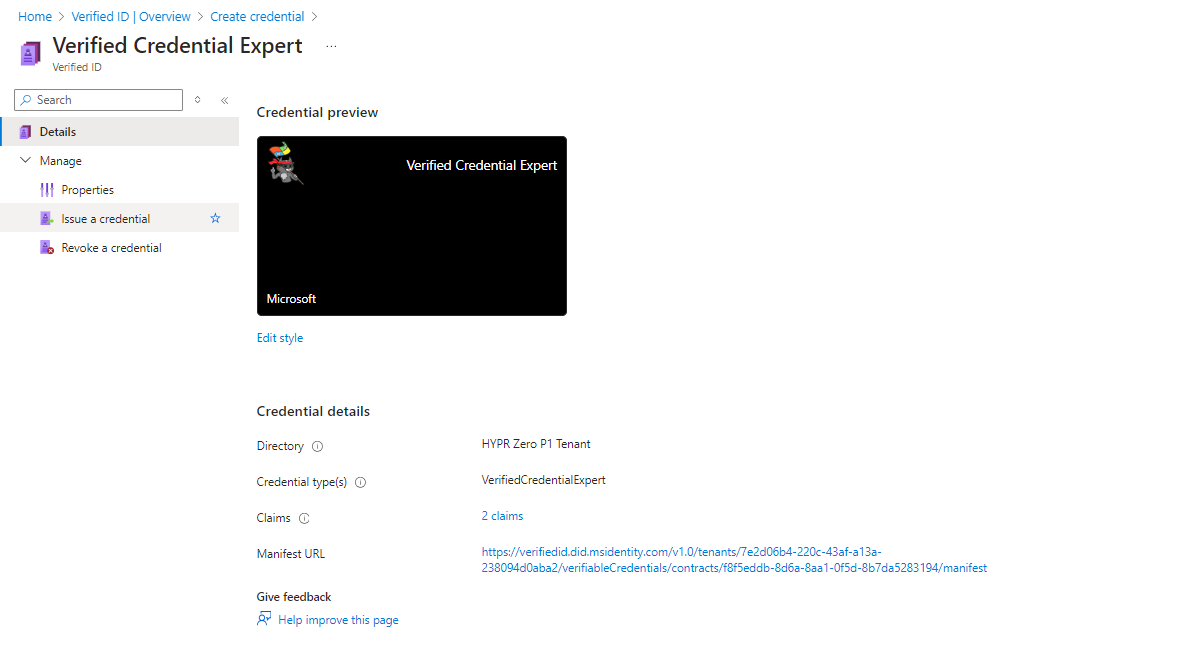
A confirmation page displays. Continue to Obtaining values for HYPR Affirm.
Obtaining values for HYPR Affirm
-
If you are not already on the Verified ID page, browse to it.
-
Select Verified Credential Expert (or the name of your credential, if different).
-
Click Manage > Issue a credential in the left navigation menu.
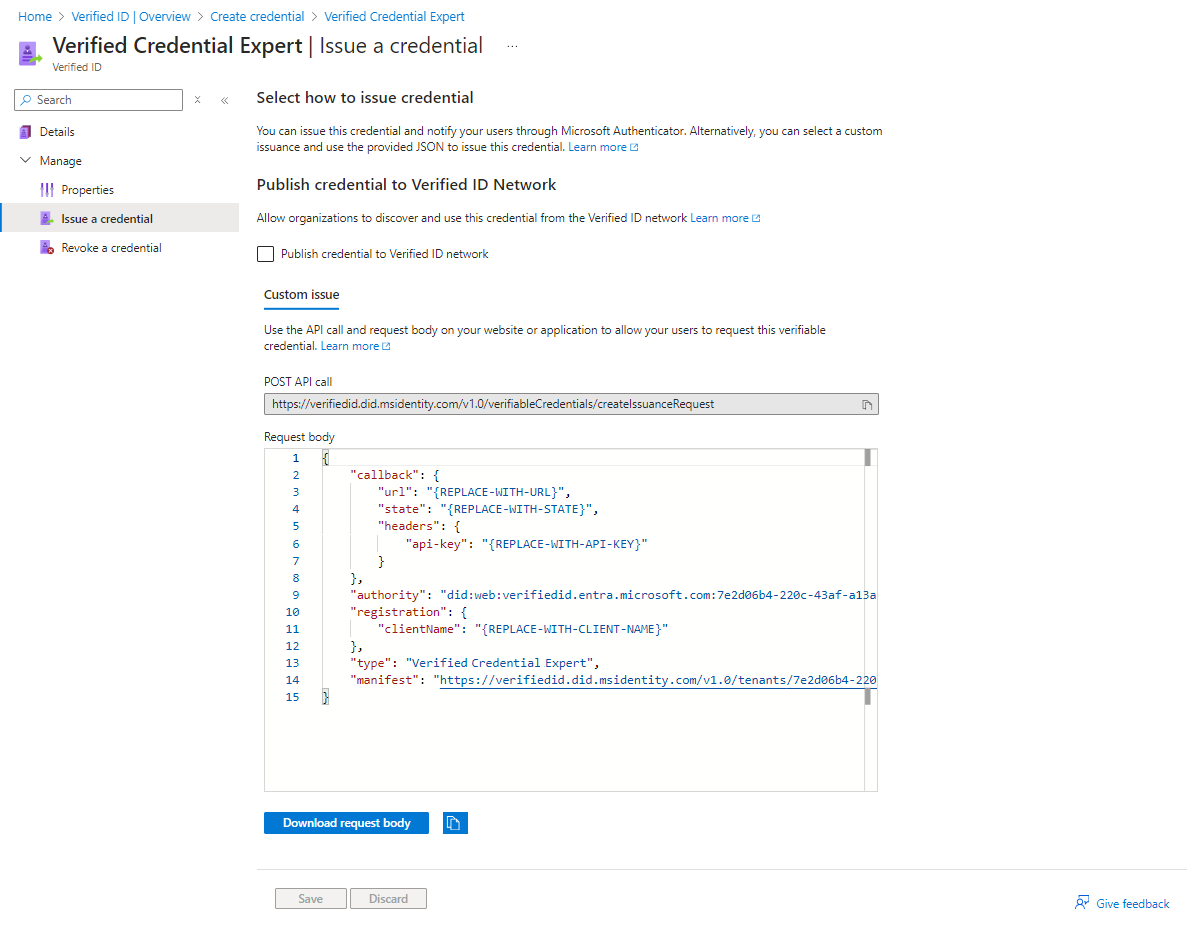
-
From the Request body pane, copy the
authority,type, andmanifestvalues; you only need some of the values presented for these attributes, as shown here:authority— corresponds to the Authority ID field when configuring IdV Outcomes- Full value:
did:web:verifiedid.entra.microsoft.com:7e2d06b4-220c-43af-a13a-238094d0aba2:ac62242f-9858-34a8-99ae-1d5664466ac4 - Copy this part: ac62242f-9858-34a8-99ae-1d5664466ac4
- Full value:
type— corresponds to the Type field when configuring IdV Outcomes- Full value:
Verified Credential Expert - Copy this part: Verified Credential Expert
- Full value:
manifest— corresponds to the Manifest Contract ID field when configuring IdV Outcomes- Full value:
https://verifiedid.did.msidentity.com/v1.0/tenants/7e2d06b4-220c-43af-a13a-238094d0aba2/verifiableCredentials/contracts/555139eb-d5fd-8cbb-32b5-868fb12e11e7/manifest - Copy this part: 555139eb-d5fd-8cbb-32b5-868fb12e11e7
- Full value:
Configuration of Identity Verification (IdV) flows is described in Creating and Managing Verification Flows.
Assign Entra ID application permissions
For step-by-step instructions on registering an Entra app and configuring the required Verifiable Credentials permissions, see Entra ID Application Setup for HYPR Affirm: Entra Verified ID.
Related
- Entra ID Application Setup for HYPR Affirm — Entra app registration and permission patterns
- Verified Credentials as a verification step — presenting Entra Verified ID credentials inside an Affirm flow
- Configuring HYPR Affirm — author and configure verification flows
- HYPR Passwordless API collection — API reference