Issue a TAP Outside 60 to 480 Minutes
The built-in TAP outcome issues a pass between 60 and 480 minutes. When you need a lifetime outside that window — a 10-minute pass for a tightly-scoped recovery, for example — an Outcome API Call customization can create the pass directly through the Microsoft Graph API, within whatever range your Entra TAP policy permits.
Setting this up has two halves: register the customization, then point a verification flow at it. A registered customization does nothing until a flow selects it.
Step 1 — Create the customization
-
In HYPR Control Center, go to HYPR Affirm → Advanced Settings → Customizations.
-
Click New Customization.
-
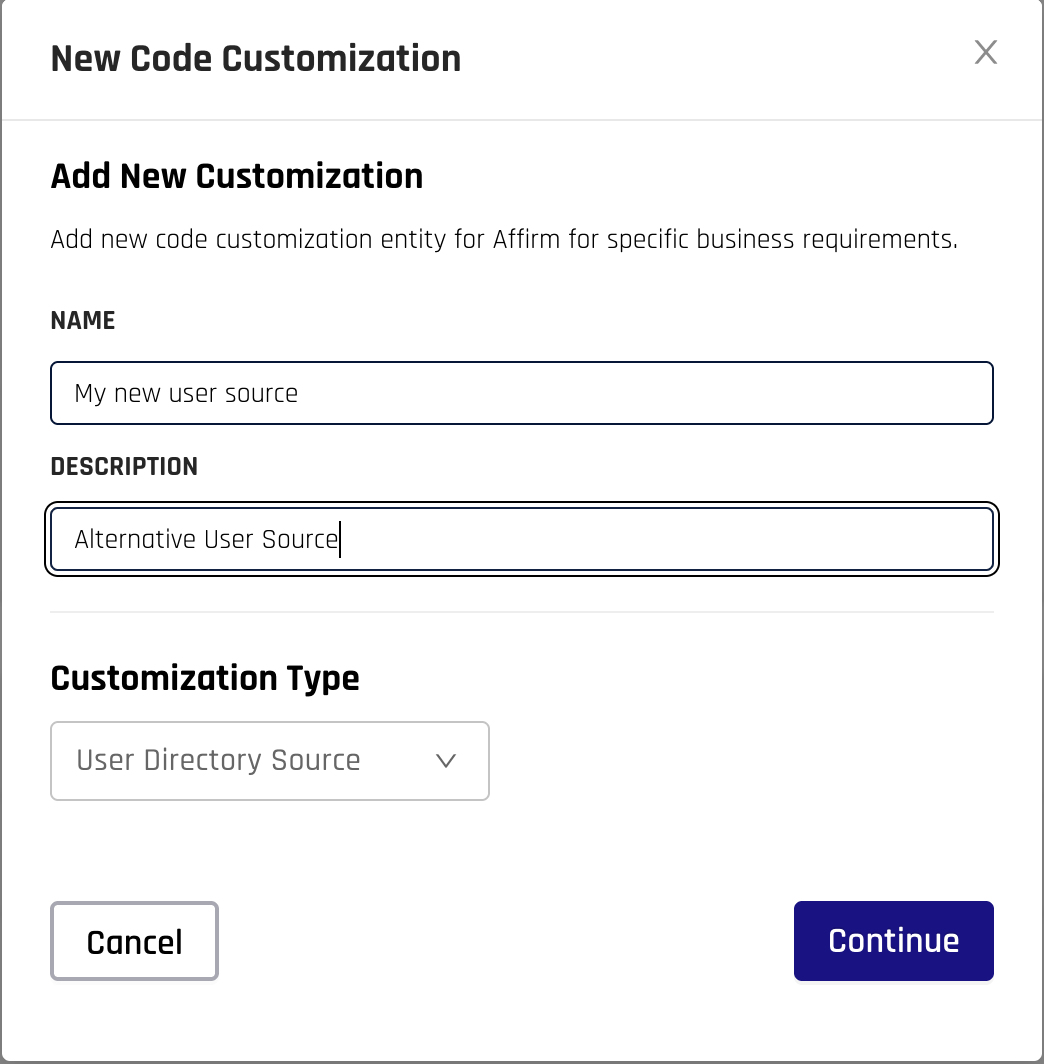
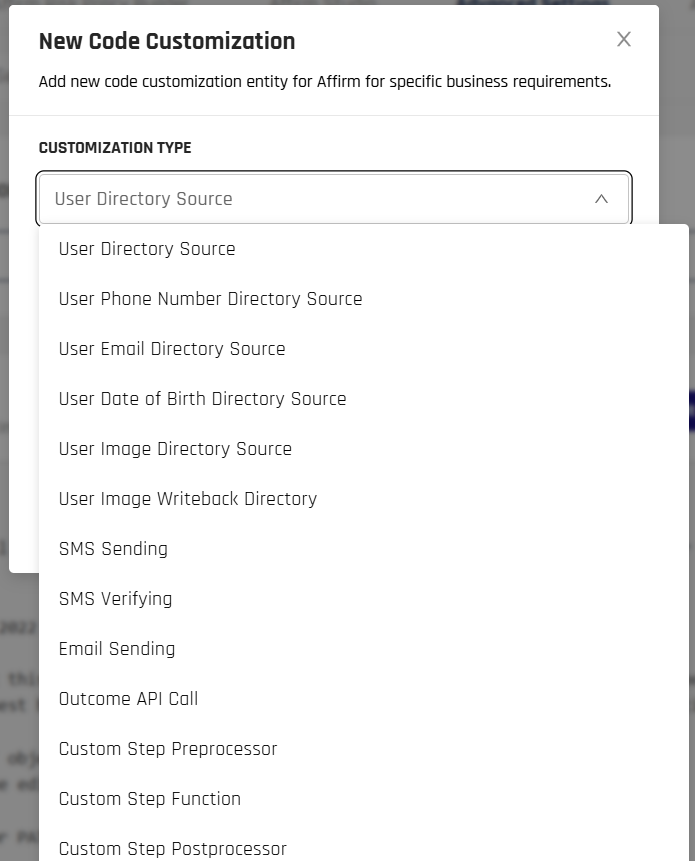
Select Outcome API Call as the customization type, give it a name and description, and click Continue.
-
Select the new customization from the drop-down, click Edit Mode, and paste the script below as its code.
-
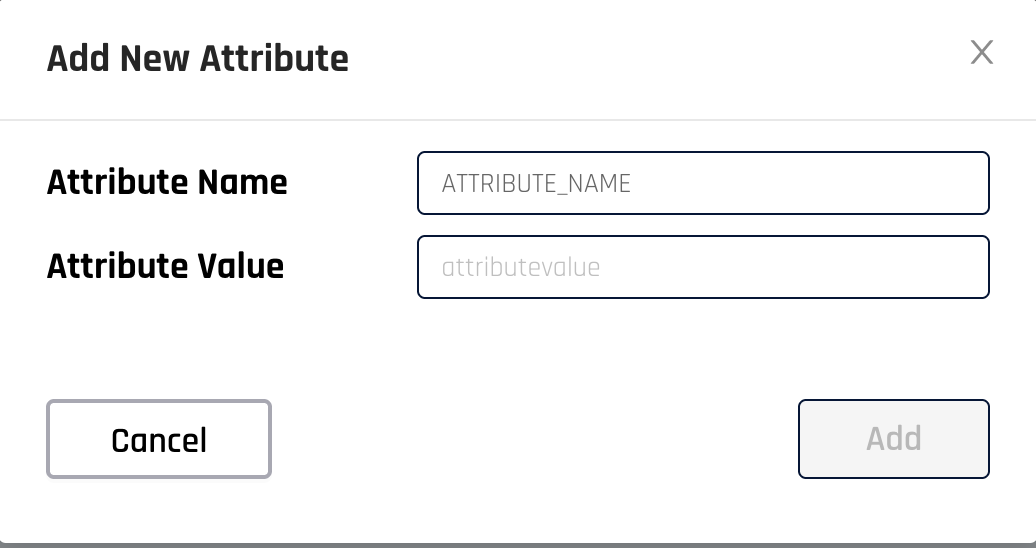
Add the three attributes in the Attributes panel on the right, then Save.
-
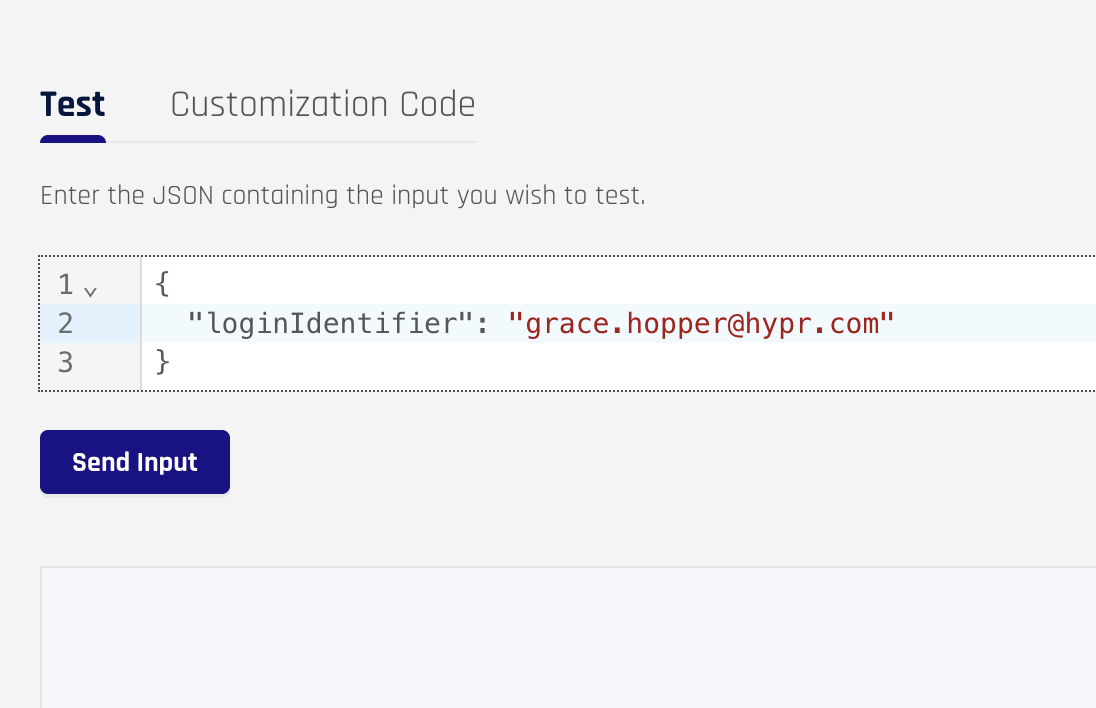
Switch to Test, supply a login identifier, and click Execute Test to confirm a pass is issued before the customization goes near a live flow.
The customization reuses the app registration you configured above. These are the attributes to add at step 5:
| Attribute | Value |
|---|---|
ENTRA_TENANT_ID | The Entra tenant ID |
ENTRA_CLIENT_ID | The application ID of the Entra app registration |
ENTRA_CLIENT_SECRET | The client secret of that app registration |
The app registration needs the Microsoft Graph application permission UserAuthMethod-TAP.ReadWrite.All, with admin consent granted. A registration already carrying UserAuthenticationMethod.ReadWrite.All for the built-in outcome can create a pass as well.
The lifetime appears twice — in lifetimeInMinutes and in the message shown to the requester. Change one and you must change the other, or the pass expires at a different time than the requester was told. The value must also sit within the minimum and maximum lifetime your Entra TAP policy permits, or Graph rejects the request.
Exchange the client credentials for a Graph access token:
function getAppToken() {
    const tenantId = ctx.getAttribute("ENTRA_TENANT_ID");
    const clientId = ctx.getAttribute("ENTRA_CLIENT_ID");
    const clientSecret = ctx.getAttribute("ENTRA_CLIENT_SECRET");

    const formBody = "grant_type=client_credentials" +
        "&client_id=" + encodeURIComponent(clientId) +
        "&client_secret=" + encodeURIComponent(clientSecret) +
        "&scope=" + encodeURIComponent("https://graph.microsoft.com/.default");

    const resp = ctx.httpPost(
        "https://login.microsoftonline.com/" + tenantId + "/oauth2/v2.0/token",
        {
            "Accept": "application/json",
            "Cache-Control": "no-cache",
            "Content-Type": "application/x-www-form-urlencoded",
        },
        formBody
    );

    const response = JSON.parse(resp);
    const body = JSON.parse(response.body);

    if (response.statusCode !== 200 || !body.access_token) {
        throw new Error("Token endpoint returned status " + response.statusCode);
    }

    return body.access_token;
}
Create the pass. lifetimeInMinutes must be a value your Entra TAP policy allows:
function createTemporaryAccessPass(userPrincipalName, accessToken) {
    const graphUrl = `https://graph.microsoft.com/v1.0/users/${encodeURIComponent(userPrincipalName)}/authentication/temporaryAccessPassMethods`;

    const tapRequest = {
        lifetimeInMinutes: 10,
        isUsableOnce: true
    };

    const response = ctx.httpPost(
        graphUrl,
        {
            'Authorization': `Bearer ${accessToken}`,
            'Content-Type': 'application/json'
        },
        JSON.stringify(tapRequest)
    );

    const result = JSON.parse(response);
    if (result.statusCode !== 201) {
        throw new Error('TAP creation failed with status: ' + result.statusCode);
    }

    const body = JSON.parse(result.body);
    if (!body.temporaryAccessPass) {
        throw new Error('TAP creation returned 201 but no pass was present in the response.');
    }

    return body.temporaryAccessPass;
}
The entry point returns isSuccess together with outcomeToDisplay, the text or HTML shown to the requester. An unapproved requester still returns isSuccess: true — the customization did its job by correctly doing nothing:
function handle(inputJson) {
    const input = JSON.parse(inputJson);

    if (!input.isApproved) {
        return {
            isSuccess: true,
            outcomeToDisplay: "Verification not approved. Temporary Access Pass generation skipped."
        };
    }

    try {
        const upn = input.loginIdentifier;
        if (!upn) {
            throw new Error('loginIdentifier was not provided in the input.');
        }

        const tap = createTemporaryAccessPass(upn, getAppToken());

        return {
            isSuccess: true,
            outcomeToDisplay: `<p>Your Temporary Access Pass is <strong>${tap}</strong>.</p>
                <p>It is valid for 10 minutes and can be used once. Enter it when Microsoft Entra
                prompts for a Temporary Access Pass, then complete your authentication setup.</p>`
        };
    } catch (error) {
        ctx.log("WARNING", "Exception generating Entra TAP: " + error.message);
        return {
            isSuccess: false,
            outcomeToDisplay: "Error generating Temporary Access Pass. Please contact your administrator for assistance."
        };
    }
}

handle(ctx.getInputAsJson());
Step 2 — Apply it to the verification flow
A saved customization does nothing until a flow points at it.
- Open the verification flow in the Verification Flows tab.
- In the left navigation pane, scroll down to Advanced Customization.
- Under Email, SMS, and Outcome, select your customization in the Outcome API Call drop-down.
- Click Save.
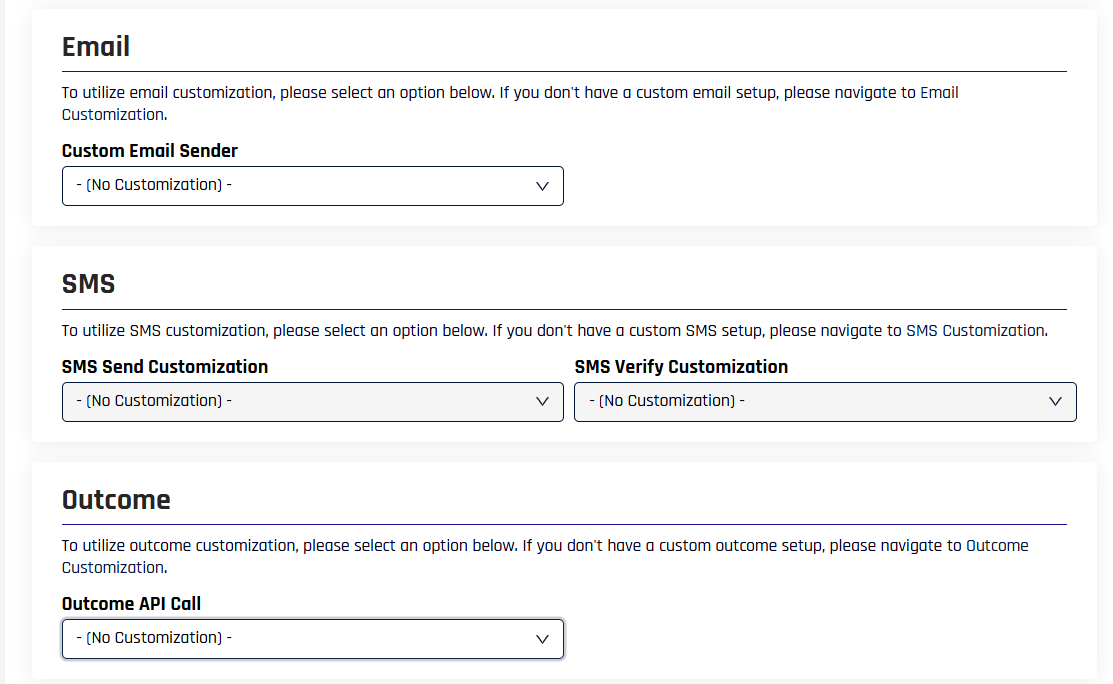
The Email, SMS, and Outcome section of Advanced Customization. Outcome API Call is the drop-down this customization is assigned to; the others in the panel route email and SMS through your own transport.
For the rest of the panel, see Advanced Customization.
The Outcome API Call runs before the flow's configured outcome, and outcomeToDisplay reaches the requester only when that outcome is set to display results. Set the flow's Verified Outcome to Display verification result to the end user, or the customization will issue a pass the requester never sees.
Do not also set the Verified Outcome to Issue a Microsoft Entra ID Temporary Access Pass — that is the built-in outcome this customization exists to work around, and it would issue a second pass. Entra keeps only one Temporary Access Pass per user, so the second replaces the first.