Login Settings
Login Settings appear in multiple places:
-
In Advanced Mode: Advanced Config for the Application selected under Choose an App
-
In Standard Mode: Integrations for the selected integration; in this case, Login Settings will only show Workstation SSO and HYPR Adapt Settings from the list below, and otherwise displays FIDO2 Settings and Generic Enterprise Passkey Settings
HYPR 11.3 introduces safer defaults for authentication and registration policies in new integrations and web applications:
- FIDO2 is enabled by default in all integrations and web rpApps. FIDO2 settings remain available under FIDO2 Settings.
- QR authentication is available everywhere without feature-flag enablement; QR fallback is enabled by default.
- Pull authentication is now a first-class authentication method that can be configured directly in Control Center.
- Push authentication is deprecated for new configurations and is disabled by default. Existing tenants that have Push enabled retain their current behavior after upgrade. Pull is the recommended replacement.
- Authentication policy options that previously required Advanced view can now be configured in Standard view when QR and Pull authentication are enabled.
See the 11.3 release notes for the full summary of policy-related changes.
Open the Login Settings page to manage Firebase push notifications, HYPRspeed, QR code authentication, and logs user submission from inside the Application.
Login Settings can be administered using the following API calls:
- Get login settings:
GET /cc/api/appconfig/push - Save login settings:
PUT /cc/api/appconfig/push
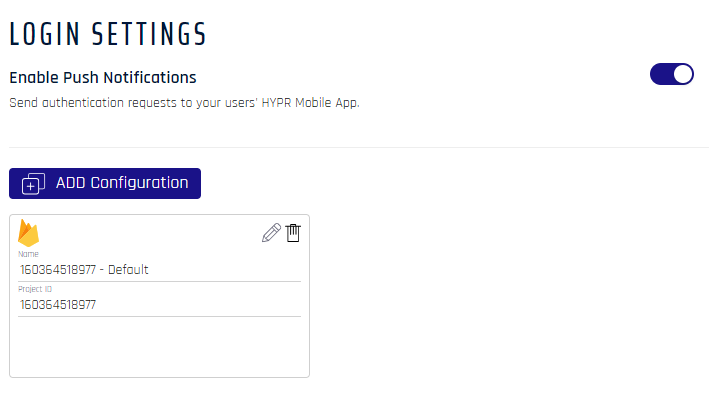
Enable Push Notifications
HYPR uses Firebase as a push notification provider for its Web Applications.
Click Add Configuration to configure Firebase to work with your HYPR web Applications; see Configuring Push Notifications via FireBase.
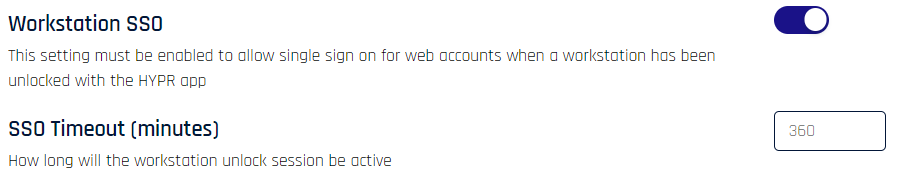
Workstation SSO
HYPRspeed/Desktop SSO is enabled by toggling the Workstation SSO (Advanced Mode Application Advanced Config Menu: Login Settings) or Enable Desktop SSO (Standard Mode Integrations: Login Settings) feature. Be sure to set the SSO Timeout (Minutes) to the desired limit. If left unchanged, the default is 360 (6 hours). For the conditions under which HYPRspeed activates and the end-user experience, see Using HYPRspeed.
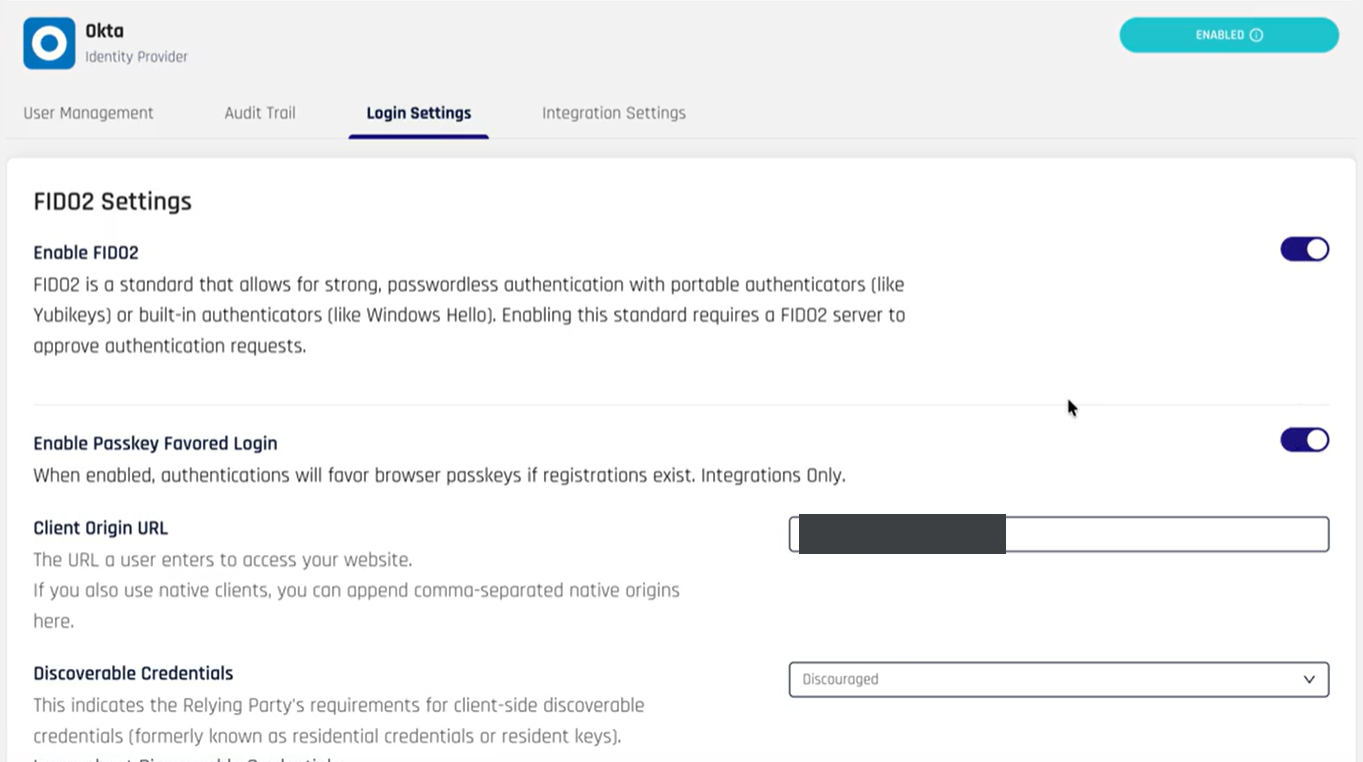
Passkey-Favored Login
Passkey-Favored Login lets a returning user sign in to a web application with their browser passkey automatically, without first choosing a login method. It applies to integrations only.
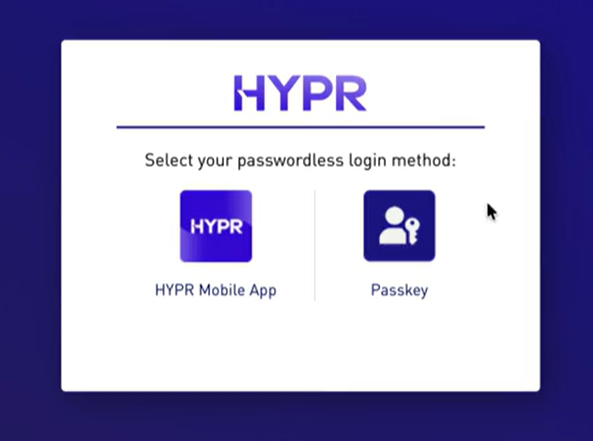
When the setting is off, a user who has more than one available method sees the login-method selection screen at sign-in:
When the setting is on, HYPR favors the user's browser passkey and takes them straight to the passkey prompt, skipping the selection screen:
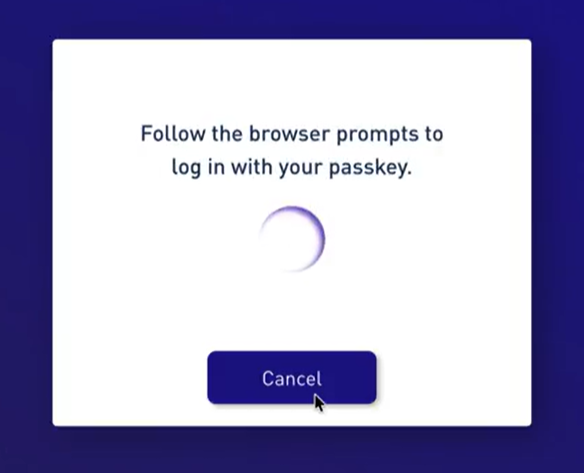
The same applies in a mobile browser, where the user is prompted for their passkey directly.
The selection screen still appears when the user signs in from a different browser or operating system than the one where their passkey was registered, or when no browser passkey exists for the account. In those cases the user can choose the HYPR Mobile App or another available method.
Enable Passkey-Favored Login
In the integration's Login Settings, under FIDO2 Settings, turn on Enable Passkey Favored Login. FIDO2 must be enabled for the integration.
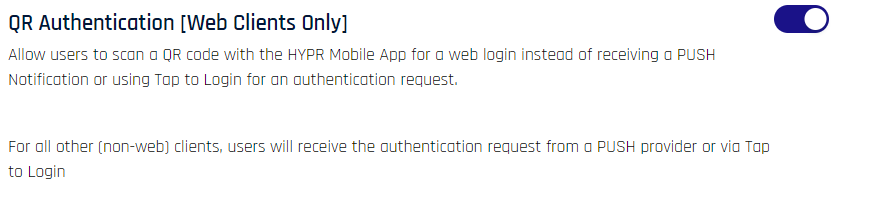
QR Authentication (Web Clients Only)
Allow users to scan a QR code with the HYPR Mobile App for a web login instead of receiving a push notification or using Tap to Login for an authentication request.
For all other (non-web) clients, users will receive the authentication request from a push provider or via Tap to Login.
Allow Manual QR Entry: Admins
If a HYPR Mobile App user is unable, unwilling, or otherwise prohibited from using the device's onboard camera to complete a QR code registration (pairing) or authentication (login), this toggle enables a link on the user's QR dialog that will initiate Manual QR Entry, a.k.a. QR Fallback.

In-App Logs Submission
HYPR log submission can be configured to be emailed to the HYPR Support Team to assist with troubleshooting. See Contact Support for more information.
-
If In-App Logs Submission is enabled, users will be able to directly generate an email to the configured address just by clicking Send on the Contact Support dialog
-
If In-App Logs Submission is disabled and the email address is provided, clicking Send on the Contact Support dialog will open the default email client and use the provided email address
-
If In-App Logs Submission is disabled and the email address is left empty, the user will be required to provide an address to the email client and send the email

JWT Token Configuration
Validate incoming ID tokens and issue signed JSON Web Tokens (JWTs) for the Application after FIDO and Passkey flows. See JWT Token Configuration for details.
HYPR Adapt Settings
Policies can also be assigned in Standard Mode under the HYPR Adapt Policy Configuration Tab, by clicking '+ Policy Assignment'.
Add policies to the application (including integration RP Apps) here. See Risk Policy Management for details on policy assignment.
