What the Requester Sees
Some functionality is limited. This article is subject to change as the feature develops and we make improvements.
Requesters initiate Identity Verification by visiting a URL. Depending on how the workflow was started, this link may be sent by email, by SMS, or shared directly by a HYPR administrator or Help Desk operator. After they have completed any preliminary requirements, the workflow will proceed according to the Verification Flow settings in Control Center. This can be as minimal as a basic chat window or as involved as face-to-face video chat, facial recognition, and multiple document uploads.
For demonstrative purposes, the following sections represent a Verification Flow where all options are enabled; if you do not see the steps described, skip to the section that matches what you see. This indicates the interim steps are not enabled for your verification flow, or your administrator has restricted available options (for example, by enabling Document Type Restriction to limit which document types and issuing countries can be selected).
Welcome
-
In a browser, open the link sent to you by your HYPR administrator; it will resemble
<your_tenant_URL>/cc/ui/idv?verificationFlowId=<verificationFlowId>. For example:https://highlandsbank.hypr.com/cc/ui/idv/?verificationFlowId=412823863560167930. -
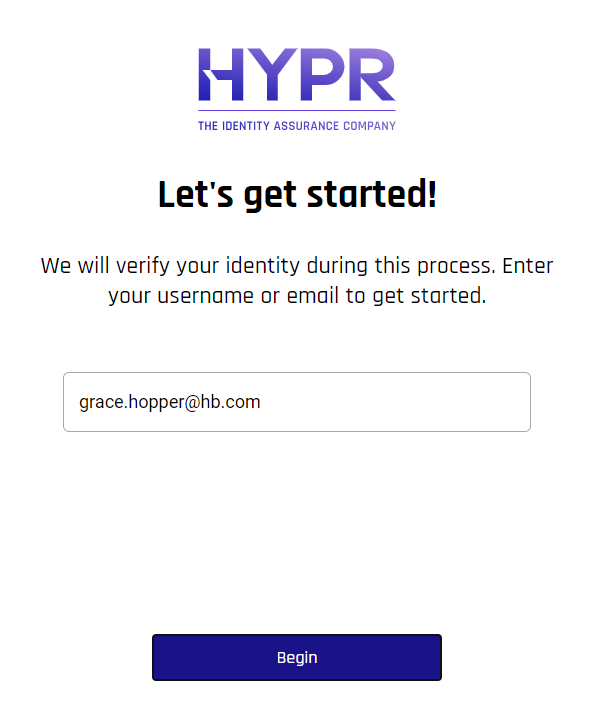
Enter your email address, then click Begin.
Phone Number Verification
-
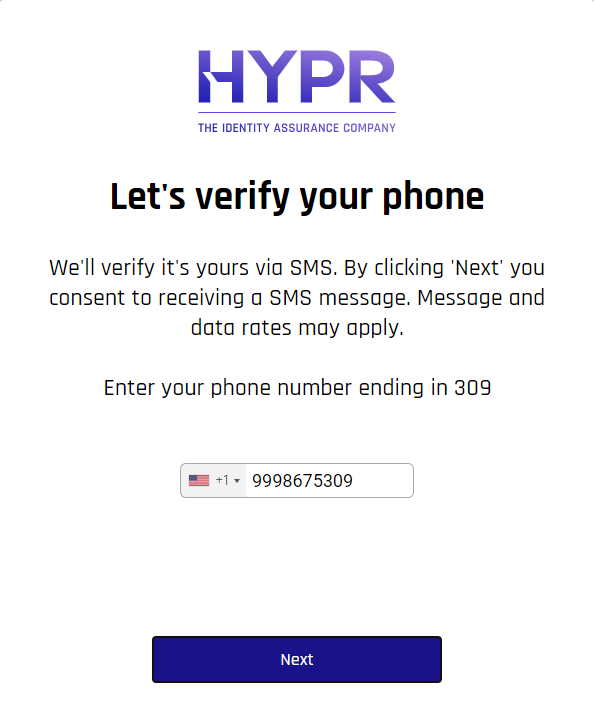
Choose your country from the drop-down, then enter your phone number to receive SMS notifications. Click Next.
-
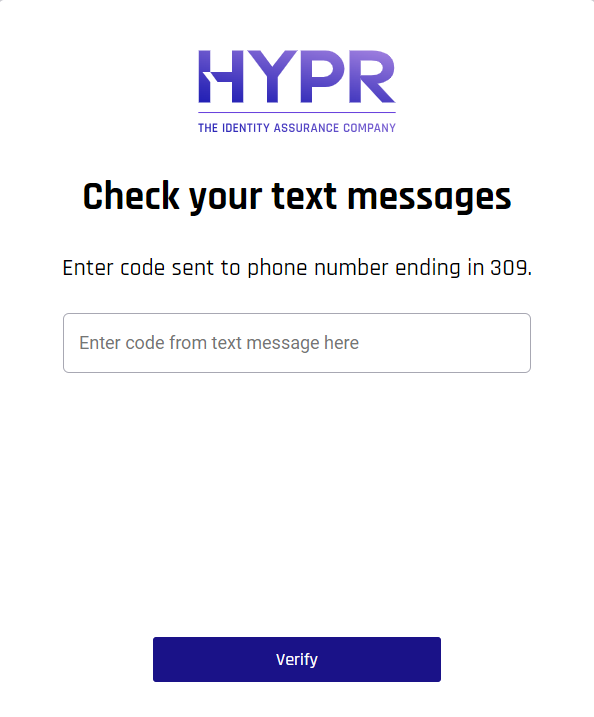
A text message will be sent to the entered phone number. Open the text on your phone, then type the code from that message into the Check your text messages screen. Click Verify.
-
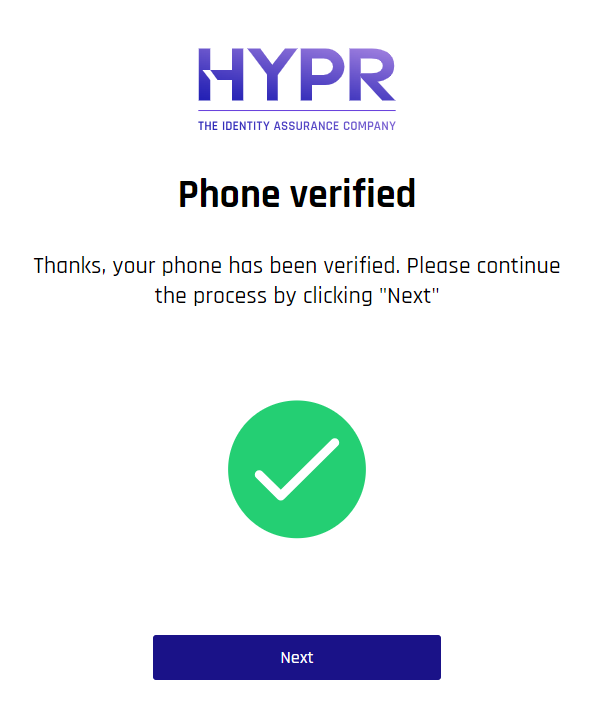
Assuming everything has been entered correctly, a verification message displays. Click Next.
Location
-
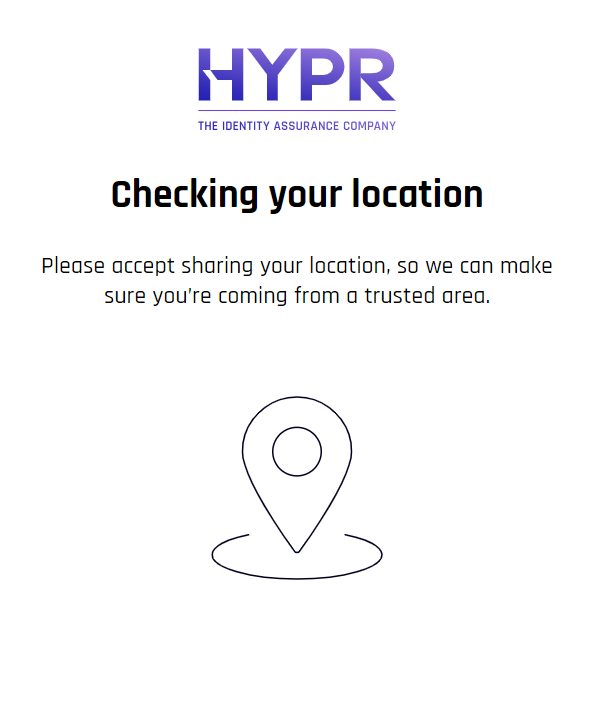
HYPR Affirm checks your location based on your browser and local IP data.
-
Your browser may prompt to be allowed to know your location. If this happens, click Allow.

-
If you do not click Allow or if your location is otherwise blocked from being shared, you may be given the option to Proceed Without Location. Otherwise, click Retry Location Check.
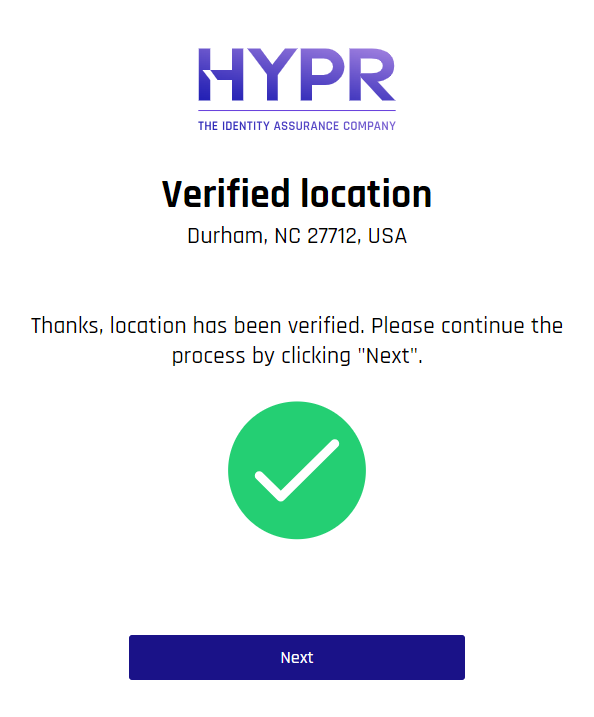
Once the location check passes, you will see a success message. Click Next.
Identity Verification
Identity Verification uses onFIDO verification services to validate documents and biometrics.
-
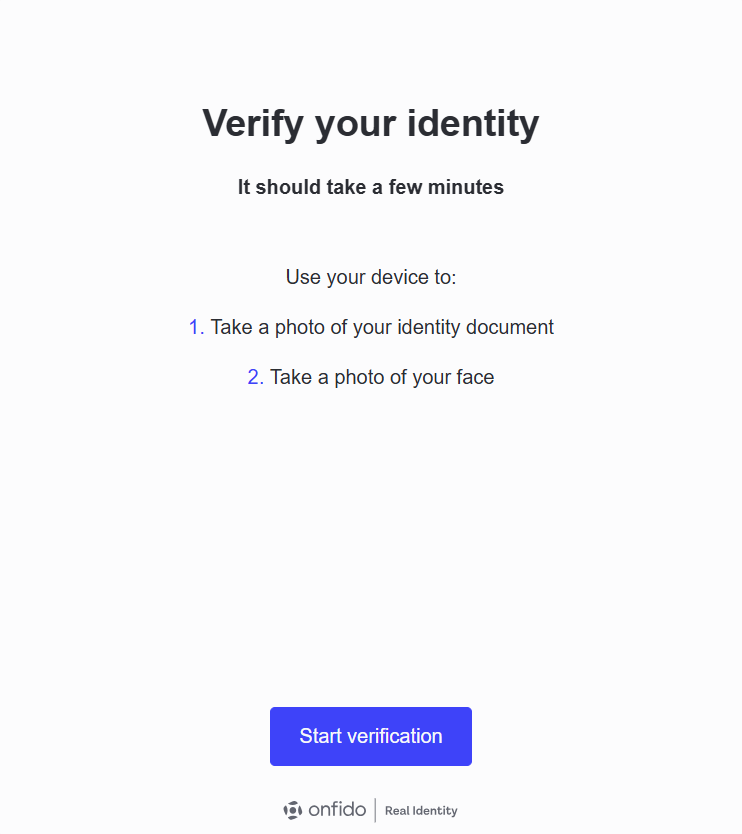
HYPR Affirm now asks for a photo ID and a selfie taken right now. Your selfie will be compared to your photo ID for face recognition. Click Start verification to continue. Document verification services are provided by OnFIDO.
-
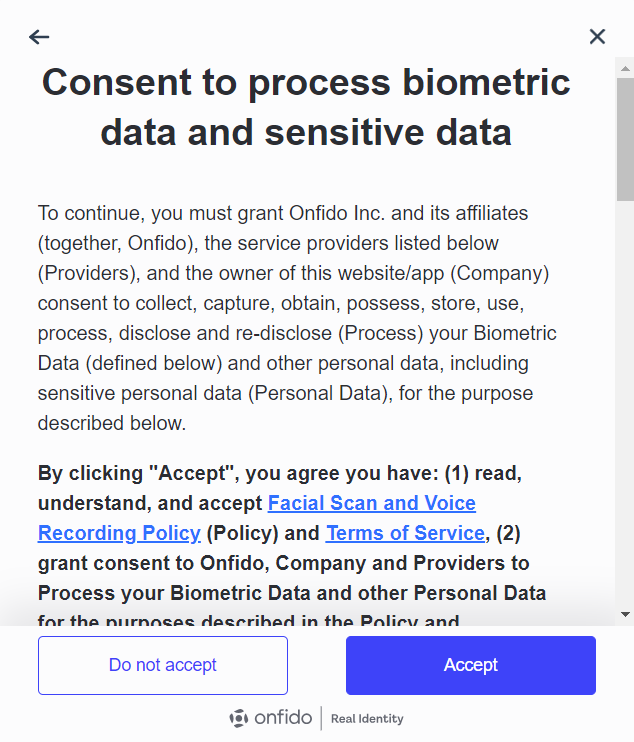
On the Consent to process biometric data and sensitive data, read to the end, then click Accept. Clicking Do no accept will restart the workflow.
-
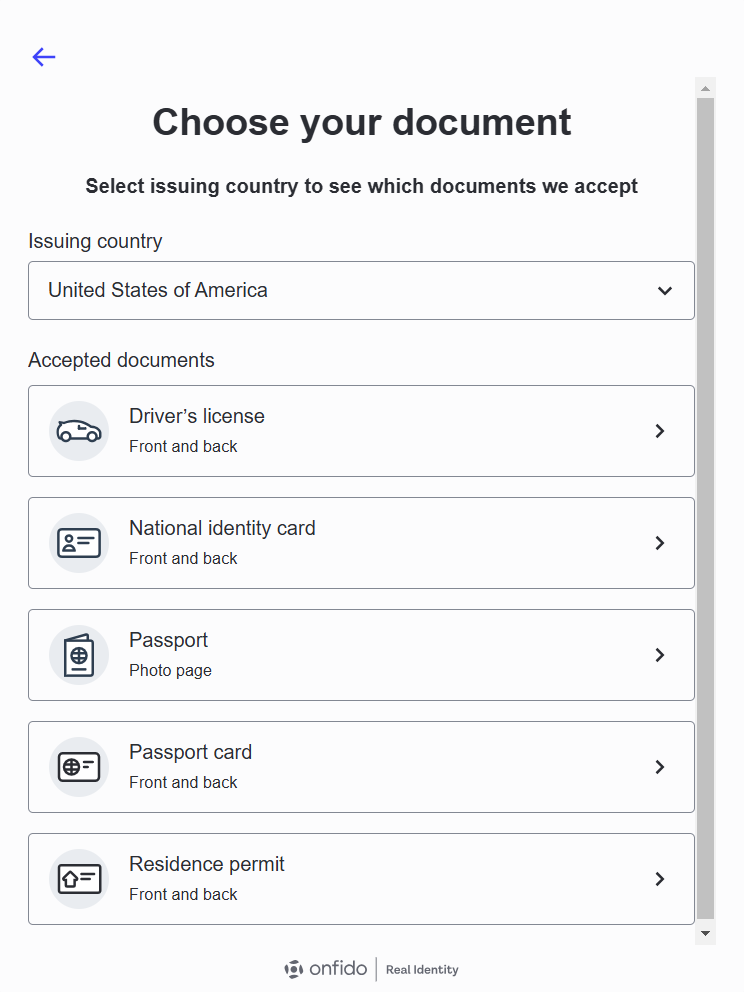
Select a country to see a list of acceptable identifying documents to upload. If your administrator enabled Document Type Restriction, the available document types will be limited (for example, passport and driver’s license only).
-
Once you've chosen your country, select the type of document you'd like to upload. Note that some options require uploading both front and back facings of the document.
-
You will be presented with a choice to upload documents and take a selfie on your phone (Continue on phone: continue to Document Verification via Phone) or do so on your workstation (or upload photo - no scans of photocopies: continue to Document Verification via Workstation).
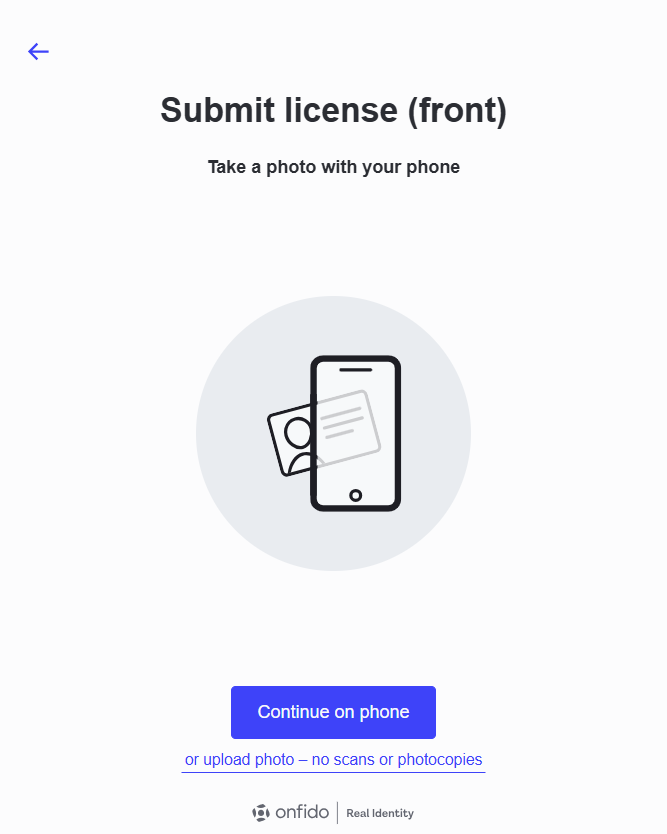
Idntifying documents differ greatly from place to place, both in which ones are considered authentic and in composition and layout. To know which documents are accepted by Affirm, check the Supported Documents by Location page.
Document Verification via Phone
Use your phone to upload a picture ID to be used as a comparison for facial recognition and name checking.
-
To take a picture of your documents using your phone, click Continue on phone on the initial document submission page.
-
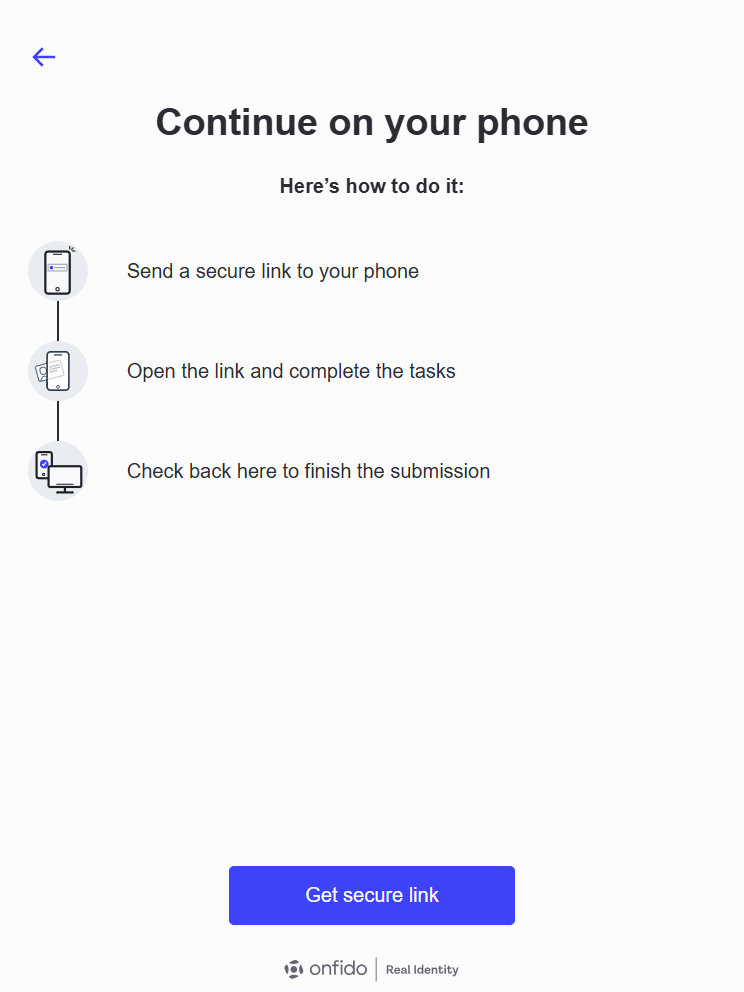
After clicking Continue on Phone, a short instruction dialog appears. Click Get secure link to continue
 Permission Granted
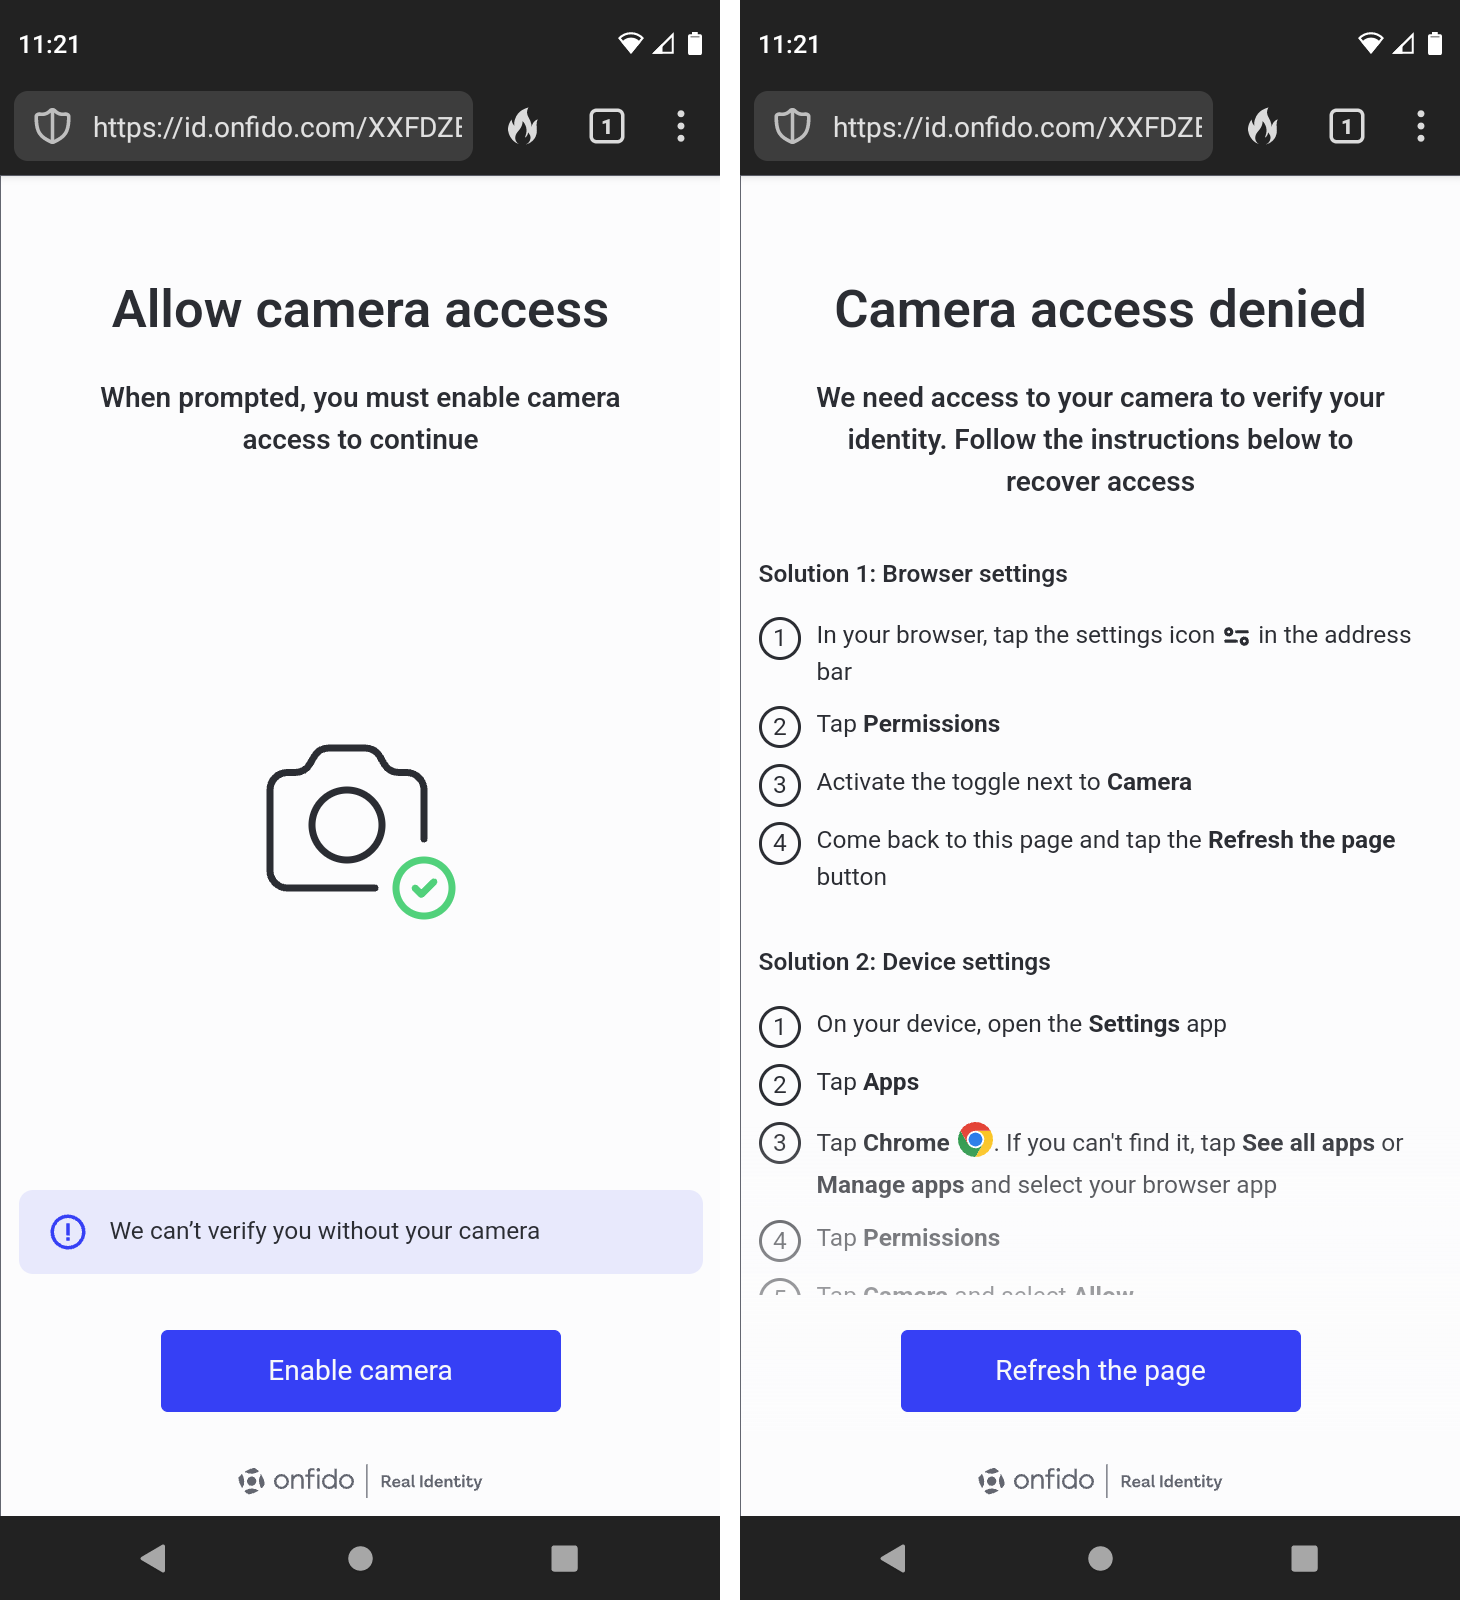
Make sure the mobile device's browser has permissions to use your Camera, or you will receive warnings. If you do receive these warnings, follow the instructions and click I've made the changes when finished.
It may be necessary to start the workflow from the beginning, or even to restart the browser, after granting Camera permissions to the browser.
-
A dialog displays offering options for using your phone; choose the one you'd like to use:
-
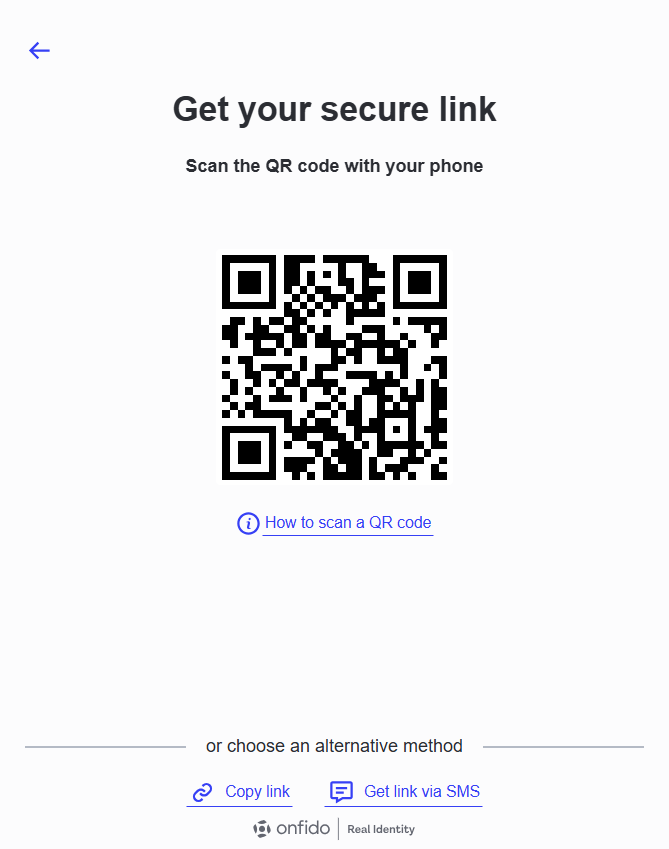
Scan QR code: This the default option. Scan the code to open the link on your phone. if you don't know how to scan a QR code, click How to scan an QR Code for some quick instructions. The other options are linked at the bottom: Get link via SMS and Copy link.
-
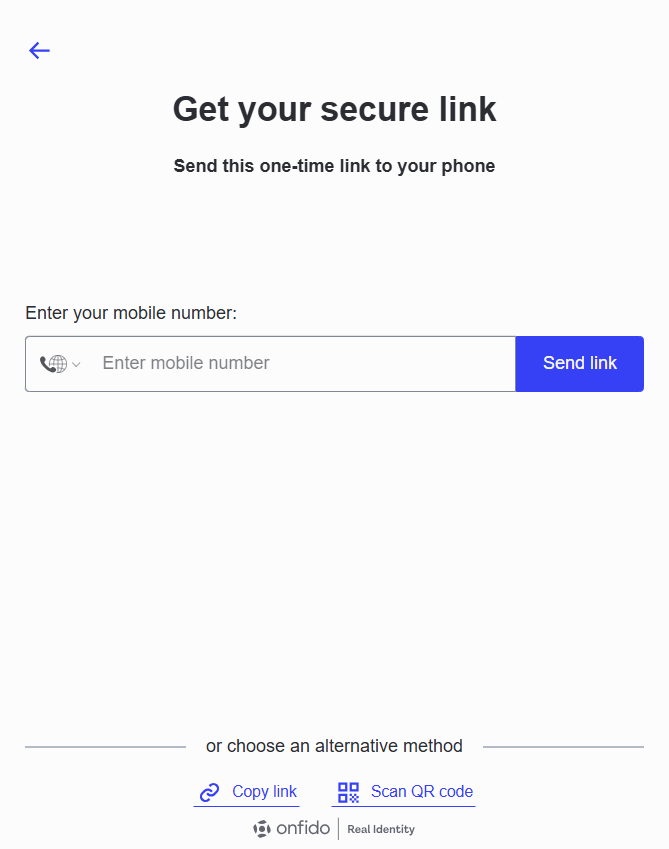
Get link via SMS: Choose your country code and type your mobile number, then click Send link to deliver it to your phone. The other options are linked at the bottom: Scan QR code and Copy link.
-
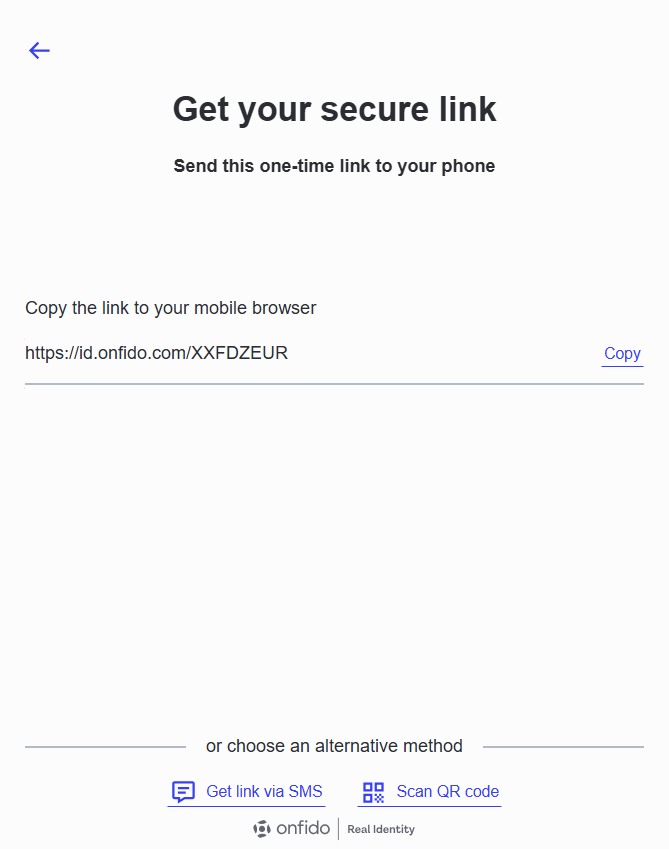
Copy link: Copy this link to your mobile device or type it in by hand. The other options are linked at the bottom: Scan QR code and Get link via SMS.
-
-
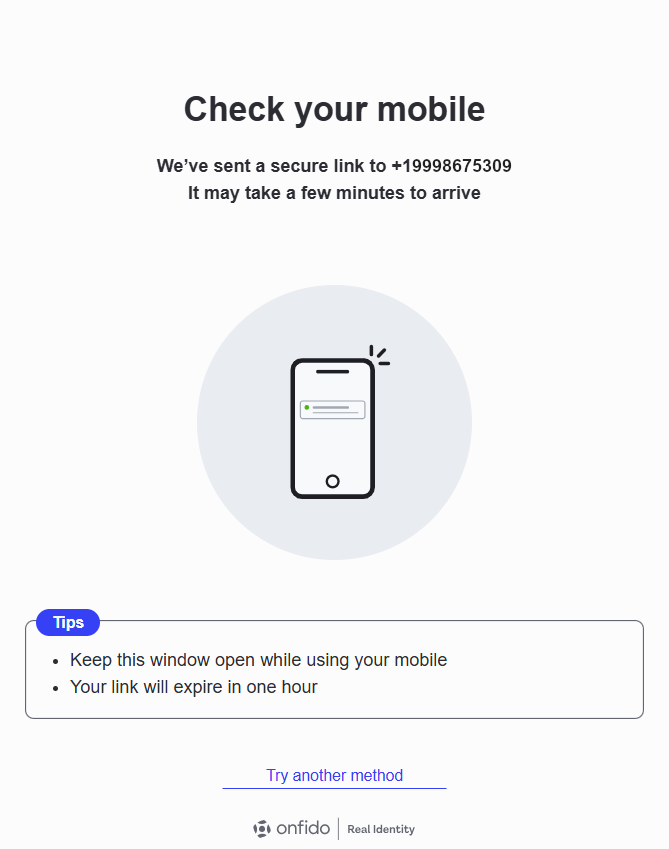
While you are using your phone to check your documents, the following page displays. Once you have completed facial recognition on the mobile device, this will advance on its own. Click Cancel to stop the workflow and return to the start.
-
On your phone, the OnFIDO site launches a dialog. Keep your workstation browser window open during this process. Click Continue.
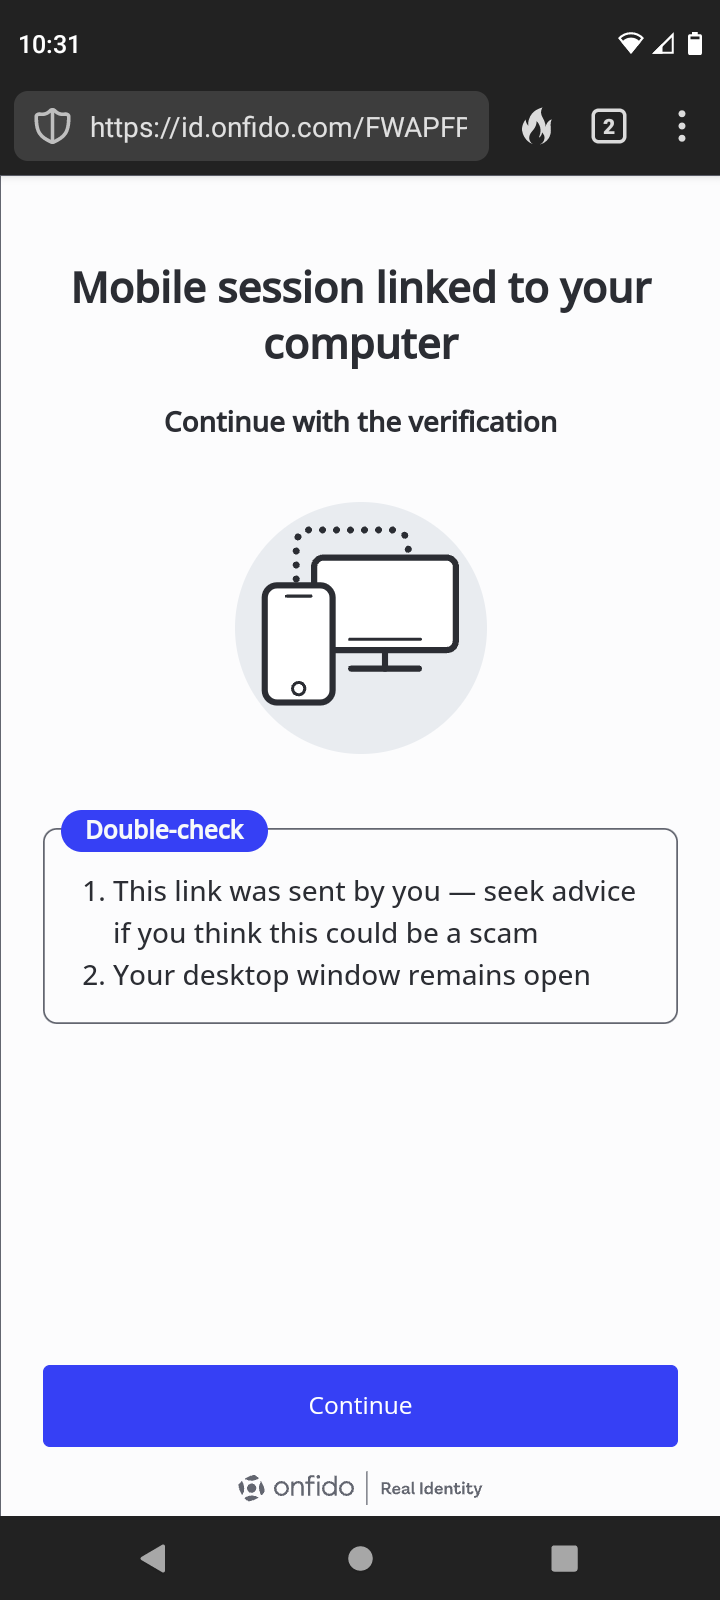
-
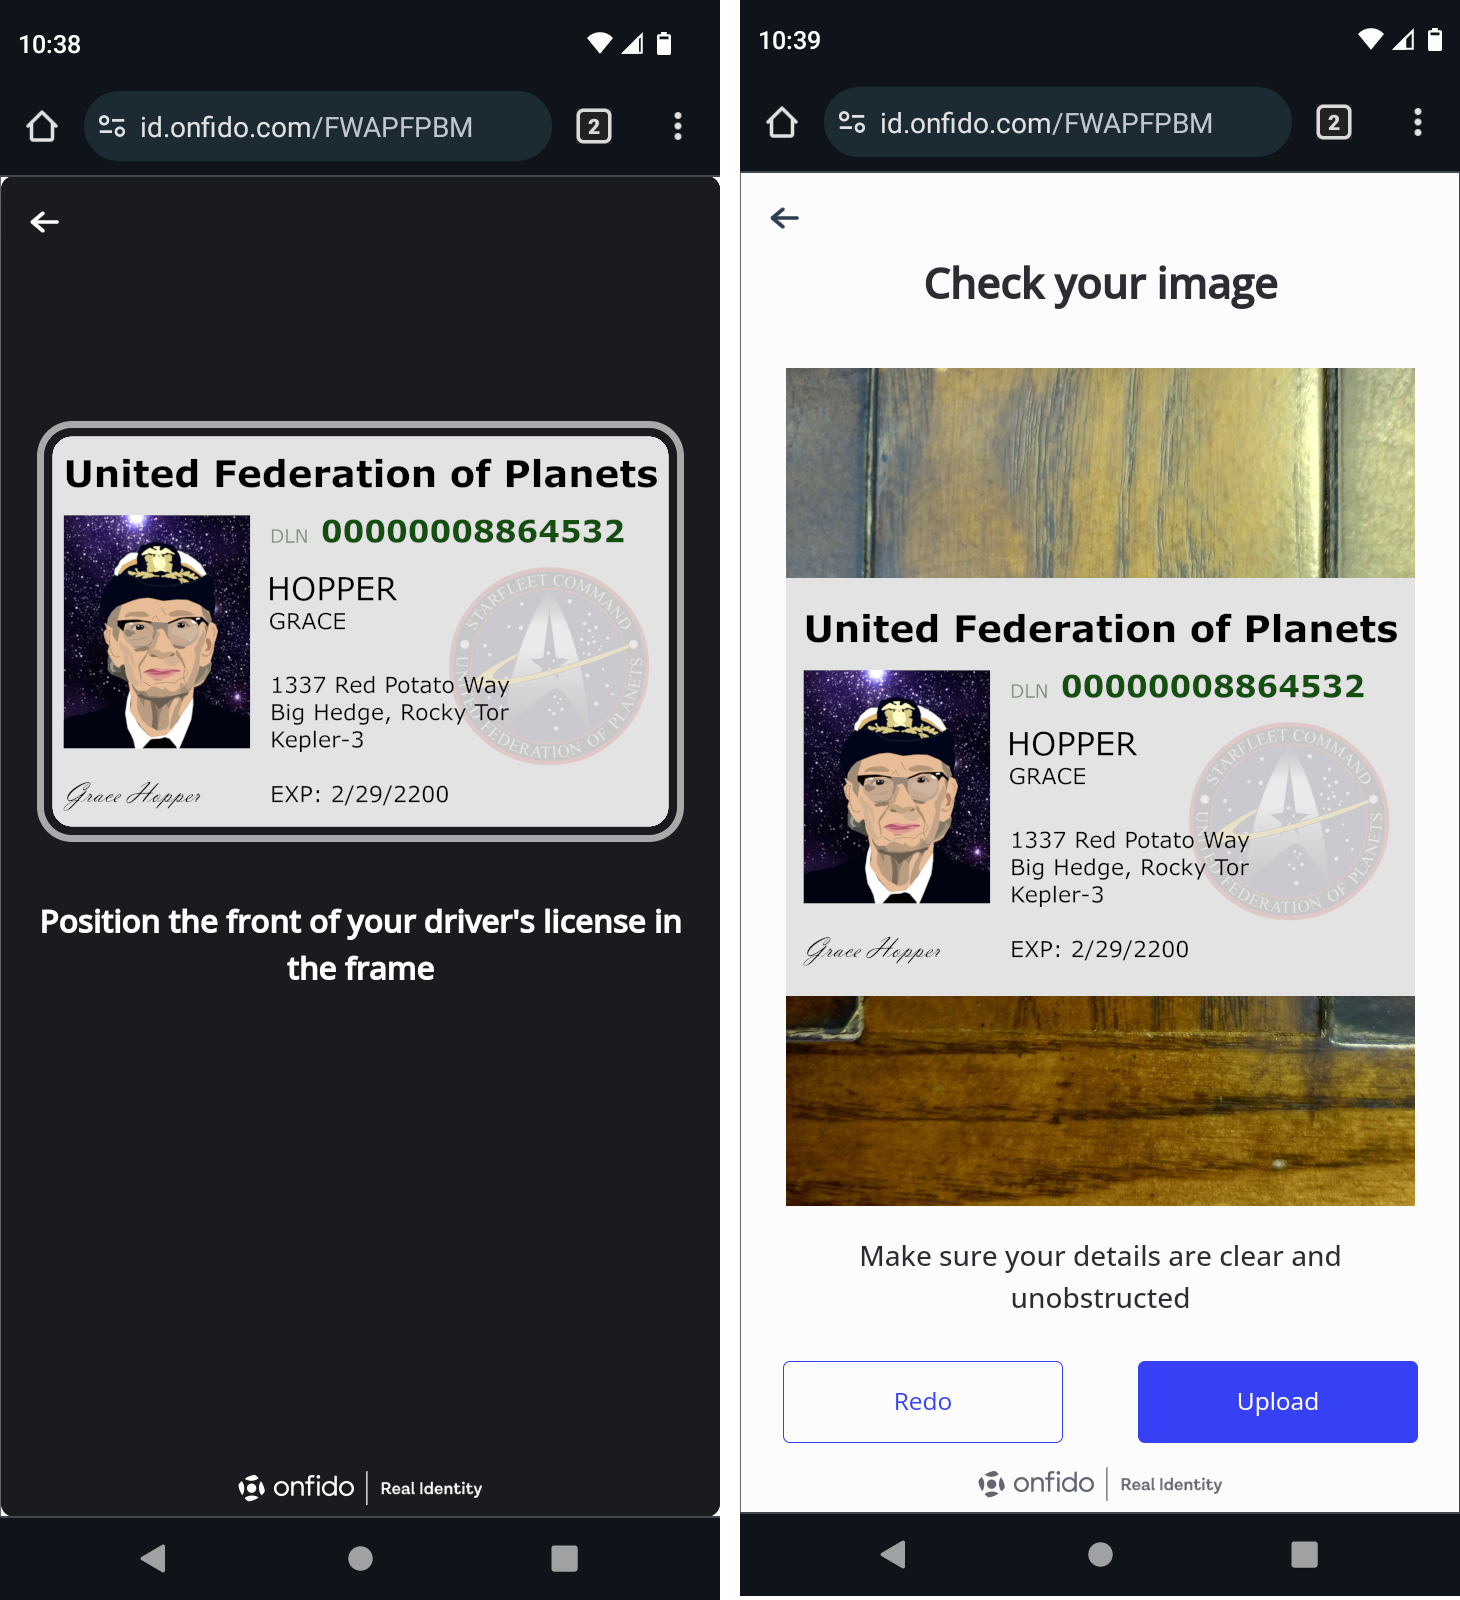
Center your document in the frame. OnFIDO will encourage you to be still, and then will take a snapshot. You will have a chance to review it; Redo it if you need to, or click Upload if you're satisfied.
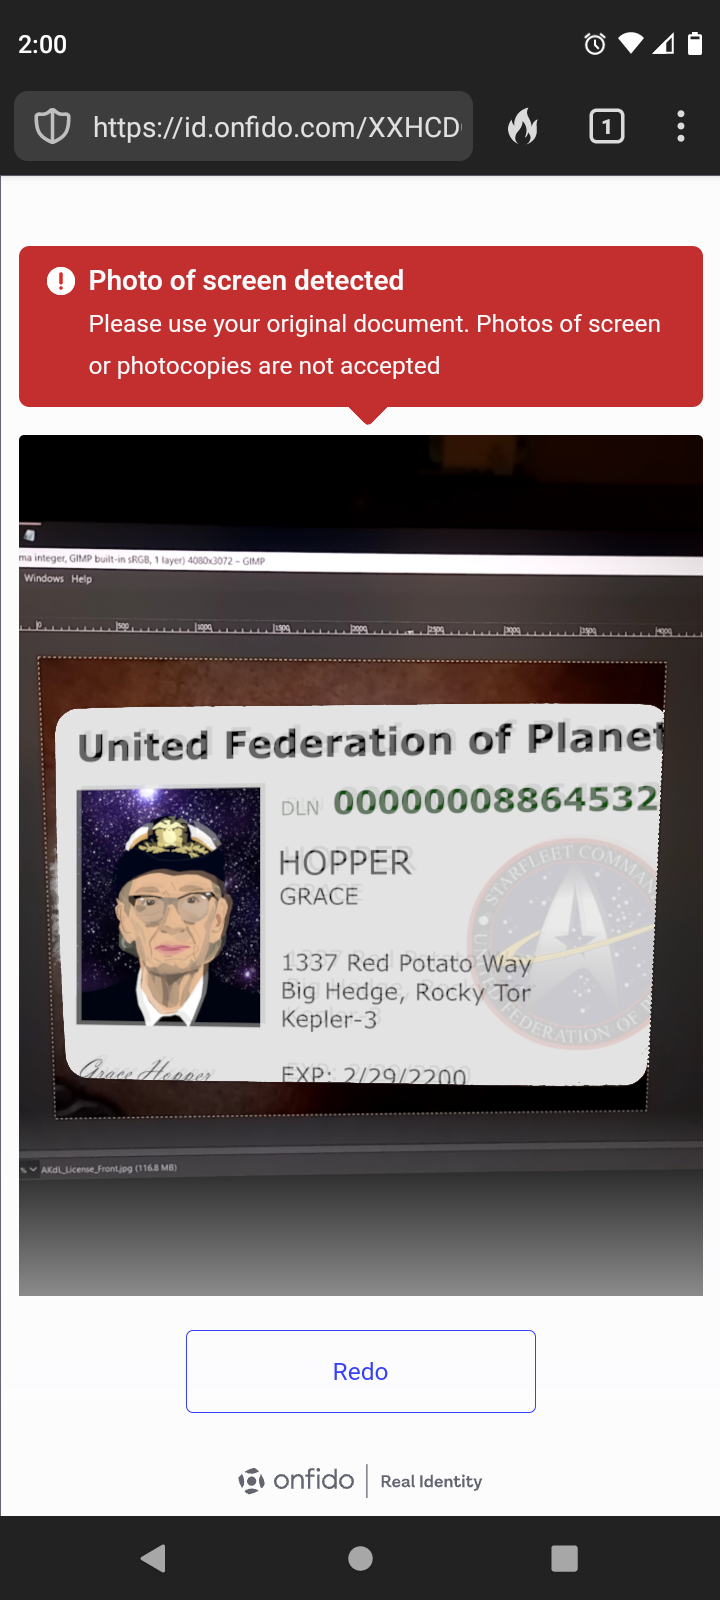
 No Copies Allowed
Capturing an image on the screen using your device's camera, or capturing a photocopy of the real thing can result in the following warning.
-
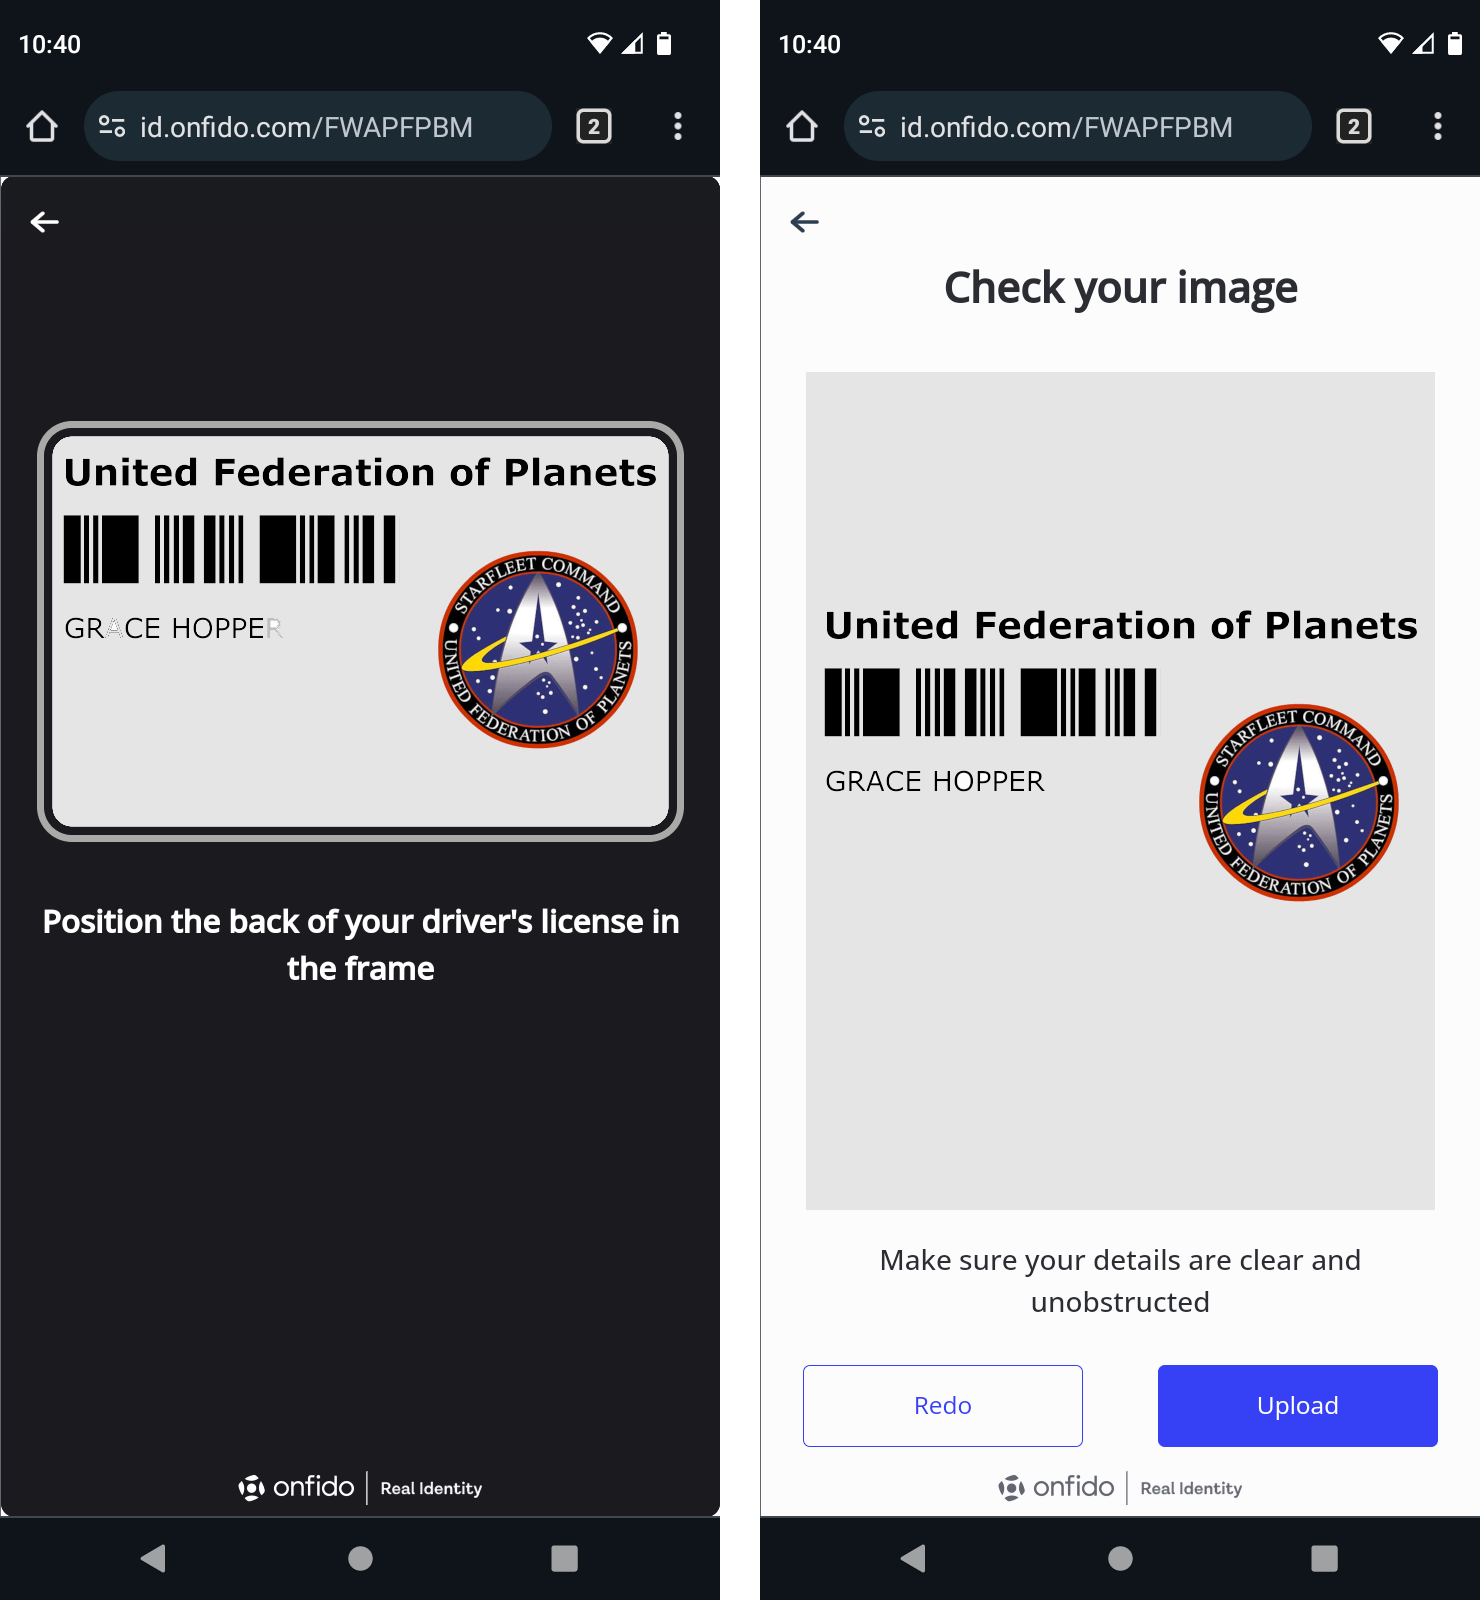
If you are asked to upload the back of the document, repeat the process to capture a picture of the back. You will have a chance to review it; Redo it if you need to, or click Upload if you're satisfied.
-
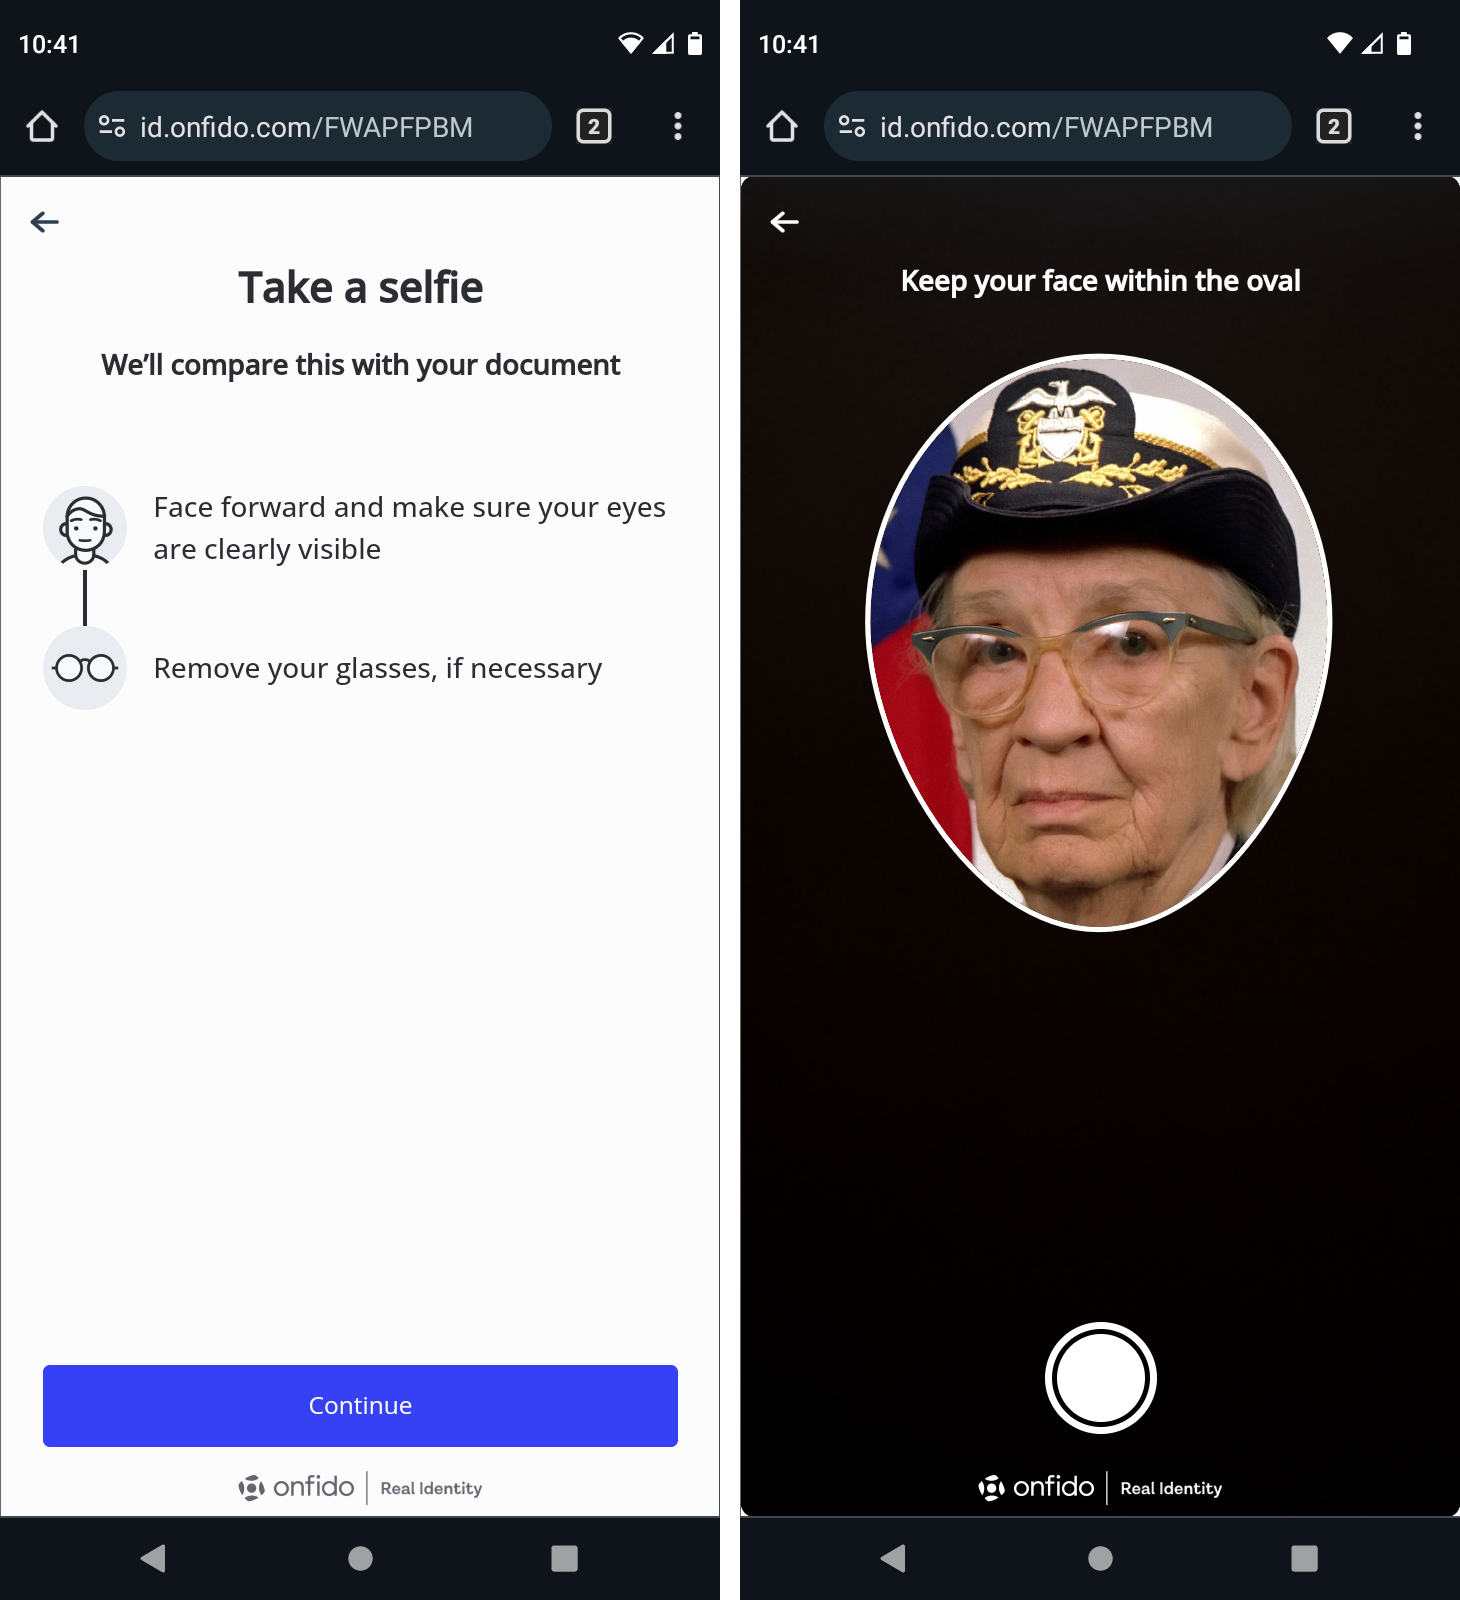
Next you will be asked to take a selfie to be compared to the photo in the picture ID. Make sure you are in good lighting; you may wish to remove any glasses or hats. When ready, click Continue and center your face in the oval, then press the shutter button to take the picture.
-
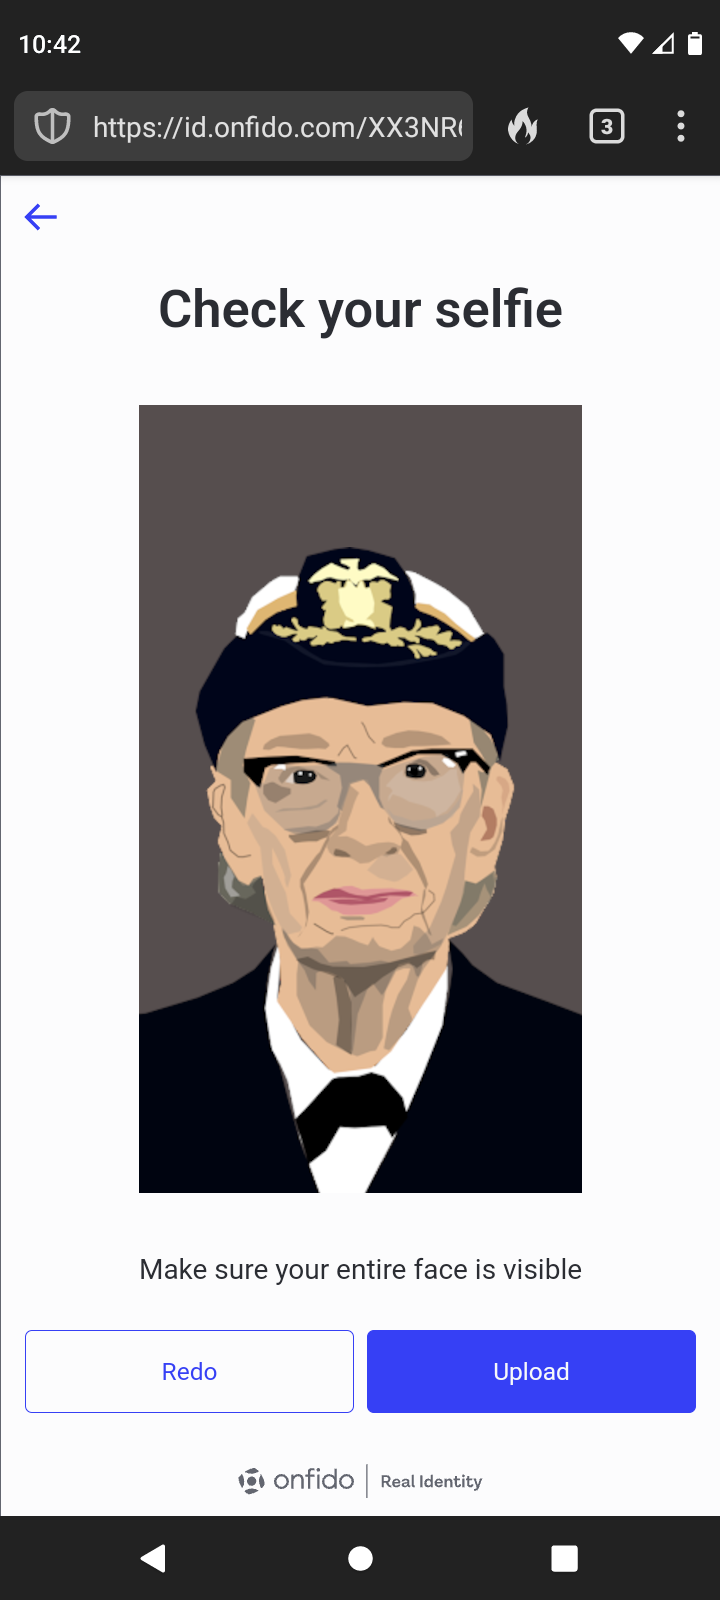
Check your selfie to make sure it is clear. Redo it if you need to, or click Upload if you're satisfied.
-
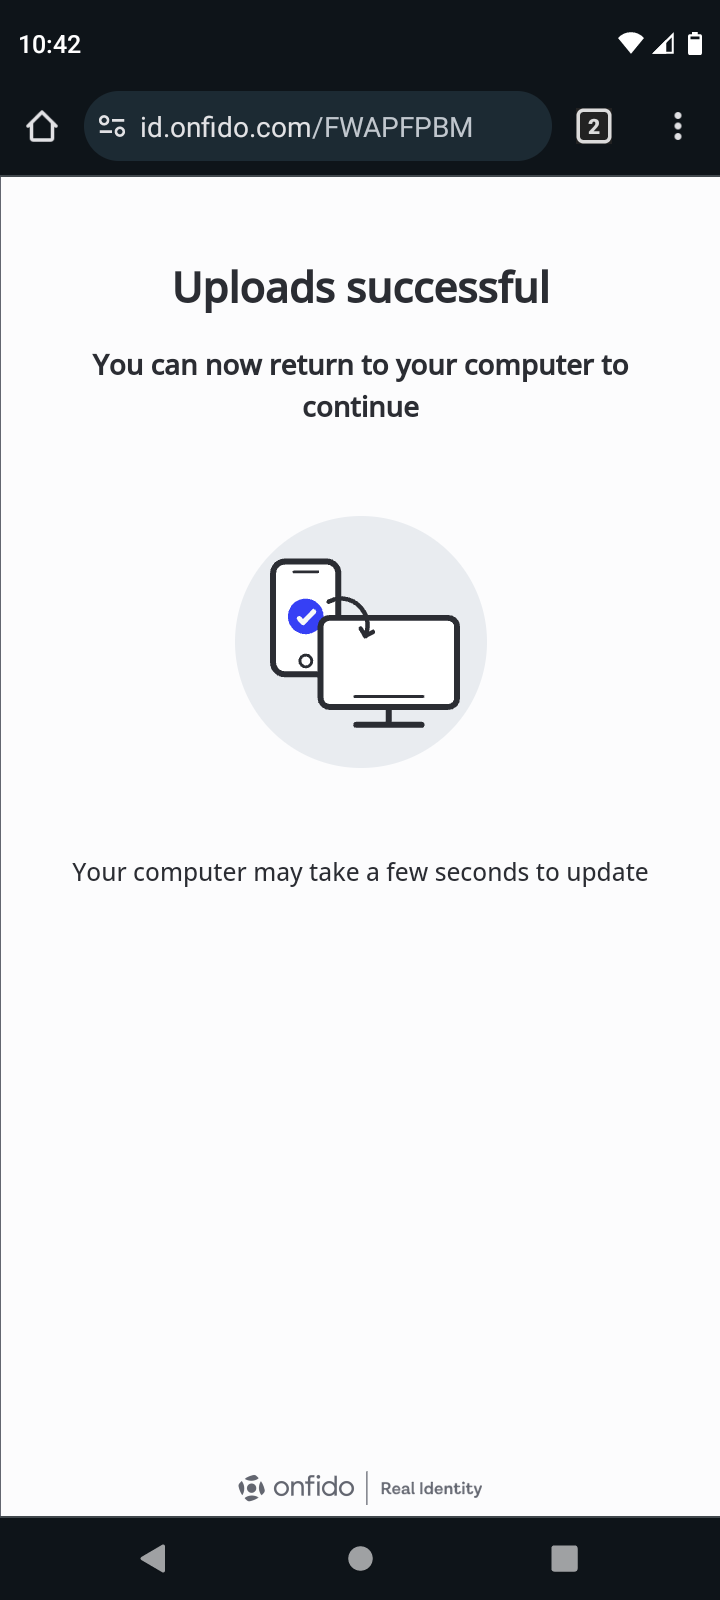
When all documents have been received, you will receive a success message. After this appears, it is safe to close the HYPR Affirm dialog on the phone and continue on your workstation.
Document Verification via Workstation
Use your workstation to upload a picture ID to be used as a comparison for facial recognition and name checking.
Make sure the workstation's browser has permissions to use the Camera, or you will receive warnings. If you do receive these warnings, Allow permission.
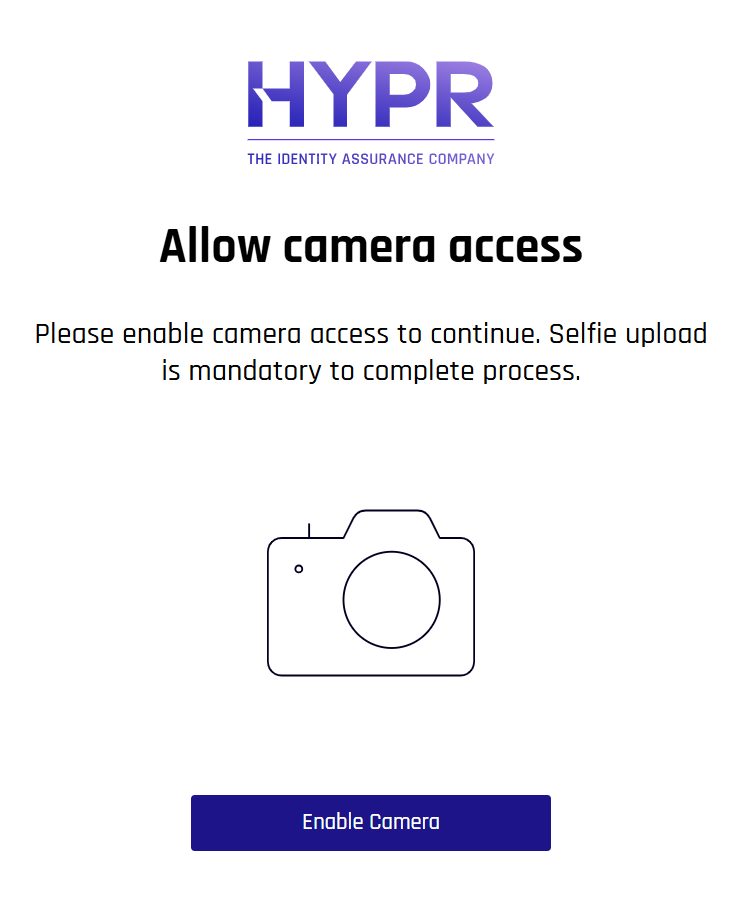
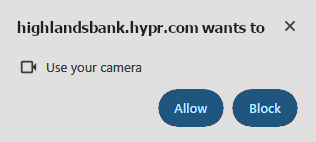
It may be necessary to start the workflow from the beginning, or even to restart the browser, after granting Camera permissions to the browser.
-
To take a picture of your documents using your workstation, or if you already have images ready to use, click upload photo - no scans or photocopies on the initial document submission page.
-
Make sure the face and name can be seen clearly. Redo it if you need to, or click Upload if you're satisfied.
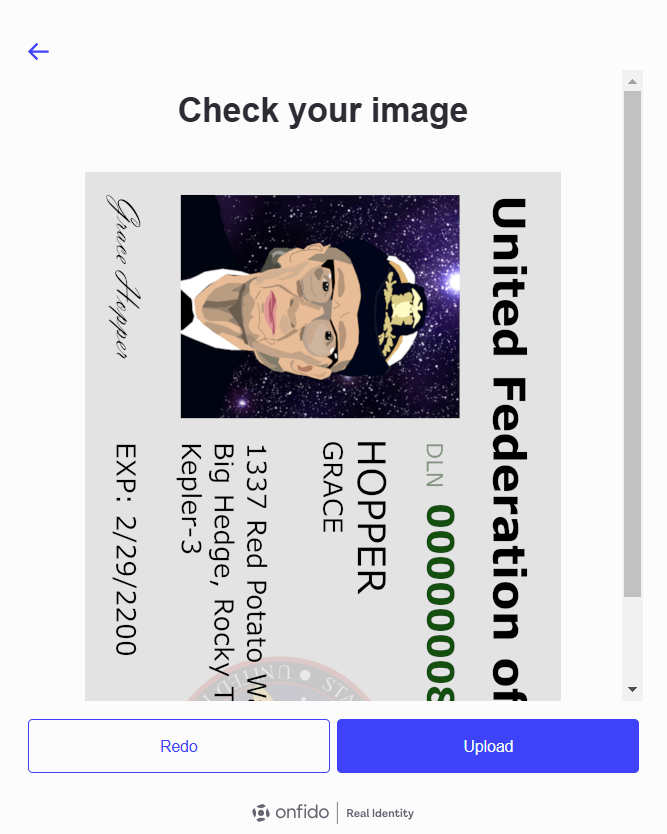
-
On the upload page for the back of the document, if it is required, click upload photo - no scans or photocopies on the initial document submission page.
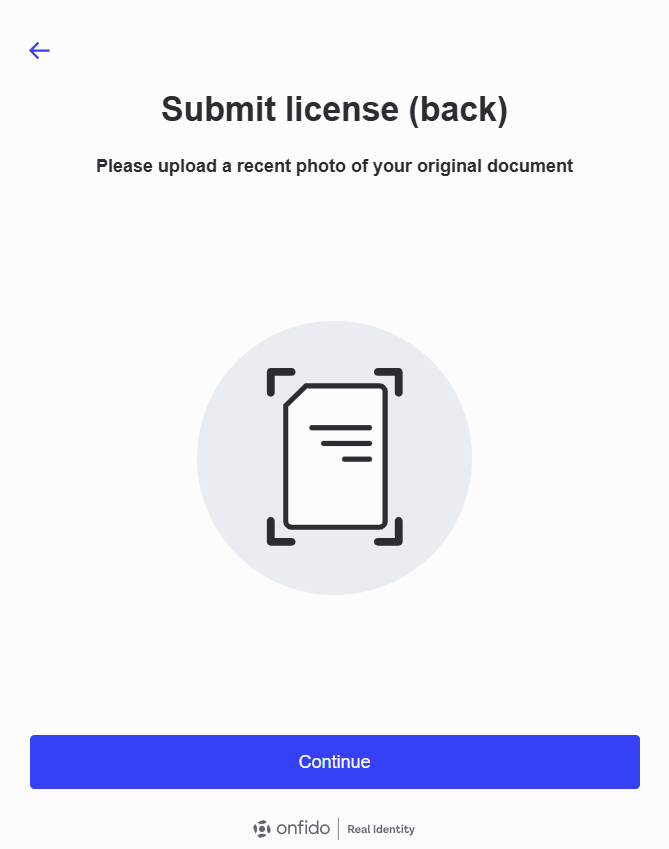
-
Make sure the face and name can be seen clearly. Redo it if you need to, or click Upload if you're satisfied.
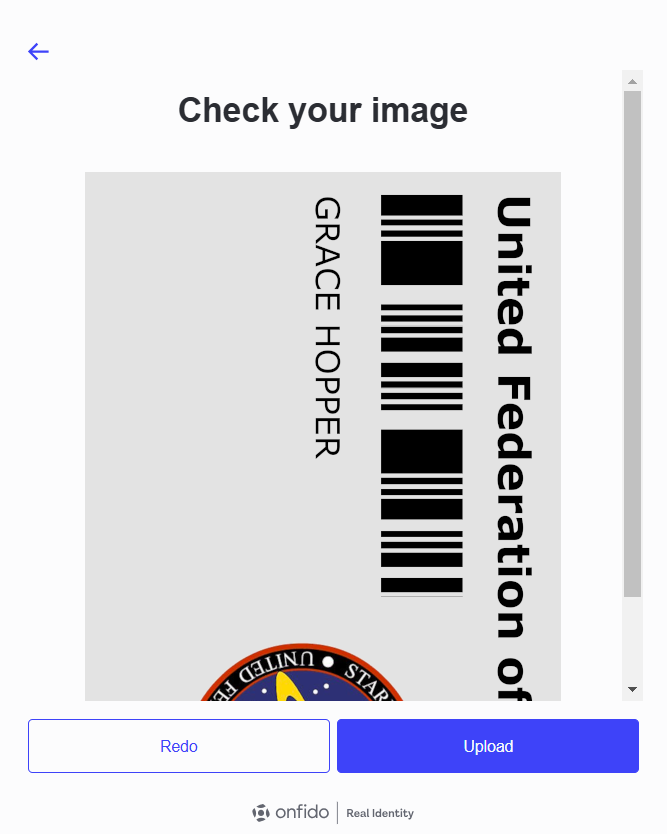
-
Next, provide a selfie as for comparison with your photo ID. Make sure you are in good lighting; you may wish to remove any glasses or hats. When ready, click Continue.
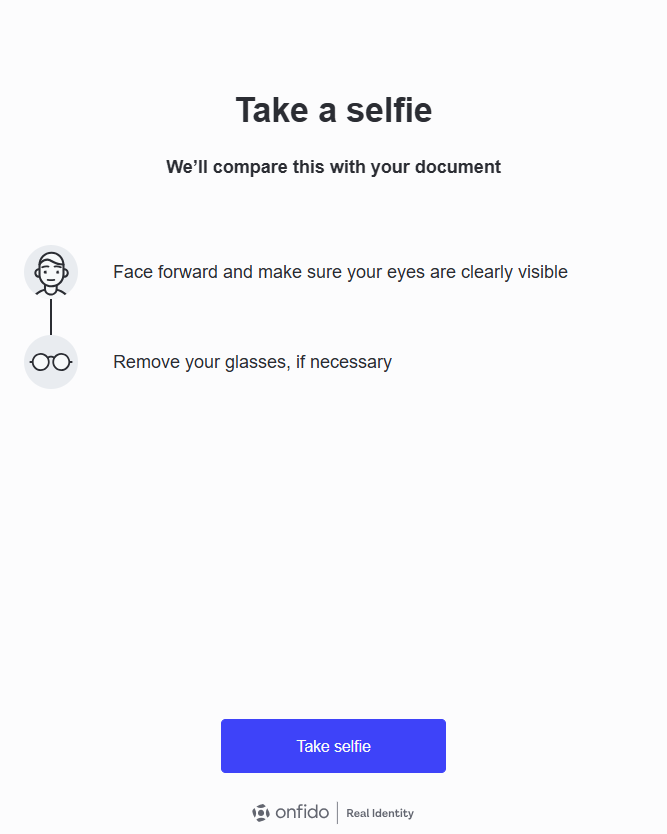
-
Center your face in the oval, then press the shutter button to take the picture.
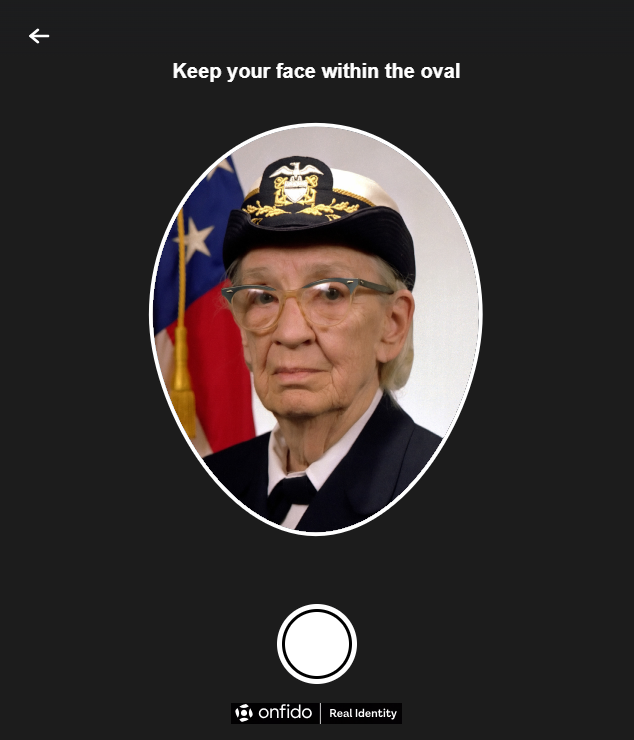
-
Make sure your face can be seen clearly. Redo it if you need to, or click Upload if you're satisfied.
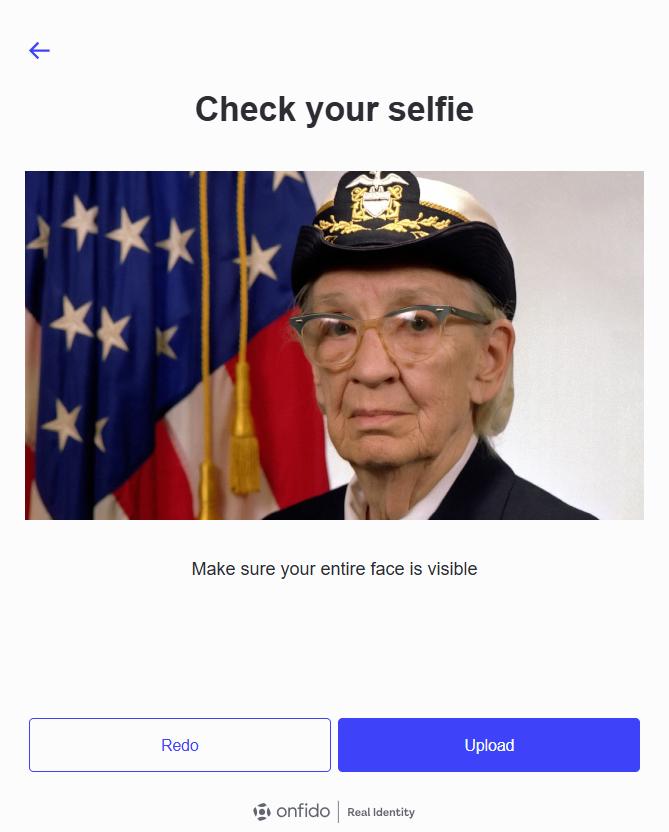
-
When all documents have been received, you will receive a success message. After this appears, it is safe to close the HYPR Affirm dialog on the phone and continue on your workstation.
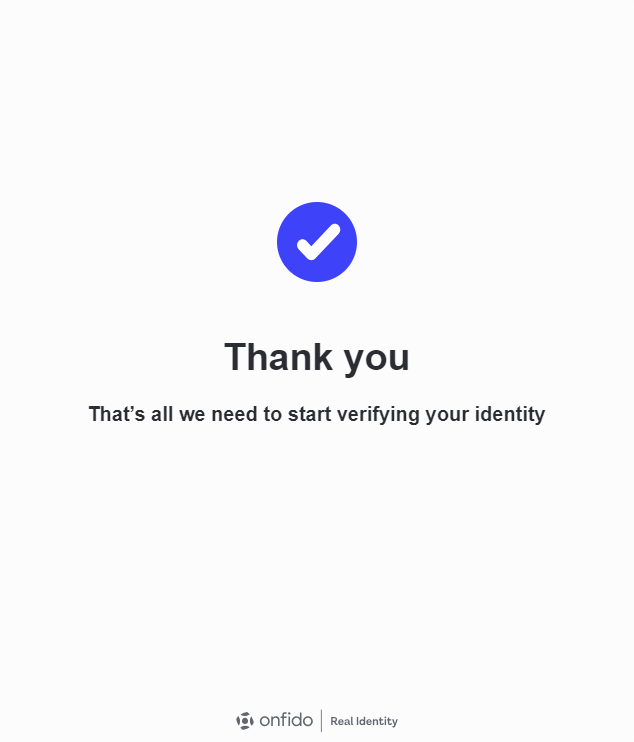
-
This message will display while OnFIDO processes your request.
-
When OnFIDO is ready, press Continue.
Photo ID and Liveness Capture
If this option is required, you will be prompted to complete a real-time selfie for comparison. Depending on how your administrator configured this step, you may also be prompted to upload a photo ID, or the selfie may be compared against a directory-stored anchor image (liveness-only).
For details about the anchor-image option, see Configuring Liveness-Only Verification (Anchor Image).
-
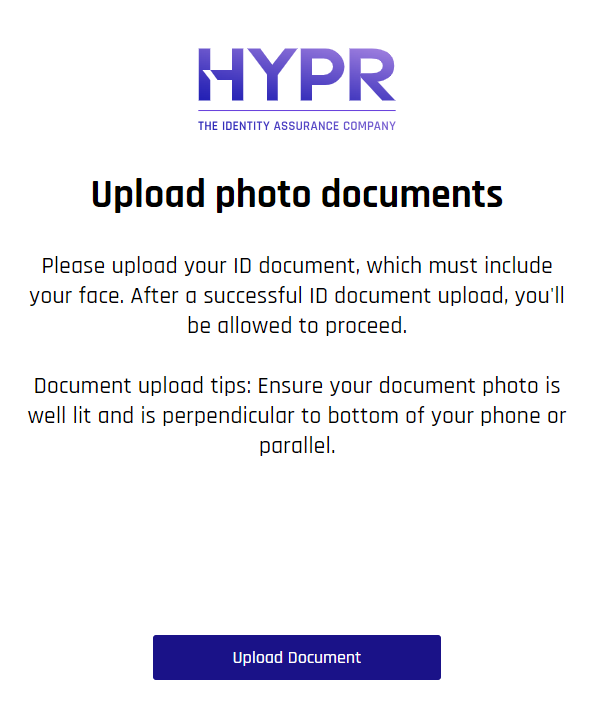
If prompted, the Upload document with photo dialog appears. When you are ready, click Upload document.
-
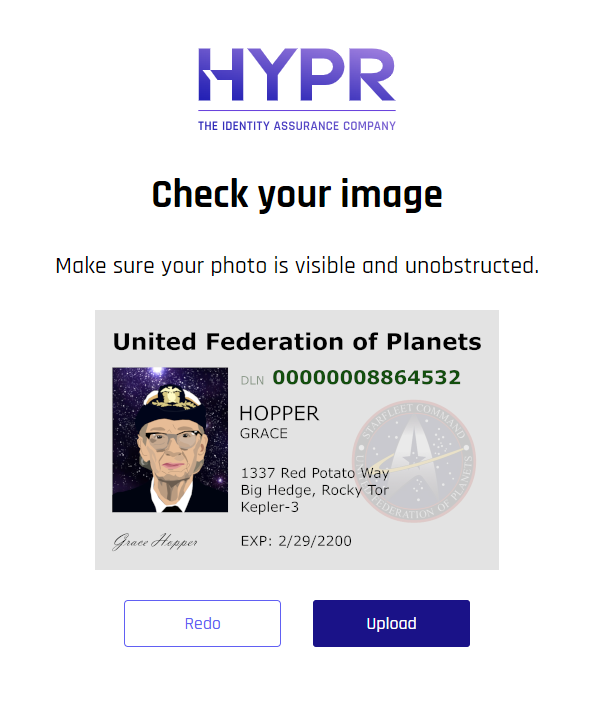
If you uploaded a document, select the photo ID and verify your face is clearly visible in it. When you are satisfied, click Upload.
-
Next, take a selfie for comparison.
 Permission Granted
Make sure the workstation's browser has permissions to use the Camera, or you will receive warnings. If you do receive these warnings, Allow permission.
It may be necessary to start the workflow from the beginning, or even to restart the browser, after granting Camera permissions to the browser.
-
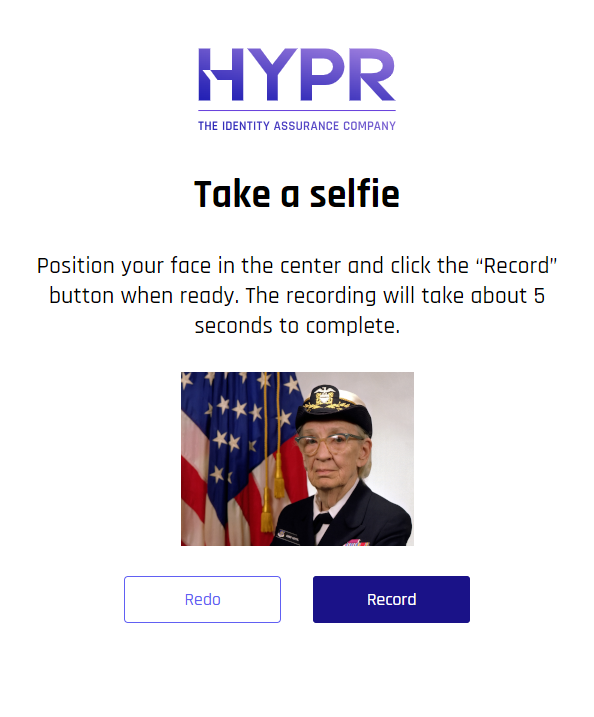
Center your face in the frame and click the red Record button to capture your face in real time.
-
When it is finished, you will receive a confirmation. Click Continue.
-
Be patient and do not close or refresh the browser.
Approver Chat and Video
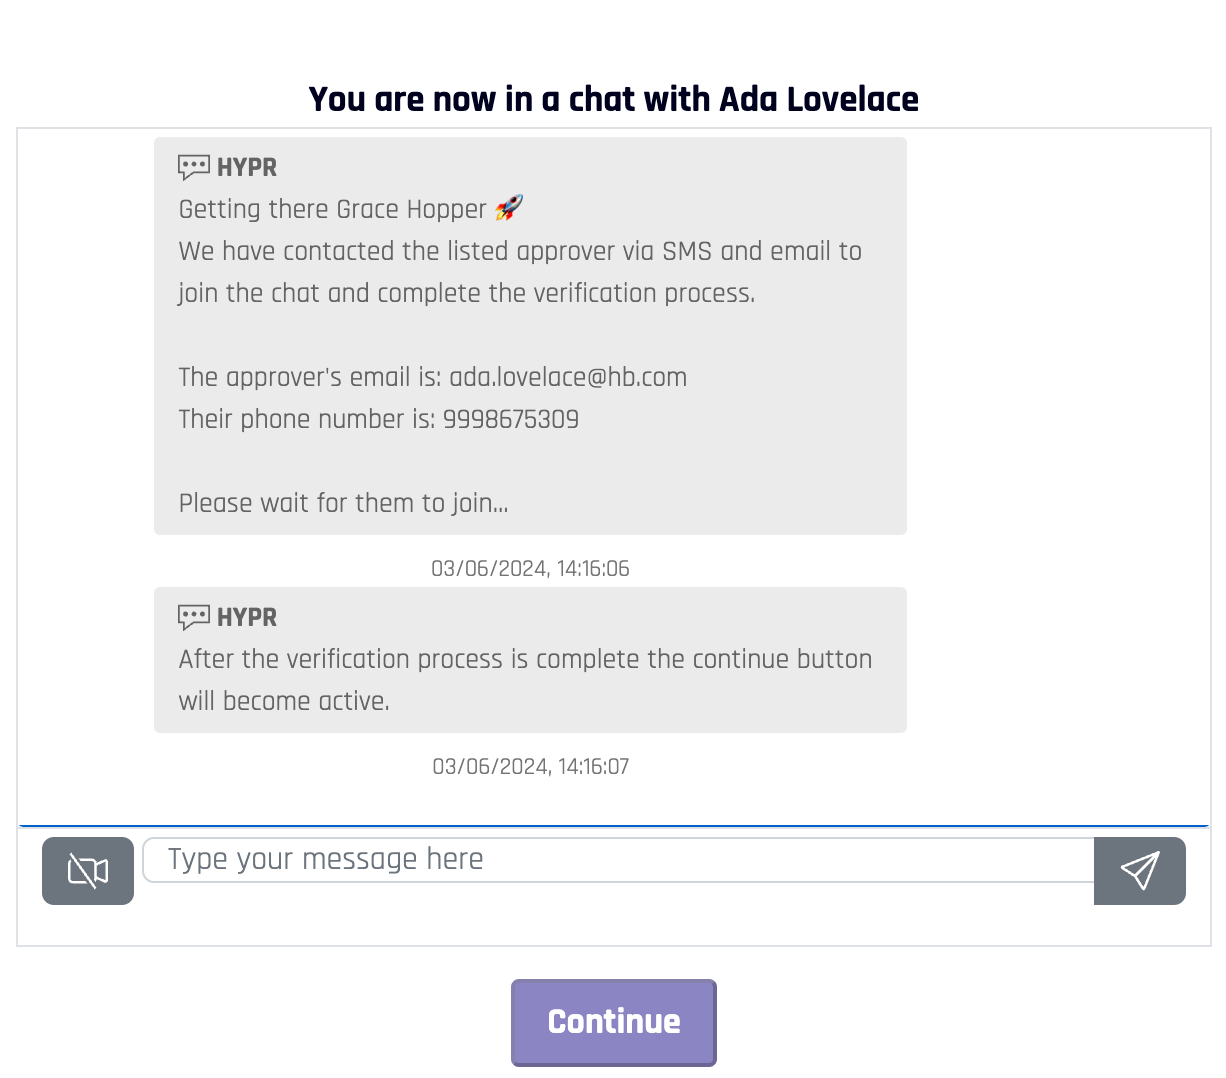
If Approver Chat and Video is enabled, you are joined to a chat room on the workstation, where you can send chat text and join video chat.
This session will remain active for 1 hour, after which a new one will need to be started.
-
A Continue button at the bottom will remain unusable until the approver is finished reviewing your Identity Verification information.
-
If video chat is enabled, you will be able to join by enabling the camera icon next to the message field. You may be asked to allow camera and microphone access. If this happens, click Allow. Clicking Block may restart the verification flow.

-
The chat opens. You and the approver may chat at your leisure.
-
Wait for approval. Once it is given, you will be redirected to one of the following:
-
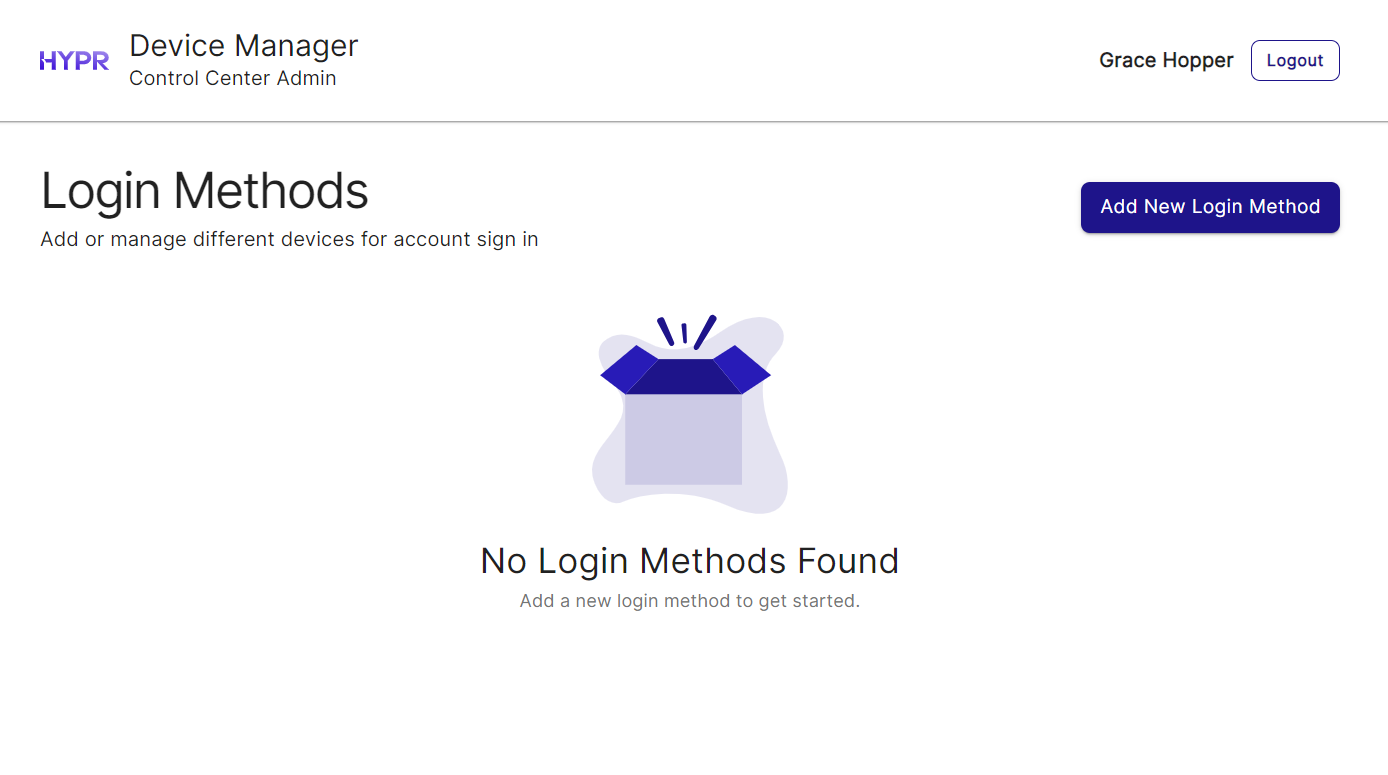
HYPR Device Manager: Follow instructions to pair devices to your account
-
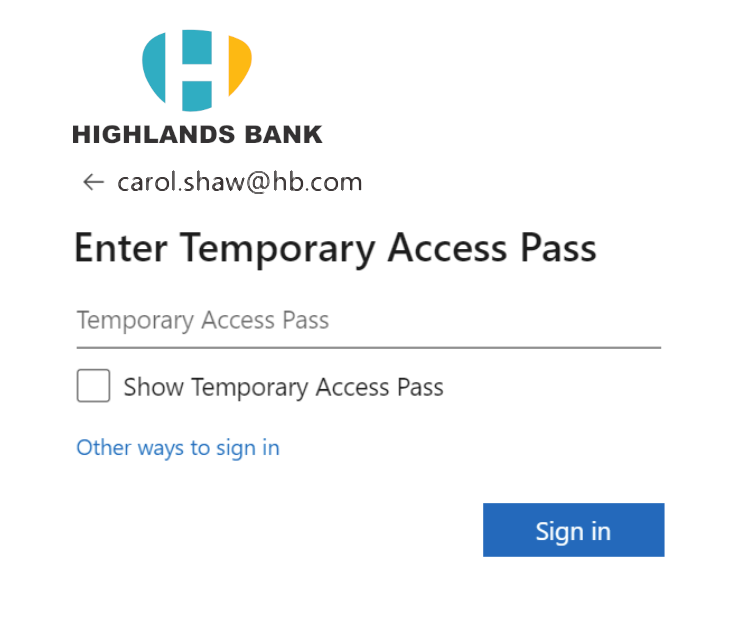
Receiving a Microsoft Entra ID Temporary Access Pass
-
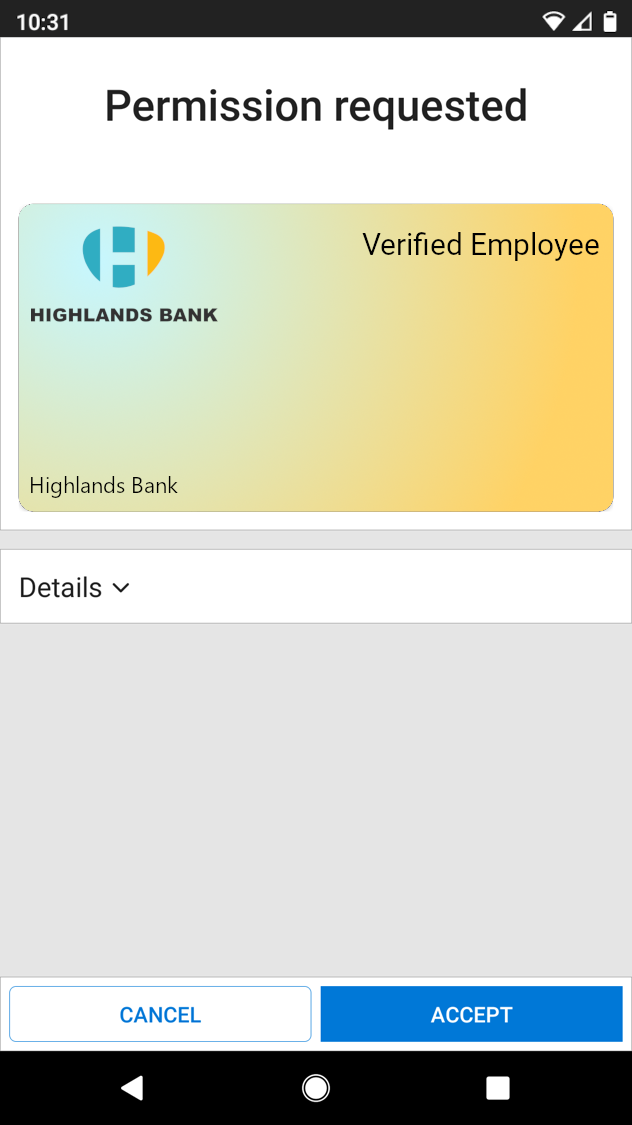
Receiving a Microsoft Entra ID Verified Credential (VC)
-
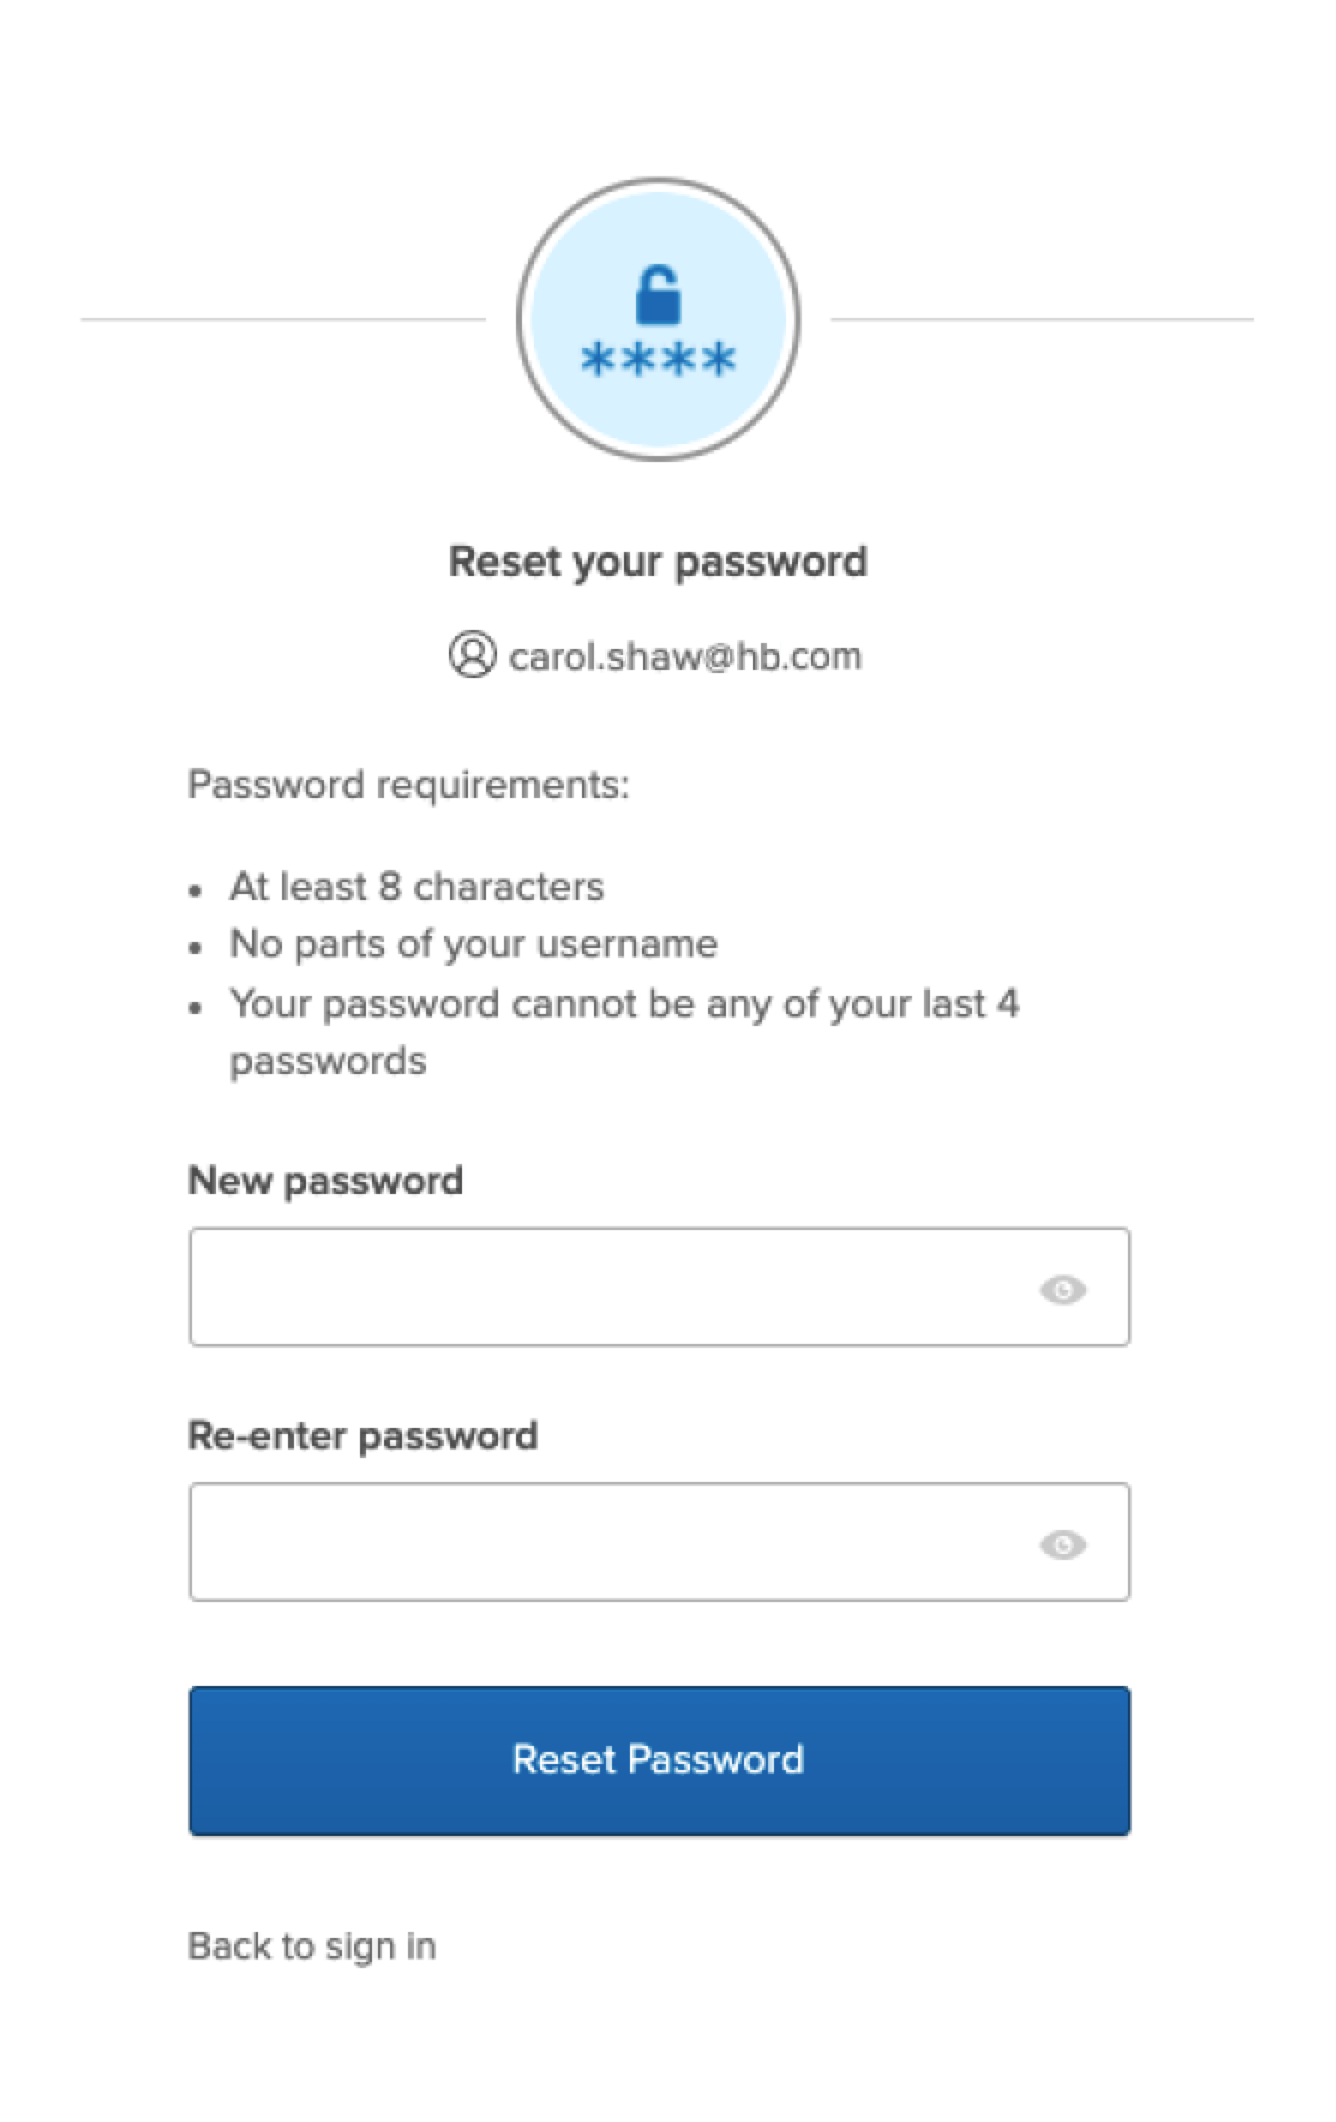
An Okta password reset page
-
A URL decided by your organization
-
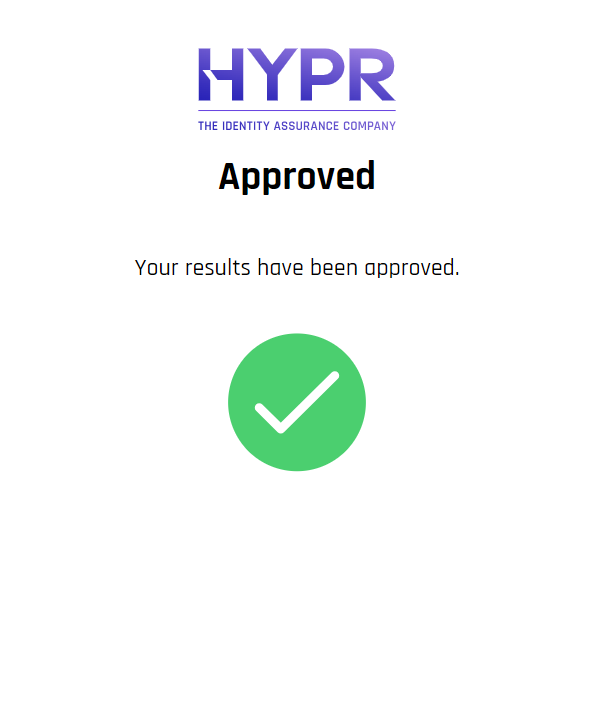
A simple message only indicating approval or denial
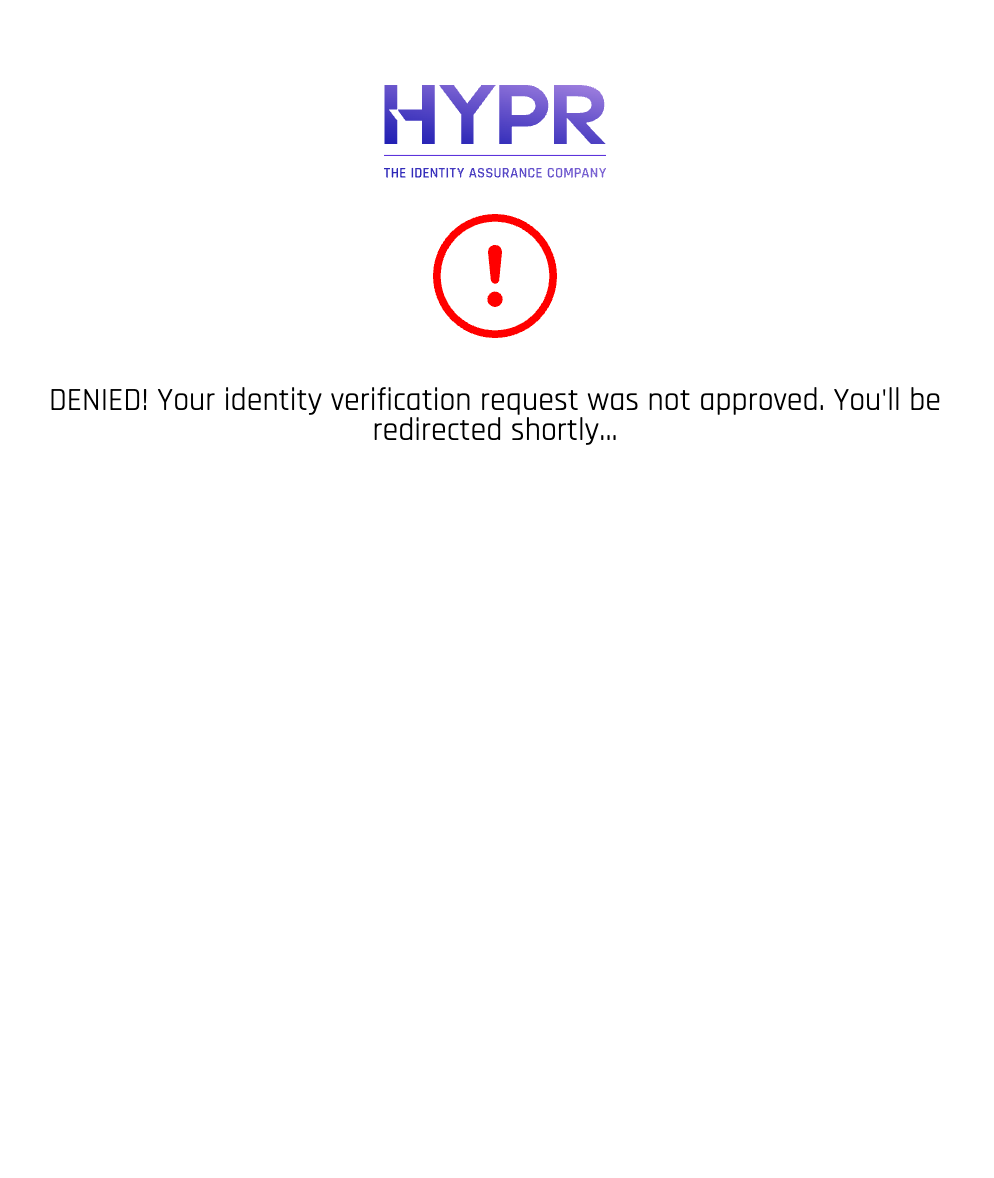
 Denied
If your approver denies your identity verification, you will receive the message shown here; then you are redirected back to the HYPR Affirm Welcome page.
-