What the Approver Sees
An Affirm approver reviews a requester's identity verification results in a browser-based review surface. The flow is consistent across workflows: the approver receives an email invitation, opens the Scorecard, reviews per-step outcomes, and either approves or declines.
If the workflow includes the Approver Chat and Video step, an additional live chat session opens before the Approve / Decline screen — see that step for chat-specific UX details.
Receiving the request
When a verification flow assigns an approver, the approver receives an email invitation with a magic link into the approval surface. Approver invitations are also delivered via SMS where the workflow configures phone delivery.
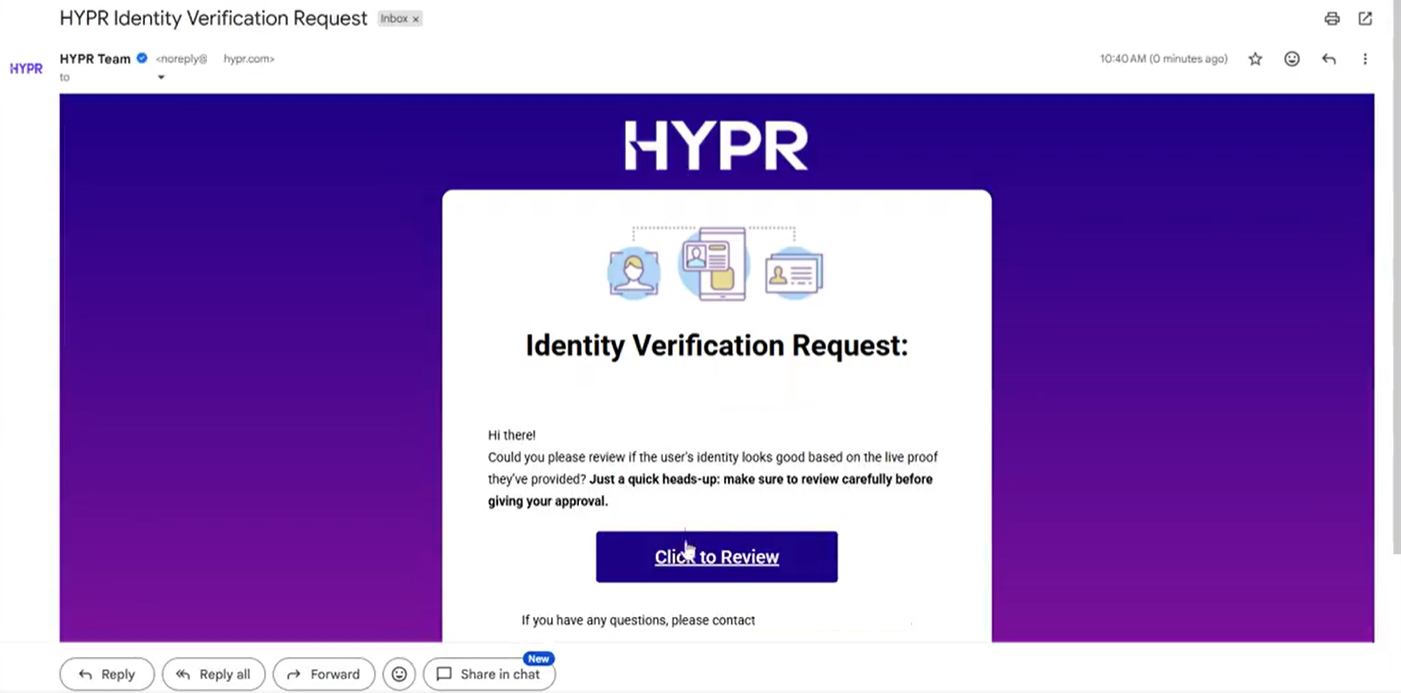
Approver email invitation with the magic-link CTA "Click to Review".
Email subject, body, and branding can be customized — see Email Notification Customization for the template editor and Affirm-specific placeholders.
Opening the review
Clicking the email link opens the approval surface. The first screen confirms what the approver is being asked to do.
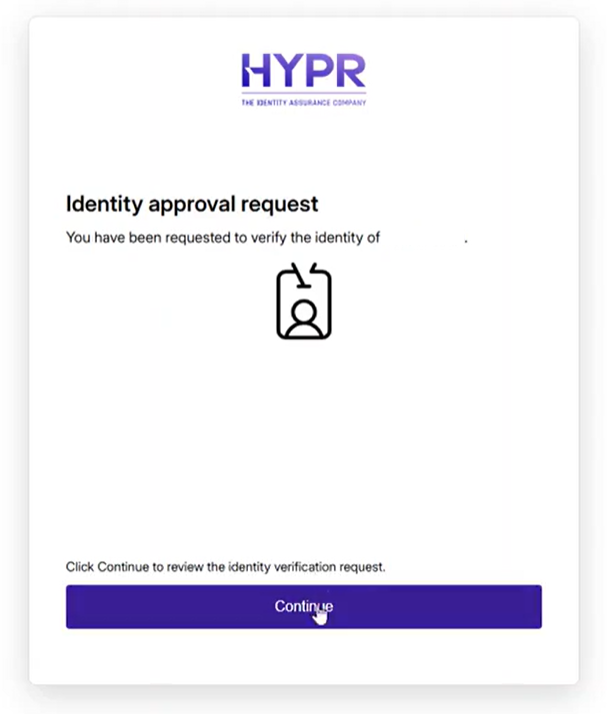
The approval intro screen — the requester's directory name appears between "verify the identity of" and the period.
Click Continue to move into the Scorecard view.
Reviewing identity verification results
The Scorecard view is the approver's primary review surface. It surfaces every verification step the workflow executed and the per-step evidence. Step sections render only for steps the workflow actually used — a workflow without Location does not show a Location section.
Desktop view
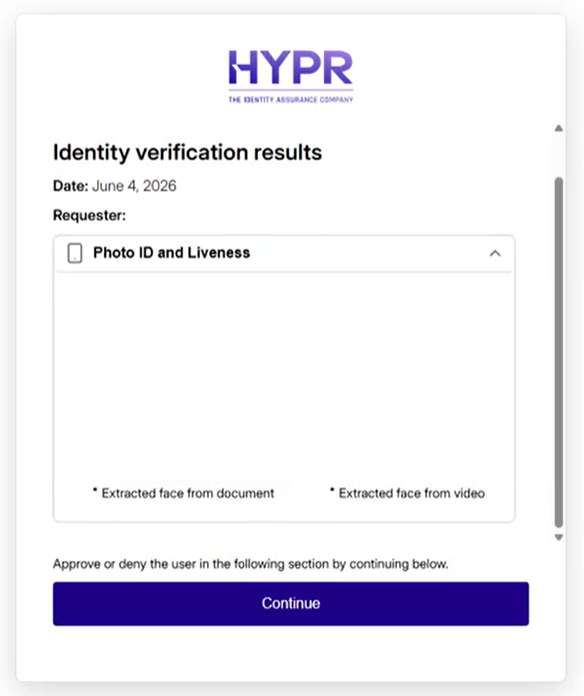
Desktop Scorecard with the Photo ID and Liveness section expanded. Each verification step appears as a collapsible panel; expand a section to inspect its evidence.
Mobile view
The Scorecard renders responsively on mobile. Per-step outcomes are presented as a checklist so the approver can scan the result set on a phone.
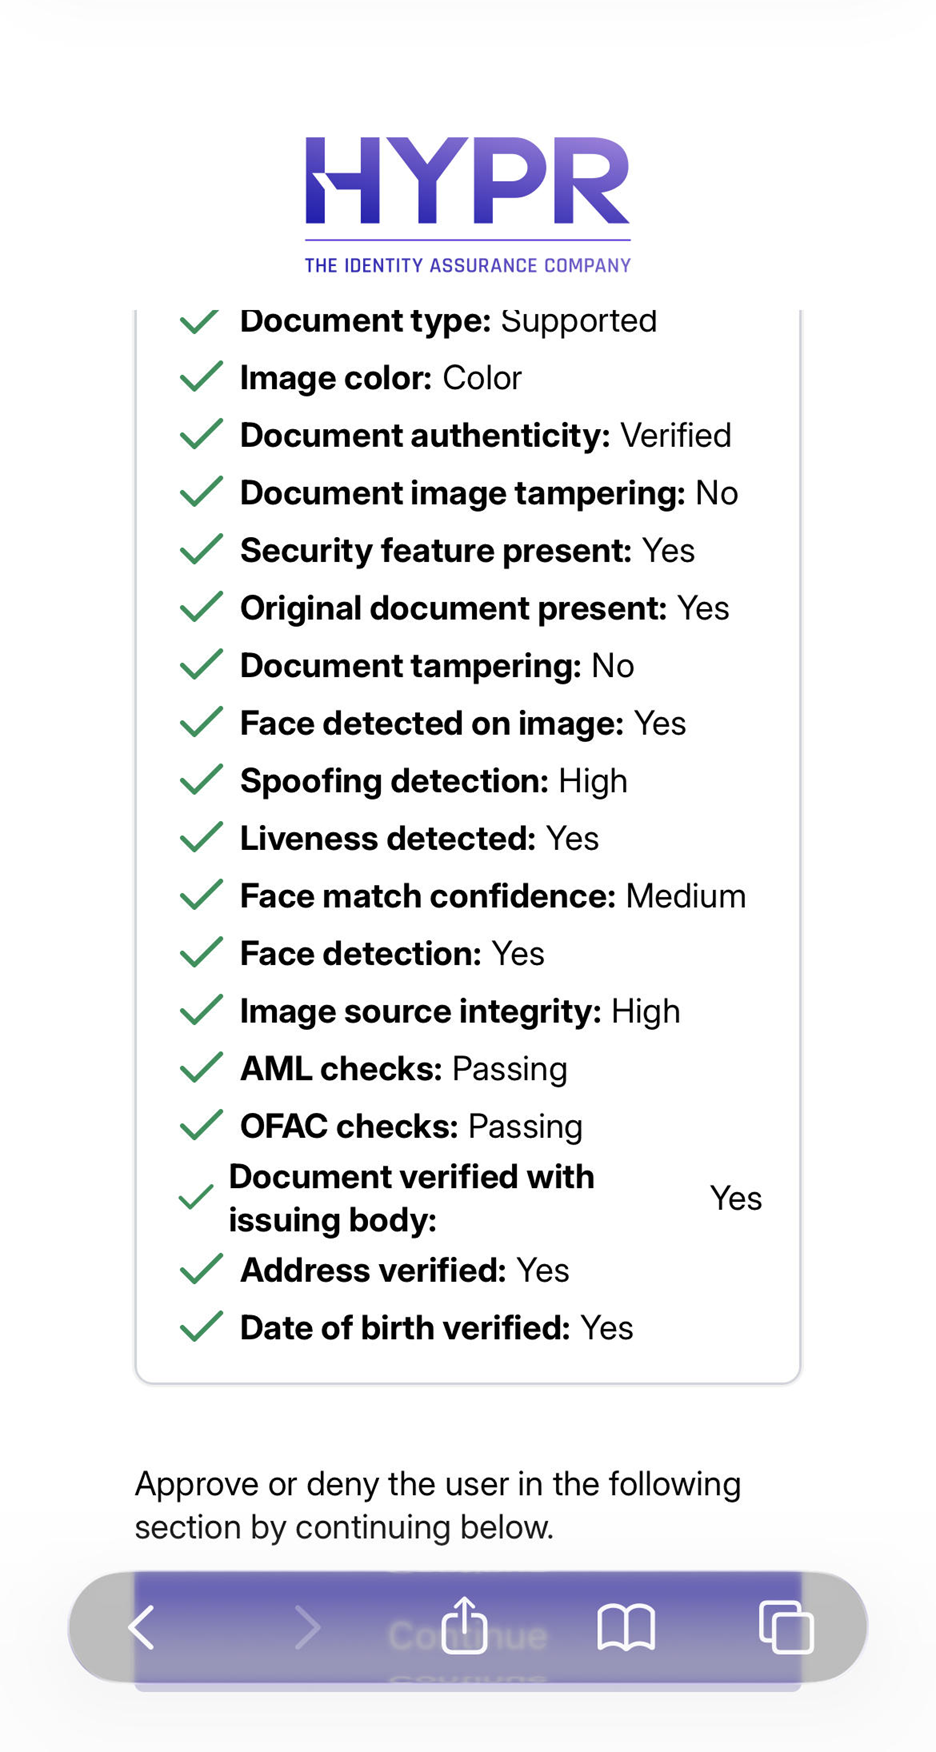
Mobile Scorecard showing the per-step results — Document type, image color, document authenticity, tampering checks, face detection, spoofing detection, liveness, face match confidence, AML / OFAC checks, address and date-of-birth verification.
Photo ID and Liveness — face comparison
When the workflow includes Photo ID and Liveness (or Document and Biometric Verification) and Directory Image Writeback is configured, the Photo ID and Liveness section displays a side-by-side face comparison: the face extracted from the requester's submitted document, alongside the face extracted from the requester's liveness video.
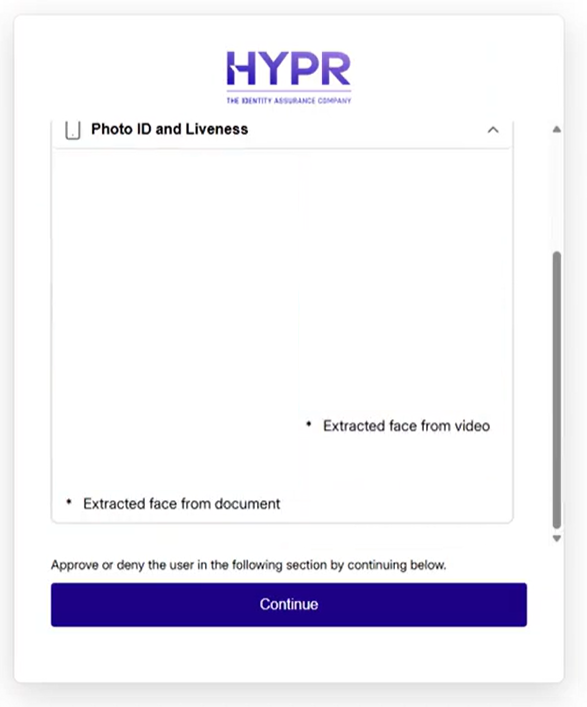
Face-from-document (left) and face-from-video (right) presented side by side. Both faces require Directory Image Writeback to be enabled on the tenant — see Directory Image Writeback.
For the canonical observability surfaces, status semantics, and Verification Flow ID correlation that back the Scorecard, see Observability.
Approving
Once the approver has reviewed the Scorecard, scroll to the Access verification section to attest and submit a decision.
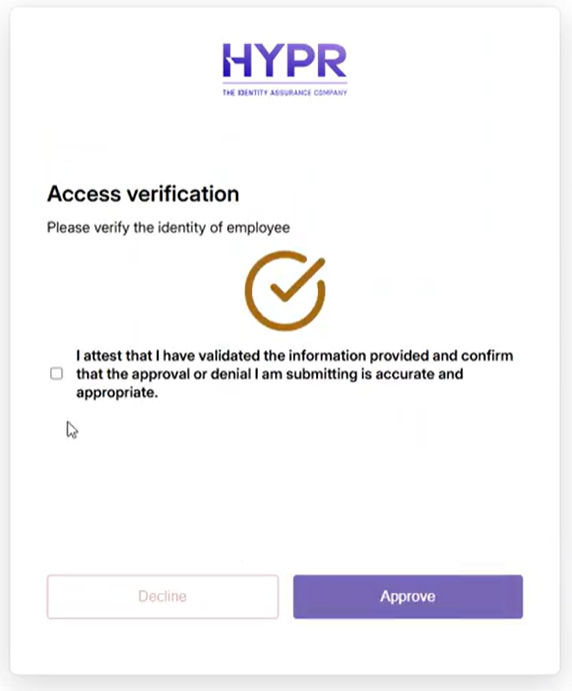
The Access verification surface — the approver attests to having validated the information and chooses Approve or Decline. The Approve button activates only after the attestation checkbox is checked.
Selecting Approve opens a confirmation modal where the approver can add an optional note before submitting.

Approve confirmation modal. The notes field is optional. Approval is audited and cannot be reversed.
After submitting, the result screen confirms the approval. The verification flow is now complete on the approver side.
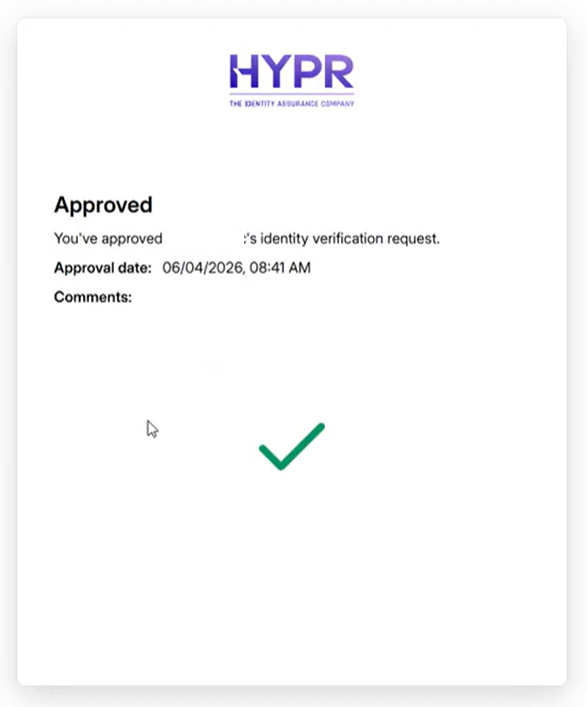
Approved success screen with the approval timestamp and any notes captured in the confirmation modal.
Declining
The Decline path mirrors the Approve path: select Decline on the Access verification screen, optionally add a reason in the confirmation modal, and submit. The result screen confirms the denial.
Related
- Observability — Scorecards, Activity Log, Audit Trail, and how the Verification Flow ID ties them together
- Approver Chat and Video — optional live chat step that runs before Approve / Decline
- Attestation — the attestation step that gates outcome firing
- Approvers and Escalation Approvers — approver chain and timeout configuration
- Directory Image Writeback — image-writeback configuration that enables face-from-video on the Scorecard
- Email Notification Customization — branding the approver invitation email
- What the Requester Sees — the requester side of the same flow