Configuring Identity Verification via Verified Credentials
The Verified Credential step lets requesters present an Entra Verified ID credential stored in Microsoft Authenticator as a verification step in HYPR Affirm workflows. This page shows administrators how to set up the step and what the requester sees. The step card reads Requester will verify their credential as part of the verification process. This step requires Azure AD applications for credential verification.
The Verified Credential step is in Preview status.
Prerequisites
Before you add this step, make sure that:
- At least one Entra ID integration is enabled through HYPR
- Requesters have Microsoft Authenticator installed with a pre-issued Entra Verified ID credential
- The Entra Verified ID credential is issued by a trusted authority configured in Entra ID
The Entra application used for this verification step must have the following permission granted:
VerifiableCredential.Create.PresentRequest(Delegated): required to call the Present verified credential API on behalf of the user
When you add API permissions in the Entra admin center, find this permission under Verifiable Credentials Service Request on the APIs my organization uses tab.
For instructions on registering an application and configuring permissions, see Entra ID Application Setup for HYPR Affirm.
Configuration
To configure the step, open the verification flow, click Verified Credential under Verification Steps in the left sidebar and turn the step on with the switch on its card. The fields appear on the card. When you finish, click Save at the top right of the flow editor.
Configuration Fields
The step has the following fields.
- Azure Application Assignment: (Optional) The Azure AD application for this step, chosen from a list of the available Azure AD applications. With no application selected, the step uses the default application of the verification flow.

- Authority ID: (Required) The authority ID that identifies the credential issuer. When the step is on, enter it before you save.

- Contract ID: (Required) The manifest contract ID that specifies the credential contract. When the step is on, enter it before you save.

- Credential Type: (Required) The type of verified credential to verify. When the step is on, enter it before you save.

- Retry Limit: The number of attempts the requester has for this step, and the time window within which those attempts must occur, for example 3 attempts within 60 minutes. The default is 3 attempts within 0 minutes; the allowed range is 1 to 10 attempts within 0 to 60 minutes.
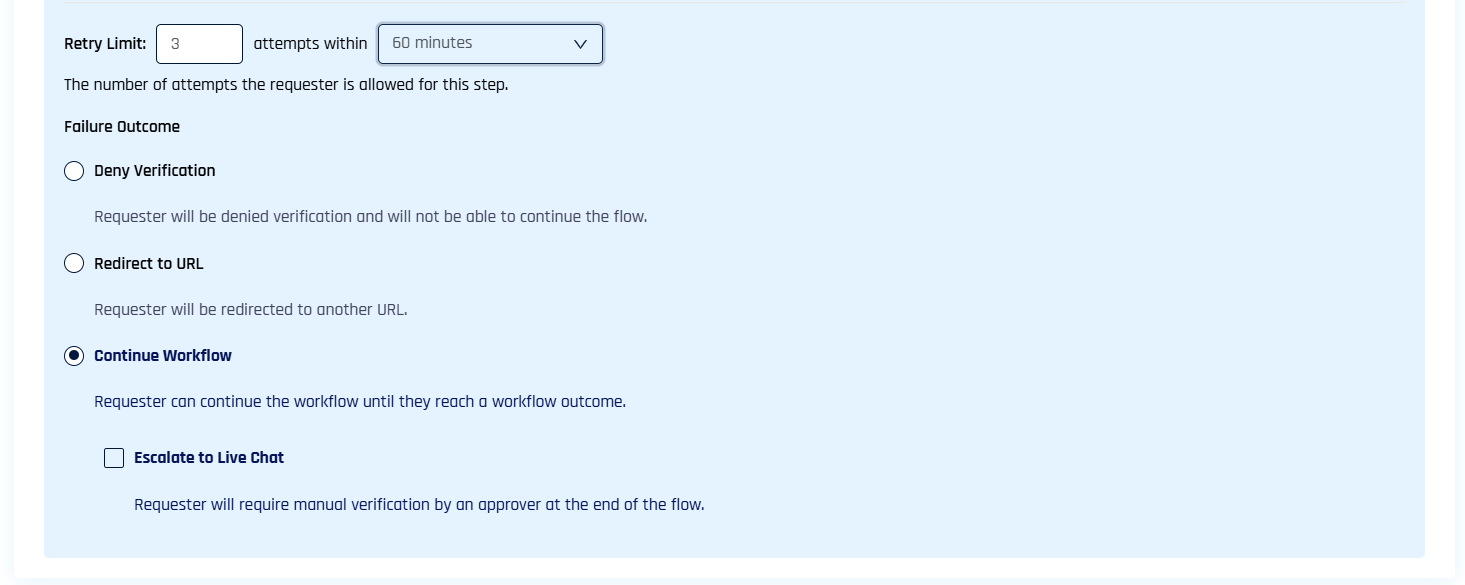
- Failure Outcome: What happens when the requester reaches the retry limit: Deny Verification, Redirect to URL or Continue Workflow, with an optional Escalate to Live Chat checkbox. Continue Workflow is selected by default.
For what each failure outcome does and the screens the requester sees, see Injectable Outcomes and Retry Limits.
How It Works
When this step is on in a workflow, Affirm shows the requester a QR code or a deep link. The link appears below the QR code when the page is opened in a phone browser.
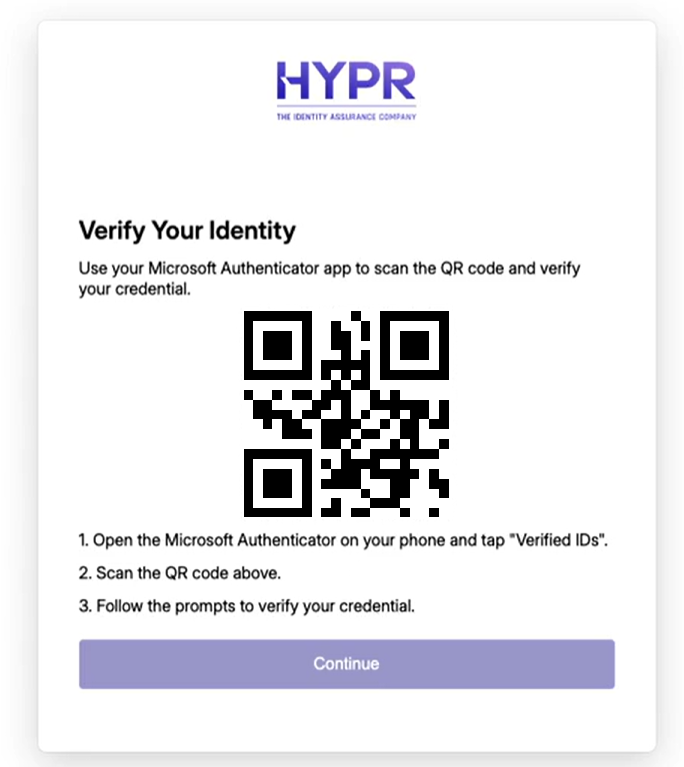
Verification then proceeds as follows.
- The requester opens Microsoft Authenticator and scans the QR code or uses the deep link.
- The requester selects their Verified ID credential in Authenticator.
- The credential goes to Microsoft Entra for verification.
- Affirm confirms that the credential was issued to the requester and has not expired.
- After a successful verification, the workflow proceeds to the next step.
What the Requester Sees
The on-screen text in the following table is the default wording. Administrators can change it on the Verified Credential Screen in Affirm Studio.
| Screen | Title | Message |
|---|---|---|
| Scan | "Verify your identity" | "Use your Microsoft Authenticator app to scan the QR code and verify your credential." |
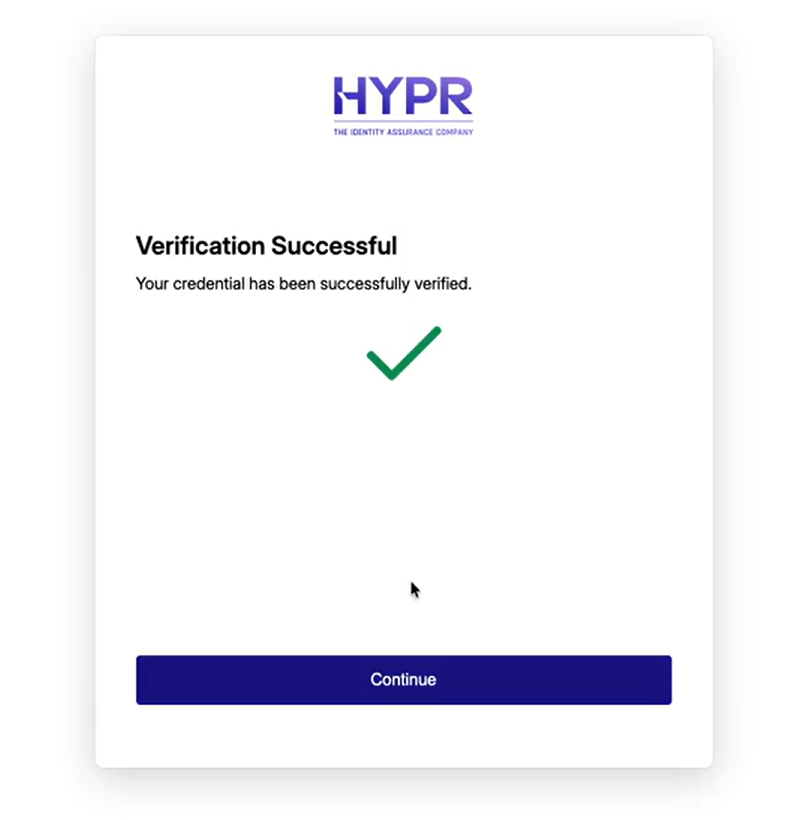
| Verified | "Verification successful" | "Your credential has been successfully verified." |
| Presentation error | "Verification error" | "An error occurred during the verification process. Please try again." |
| No response within 5 minutes | "Verification timeout" | "The verification process has timed out. Please try again." |
| Setup error | "Verification failed" | "We encountered an issue while setting up your verified credential verification. Please review the error details below and try again." |
Below the QR code, the scan screen lists these instructions:
1. Open the Microsoft Authenticator on your phone and tap "Verified IDs".2. Scan the QR code above.3. Follow the prompts to verify your credential.
The link below the QR code reads "or use this link". After a successful verification, the requester clicks Continue.
This step captures no photo, selfie or other biometric data in Affirm. For the steps that do, see Biometric Data and the Privacy Notice.
Related Documentation
- Entra Verified ID for HYPR Affirm: issuing Entra Verified ID credentials as an outcome, after verification succeeds
- Injectable Outcomes and Retry Limits: retry limits and failure outcomes for all steps
- Creating and Managing Verification Flows: configuring Affirm workflows