Affirm Customizations (Code Customization API)
Customizations
HYPR Affirm allows multiple types of customizations that override the default behavior in key parts of the verification flow. Current customizations include:
Each customization is assigned to a verification flow from that flow's configuration in the Verification Flows editor — for example, User Image Directory Source is assigned under Advanced Customization → Image Directory in the Custom Directory Source drop-down (see Liveness-Only (Anchor Image) for an end-to-end example). Customizations can also be assigned via the Affirm API.
The execution timeout for code customization scripts is configurable per tenant. Contact your HYPR representative to adjust the default timeout for your deployment. This is relevant for customizations that perform file uploads, external API calls, or other operations that may require extended execution time.
Code customizations are managed in HYPR Affirm → Advanced Settings → Code Customizations. This is the Advanced Settings tab inside the HYPR Affirm menu, not the Control Center Advanced View toggle.
Customization scripts run in an ES2022 runtime. This page is the contract reference; for the script entry point, design patterns, error handling, and the edit-and-test workflow, see Writing Affirm Code Customizations.
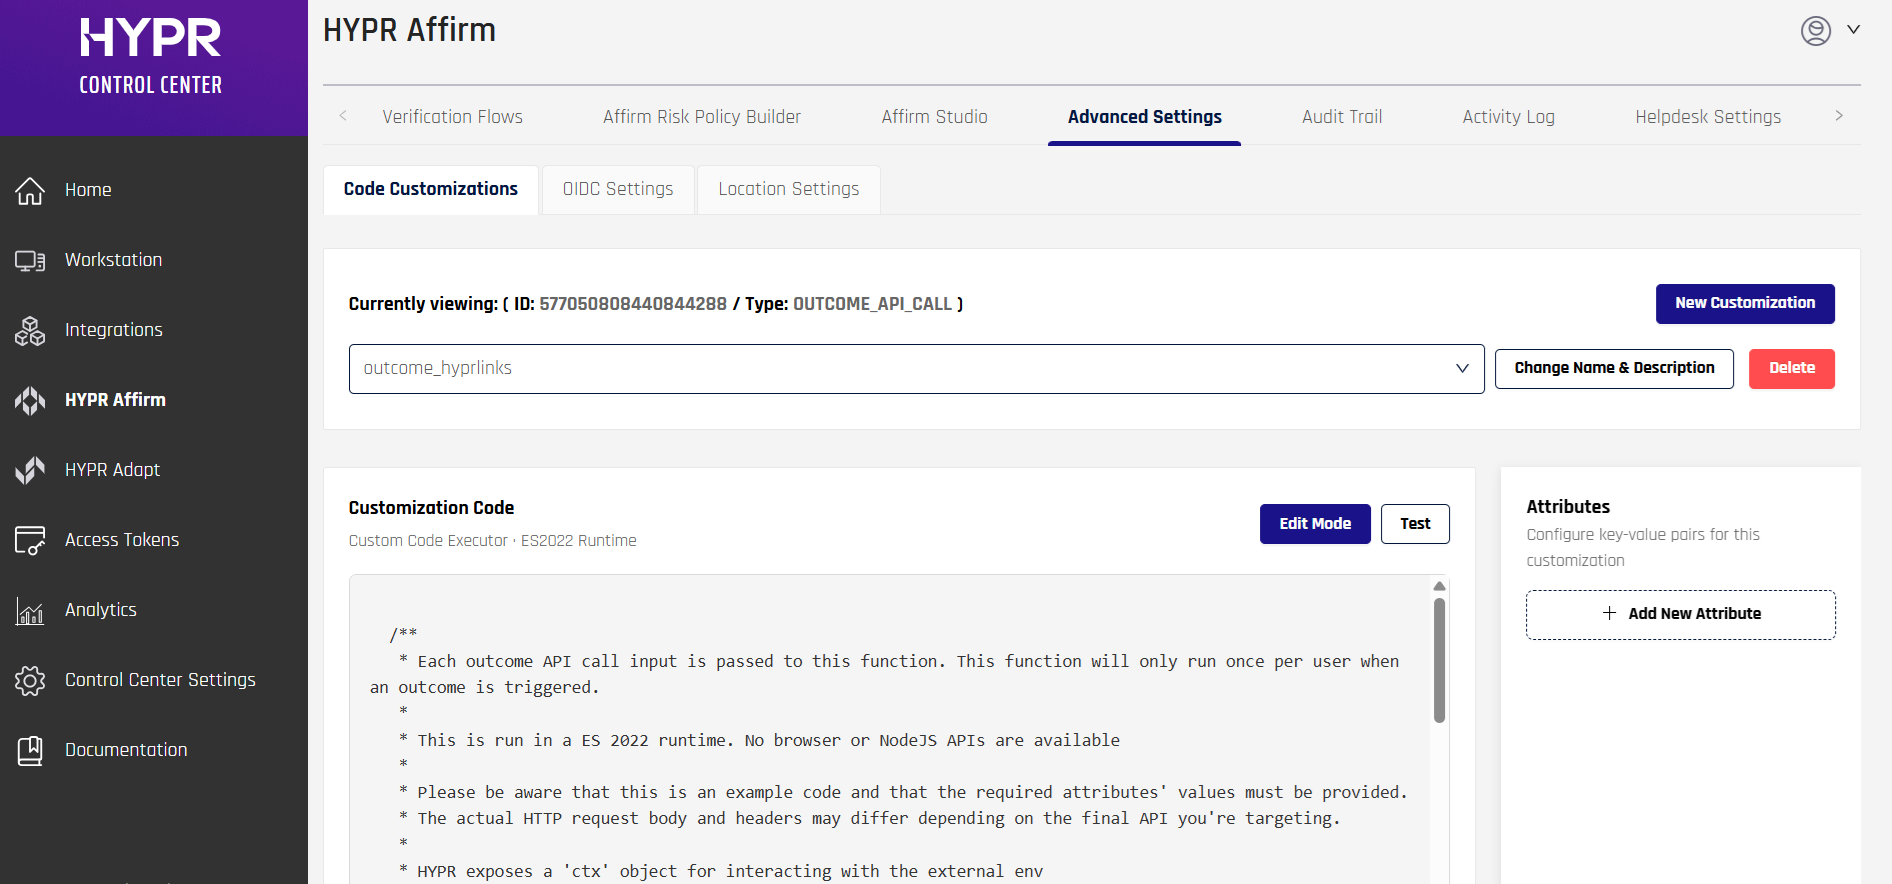
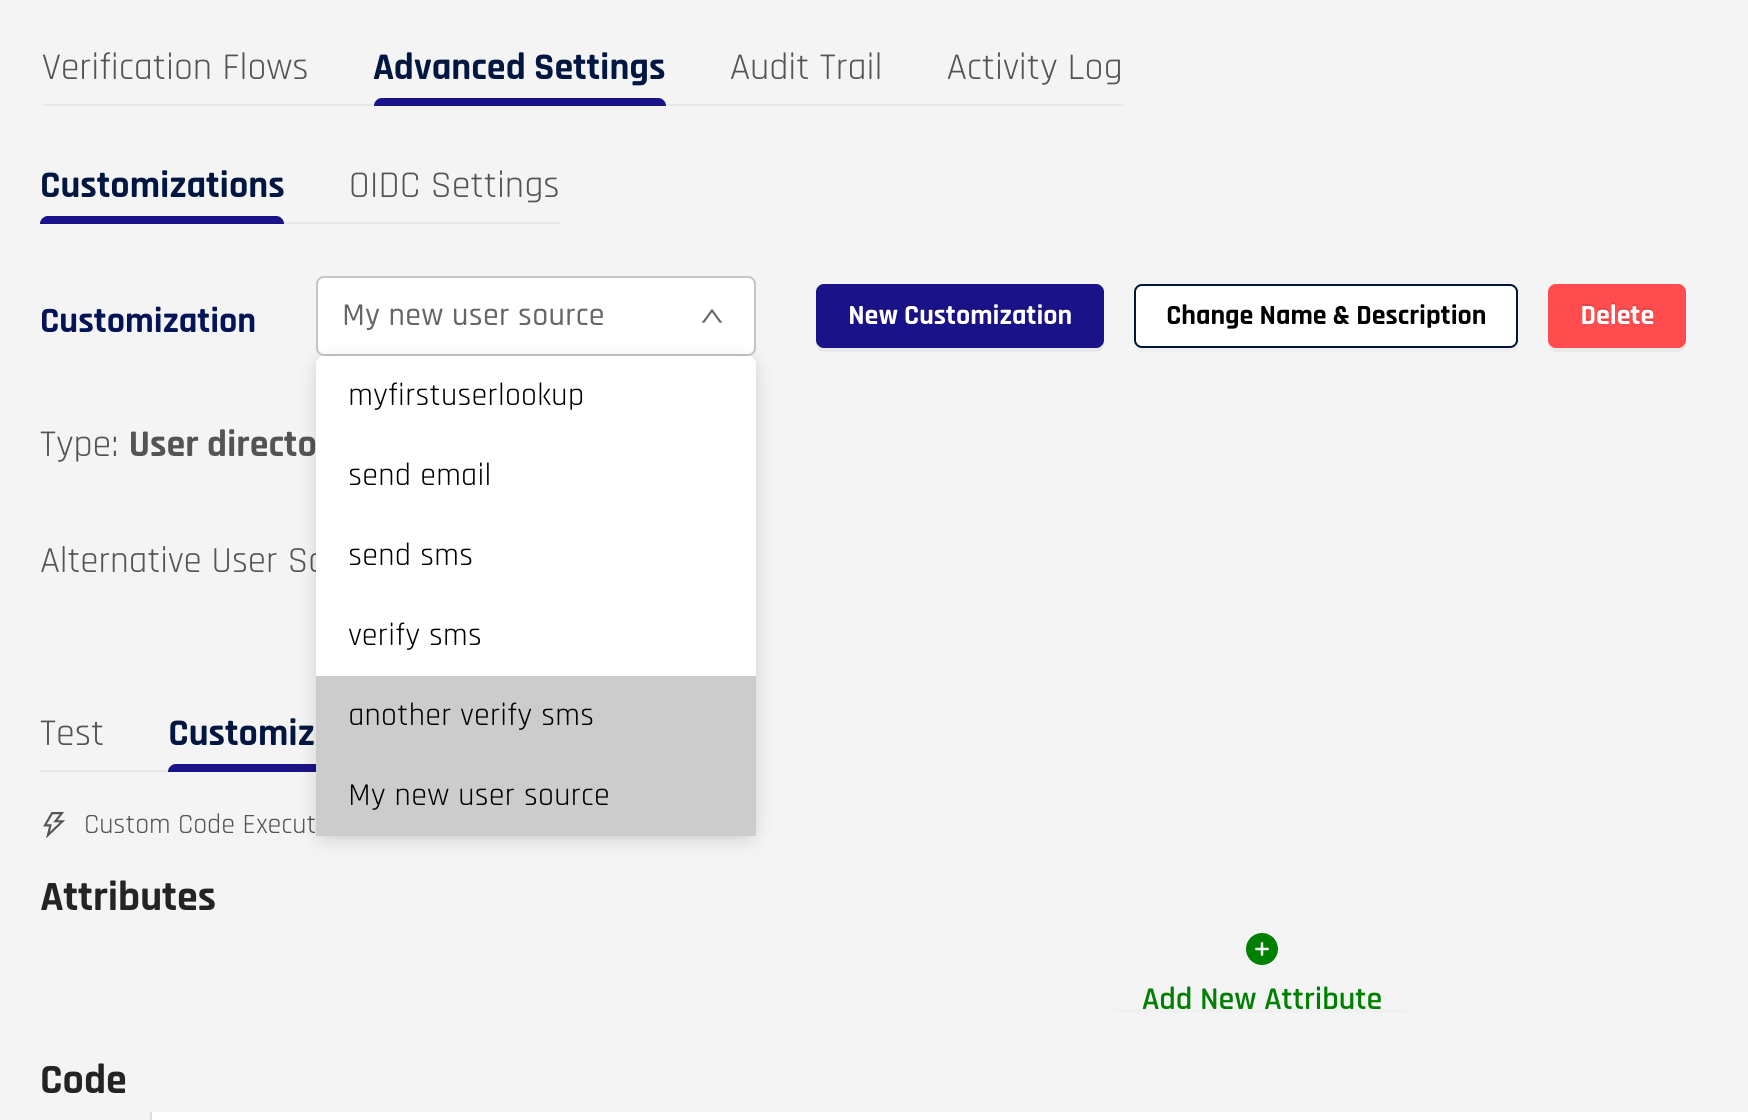
Create a Customization
-
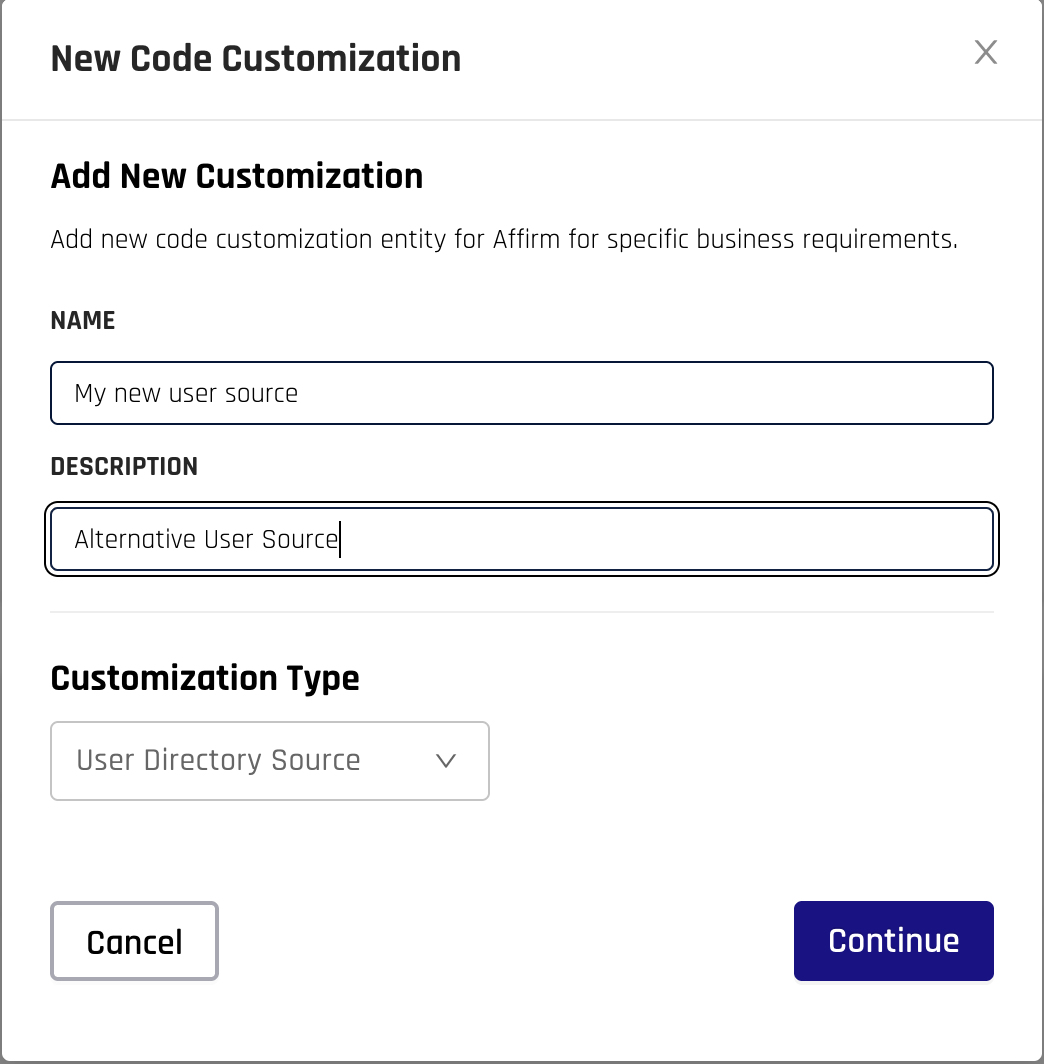
Create a new code customization by selecting New Customization, select the type of customization, enter the details required, and click Continue to save the customization.
The Customization Type drop-down lists every customization type the tenant supports:
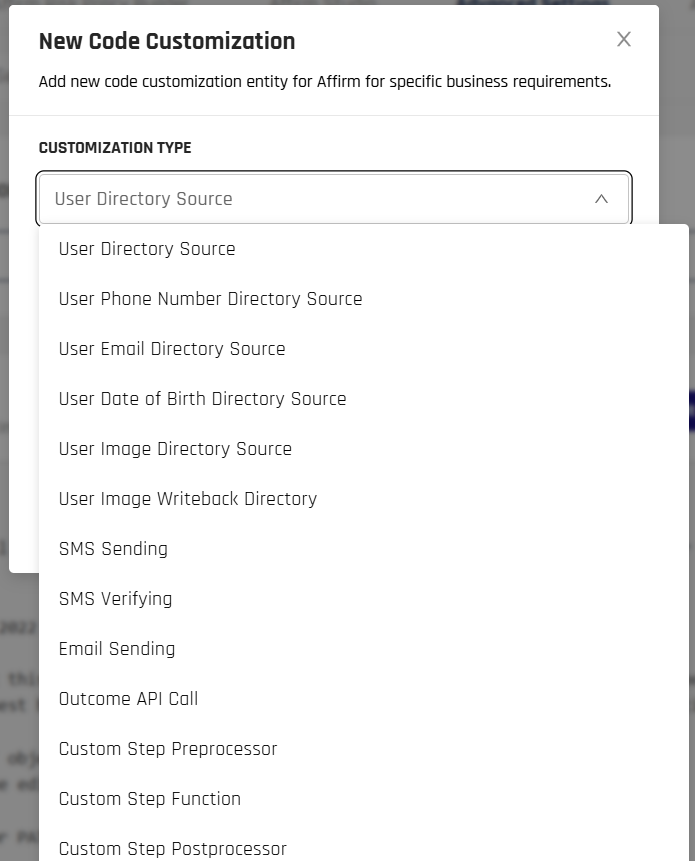
Choosing the customization type. The types are described in the sections below.
-
Select your new customization in the dropdown menu to edit it.
-
Add custom attributes that are protected by encryption to set sensitive values used in your customization.
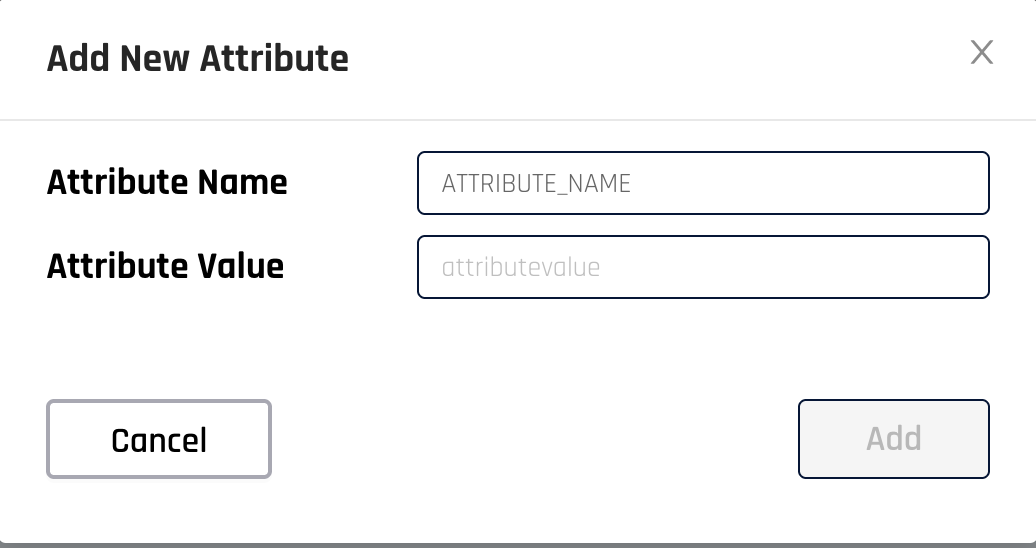
-
Click Save when you are finished or are ready for testing; or, if you want to undo all of your changes, click Revert Changes.
-
Test your new customization to ensure everything is working correctly.
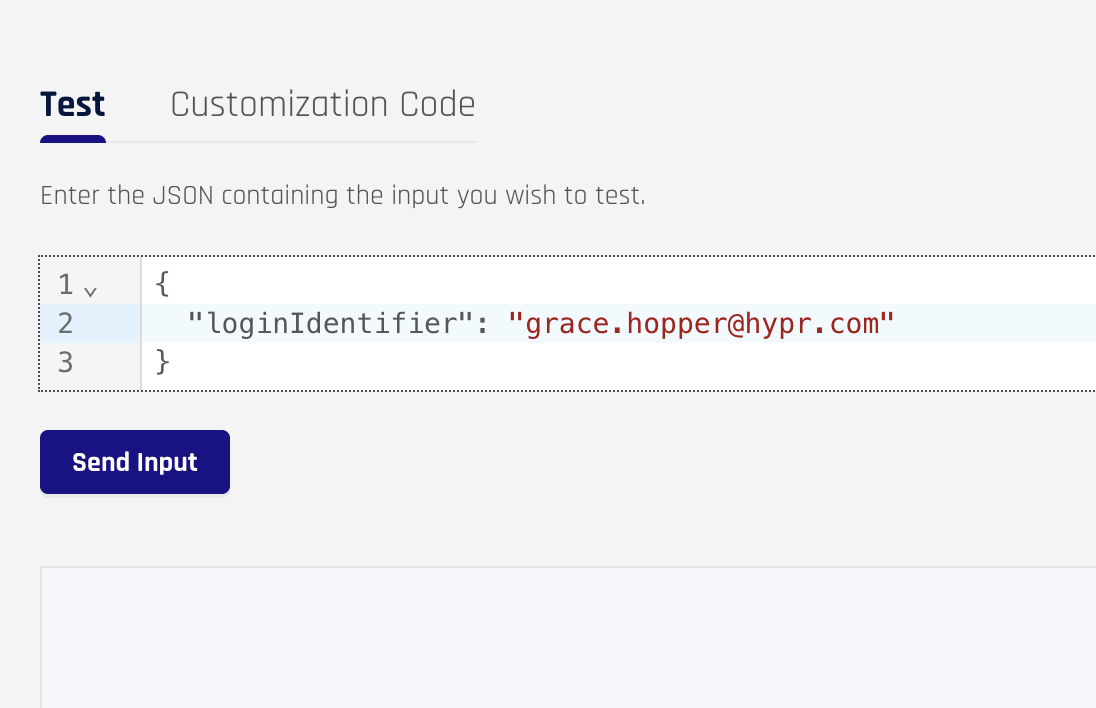
User Directory
This customization allows specification of the user info source. Depending on if the verification flow was created through the UI or API, the usual user info is provided via either:
-
The assigned integration
-
Fully through the API
When you assign a user directory source customization to a verification flow, the user info will be looked up via a REST call instead, which allows much greater flexibility in how user info is provided to HYPR Affirm.
| Input | Description |
|---|---|
| loginIdentifier | The username of the subject |
| isApprover | A boolean indicating if the user is the requester or approver. [ true | false ] |
| Output | Required | Description |
|---|---|---|
| loginIdentifier | Always | The username of the user |
| Flow-dependent | The email of the user. Required when the verification flow includes the Phone / Email Verification step or sends approver-invitation emails. | |
| firstName | Flow-dependent | The first name of the user |
| lastName | Flow-dependent | The last name of the user |
| mobilePhone | Flow-dependent | The mobile phone number of the user. For example, +15555555555 |
| buildingNumber | Flow-dependent | The building number of the user's address. For example, 20 |
| streetAddress | Flow-dependent | The street address of the user. For example, 20 W 34th St |
| city | Flow-dependent | The city of the user. For example, New York |
| state | Flow-dependent | The state of the user. For example, NY |
| postalCode | Flow-dependent | The postal code of the user. For example, 10001 |
| countryCode | Flow-dependent | The country code of the user. For example, US |
| dateOfBirth | Flow-dependent | The user's date of birth, in MM-DD-YYYY format. For example, 07-04-1990 |
| status | Always | The status of the user. [ ACTIVE_FOR_AFFIRM | INACTIVE_FOR_AFFIRM ] |
| managerLoginId | Flow-dependent | The username of the user's manager. This value is used to look up the manager if the verification flow requires it. This value will be used as the loginIdentifier in its own dedicated lookup. |
For fields which are flow-dependent, you may omit the field from the return object or pass null if they aren't relevant for the given verification flow. For example, if the Location step is not part of the given verification flow, you can omit any of the address fields or pass null.
If the verification flow needs the requester's date of birth and dateOfBirth is missing or not in MM-DD-YYYY format, the requester is asked for it during the verification.
HYPR enables you to return either an empty object {} in cases when the user directory record cannot be obtained, or a custom error { error: "My error message"} to handle whichever errors or conditions you prefer.
SMS Sending
This customization allows sending SMS via a custom REST call instead of HYPR's SMS service.
When isApprover is true, secret is the magiclink to enter the flow as an approver.
When isApprover is false, secret is the SMS code the requester must verify.
| Input | Description |
|---|---|
| loginIdentifier | The username of the user |
| phoneNumber | The mobile phone number of the user |
| isApprover | A boolean string denoting whether the SMS is for a user or approver. [ true | false ] |
| secret | The secret portion of the SMS |
| formattedMsg | The formatted message sent to the user or approver which also contains the secret above |
| Output | Description |
|---|---|
| isSuccess | The result of the REST call. Valid values include: "true" or "false" |
SMS Verifying
This customization allows handling the result of a verified SMS code through a custom REST call instead of HYPR's SMS service.
| Input | Description |
|---|---|
| loginIdentifier | The username of the requester |
| phoneNumber | The mobile phone number of the requester |
| inputCode | The SMS code the requester entered |
| result | A Boolean string denoting if the requester entered the correct SMS code. [ true | false ] |
| Output | Description |
|---|---|
| isSuccess | The result of the REST call. [ true | false ] |
Email
This customization allows sending of emails through a custom REST call instead of HYPR's SMTP servers.
When isApprover is true, the email subject and body will be for inviting the approver to a user's flow for live attestation.
The case of isApprover being false is not currently supported or expected, but may be in future releases.
| Input | Description |
|---|---|
| loginIdentifier | The username of the user. |
| recipient | The email address of the user. |
| isApprover | A Boolean string denoting whether the email is for a user or approver. [ true | false ] |
| subject | The subject title of the email. |
| htmlBody | An HTML representation of the email. |
| textBody | A text-only representation of the email. |
| Output | Description |
|---|---|
| isSuccess | The result of the REST call. [ true | false ] |
Outcome API Call
This customization allows executing custom API calls prior to the user being issued the configured outcome.
When the user is approved and the verified Outcome is set to display the results to the user, custom results can be displayed to the user. Otherwise, the customization will run silently in the background.
For a worked example, see Issue a pass outside 60 to 480 minutes, which creates an Entra Temporary Access Pass with a lifetime the built-in outcome cannot produce.
In the case of an approved workflow, but a failed outcome API customization, the user can be failed if necessary.
| Input | Description |
|---|---|
| loginIdentifier | The username of the user. |
| The email address of the user. | |
| isApproved | A Boolean denoting whether the user is approved according to the verification flow. [ true | false ] |
| workflowId | The workflowId of the users verification flow instance. |
| Output | Description |
|---|---|
| isSuccess | The result of the custom outcome API call. [ true | false ] |
| outcomeToDisplay | When the user is approved and the verification flow has a verified outcome set to display results to the user, this string will be displayed. Return null otherwise. |
Image Writeback
The USER_DIRECTORY_IMAGE_WRITEBACK customization allows administrators to write images captured during a verification step back to an external user directory (such as Entra ID, Okta, Ping Identity, or a custom destination). The script receives the captured images and is responsible for persisting them to the target system.
This customization type is used when the Directory Image Writeback feature is enabled on a verification flow.
| Input | Type | Description |
|---|---|---|
| loginIdentifier | String | The username of the subject |
| workflowId | String | The ID of the verification workflow instance |
| images | List<WritebackImage> | List of image objects to write back (see below) |
WritebackImage object fields:
| Field | Type | Description |
|---|---|---|
| sourceType | String | The verification step and capture that produced the image. One of: PHOTO_ID_AND_LIVENESS_SELFIE, PHOTO_ID_AND_LIVENESS_DOCUMENT, DOCUMENT_AND_BIOMETRICS_SELFIE, DOCUMENT_AND_BIOMETRICS_DOCUMENT_FRONT, DOCUMENT_AND_BIOMETRICS_DOCUMENT_BACK, DOCUMENT_AND_BIOMETRICS_DOCUMENT_SECONDARY_FRONT, DOCUMENT_AND_BIOMETRICS_DOCUMENT_SECONDARY_BACK |
| imageBytes | String | Base64-encoded image data |
| imageFormat | String | Image format. [ jpeg | png ] |
| documentType | String | The document type reported for a document capture, for example passport or driving_licence. Omitted for selfies |
| isCropped | Boolean | true for a cropped face extract, false for a full-frame capture |
| Output | Description |
|---|---|
| outcome | Result of the writeback. [ SUCCESS | FAILURE ] |
On failure or exception, the script may return { "error": "My error message" } instead of an outcome field.
Behavior:
- If the script returns
{ "outcome": "SUCCESS" }, the writeback is recorded as successful. - If the script returns
{ "outcome": "FAILURE" }or throws an error, the attempt is retried. HYPR sets the retry count, and each failed attempt is recorded asAFFIRM_WRITEBACK_FAILUREwith its reason. - A writeback that does not succeed leaves the verification outcome unchanged; the result is visible in the Audit Trail.
- Images provided to the script are never stored in the HYPR database or displayed in the HYPR UI.
Related
- Writing Affirm Code Customizations — developer guide to building a customization against the contracts on this page
- Affirm Studio (Admin) — end-user screen content and style customization
- Directory Image Writeback — admin configuration for the
USER_DIRECTORY_IMAGE_WRITEBACKcustomization - Escalation Policy — per-risk-signal escalation action configuration
- Advanced Setup — integration prerequisites and IdP attribute requirements
- Affirm Content Customization API — API reference