Get Started with HYPR Affirm
This tutorial walks a new administrator through running their first HYPR Affirm verification flow end-to-end — from creating a workflow in Control Center to observing the requester experience and reviewing the outcome in the Activity Log.
The scenario used in this tutorial is internal-employee onboarding via Entra ID: a new hire completes identity verification before being issued their first authentication method. This is the most common starting point and exercises the broadest set of Affirm capabilities.
For the conceptual mental model behind flows, steps, and outcomes, read Verification Flows first.
Prerequisites
Before starting, confirm:
- HYPR Affirm is enabled on the tenant by HYPR. If you don't see the Affirm tab in Control Center, contact your HYPR representative to confirm tenant enablement.
- A Microsoft Entra ID integration is configured in HYPR Control Center for the application your verification flow will protect — see Integrations
- A test user exists in Entra ID with the directory attributes Affirm requires (
UPN, email address, mobile phone for OTP, manager assignment if using manager-based approver) - You have an alternative phone, email, and government-issued document on hand for completing the requester walkthrough yourself
Open the workflow editor
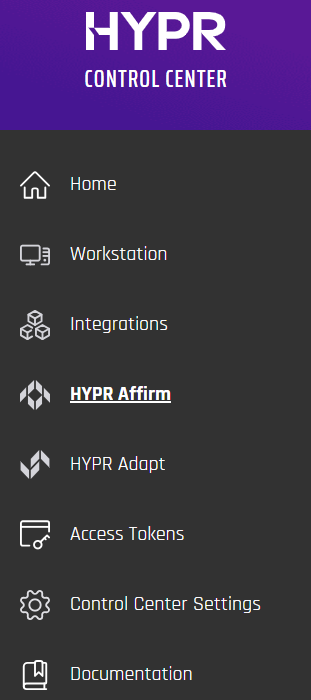
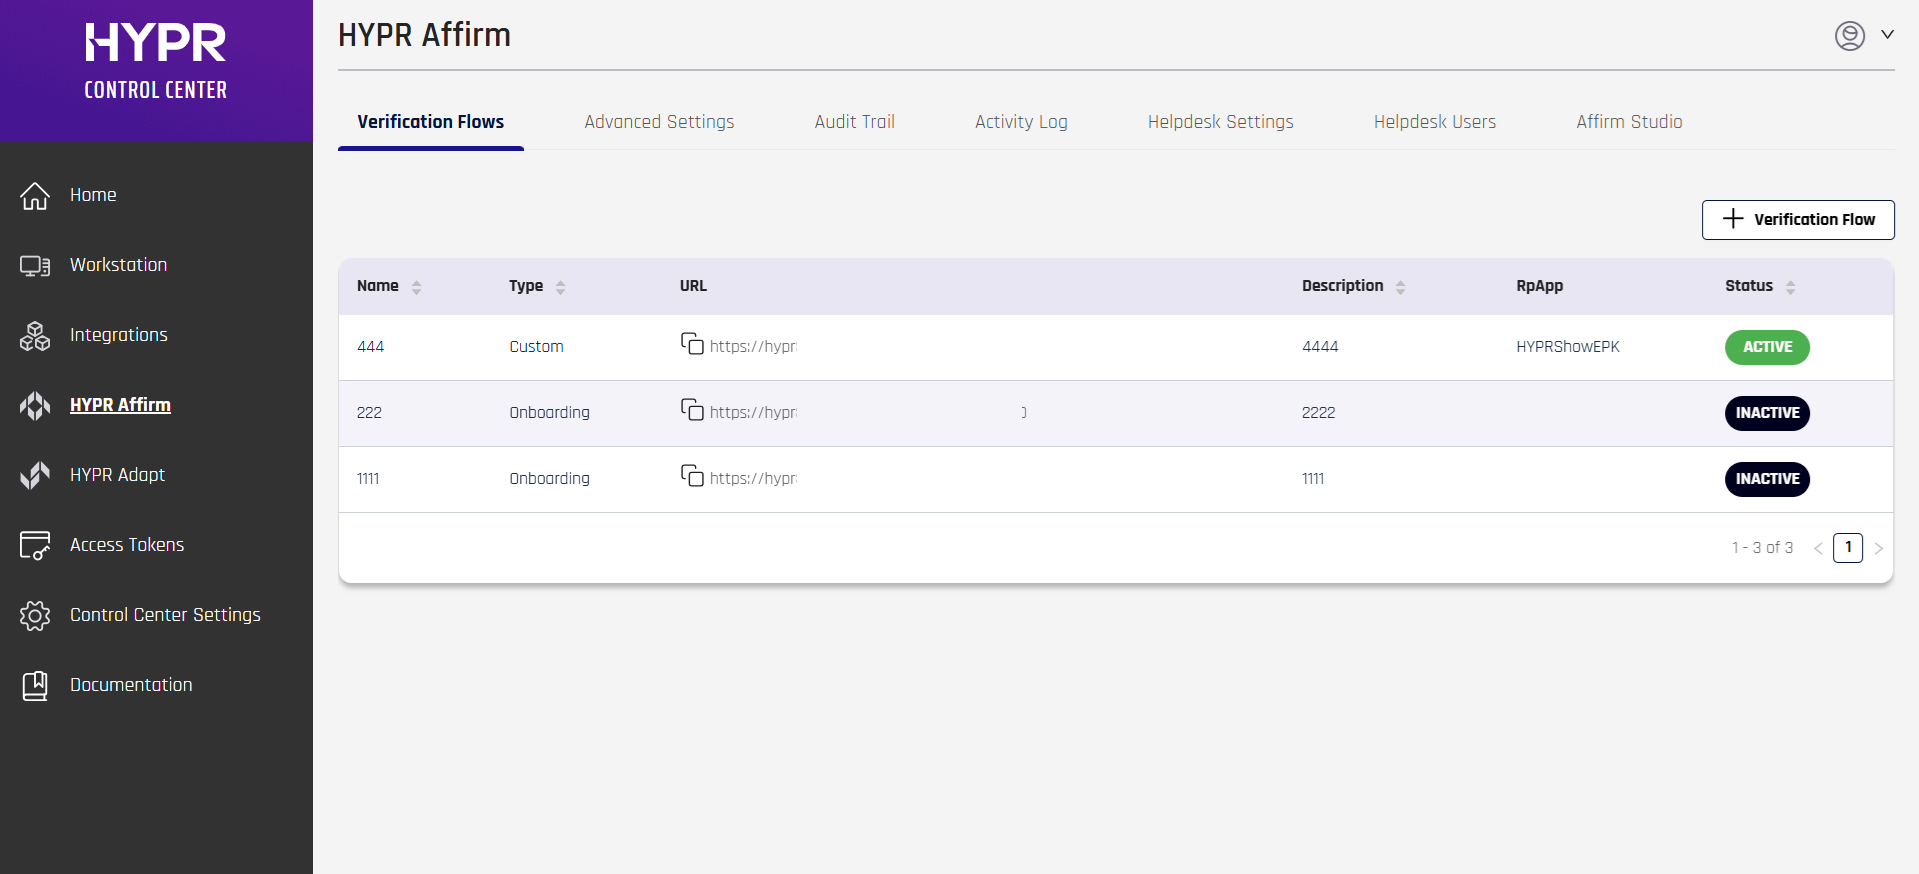
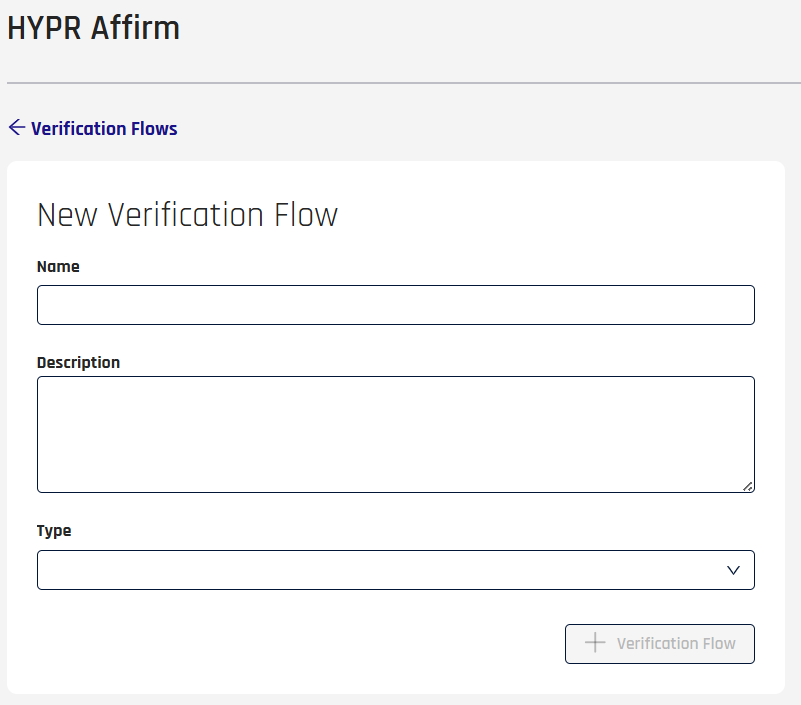
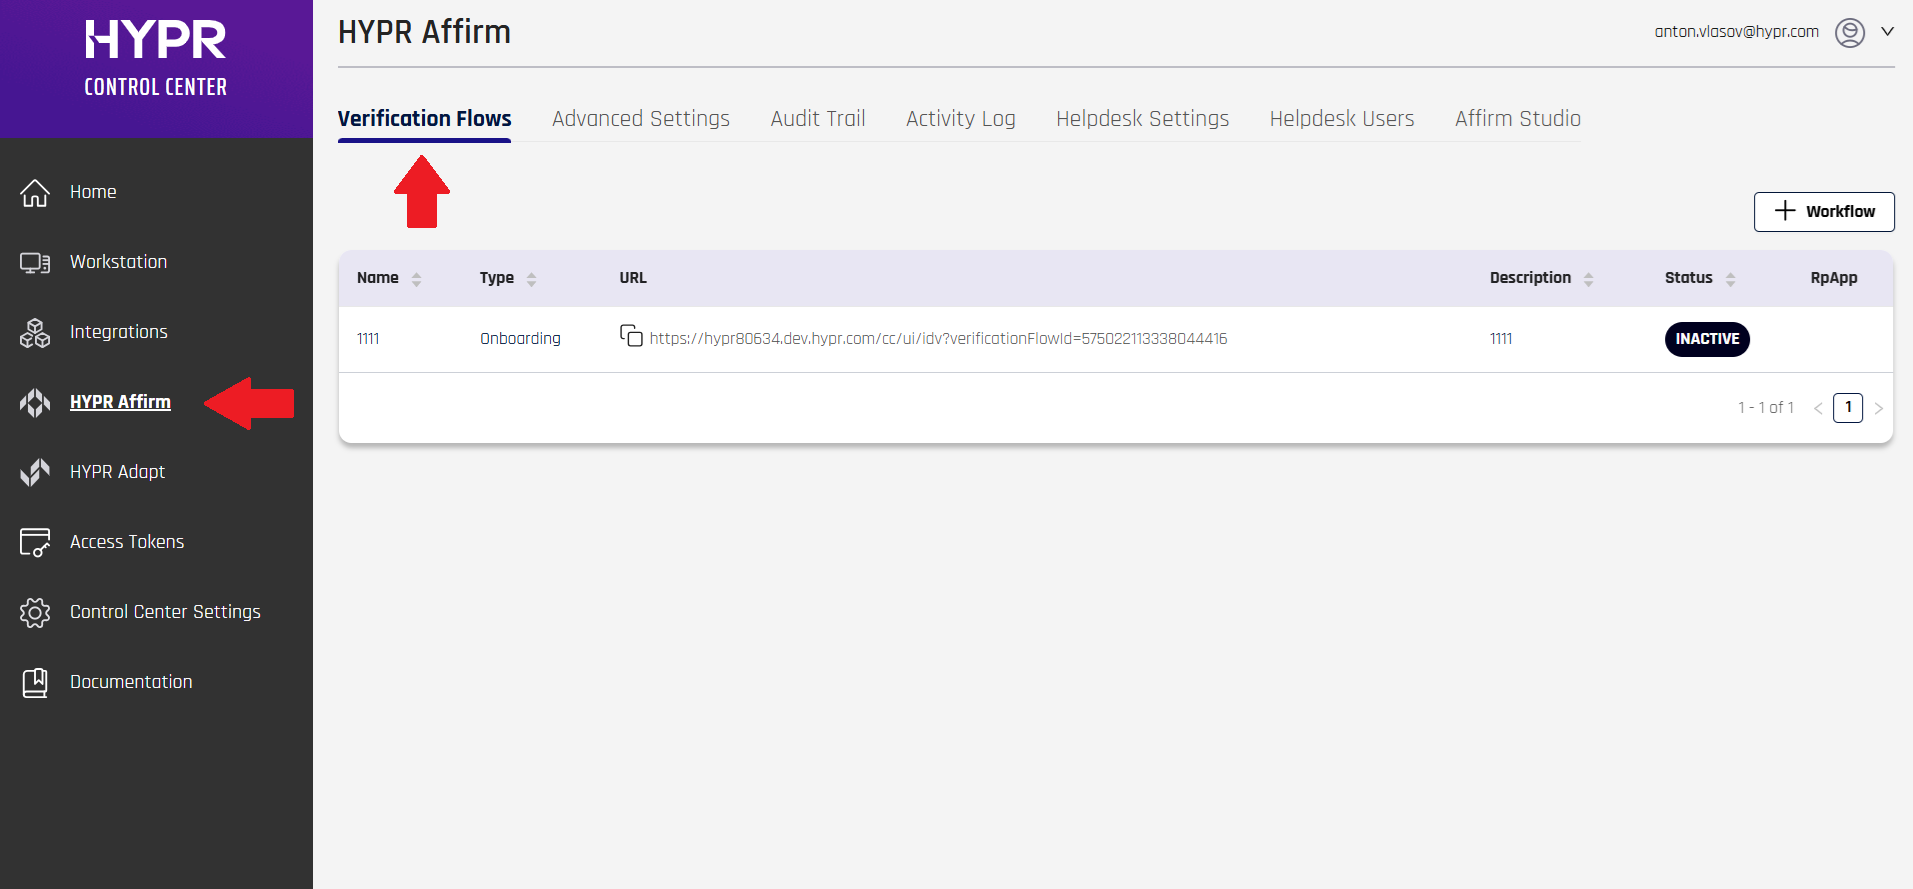
In Control Center, click HYPR Affirm in the left navigation menu. Open the Verification Flows tab if it isn't already active.
Create your first verification flow
Click + Verification Flow at the top right. In the New Verification Flow dialog:
- Name — give the flow a name (for example, Employee Onboarding Quickstart)
- Description — optional
- Type — select Onboarding
Click + Verification Flow to save. Control Center returns to the Verification Flows tab with your new flow listed.
For details on the workflow types and the columns shown in the list, see Create and Manage Verification Flows.
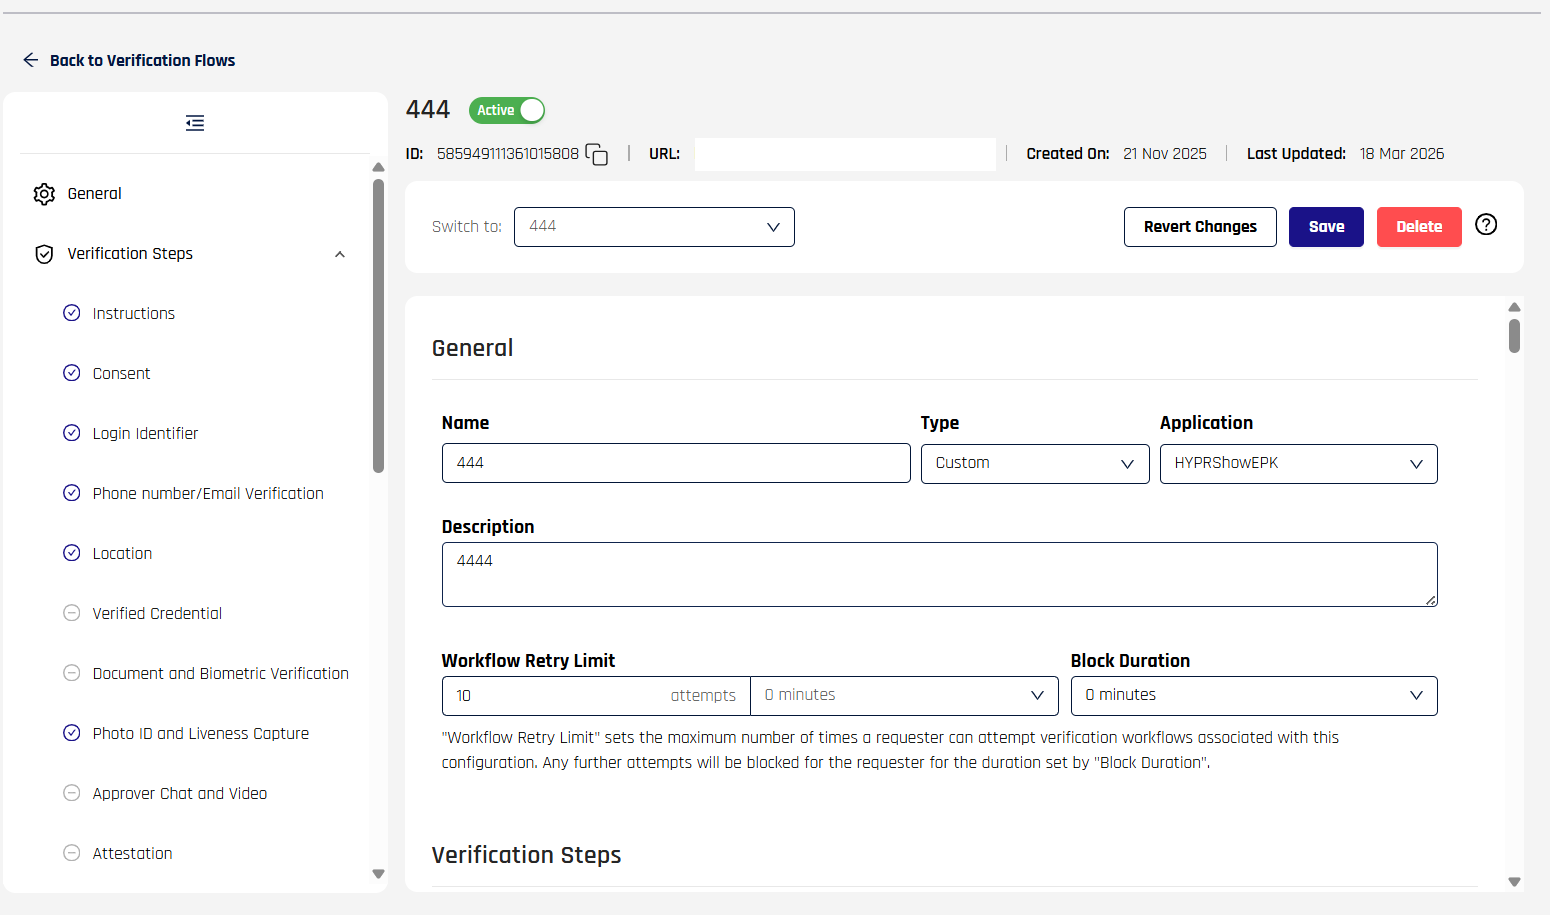
Configure verification steps
Click your new flow's row. The workflow editor opens with the General tab in view and a left sidebar listing every configurable section. Use the sidebar to jump to Verification Steps.
For this tutorial, enable a minimal but realistic step set:
- Login Identifier — always required, always enabled
- Phone Number/Email Verification — keep enabled (default)
- Document and Biometric Verification — enable; this is the step that demonstrates Affirm's headline capability. Inside this step, enable both Document Authentication and Liveness Check
- Attestation — always enabled; the approver pass before the outcome fires
Leave the rest at defaults.
For details on each step type, see Configure Verification Steps.
Assign an approver
Scroll to Approvers and Escalation Approvers. Click + Approvers → Add Approver.
For this tutorial, choose HYPR (automated approval) — Affirm will auto-approve or deny based on whether all enabled verification steps pass. This lets you complete the tutorial without coordinating with a human reviewer.
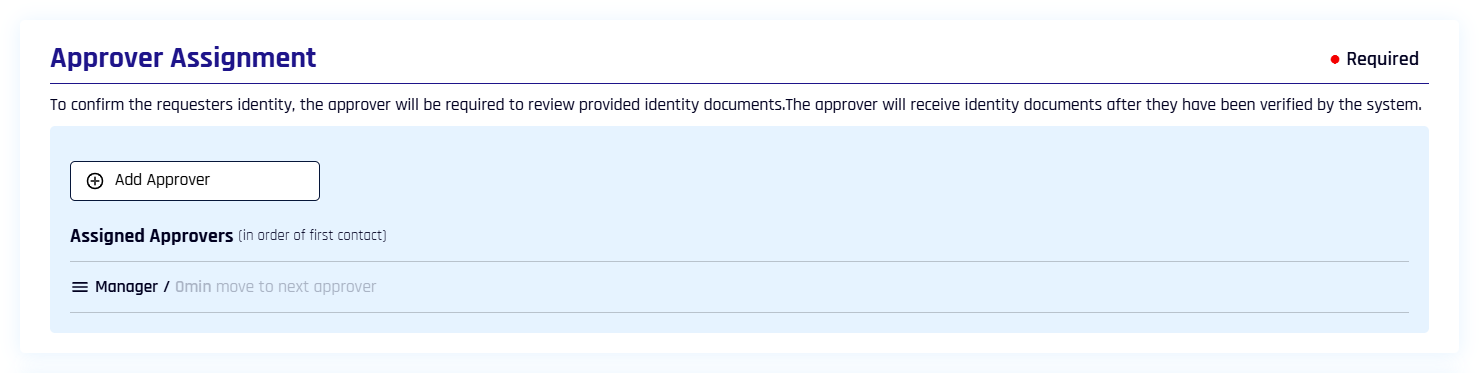
For production, you'd typically pick Manager or Other (a custom email) and configure a timeout. See Approvers and Escalation Approvers.
Set the outcome
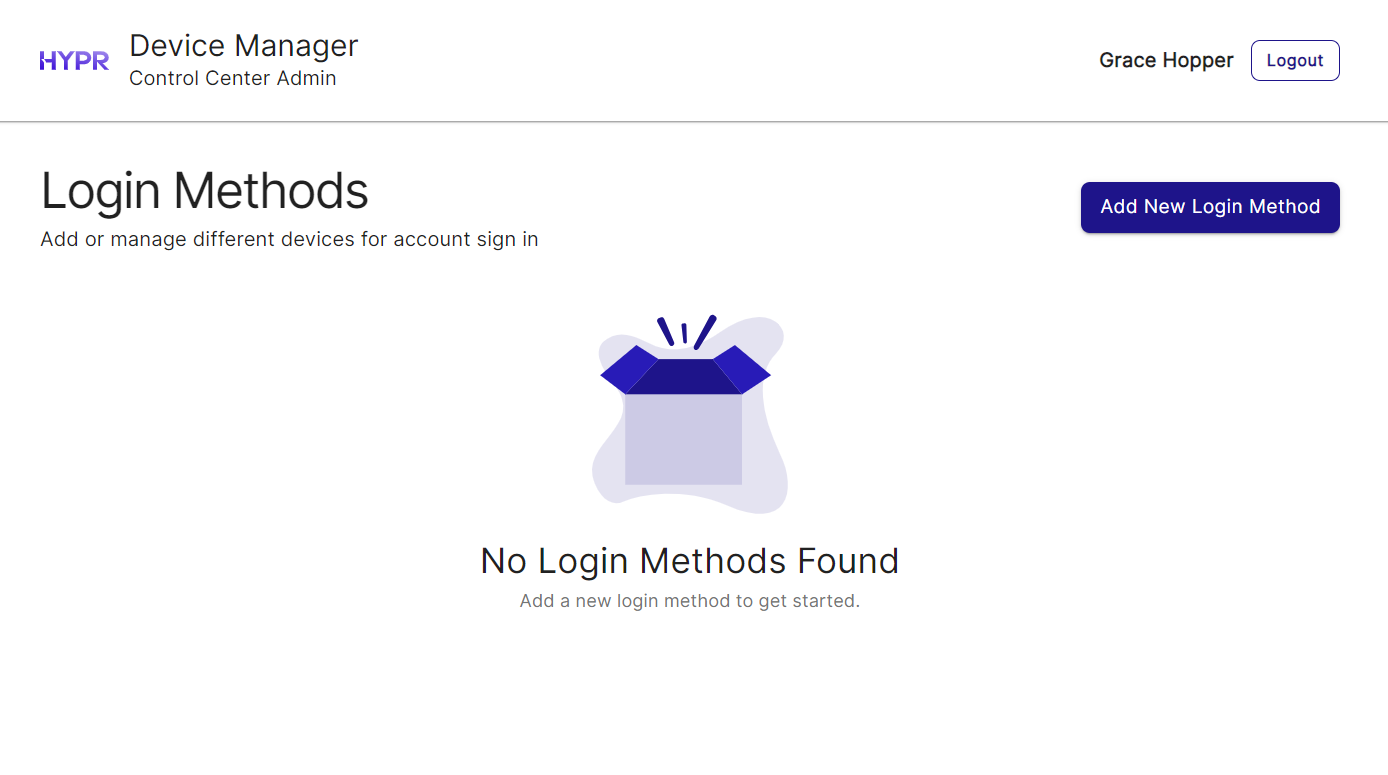
Scroll to the Outcome section of the workflow. Select Redirect to Device Manager to register a new login method. This sends a successful requester to HYPR's Device Manager to register their first authentication device — the standard onboarding outcome.
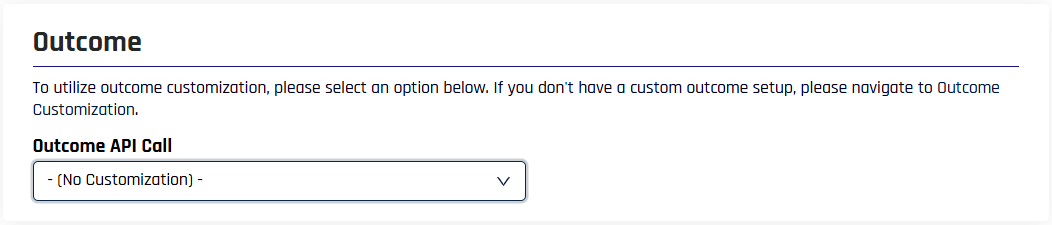
For Entra Temporary Access Pass, Entra Verified ID, or Okta password reset outcomes, see Outcomes and Integration.
Save and copy the flow URL
Click Save Workflow at the bottom of the drawer. Back in the Verification Flows list, click the copy icon next to the URL column for your new flow. This URL is what you give the requester (or what an integration invokes on the requester's behalf).
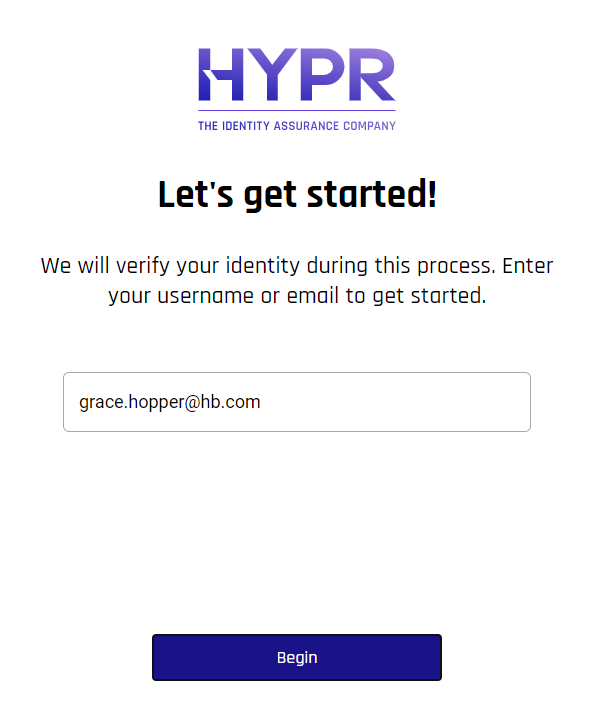
Run the flow as the requester
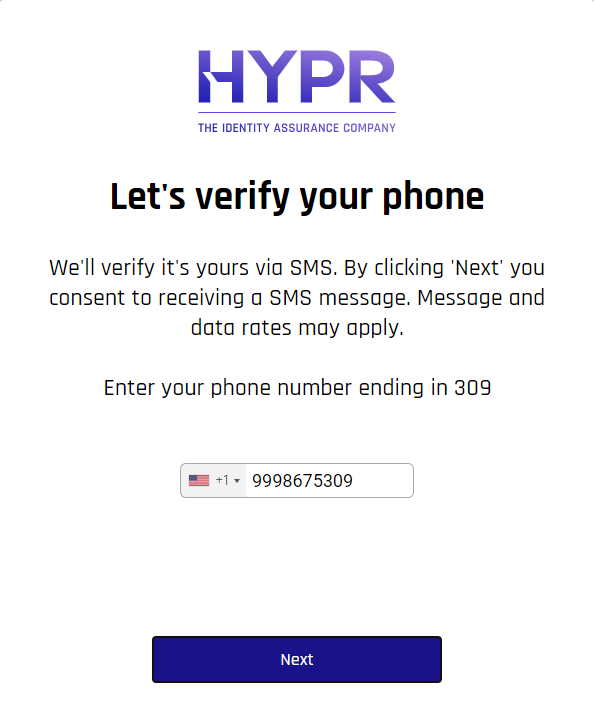
In a separate browser (or incognito window), paste the URL and complete the verification yourself. The requester sees a welcome screen, then is guided step-by-step through identifier entry, OTP confirmation, document capture, live selfie, and the final outcome handoff.
-
Enter the test user's login identifier (UPN)
-
Confirm the phone/email OTP
-
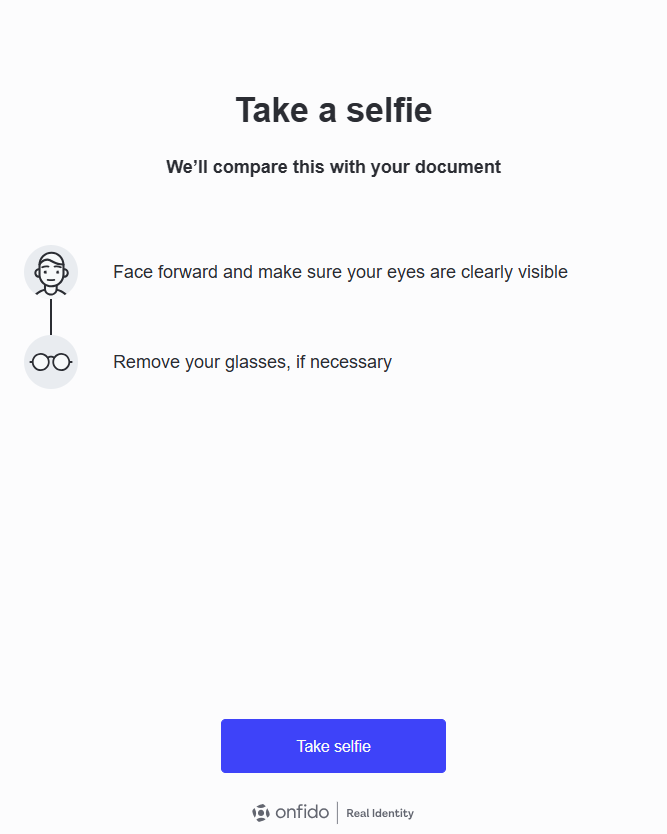
Capture the document front (and back if applicable)
-
Take the live selfie
-
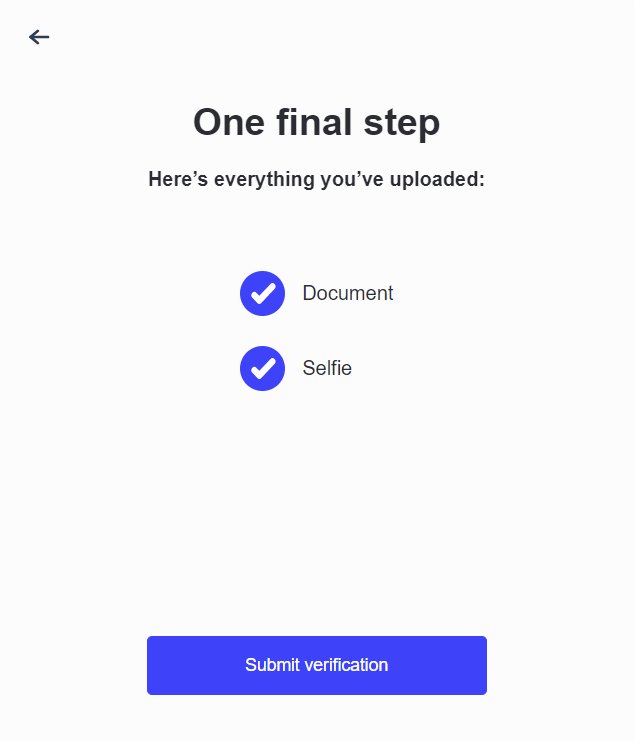
Wait for the automated attestation
-
Land on the Device Manager outcome screen
For details on what the requester sees at each step, see What the Requester Sees.
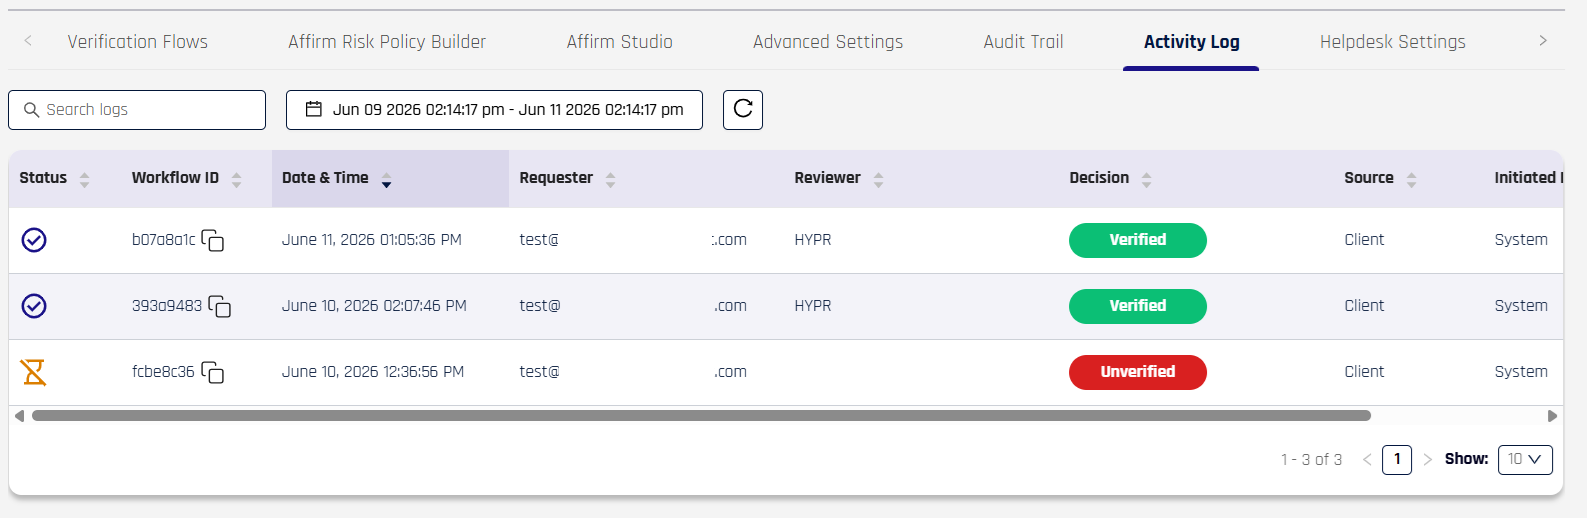
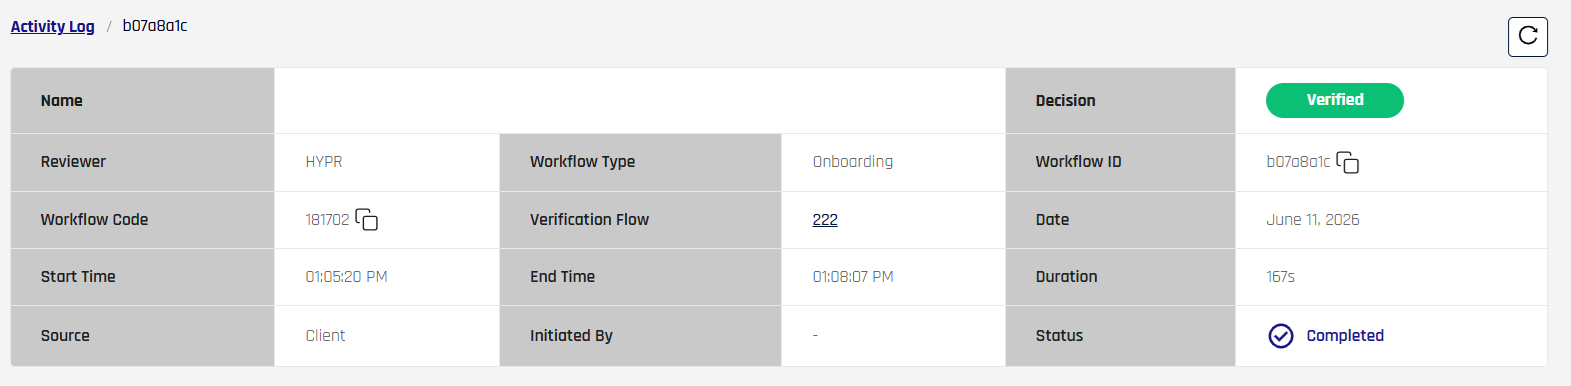
Review the outcome in the Activity Log
Back in Control Center, click HYPR Affirm → Activity Log. Your test run should appear at the top. Click Details on the row to see:
- The verification's
VERIFIED/UNVERIFIEDstatus (see Status Enum Reference) - The Verification Flow ID that ties this run to events, audit trail, and API responses
- Per-step outcomes for phone, document, and liveness
- The evidence package (document captures, selfie) — if your tenant retains them per Data Residency and Retention
For the full Activity Log field reference, see Activity Log.
Next steps
Now that you've run a verification end-to-end:
- Configure a production workflow — repeat the steps above with real approvers, retry limits, and outcome gating per Injectable Outcomes & Retry Limits
- Add policy controls — restrict where requesters can verify from using Network and Location Policy
- Customize the end-user screens — apply branding kits via Affirm Studio
- Configure the Helpdesk — enable agent-initiated verification flows via Affirm Helpdesk
- Integrate with downstream systems — push verification images to enterprise directories via Directory Image Writeback